In this post I'll cover how to use a curves adjustment layer in Photoshop to match the tone and colour between 2 layers.
When I am processing a panorama, I sometimes have a problem where the light has changed between me taking the main photos for the panorama, and the handheld nadir image. This means that the colour and tone of the handheld nadir image doesn't match the colour and tone of the other images in the panorama, making it more difficult to blend in.
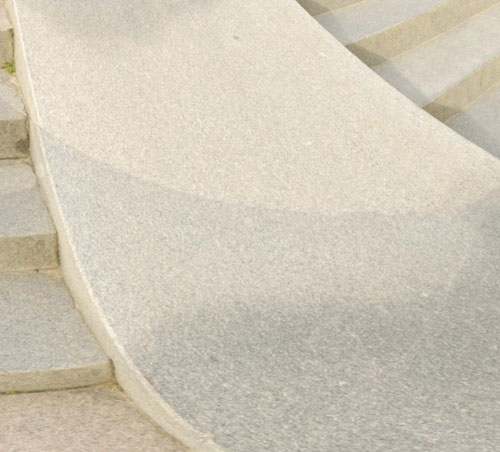
Before colour matching the nadir
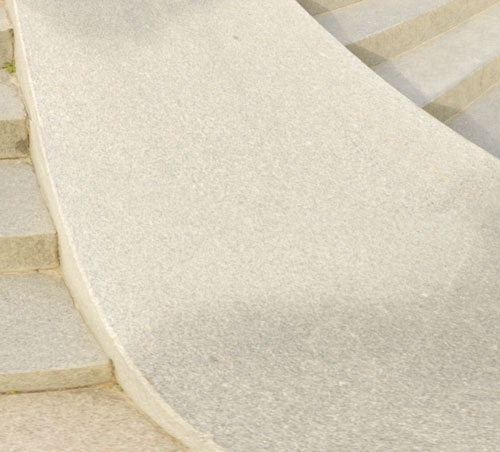
After colour matching the nadir
First, you need to place a colour sampler on an area where both the layers that you want to colour match overlap. To do this, select the eyedropper tool and shift-click on the desired area. Alternatively, instead of shift-clicking with the eyedropper tool, you can single click with the color sampler tool, both do the same thing.
You should see a colour sampler marker appear where you clicked. If you right-click on the marker, you can change the sampling size. Generally we will want to sample a size such as 11x11 Average or 31x31 Average.
Now, open the Info palette window Window > Info, and you can see the colour sampler values listed above the document size.
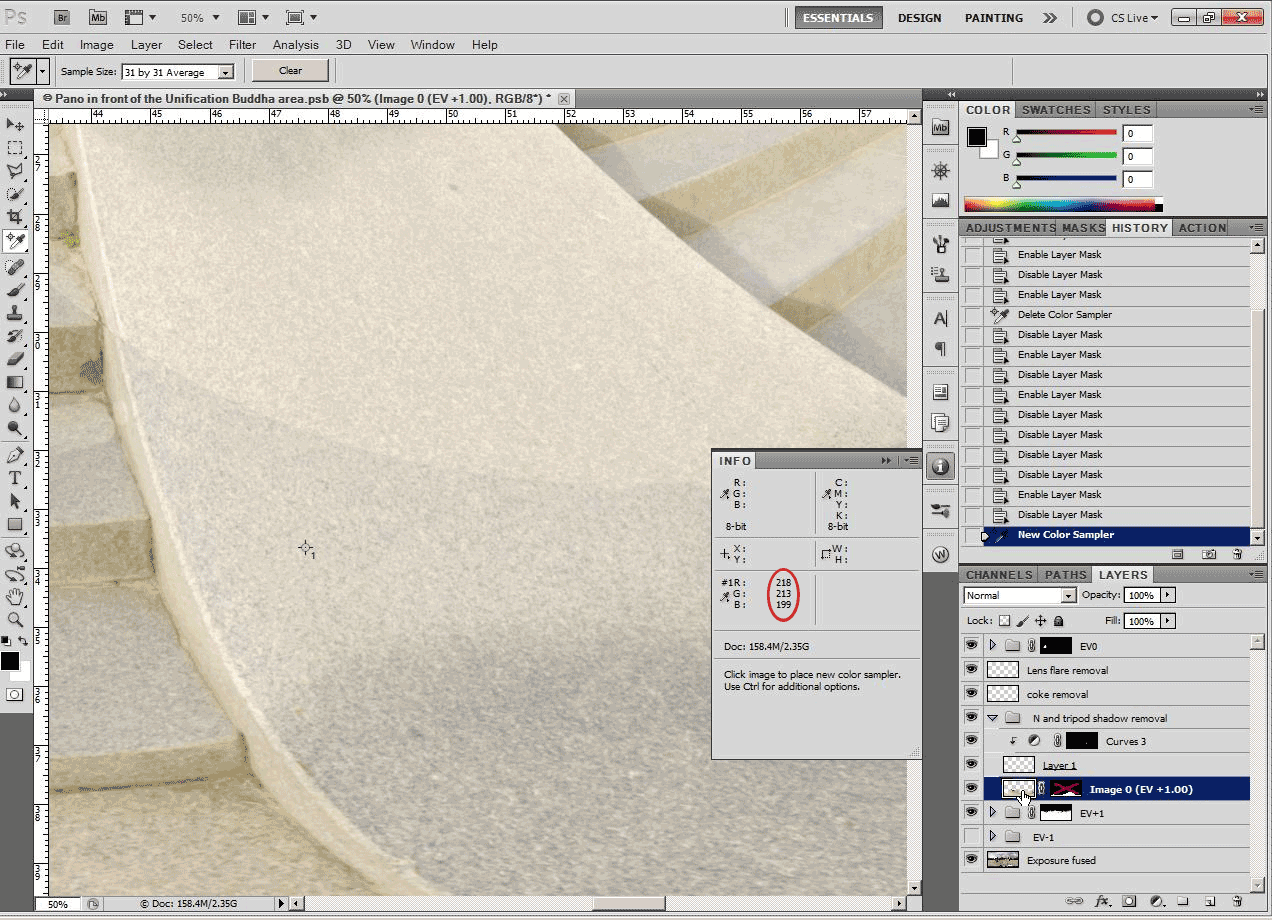
Make sure that you don't have a layer mask selected as the active layer, then make a note of the RGB values. Now show (or hide if it was already showing) the layer that you want to colour match, and make another note of the different RGB values.
Create a curves adjustment layer, and clip it to the layer you want to colour correct. To do this, ensure the curves layer is above the layer that needs adjusting. Select the curves layer, then Alt-click between the curves layer and the layer that needs correcting. A small arrow should appear to the left of the curves adjustment layer, indicating it is now clipped to the layer below.
In the curves adjustment layer window, first select the Red Channel. Click on the curve to add an adjustment point. At the bottom of the adjustment window, in the input box, enter the R value you recorded for the layer that needs adjusting. In the output box, enter the R value from the layer that you want to match the colour to.
Do the same with the the Green and Blue channels, but obviously using the green and blue values of the layer that needs adjusting and the layer you to colour match.
When this is done, your layers should now be well matched in both tone and colour. In my case the layer I needed to match was mostly a single colour and tone, so I only needed to match that one point.
If you need to match images with a greater variety of colour and tone, you may need to use two or more colour sampler points in different areas. Then when adjusting the curve, you will need to place two (or more) points on each curve, for example, to match both the light and darker tones.
If you want to colour match two images that don't overlap, the process is roughly the same. Instead of placing one colour sampler, place two colour samplers, one on each layer, and place them in an area of each image that should be the same colour and tone.
Leave a Reply