In my last post about Creating Kodak EIR / Aerochrome style digital photos, I mentioned how it was difficult to correct an infrared hotspot when dealing with a photo that combines infrared and visible light. However, when I thought about it a bit more, the solution was pretty obvious.

The answer lies in using RGB curves to selectively darken the channel containing the IR hotspot. Then just apply a layer mask to the adjustment to only darken the hotspot area.
It's not a prefect solution, as painting the mask to exactly match the hotspot is very difficult. But in my opinion it does give a good enough result that anyone not looking for a hotspot would not realise there was one.
I found that the CornerFix method I described in the previous post sadly doesn't work when the image contains a well defined hotspot, which is what prompted me on to trying the correction method above.
For EIR style images when using a lens with a well defined hotspot, my general process is to first use the adjustment brush in ACR. I set it to negative exposure and quite a large feather. Then apply it as a single dot in the centre of the image where the hotspot occurs. This corrects for the IR hotspot in the Red and Green channels, while reducing it slightly in the Blue channel (which is pure IR, and so has a much stronger hotspot).
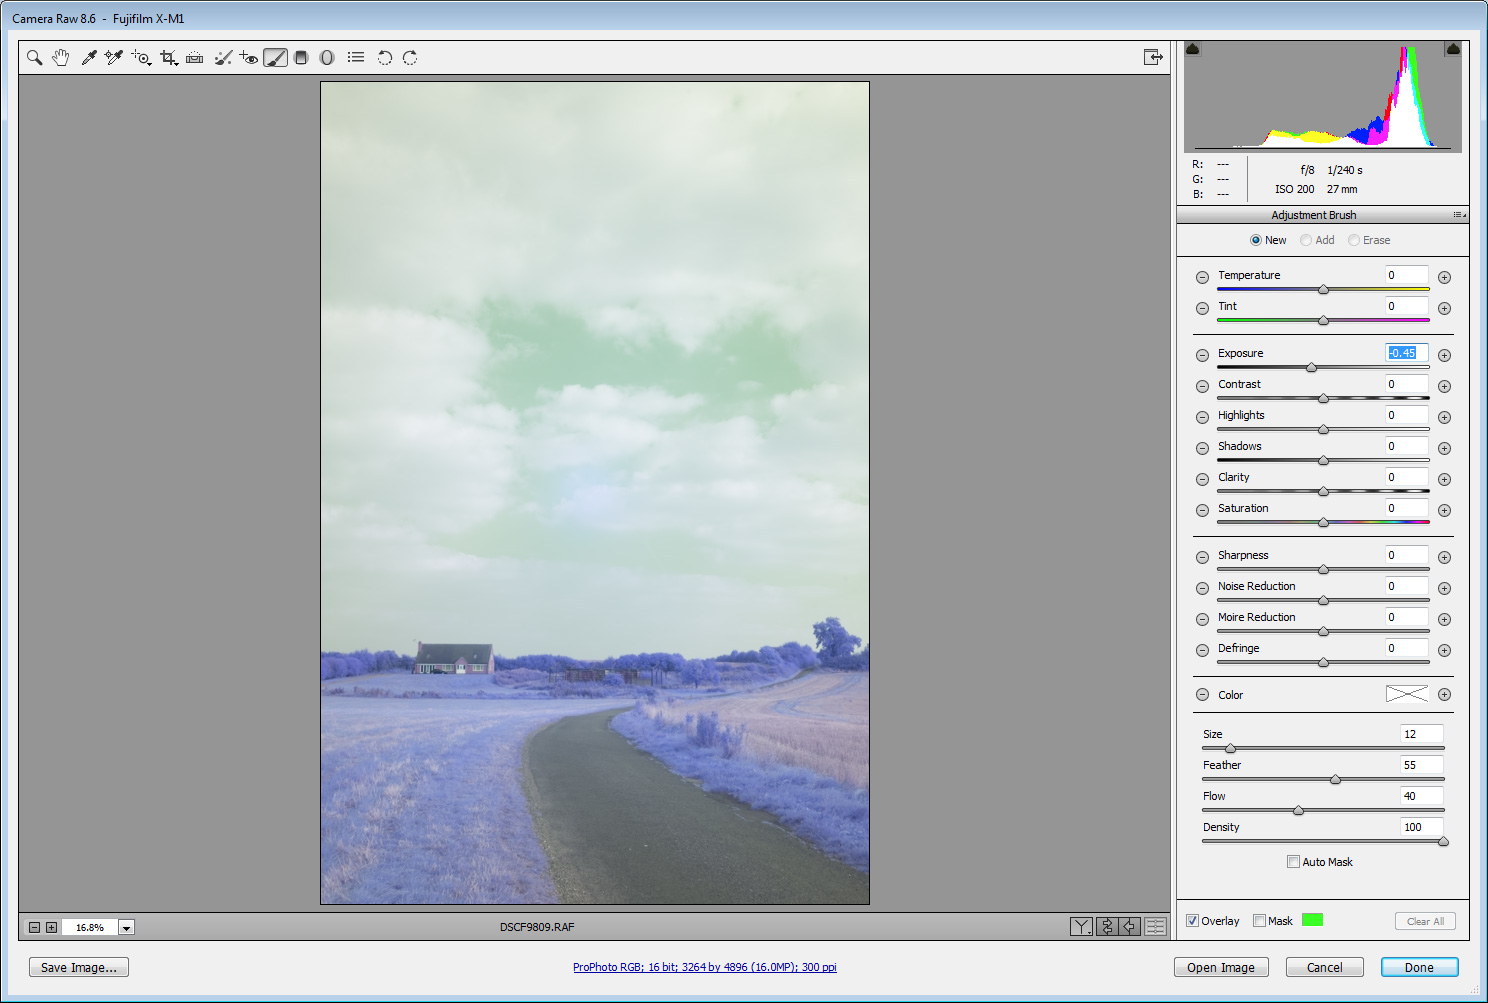
Image before doing any hotspot correction
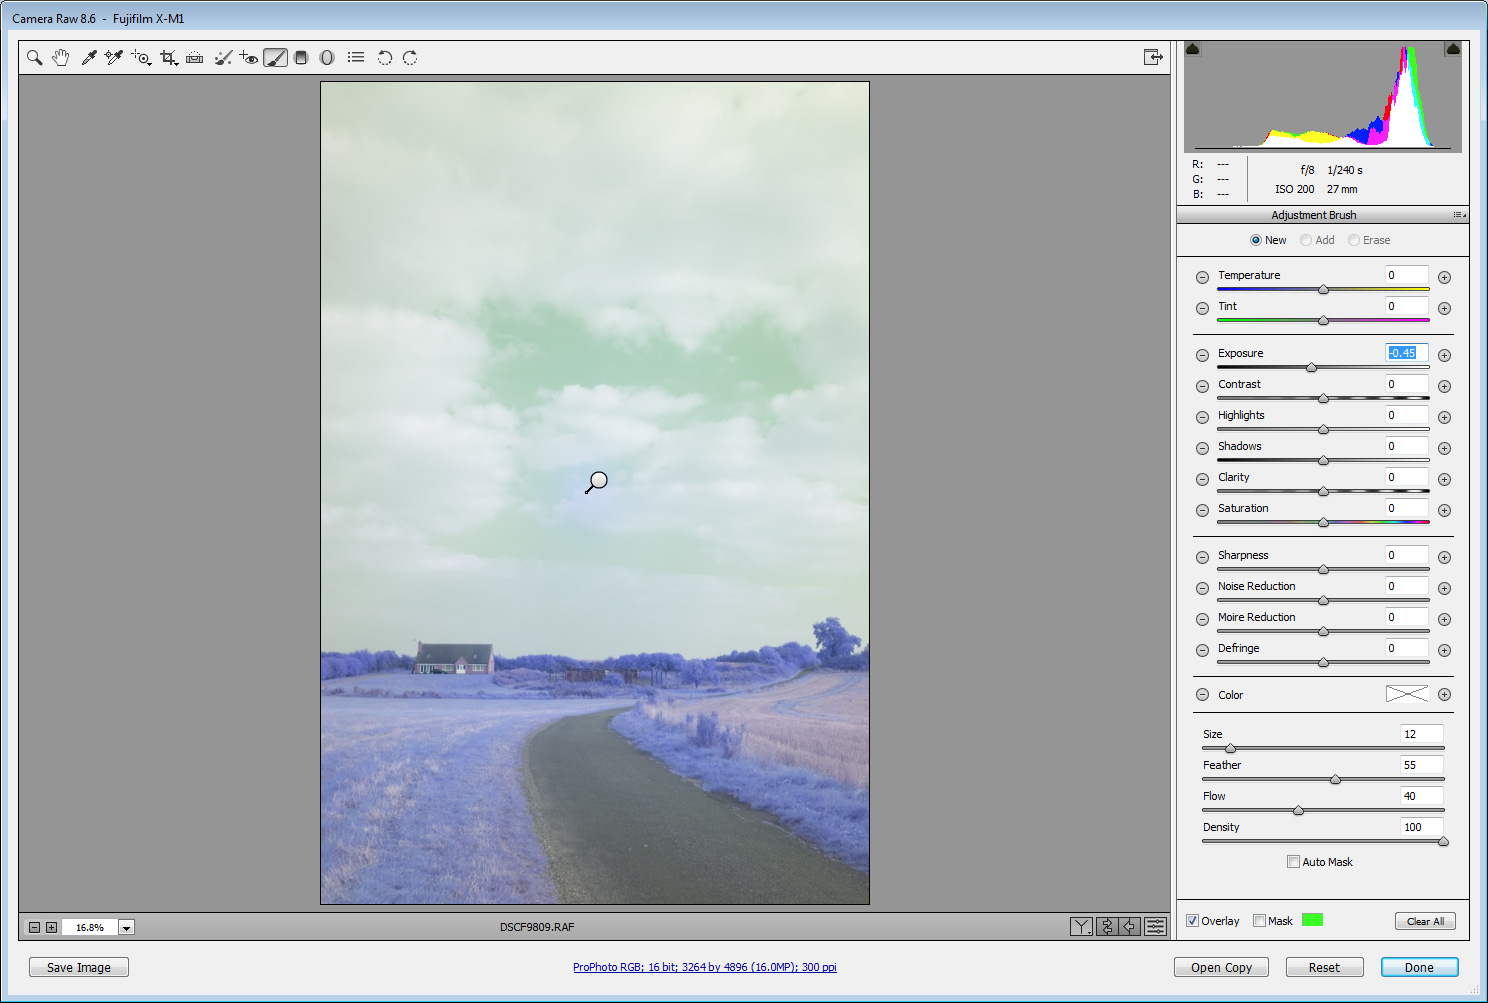
Image after adding a single click of the adjustment brush in the centre
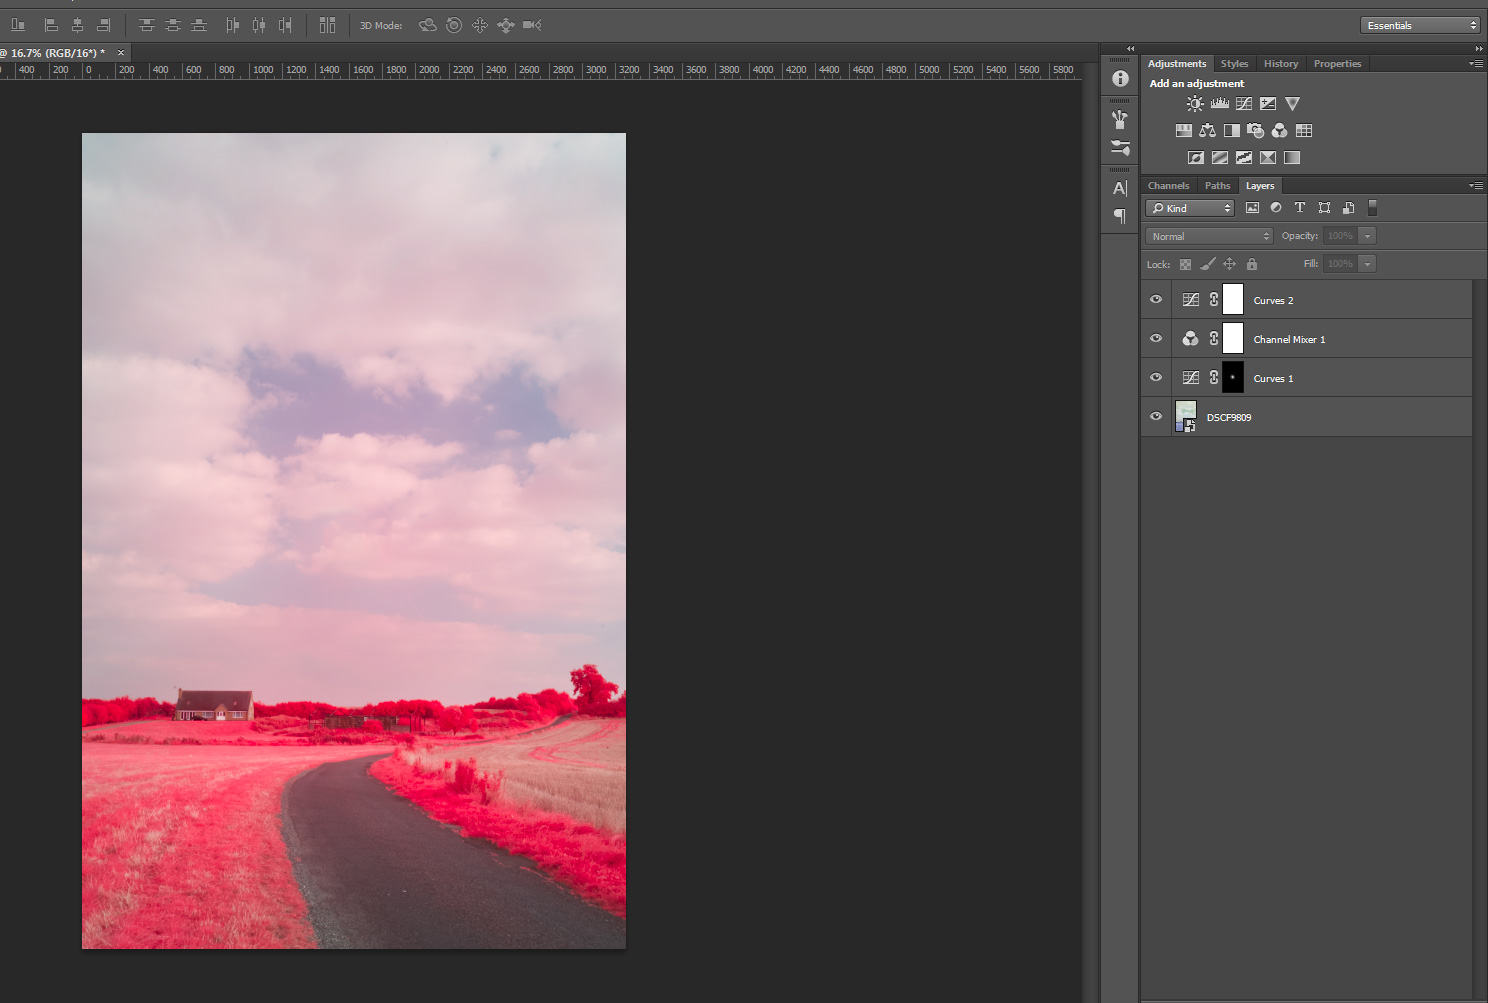
Then open the image as a smart object in Photoshop (this way you can easily go back to the RAW file and make changes in ACR). Create a curves adjustment layer and pull down the centre of the blue channel slightly. Invert the mask for the layer so that it is not affecting the image.
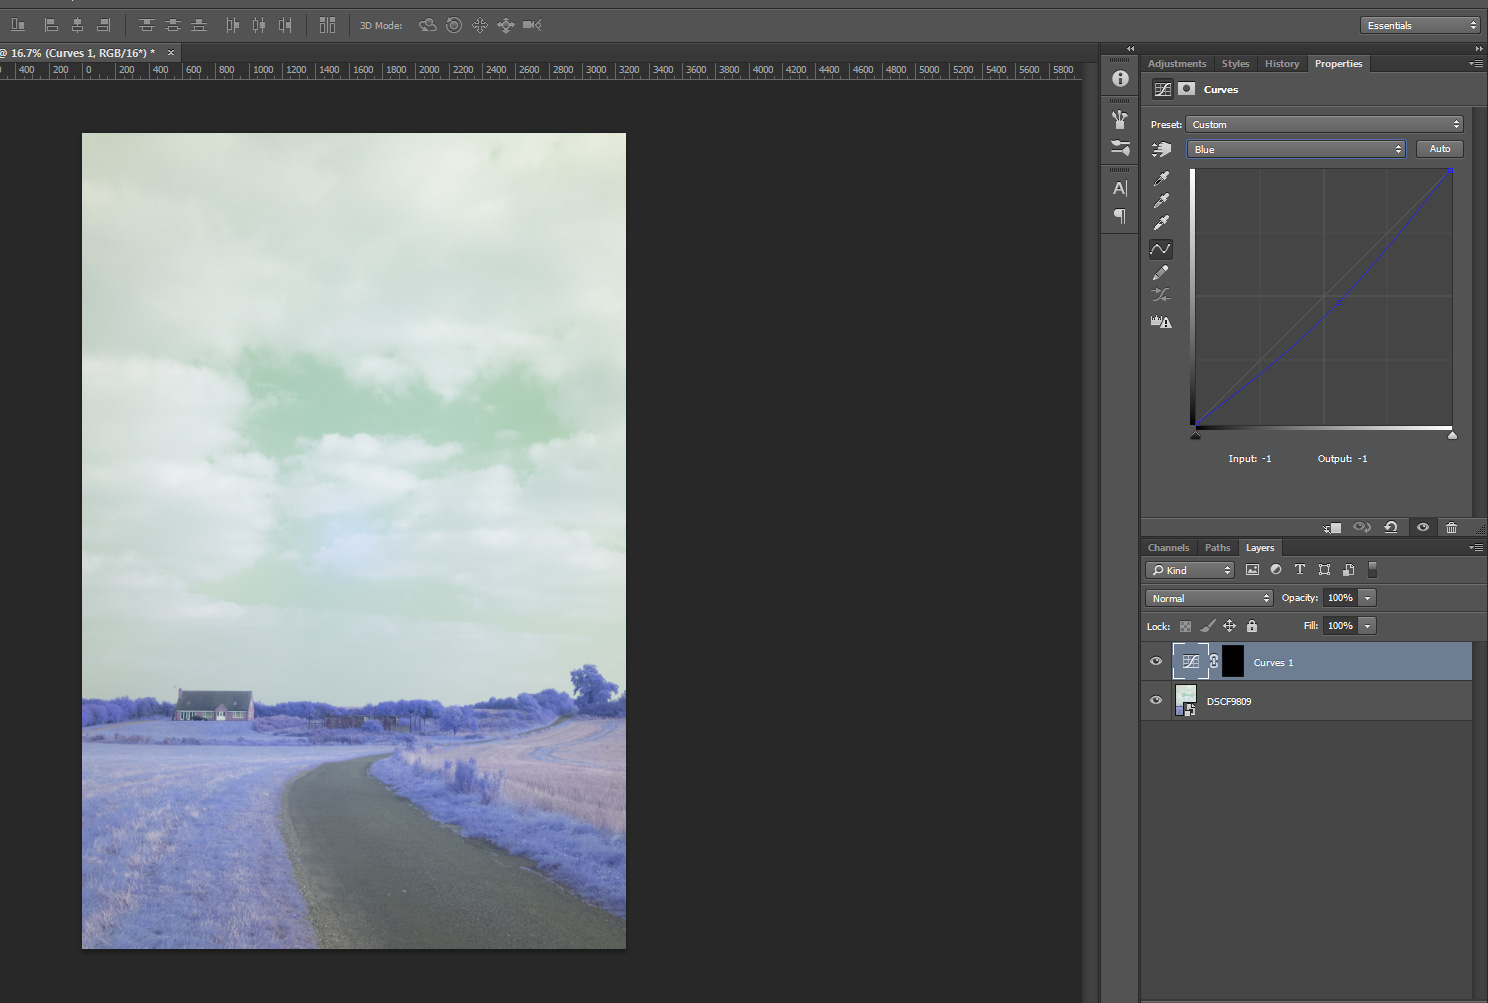
Curves adjustment to blue channel added but hidden using black layer mask
Create a channel mixer adjustment and swap the channels. (I find the hotspot is more visible when the channels are swapped). Then paint on the curves adjustment layer mask to paint in the darkening over the hotspot area. I use a single click with a large soft brush initially. Then reduce the opacity and brush over areas where the hotspot is still visible.
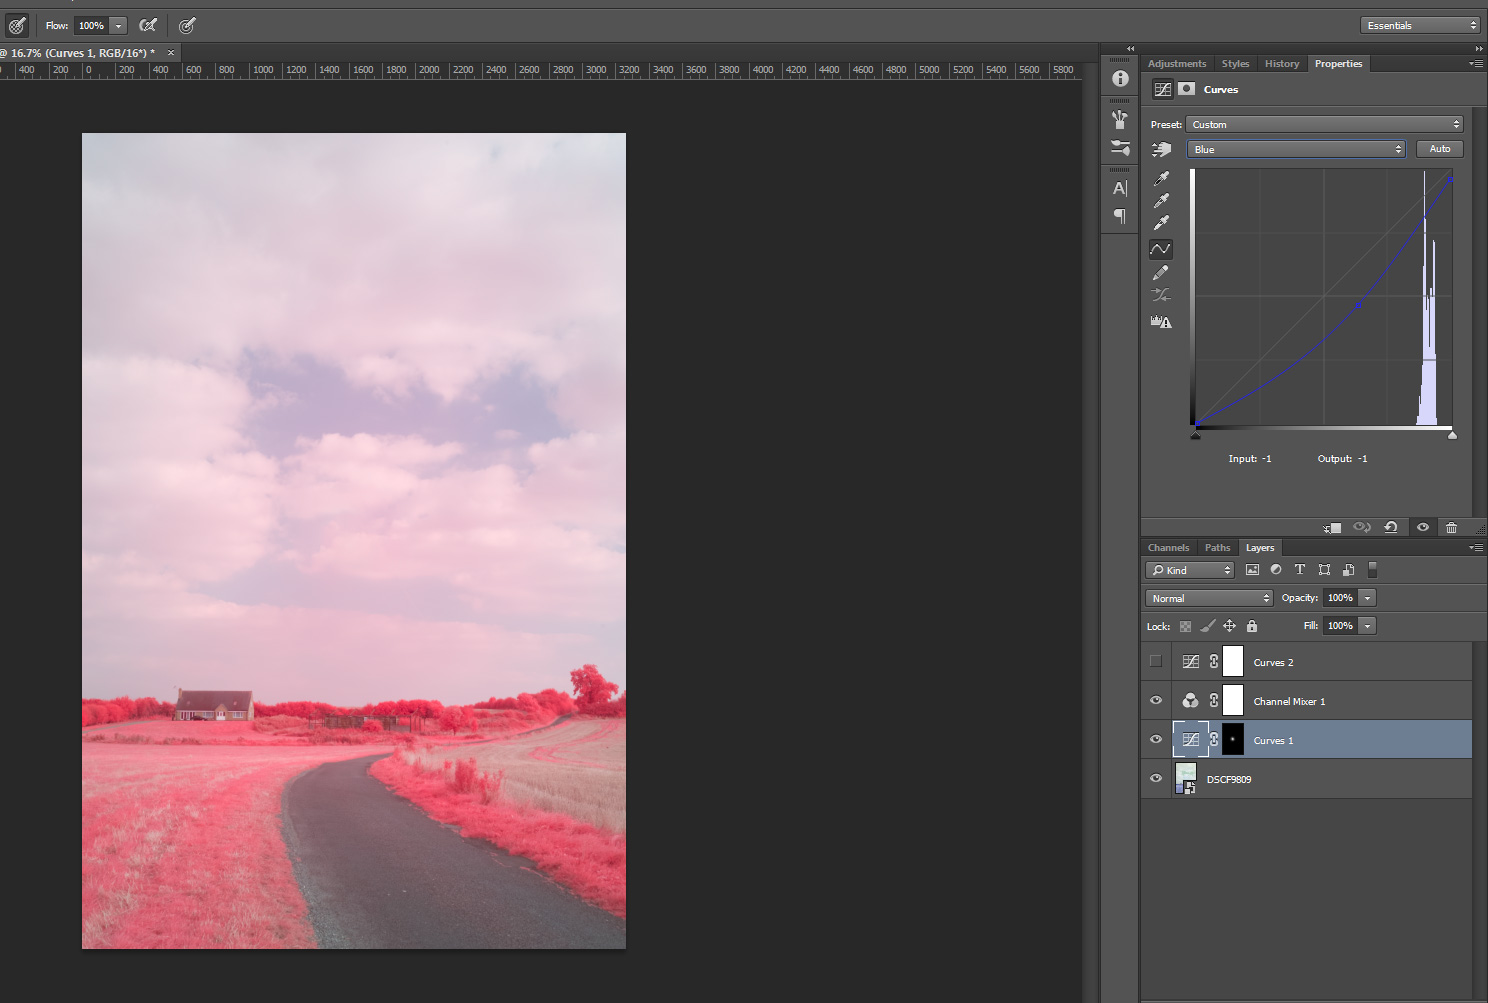
Channel mixer adjustment added then curves layer mask painted and adjusted to remove hotspot
You may also find that you need to modify the curve adjustment to get rid of the hotspot. You can see in the above image that I pulled down the midpoint further and the white point of the blue channel compared to what I had set earlier.
Final image
Knowing that the image had an IR hotspot, you may still be able to see where it was. But I think the vast majority of people would not see any IR hotspot in the image, unless they were specifically looking for one.
I've found that my Fuji 27mm lens has much better sharpness than my Fuji 16-50mm lens at the edges for EIR style images. But it has this nasty IR hotspot. So I'm pretty glad that now I can work around this problem.
Leave a Reply