I just purchased a new camera bag, so I thought I'd do a review of my old camera bag, the LowePro FastPack 350. I guess it's a bit odd doing a review of a bag that is quite old and no longer produced. However, I'm sure there is still old stock being sold off, or you might be looking at buying one second-hand. So hopefully this review will prove helpful.

The FastPack 350 is a standard backpack style bag. It features a sternum strap and waist belt, both useful for helping distribute the weight of a heavy backpack across your body, rather than having all the weight concentrated on your shoulders.
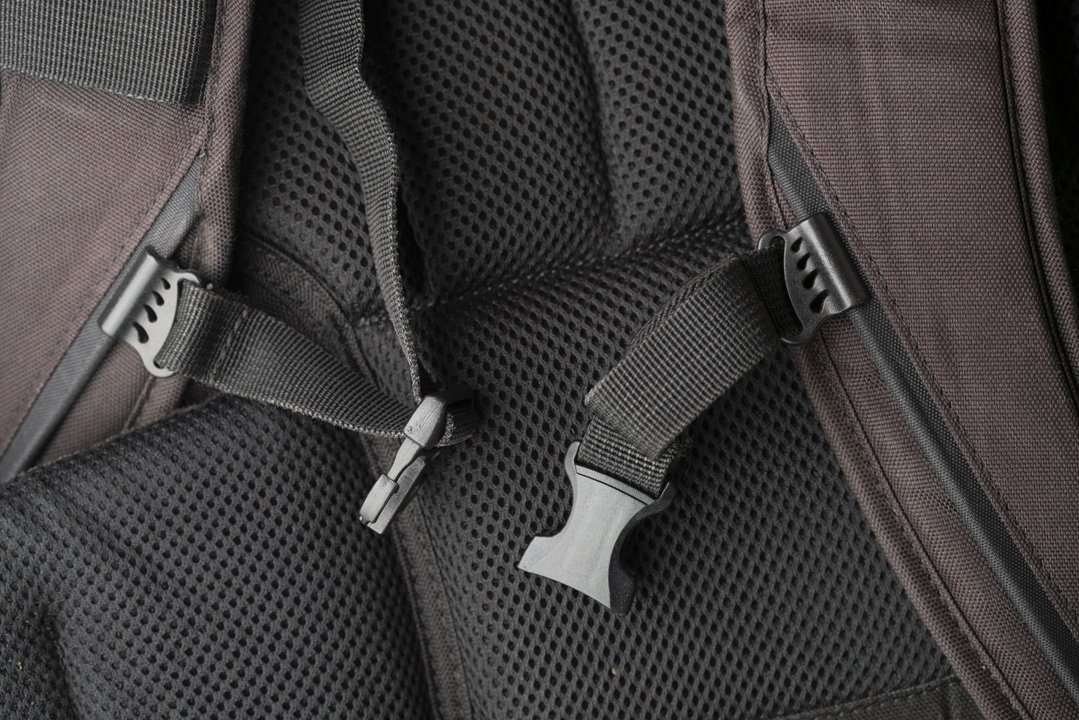
Adjustable sternum strap
In terms of storage it has two main compartments - a top section for odds and ends, and a main, lower section with adjustable dividers for organising your gear. I would normally use the top for my jacket (I could only just stuff it in there though). Then the bottom would hold a water bottle and my camera gear.
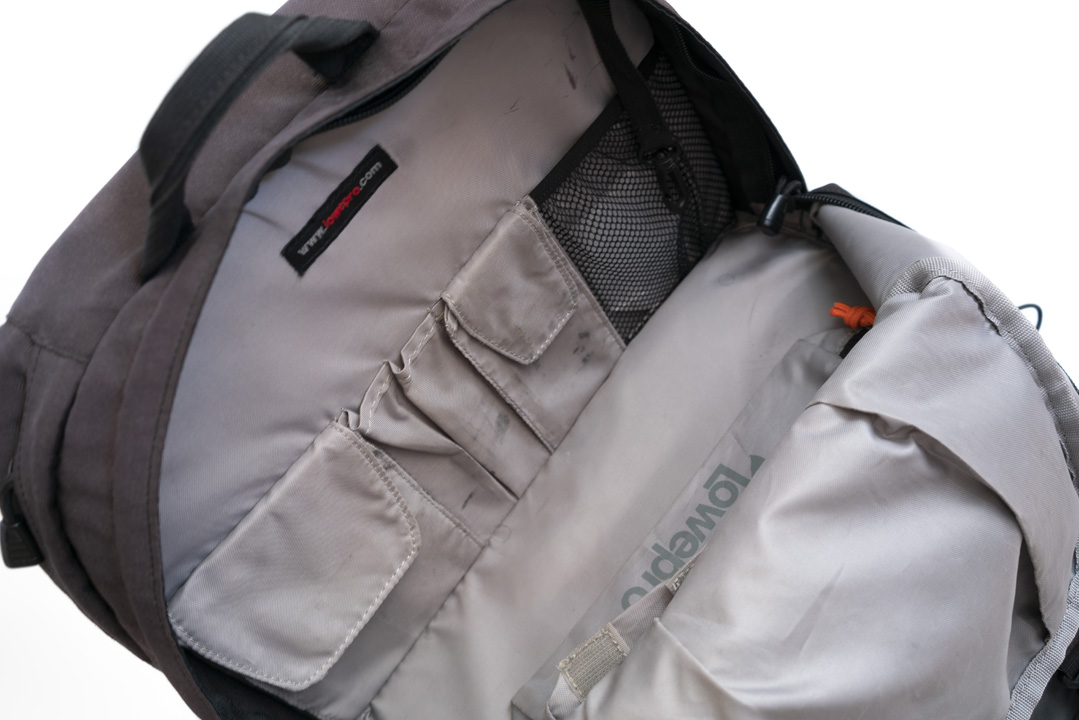
Top section empty
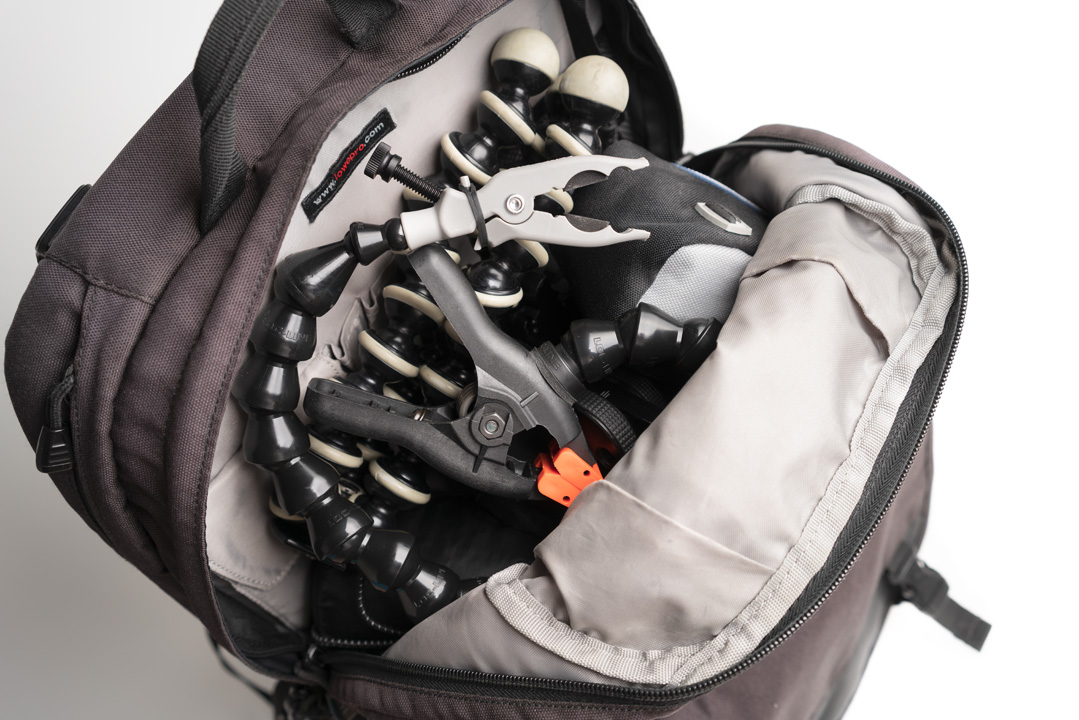
Top section loaded
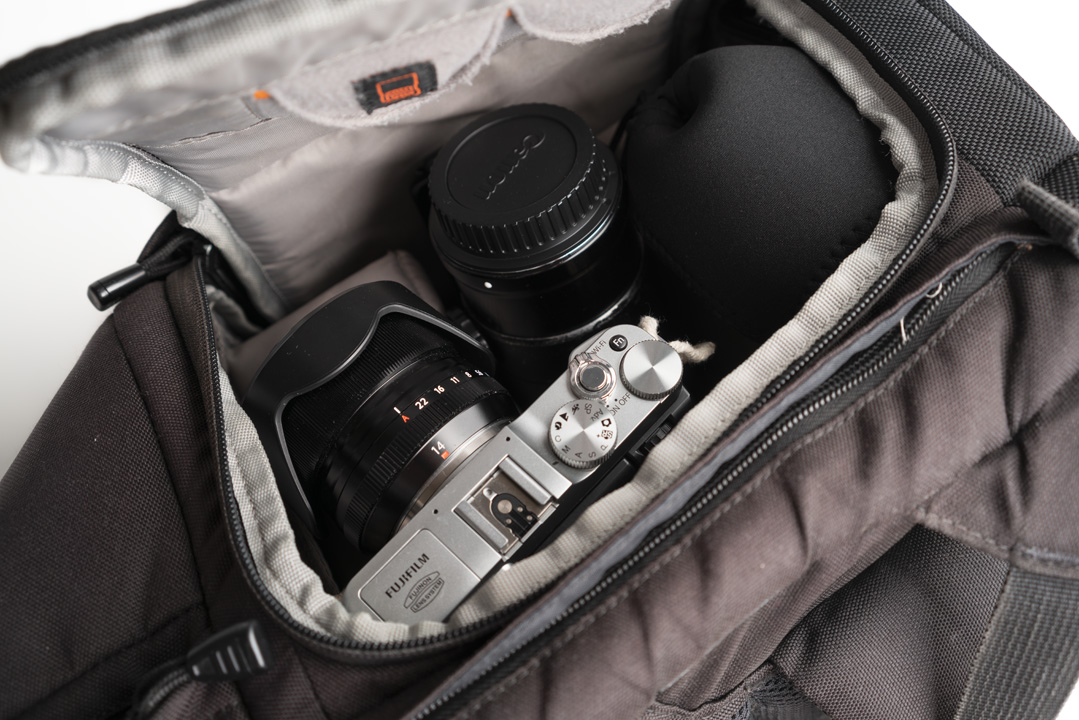
The bag comes with a few dividers to allow you to customise the layout of the main section. You're probably best off looking at details of the new bag to see what dividers it comes with, as the number and layout of the dividers in my bag is probably quite different from when I first purchased the bag.
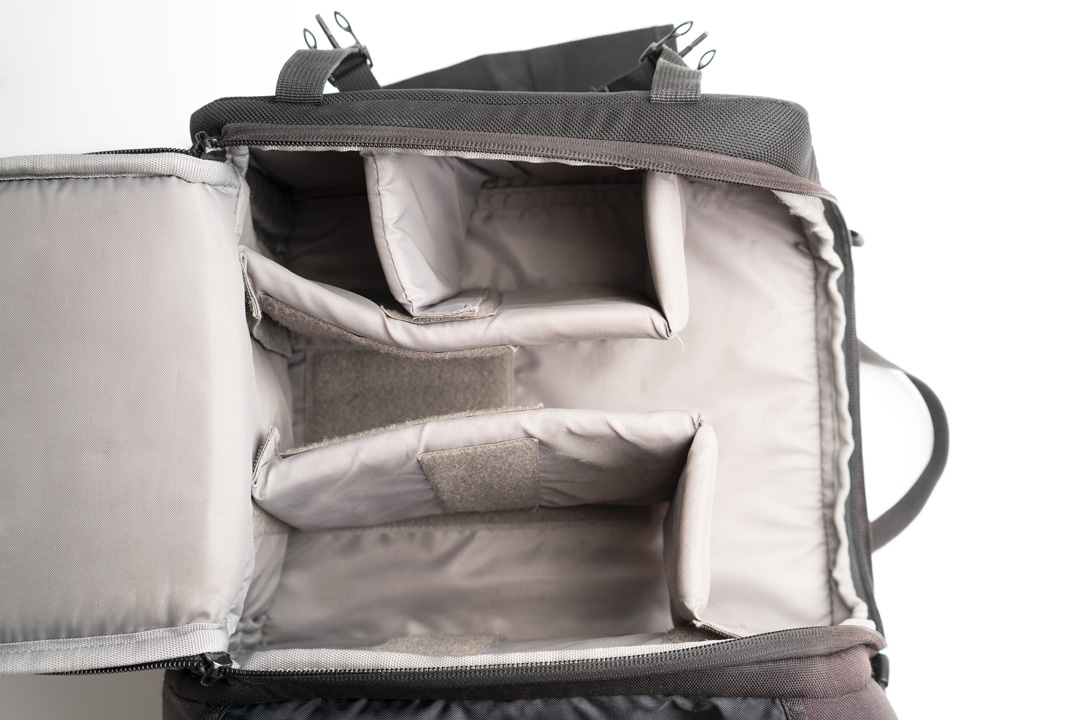
Main section empty
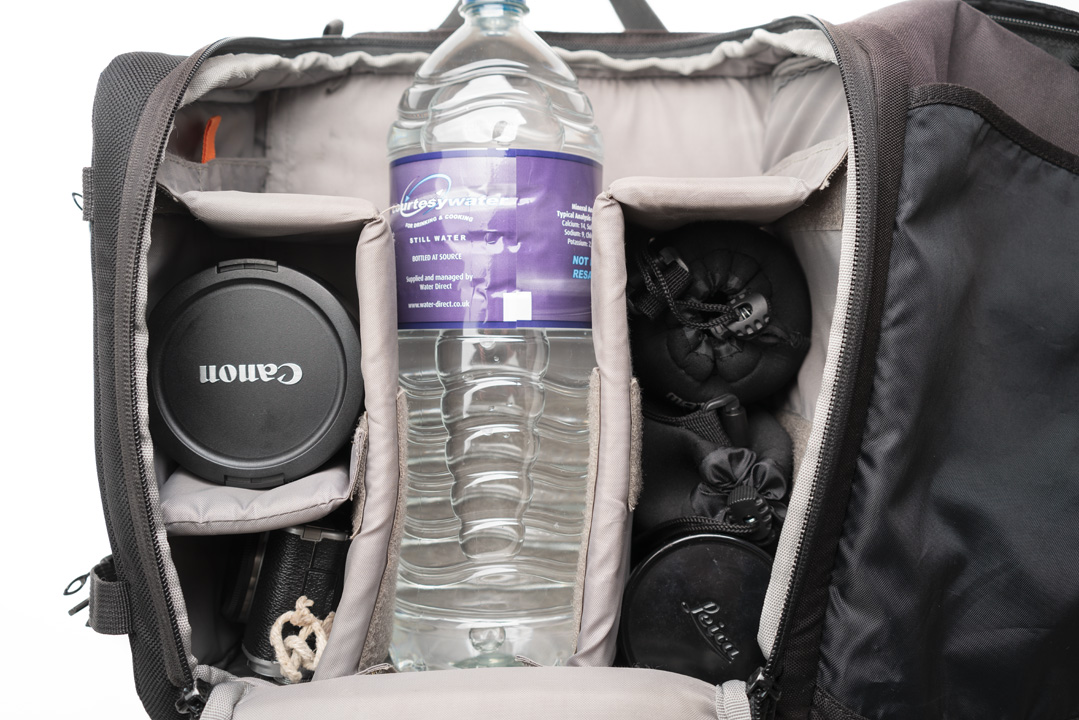
Main section of the bag loaded - it's actually too small to fit in a 'standard' UK 2l bottle shown here, but fits shorter fatter bottles well.
On one side of the bag there is a mesh pocket for holding a water bottle. However, I don't like having a heavy weight on one side of the bag, I prefer the weight distributed across the bag as much as possible. Also, having a water bottle inside the bag keeps it cool for longer than having it outside the bag exposed to direct sunlight.
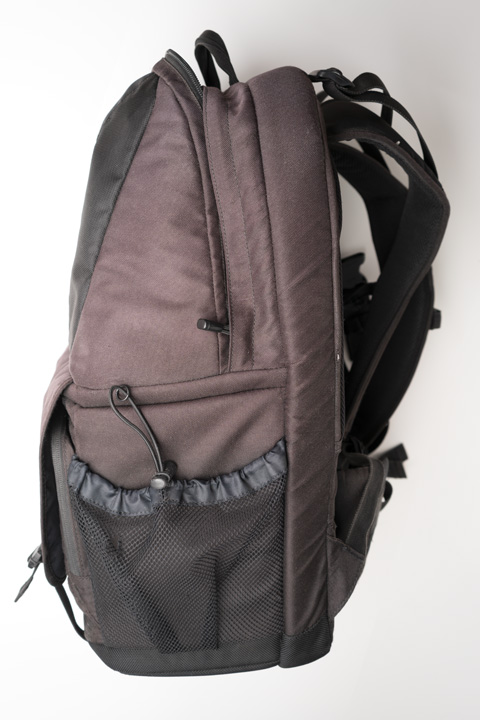
Side of the bag with mesh pocket for holding a water bottle
On the other side side of the bag is a zipped access area to the bag. This allows you to 'sling' the bag in front of you (when on a single shoulder strap), unzip the side access, and pull your camera (or a different lens, water bottle etc) out from the bag. Accessing items stored further towards the other side of the bag isn't easy from the side access, and requires putting the bag down and undoing the access panel fully.
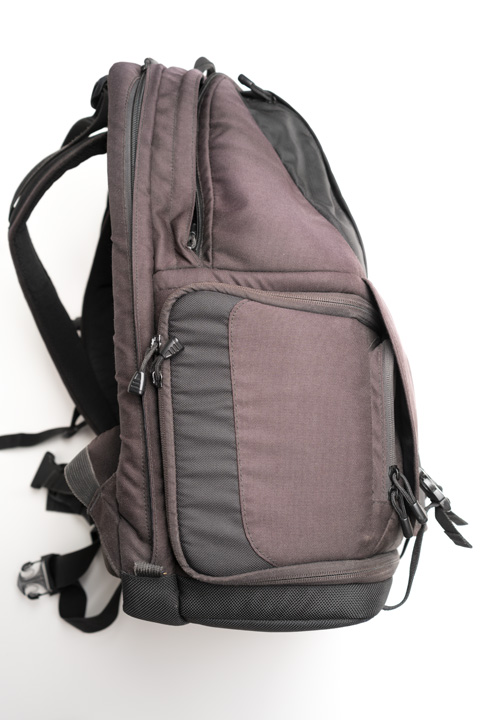
Side view of the bag
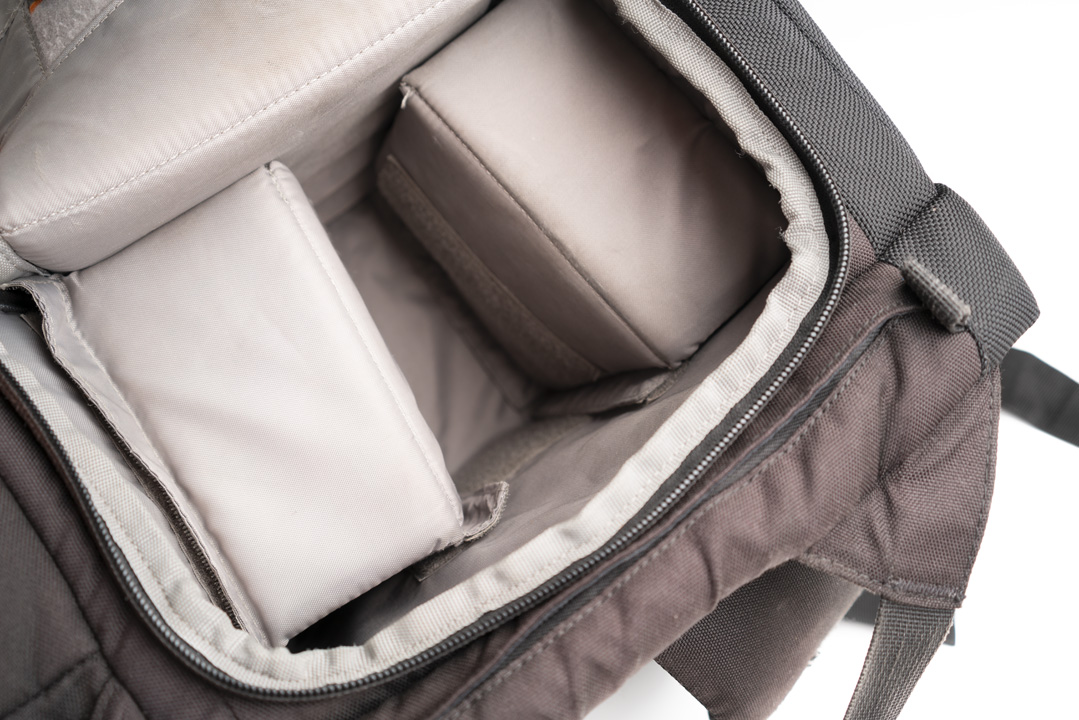
Side access panel when empty
Side access panel when loaded
There is a flap that can be pulled down over the front of the access panel, and secured with a couple of plastic clips. There are two purposes to this panel:
- It makes it so a potential thief can't undo the front panel without first unclipping this flap. (But of course they can access the side access portion of the panel).
- You can place a jacket under here and secure it down with the clips. (But I am always paranoid when doing this the jacket will fall out). It also makes it a pain when you want to open the main section of the bag, since you have to also remove the jacket (often having to put it on the ground).
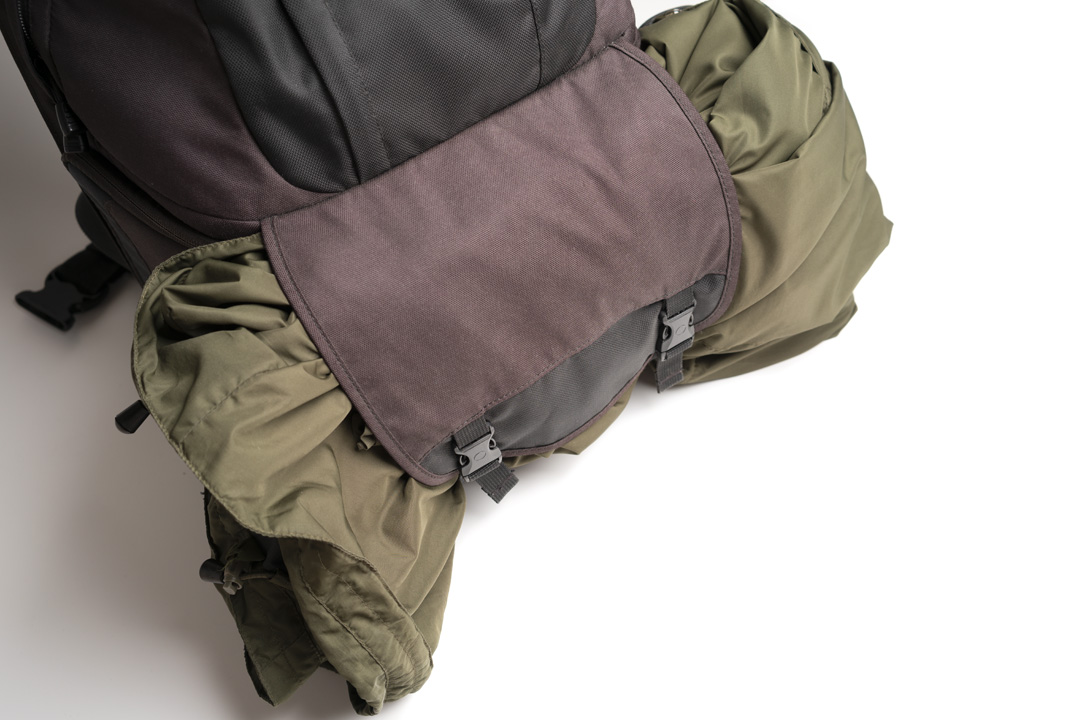
Using the front flap to hold a jacket
The top of the bag has a zipped pocket on the outside. Semi-useful, but you can't fit much in it when the interior of the top section is already packed out.
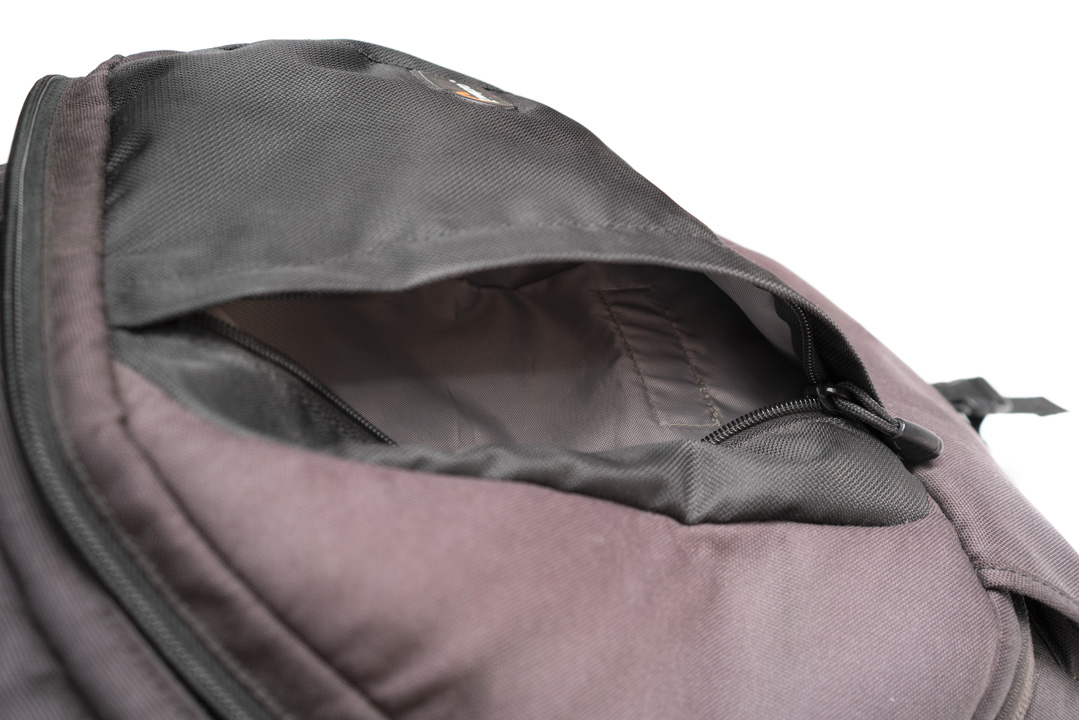
Front pocket on the top section
The bottom of the bag also has a zipped pocket, normally covered by the flap. This pocket is more useful than the one in the top as it actually extends out from the bag. If you've stuffed a jacket or lot of items in the top section, then getting to any smaller items you have in there is a bit tricky. So this pocket makes a good place to store those smaller items as it is more accessible.
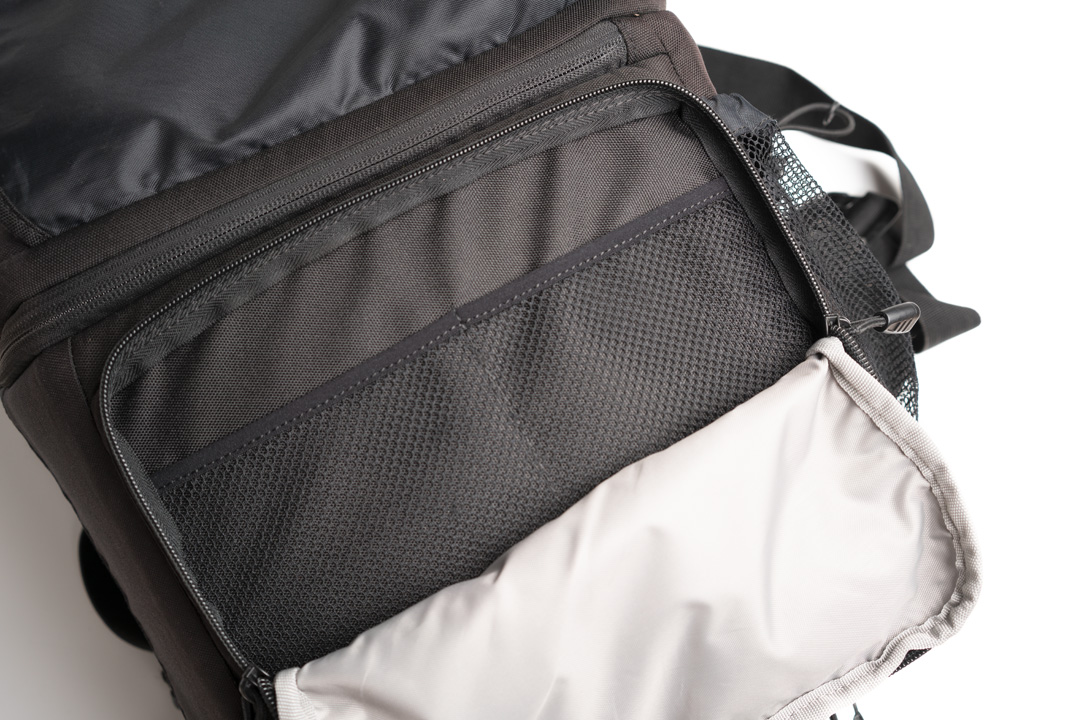
Front pocket on the main section
The side of the bag against your back can be unzipped and fit a 15" laptop. I previously used this to carry my tablet. Then when I replaced that with a laptop, I would use it to carry the laptop only when travelling between locations. I can't imagine why you'd want to take the weight of a laptop out on a hike with you. But still, a useful feature for me.

Side slot of back for laptop
The padding on the back of the bag, shoulder straps, and waist support flaps is all aerated. While comfortable, I would still end up with my back completely covered in sweat. So I'm not sure how much the aeration actually helps things.
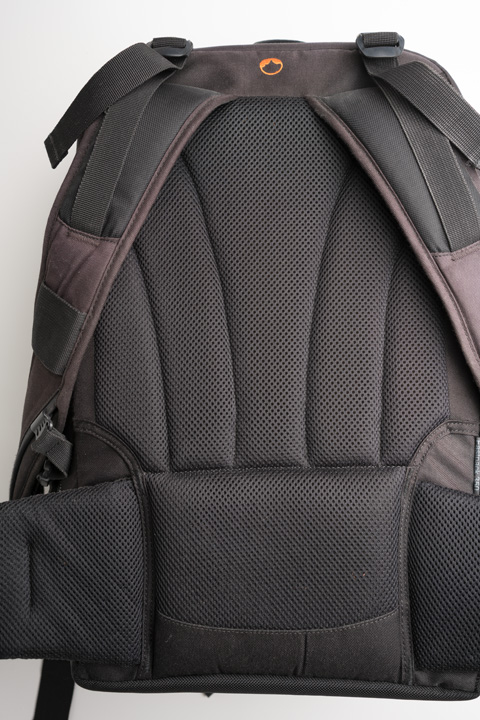
Padding on the back of the bag
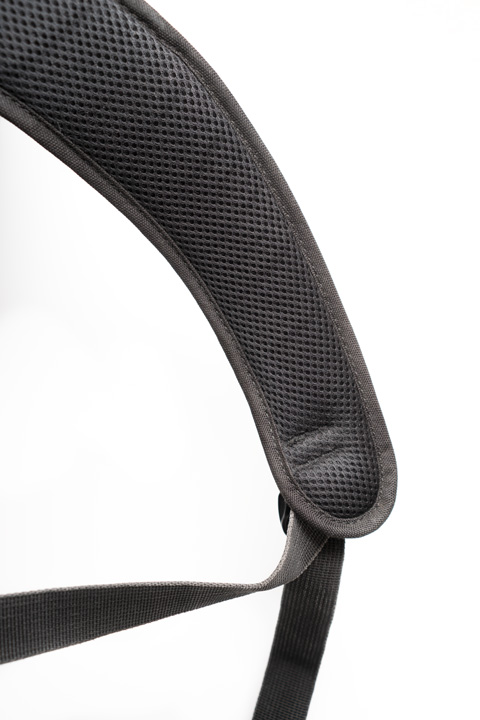
Padding on the shoulder strap
One of the shoulder straps features a Slip-lock loop that you can attach items to. I don't think I ever used this, but it does add to the bag's flexibility.
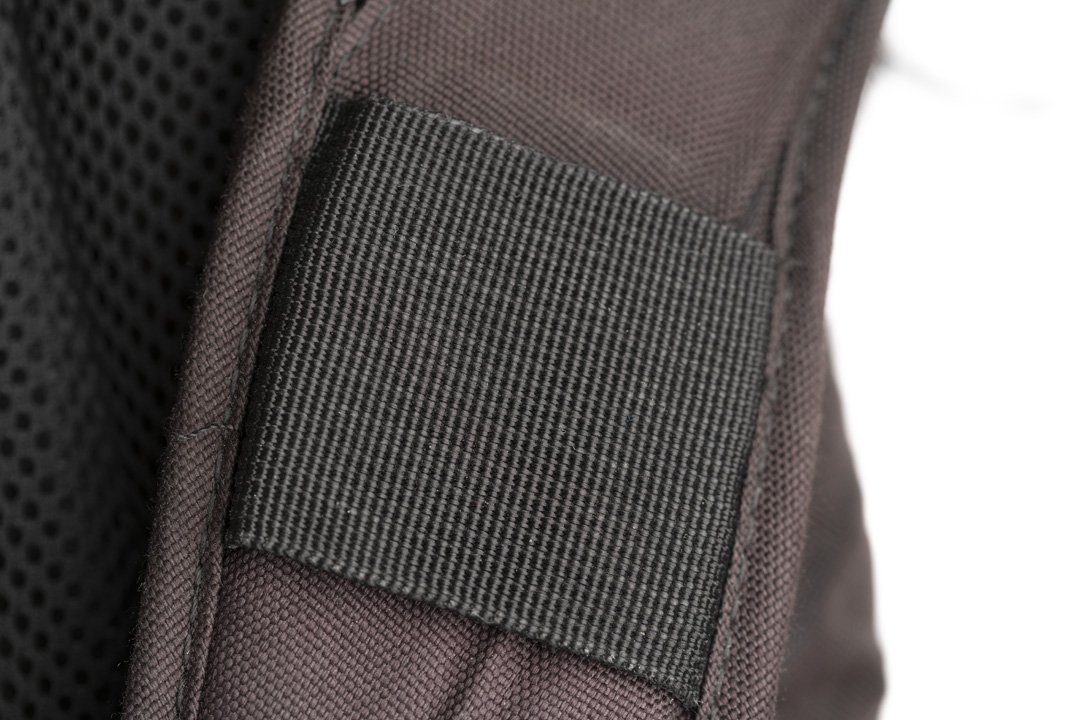
Slip lock loop on on the right strap
At the top of the bag is a handle that can be used for carrying it. This is very useful when travelling on public transport. I also used the handle to attach a strap for carrying a jacket. Or attaching a smaller bag.
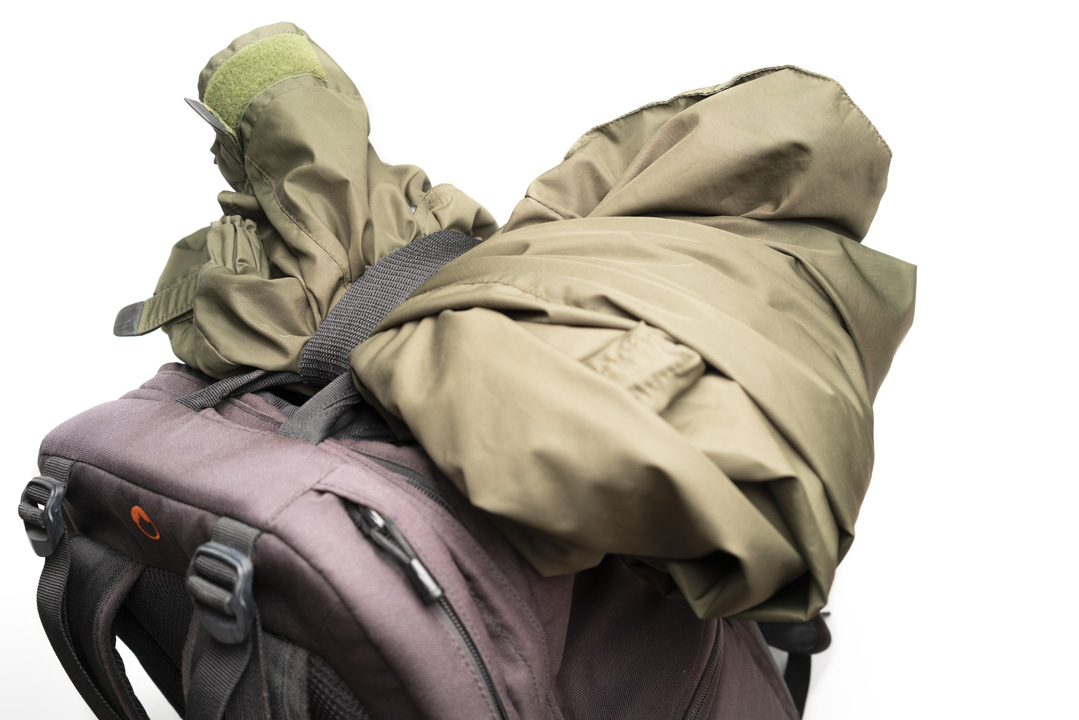
Jacket attached to the bag via a strap through the handle. (The strap is not something provided with the bag).
Extra bag attached to top handle to provide extra carrying capacity - sometimes I will stuff my jacket in the camera bag and a fleece in an extra bag.
One negative with the bag in my experience is that it doesn't some with an included raincover. So budget to spend an extra £10 or so on one. And remember you'll have to find somewhere in the bag to store it since there is no dedicated pocket to store a raincover like there is on Lowepro's AW model bags.
I've had the bag quite a few years and it's been on a few trips (one lasting around 2 months with mountain walks most days) but is still in pretty good condition. The black colouration of the fabric has gone a bit reddish. But zips and clips are all in good working condition. The only damage I can see is a couple of small areas along the edge of the back where the fabric has worn away, and a tear in the bottle holder mesh. It's a hard wearing bag that won't fall apart on you.
Overall I've been very happy with the bag. It stores quite a bit of kit. The separation between the 'general' top section and padded bottom section is very helpful. The ability to sling it round to your front and grab a camera / lens from the side opening on the bag is great. And the ability to carry a laptop / tablet in the bag is very convenient when needed.
The bag I'm upgrading to is (from what I've seen - I don't have it in hand yet) basically an upgraded and more flexible version of this bag. But of course, it's also a lot more expensive. If you can get the Fastpack 350 for around £60 or less, I'd say that's pretty good value. For more than that, you might want to look at some of Lowepro's newer bags instead (such as the ProTactic 450 AW I plan on replacing this bag with).
Leave a Reply