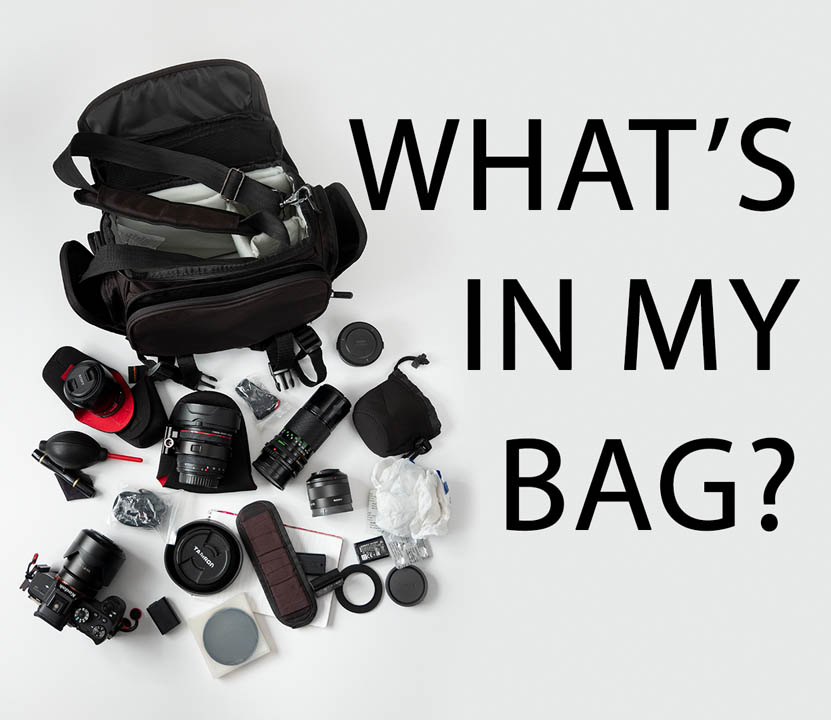
In this post I'll share what I've currently got in my camera bag. Bear in mind that the kit I use may not suit what you shoot or the way you like to shoot. Although I do shoot some more 'considered' photography (such as UV), this is just a general purpose kit for taking snaps while out on a walk. It would likely also be my kit to take out when travelling, but I haven't had time to do any of that lately.
For what I use my gear for, it could be argued that I might as well just use a phone. And I wouldn't necessarily disagree with that. But I like using a 'proper' camera and the added flexibility it gives. Anyway, with that out of the way, let's look at what's in my camera bag.
The bag
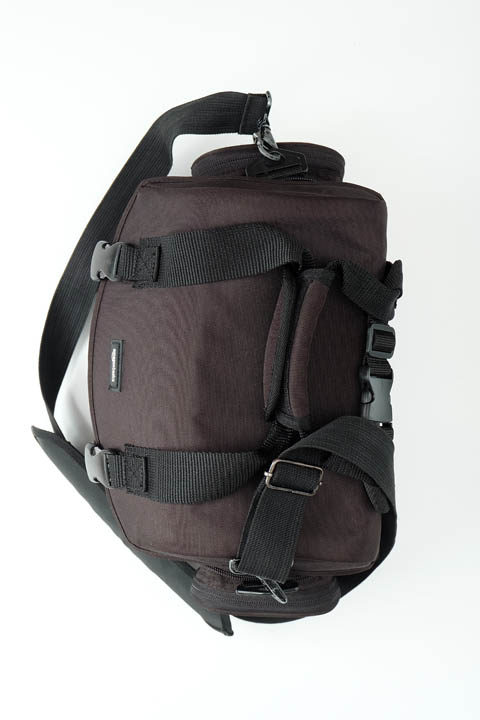
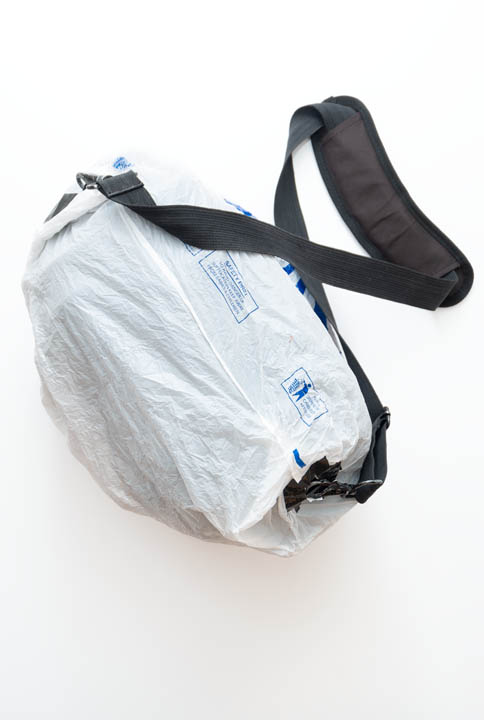
Top view of the bag when closed
The bag is an Amazon Basics DSLR Large Shoulder Bag. Personally, I'm not sure I would really say it was large, especially for a 'DSLR' bag, but it's not tiny either.
Mine is modded with additional straps so that it can be attached onto another bag. The extra straps can also be used to attach a jacket onto the bag.
The main strap is also replaced - the original strap has plastic clips and these are extremely squeaky when walking with the bag. I've retained the padded part from the original strap though.
The main things I like about this bag are that it was cheap and that it opens with a rectangular top. My previous canvas shoulder bag just had a zip along the centre of the top. This meant that when you unzipped the bag the edges of the zip would overlap the corners of the storage insert. While this doesn't sound like an issue, when you're trying to change lenses you don't really want to risk scratching the rear element of the lens on the zip as you remove it from / put it into the bag. There's no such problem with the Amazon bag.
The bag's main compartment has a zipped top, then there is a further top that closes over this, and uses two plastic clip buckles to keep closed. I keep the bag always unzipped, and just use the buckles as it makes the bag much faster to access. The zipped top attaches to the underside of the main top with velcro, so it's just like having a single top. If I was somewhere I wanted to secure access to the bag a bit better, then I could use the zip as well.
Top layer
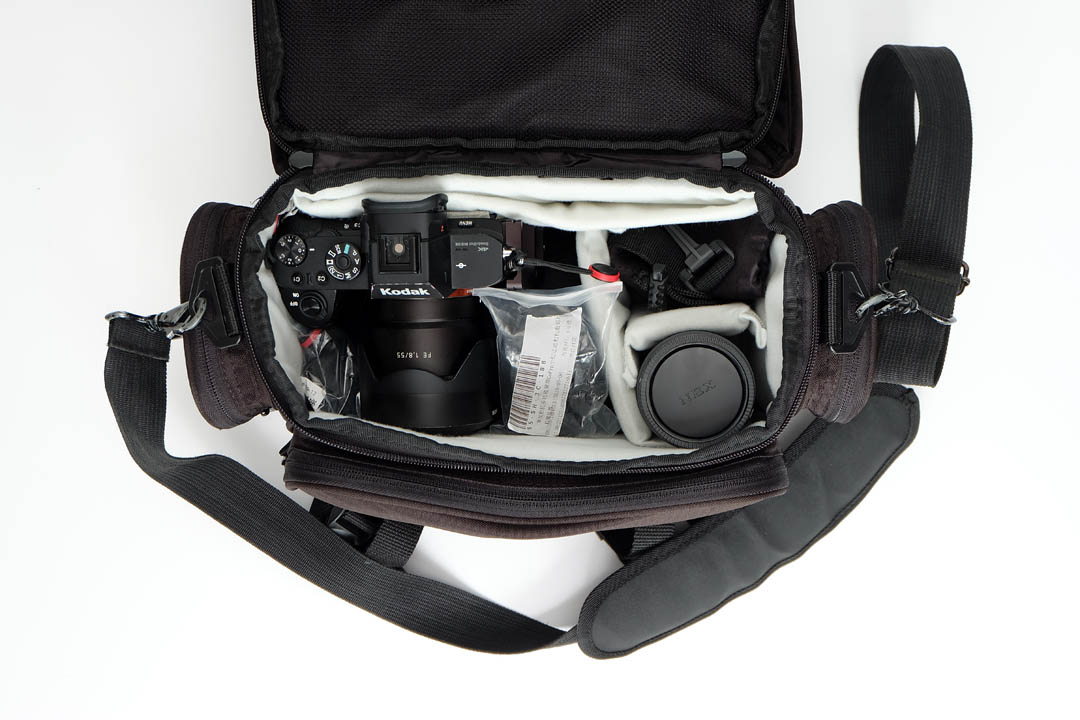
Opened bag
Camera bags always seem to be designed to hold long thin lenses, which aren't usually what I use. I normally use small lenses. So I removed most of the dividers from my bag, and split one side into a top and bottom section. There's not anything physical separating the two layers. On the top I have my camera, the A7R II, in these pics with the 55mm/1.8 lens. And two small camera straps.
The A7RII is a nice camera, full frame, reasonable autofocus, 4K video, IBIS. Of course, the newer III model would be a better choice, but it's more than twice as expensive as the older II version.
The Sony 55/1.8 is a lens I've only purchased recently, but like my other Sony lenses in this kit can easily be used as a general walkaround lens. It's a bit on the expensive side for my taste, but has a good reputation.

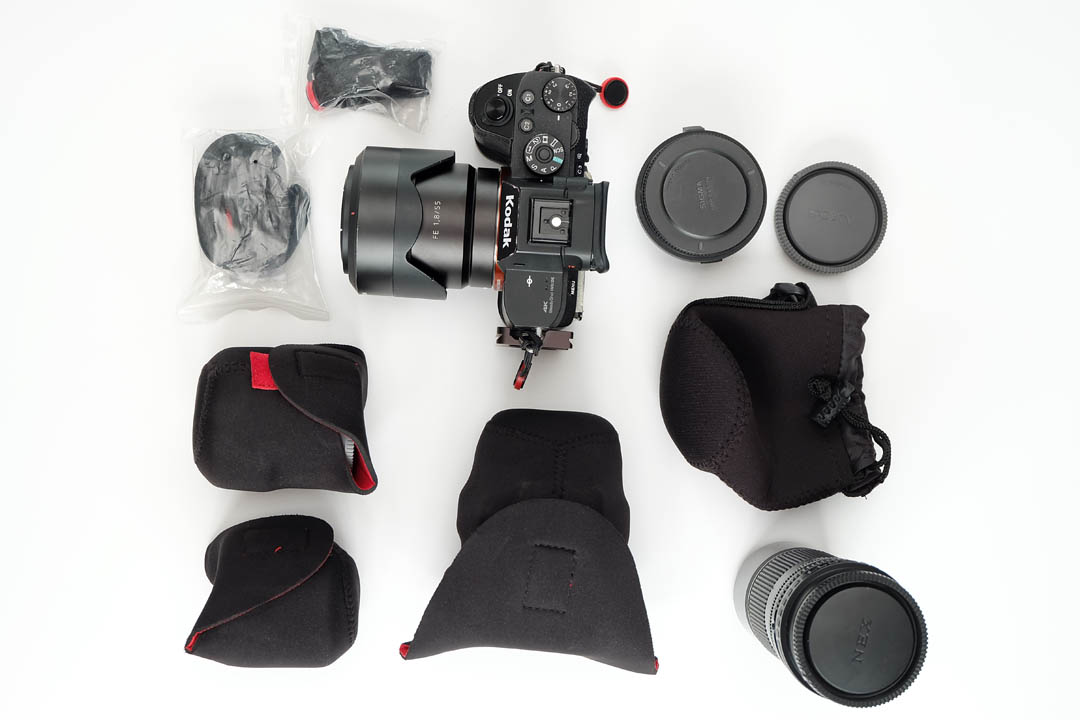
Top layer removed, showing the lenses in neoprene pouches below
My previous camera strap is now in use as the camera bag strap, so I had to find a new strap for my camera. It's important for me to be able to detach the strap from the camera without too much effort as I don't want a strap flapping around / getting tangled when I stick the camera on my pano head for a 360°.
After some research the Peak Design camera straps looked pretty good, but their pricing is extremely high, especially when you're not even sure if you'll like the product. So instead I purchased some cheap knock-offs (around £3 vs around £35 for the Peak Design). If I get on with them I'll purchase the real thing, the straps I have are similar to the cuff and the leash. One nice thing about these straps is how they fold up very small.
Bottom layer
The bag's main section emptied, with lenses still in neoprene pouches
On the bottom of this section I have three lenses. These are all in neoprene lens pouches to give them some protection from knocking against other and the camera on the top layer.
One lens is the Canon 8-15mm fisheye. This lens doesn't really need to be in this bag as it's mainly for taking 360° panos, and usually when going out with this bag I don't take my tripod and pano head. I hope to replace it (in this bag, not completely) with a rectilinear ultra wide-angle instead, but don't have one yet. I'm particularly looking at the Laowa 15mm/2 (small, light, fast, but no AF) or the Canon 16-35mm/4 (big and heavy but apparently usable with shift).
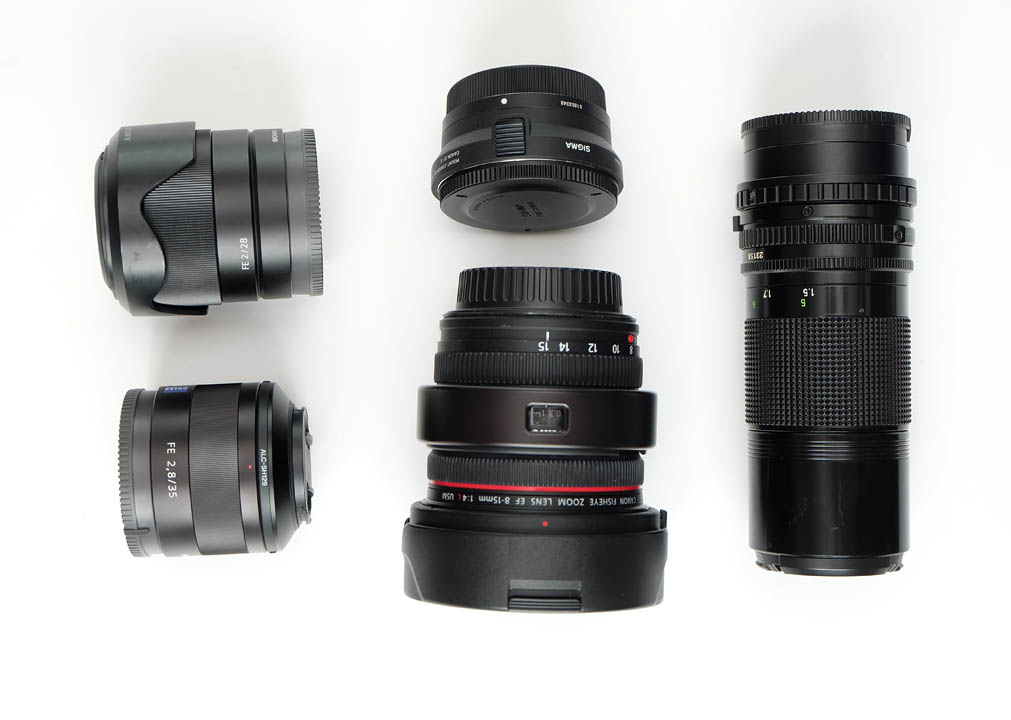
The lenses (and adapter) that I carry in this bag
You might notice the fisheye has the Nodal Ninja lens ring on it - one of the problems with mirrorless cameras is that the tripod mount point is much further back than it would be on a DSLR (i.e. behind the sensor on mirrorless, in front of the sensor on a DSLR). With my NN3 pano head, my A7RII camera would need to be mounted just beyond the end of the rail to position it correctly for no parallax. So instead I've had to buy a lens ring that can be mounted on the rail. I'm hoping for a better solution, but am currently awaiting its arrival from China.
The next lens is the Sony 28mm/2. I would much rather have the Sony 24mm/1.4, but I can't afford that. So the 28mm has to do as my wide angle.
The last lens in this section is the Sony 35mm/2.8. This is actually the lens I have on my camera most of time. It's small, light, and sharp.
Divided section
On the side of the bag where I left the padded dividers in place, I have a 200mm lens in one slot, and in the other a neoprene pouch for the 55mm lens, lens rear cap and camera body cap, and the Sigma MC-11 adapter.
Currently I've got the Canon FD 200mm/4 lens (with FD > E mount adapter) in the bag, though I'm not sure whether this will keep its place or I might swap back to the Canon EF-S 55-250mm IS. The FD lens is full frame, but is manual focus and can have quite a bit of blooming on highlights. The EF-S lens only covers an APS-C size image circle, but I like the convenience of AF and also being able to zoom. Really I need to take them both out together and try them both taking photos of the same stuff.
The MC-11 adapter is for use with the Canon fisheye lens, to allow it to mount on my Sony camera.
Side pocket 1
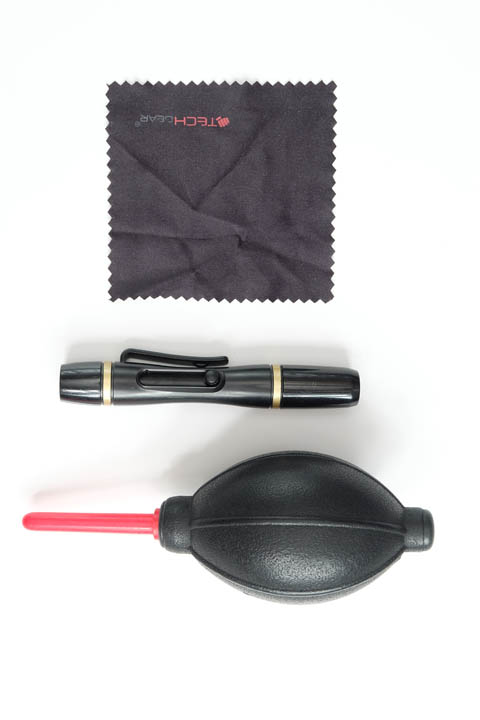
In one side pocket I have cleaning stuff - a rocket blower, lens pen, and lens cloth. All useful accessories for keeping lenses and filters clean.
Side pocket 2
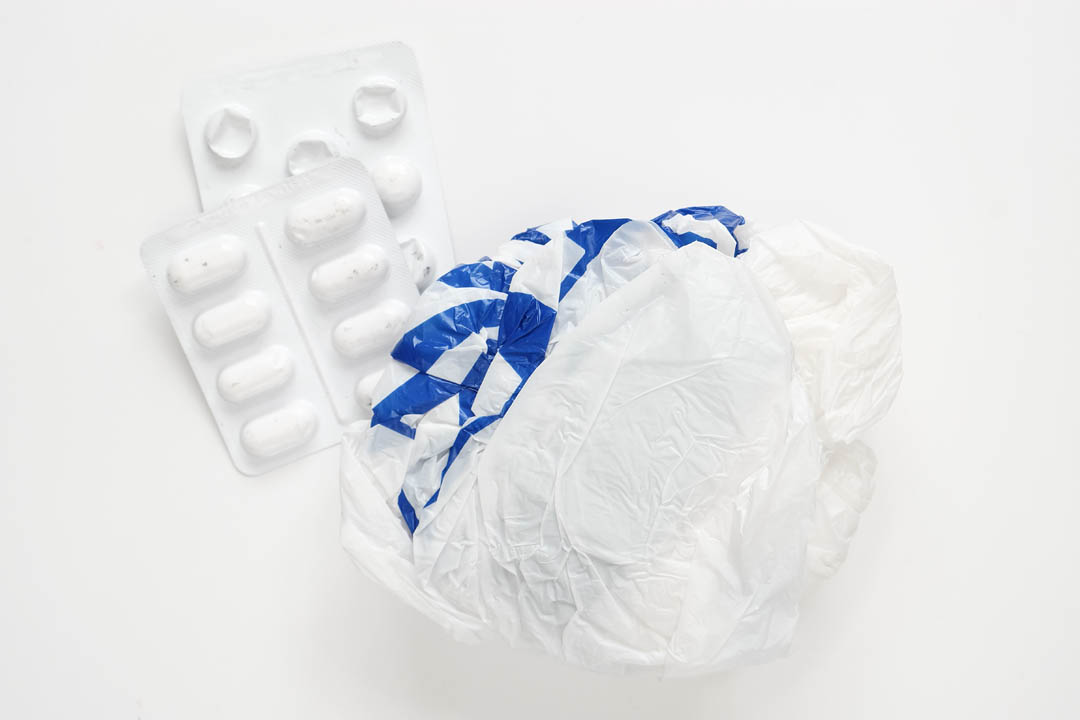
In the other I have a plastic bag for use as a rain cover for the bag. I've cut it where the strap attaches to the bag (so you take the strap off, put the 'raincover' over the bag, then re-attach the strap through the cuts). I reinforced around the edges of the holes with some gaffer tape to stop the bag ripping at these points.
Rain cover
The other things in here are just some paracetamol and ibuprofen in case I get a headache while out.
Front pocket
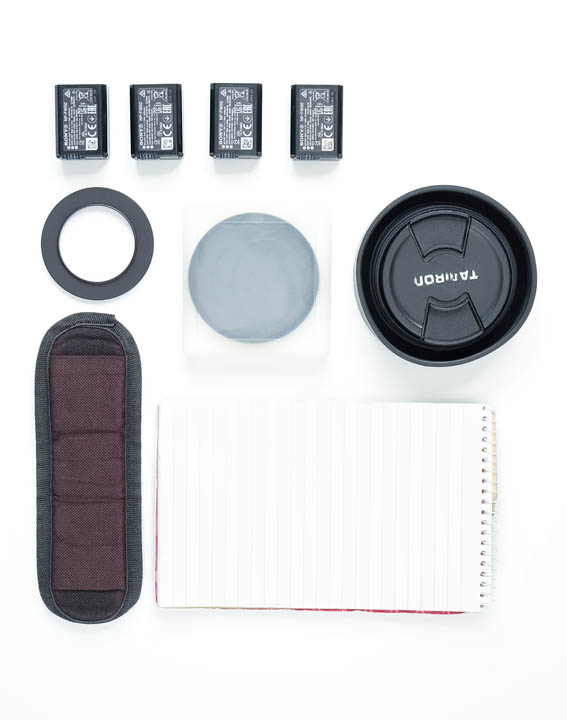
Front pockets contents
In the front I have lots of batteries, a notepad, strap pad, 77mm polarising filter, 49-77mm step-up ring, and a 77mm rubber lens hood with cap.
The A7RII does get through batteries quite quickly. I find that a single battery will actually last me fine for a 2-3 hour walk, but if I was out all day I'd probably need all these spares.
The notepad I rarely use, but if I do want to take notes about something, then I can. About the only time I use it normally is when testing / configuring gear, so I can know what shots were taken with what settings / setup.
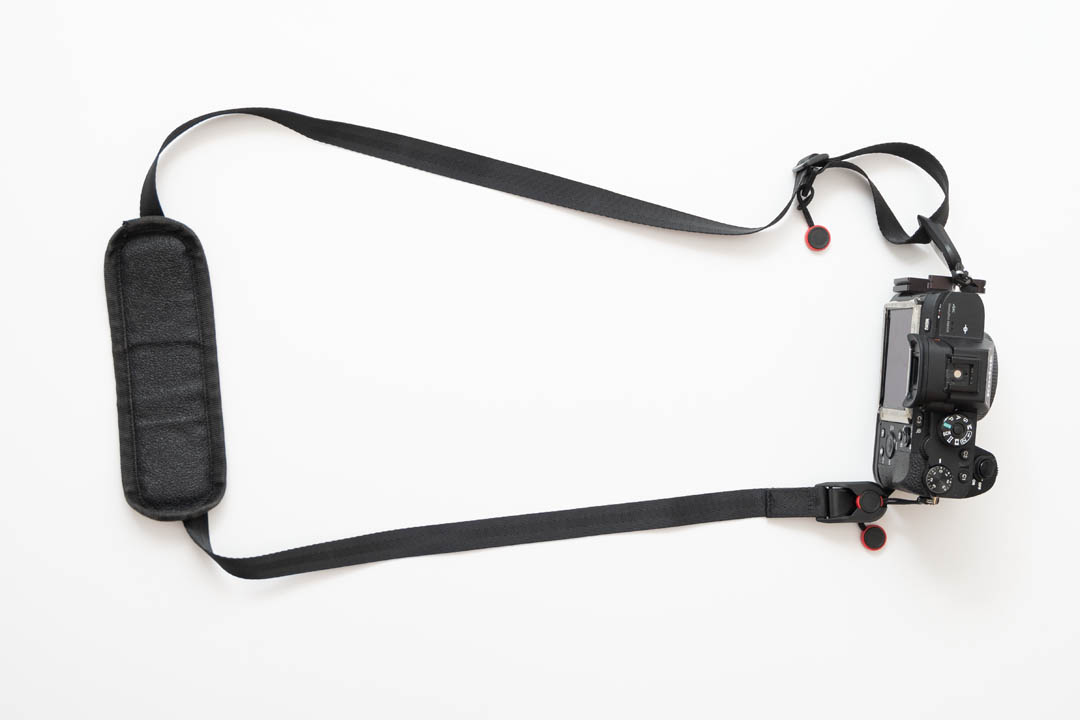
The 'Leash' style lens strap with the strap pad added.
The strap pad was previously used on my old camera strap (now the bag strap), my new strap is pretty thin and has no padded area. So I can thread the new camera strap through the strap pad if I want a bit of extra padding on my shoulder. I haven't actually found the strap to be digging into my shoulder without the pad yet, though I've only used it a couple of times so far.
For the moment I only have a 77mm size polariser, so I can use that on the 28mm and 35mm lenses with a 49-77mm step-up ring. Since you can't use the lens' native hoods like this, the rubber lens hood can screw into the front of the filter and be used instead. However, this setup is quite bulky.
I'm looking to make some custom lens hoods (circles of card with a rectangle cut out of the middle and backed with black felt, then inserted straight over the front of the lens) and also to normalise the filter size to 40.5mm. I'll probably do a blog post about this once I've done it, assuming it works okay.
Interior pocket
The bag has a padded interior pocket that I slip my phone into for GPS tracking. I always try to record a GPS tracklog so I can sync it up to the photos later and see where they were taken.
There is also a top mesh pocket that you can access when the bag is opened, but I don't use it.
So that's it, this kit allows me to go reasonably wide to reasonably long, with decent optical quality throughout the range. Other than the 200mm I'm currently using, it's all AF, so easy and quick to use, and the Sony lenses also focus reasonably if I did ever want to shoot some video. The lenses are also quite fast (compared to consumer zooms) and so provide more flexibility when shooting in low light or wanting shallow DoF. To sum up, it's a flexible package that means any weak points in my photography are likely to be down to me rather than the gear.
Leave a Reply