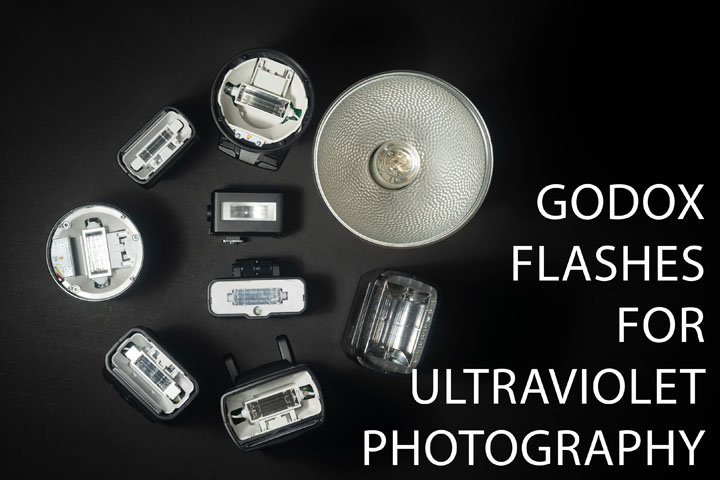
In this post I'll be looking at a range of Godox speedlight flashes from small and weak to large and powerful to see how they perform when converted to full spectrum for ultraviolet photography.
If you'd prefer a video version of this post, that can be found here: Godox flashes for ultraviolet photography.
Index
- The flashes
- Light spread
- UV output test before conversion
- Conversion for UV photography
- UV output after conversion
- Comparing the flash power needed for equivalent exposure
- Wide-angle diffuser
- Light spread (after conversion)
- Conclusion
The flashes
So let's start with a quick overview of the different flash models I'll be looking at. Some of my flashes are branded Pixapro and have different names to the Godox equivalents. Pixapro is a brand name used for Godox flashes sold by the UK retailer Essential Photo. The flashes are exactly the same as the Godox ones other than the branding. In this post I'll be referring to the flashes by their Godox model name, not the Pixapro model name.
The different flashes I'll be looking at are:

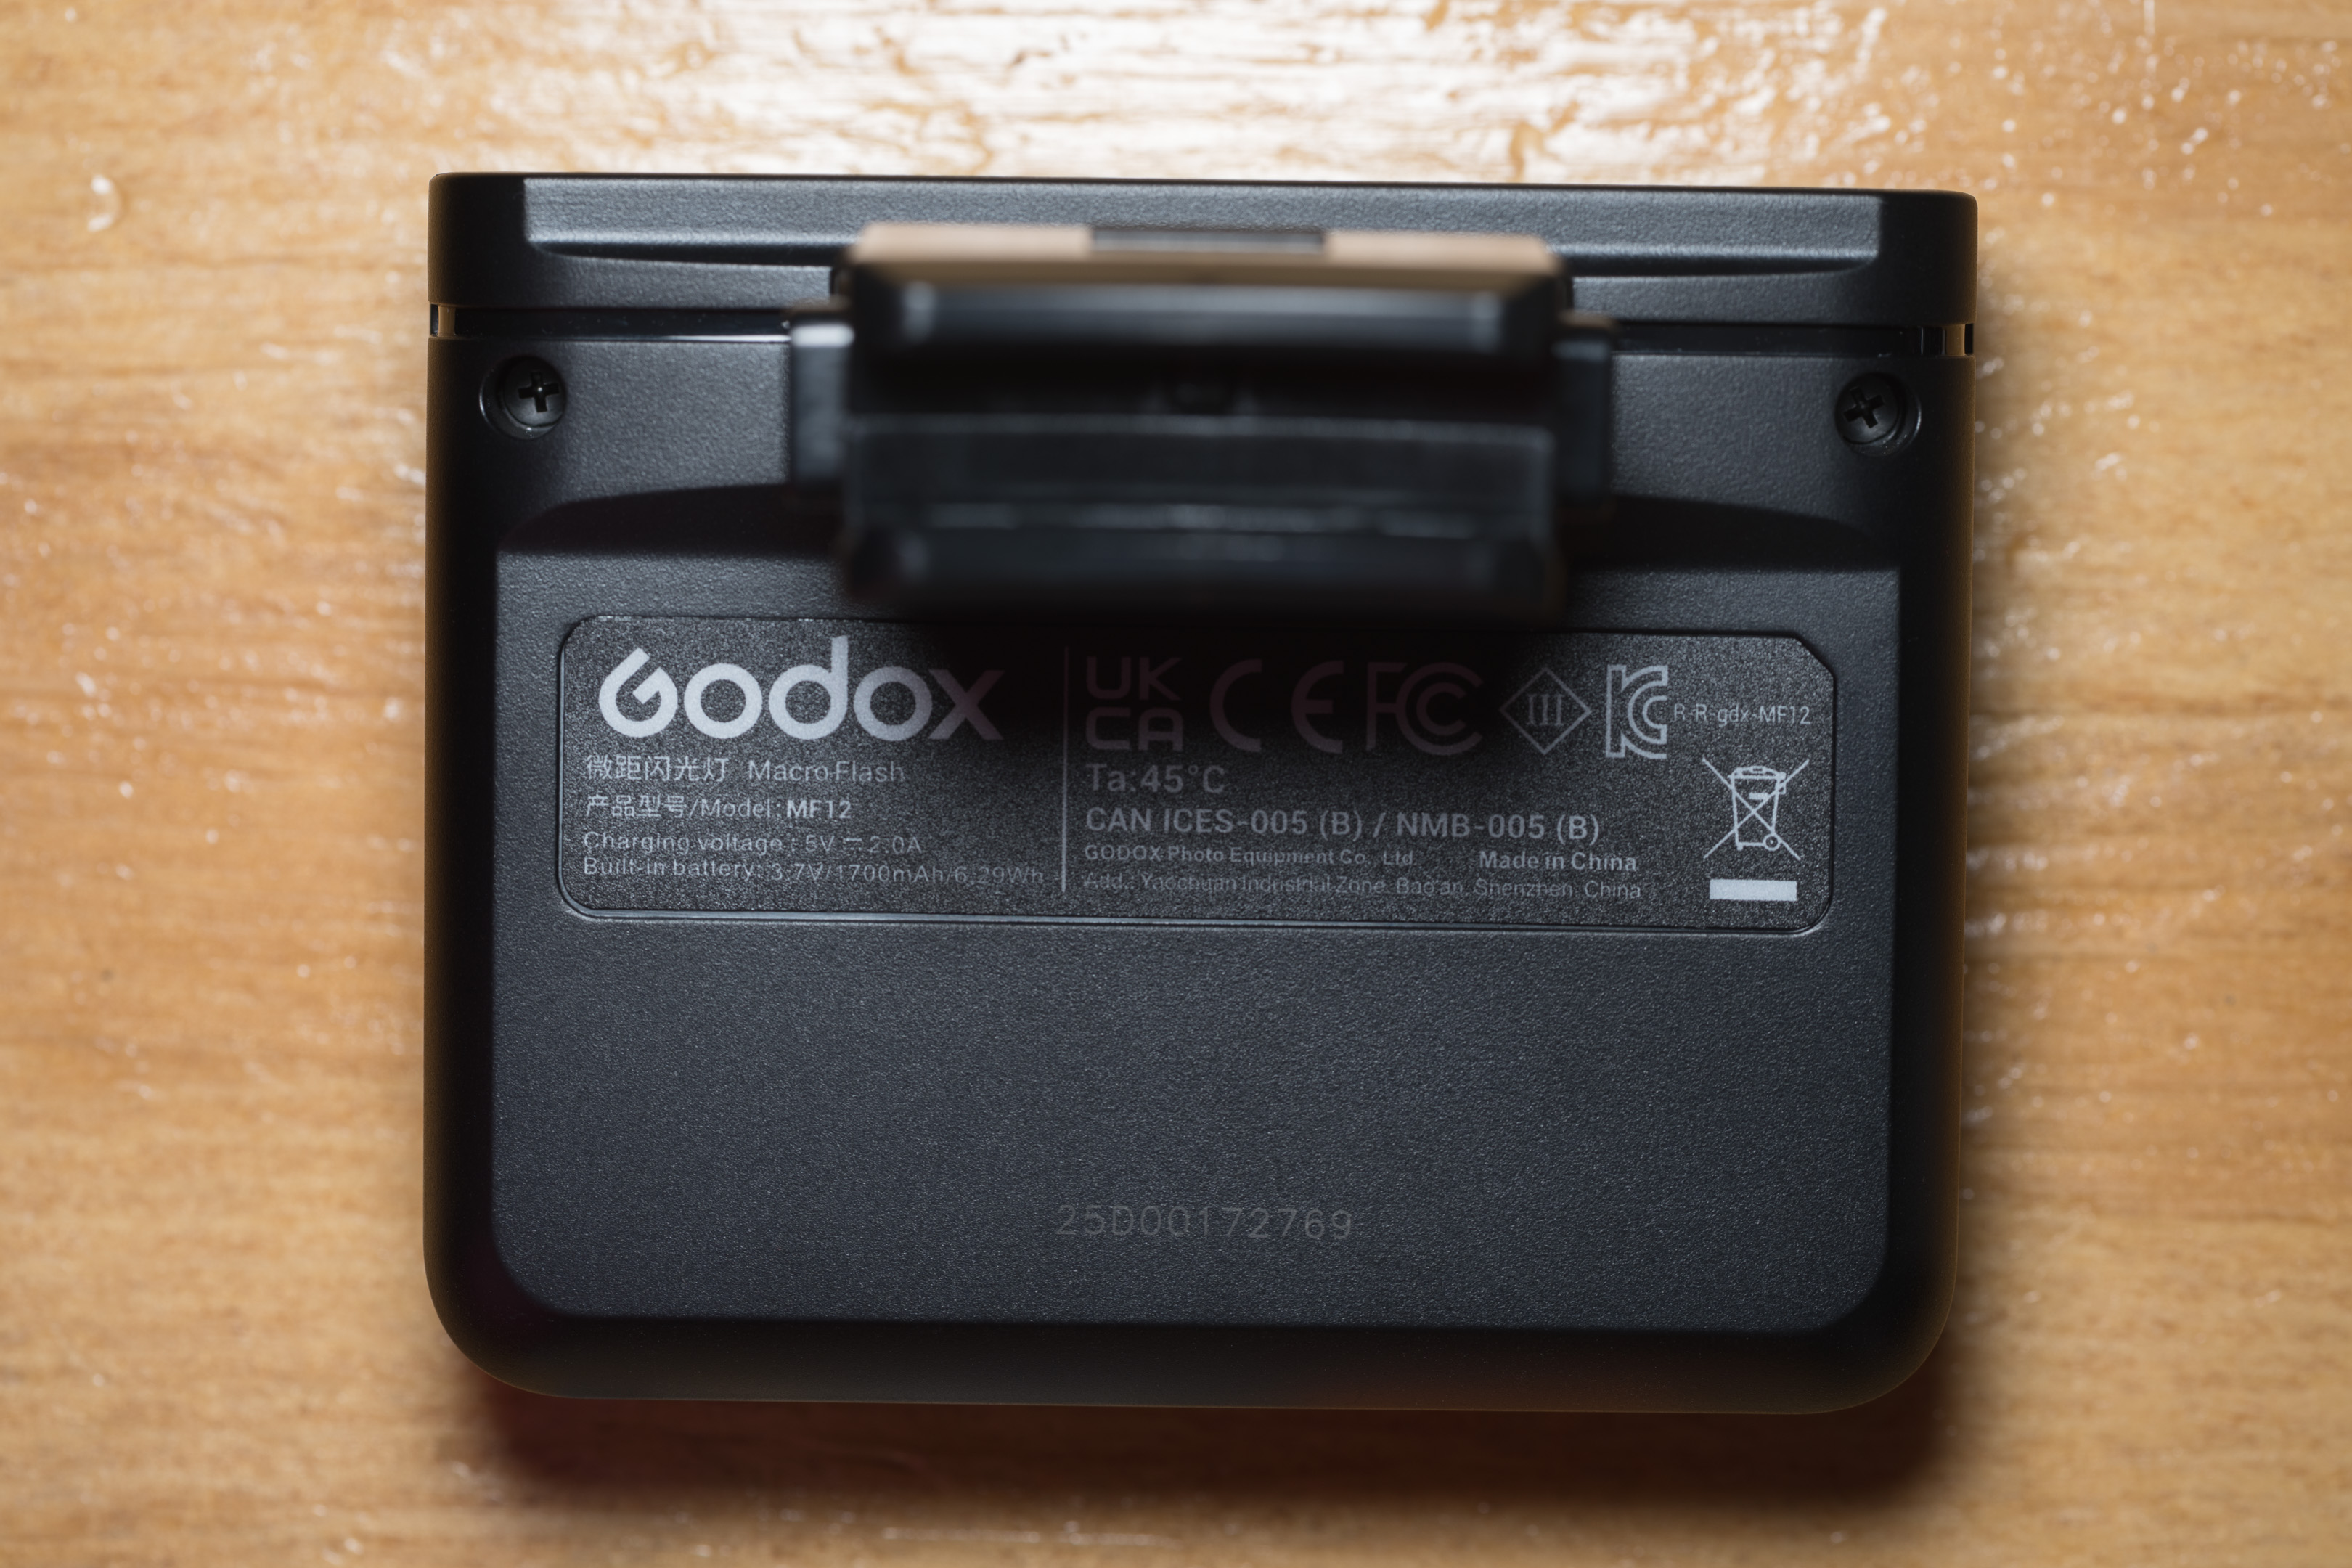
Godox MF12
The MF12 is a small flash designed to sit on the end of your lens for Macro photography. It has no foot to connect to the camera's hotshoe. It weighs 148g and measures 64.3*81*76.5 mm.
The weight I'm quoting for all these flashes I measured with the battery. The dimensions are from the information provided in the manual for each flash.
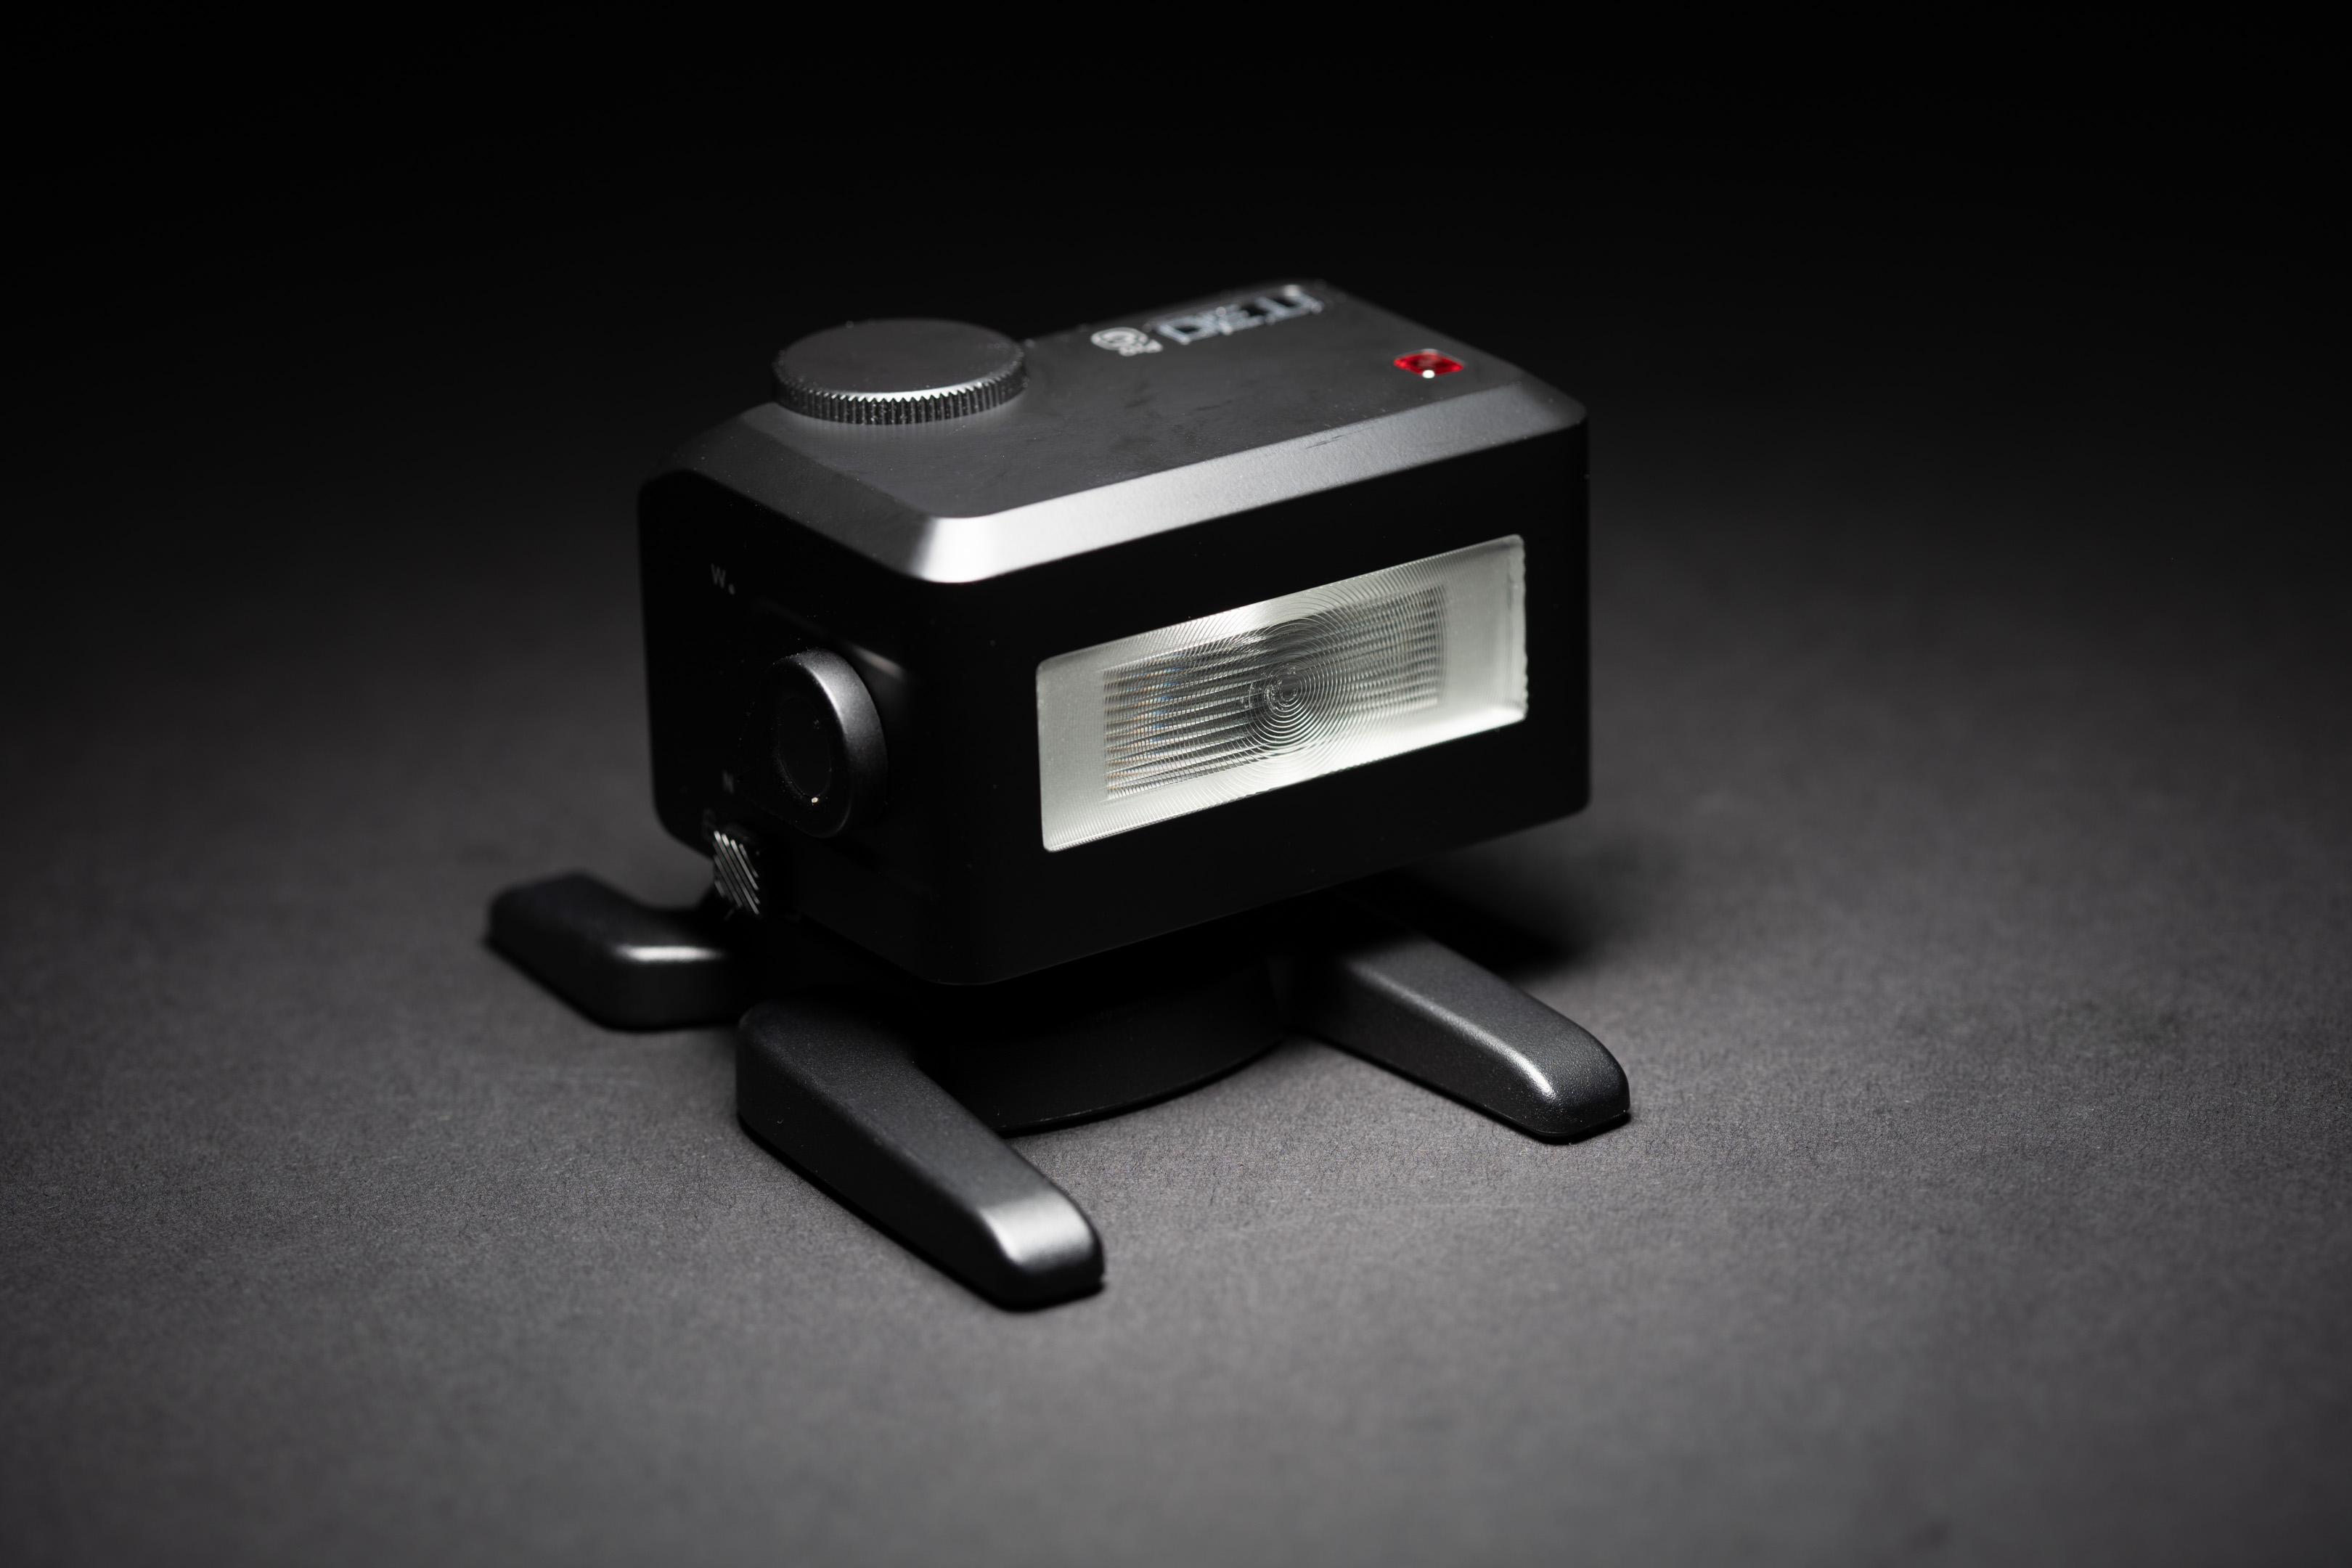
Godox IT30 Pro
The IT30 Pro is a very small flash that can also be used as a wireless controller for other Godox flashes. It weighs 124g and measures 46*65*47 mm.
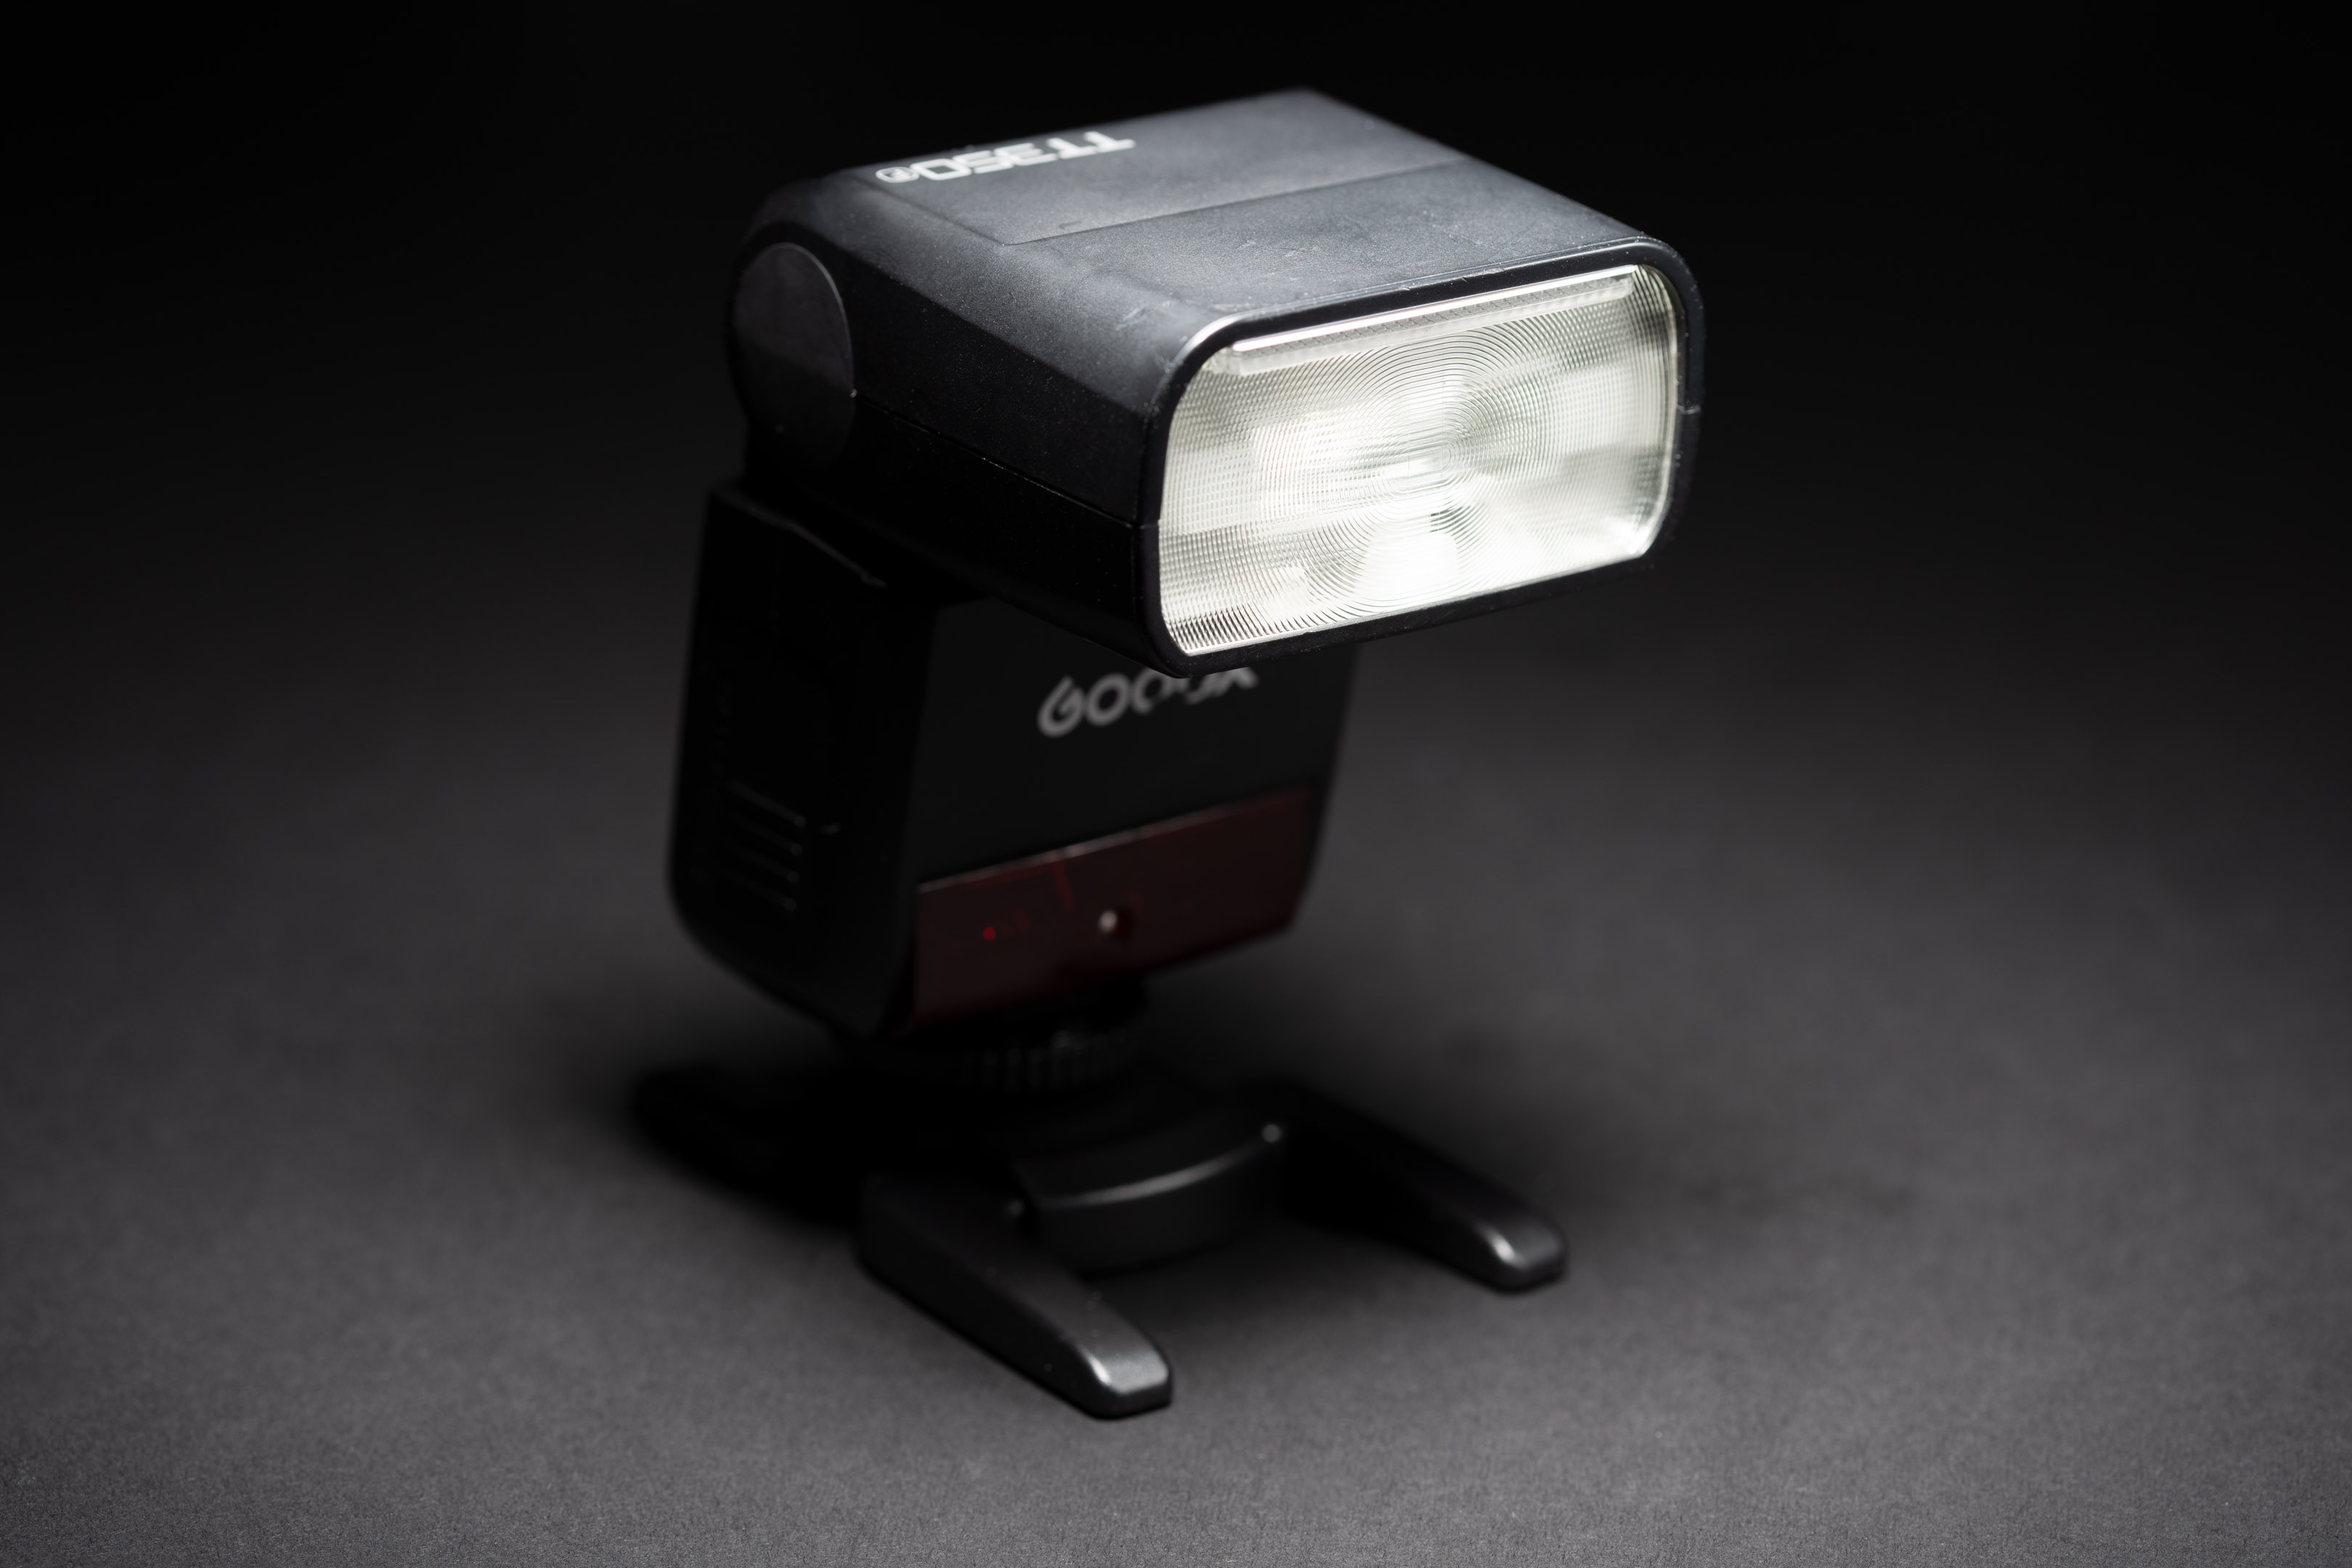
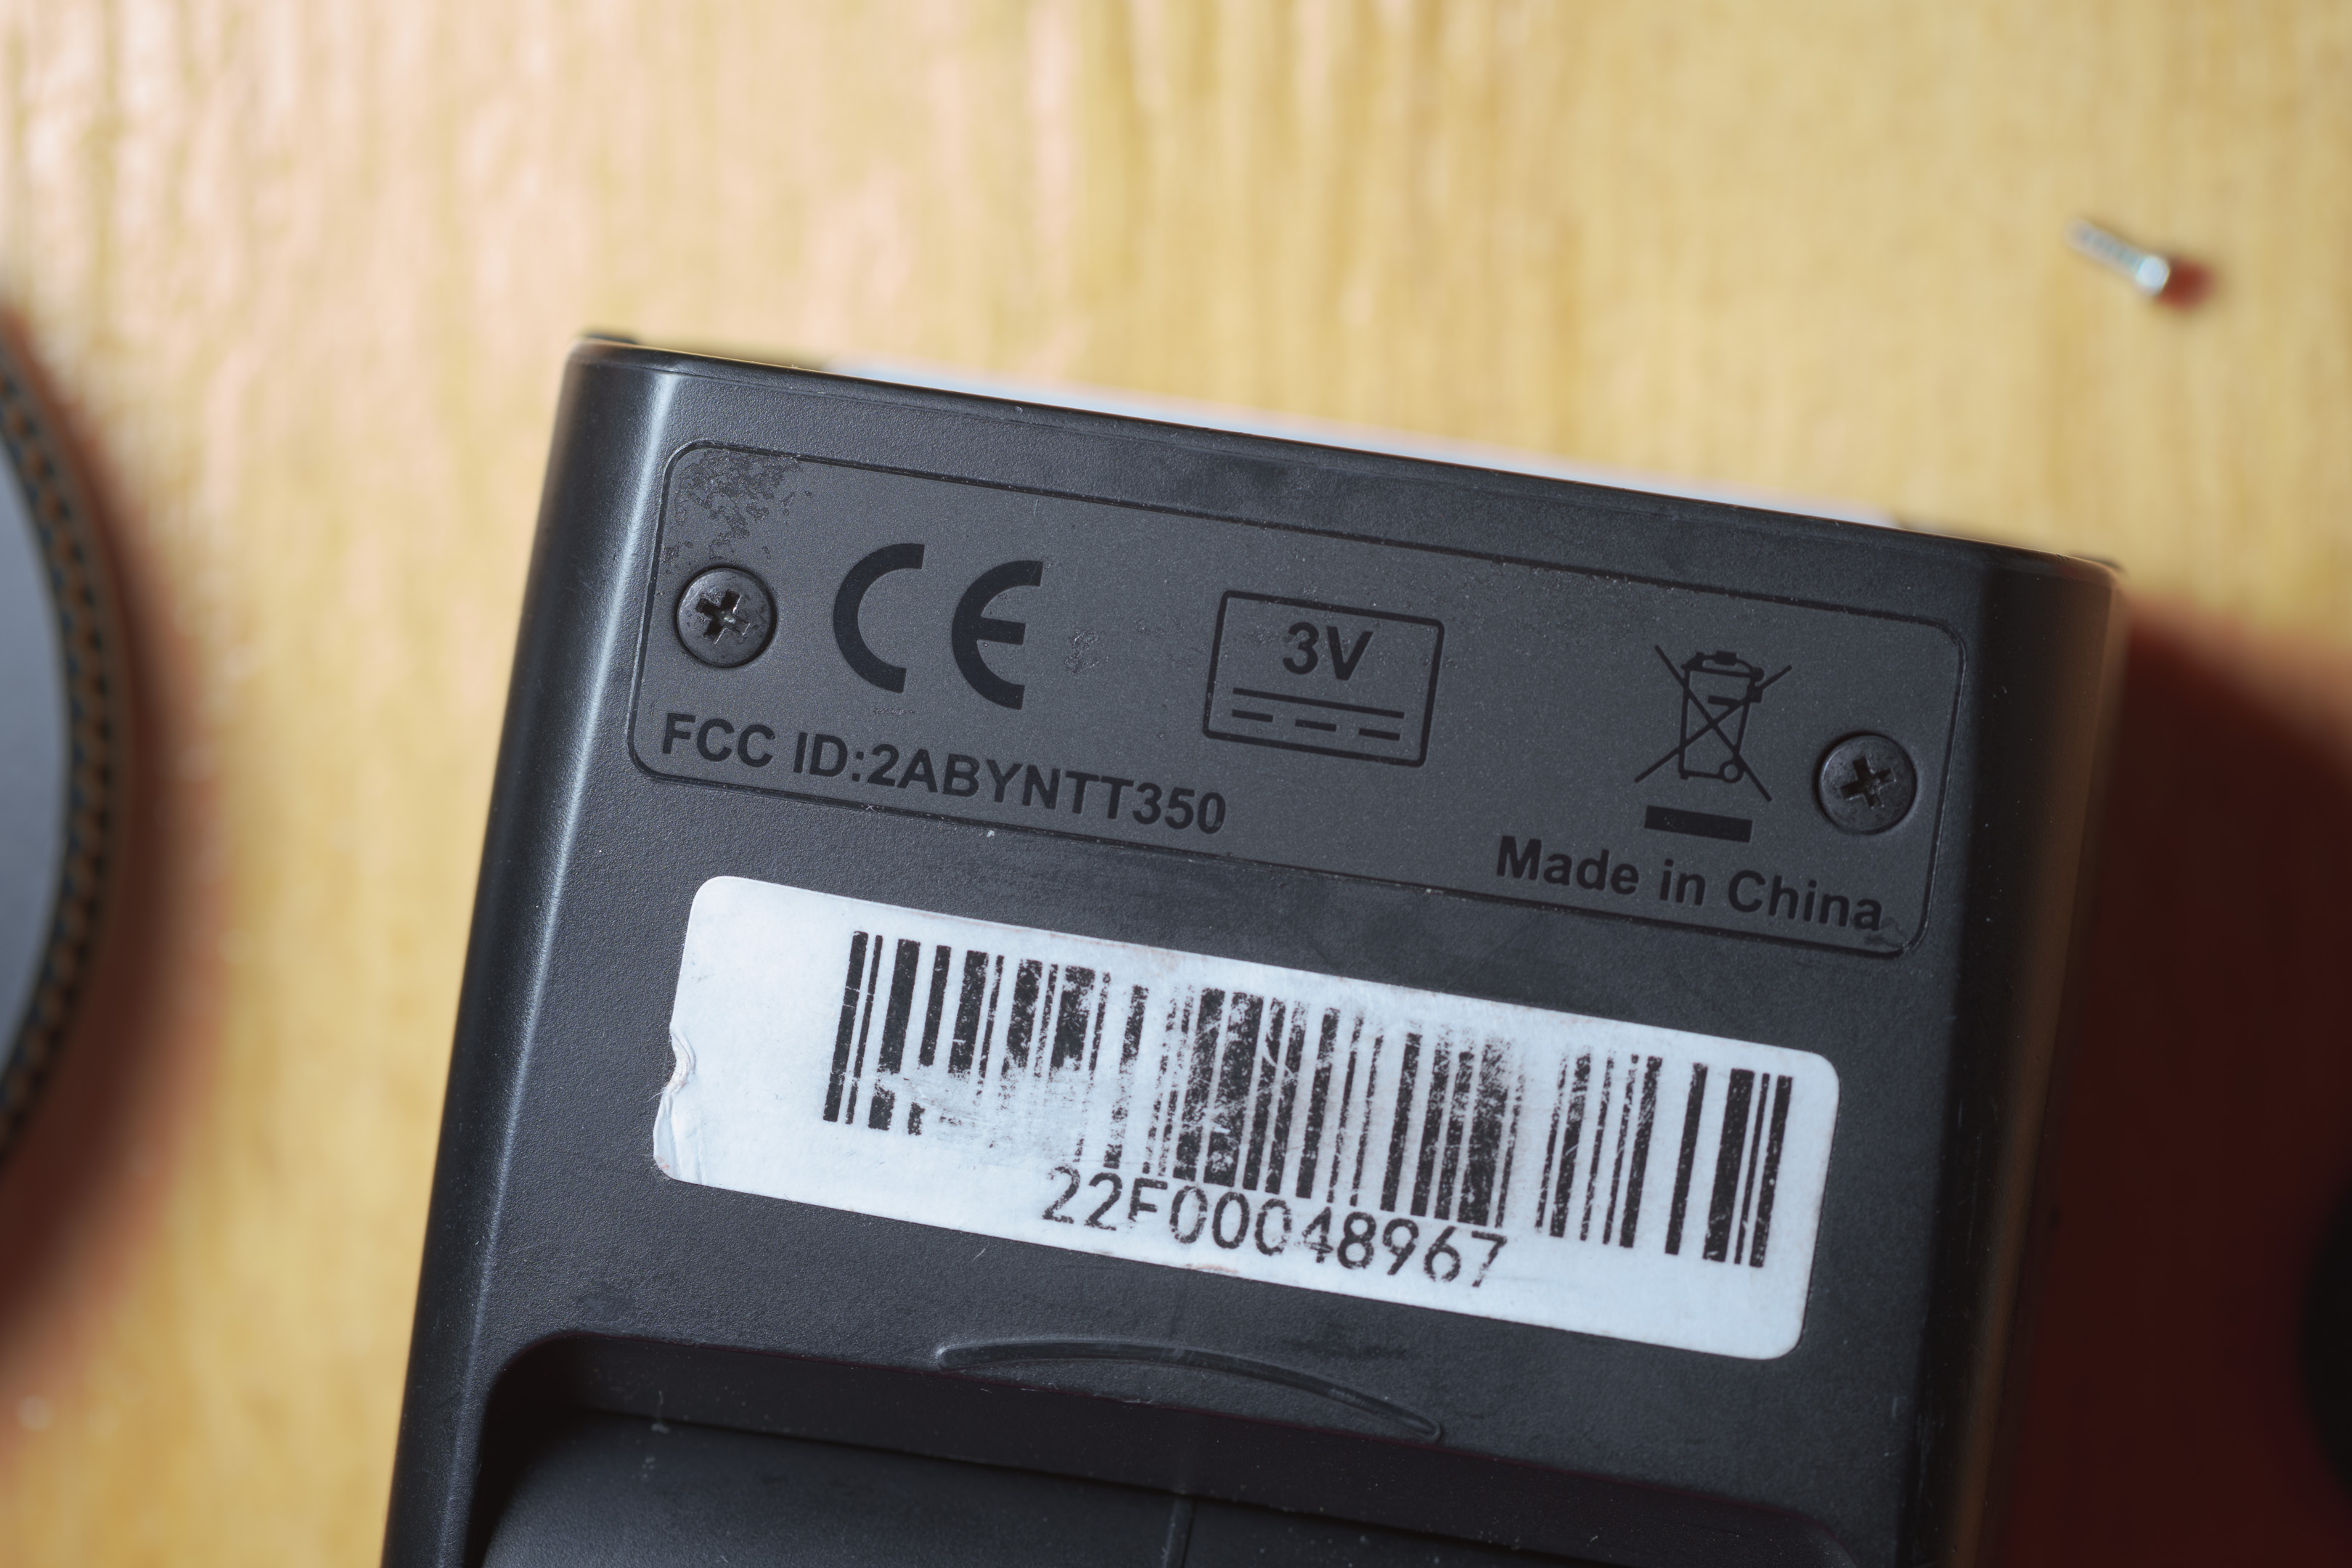
Godox TT350
The TT350 is a small flash that takes AA batteries and weighs 259g. It is also available as a model that uses a Li-ion battery, the V350. It measures 38*62*140 mm.
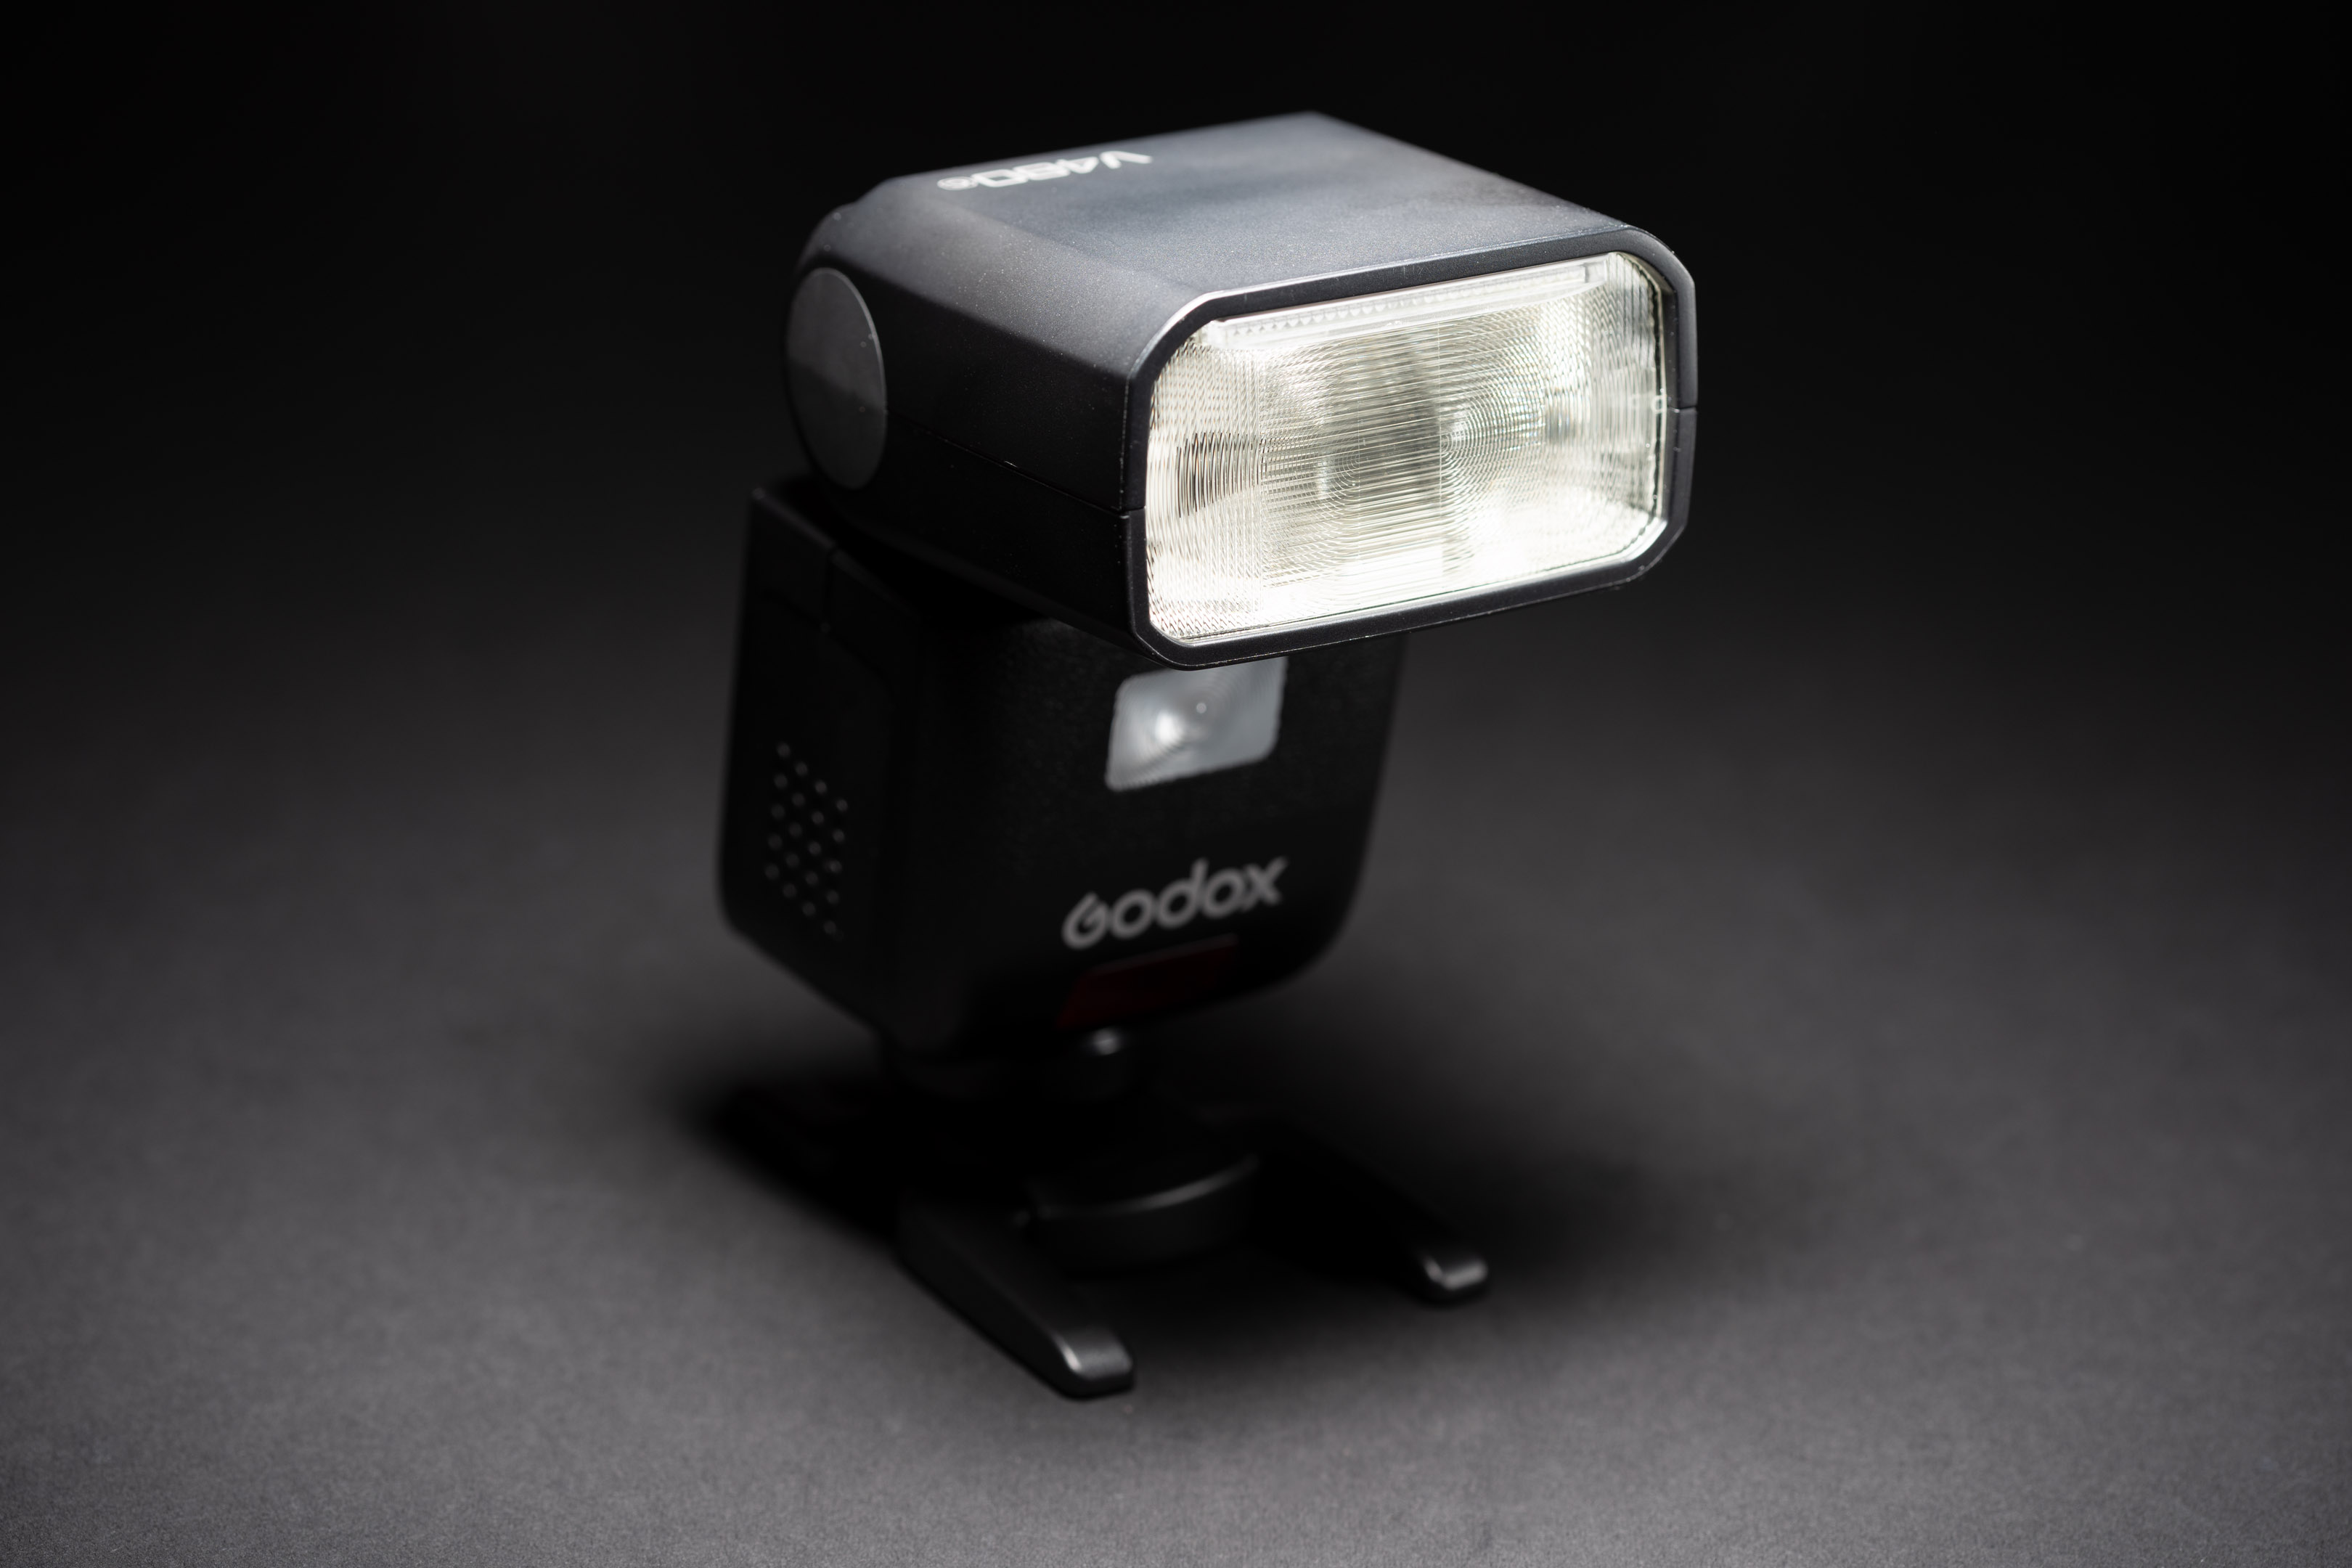
Godox V480
The V480 is a step up from the TT350 and features a large touchscreen on the back. It weighs 379g and measures 49*71*166 mm.
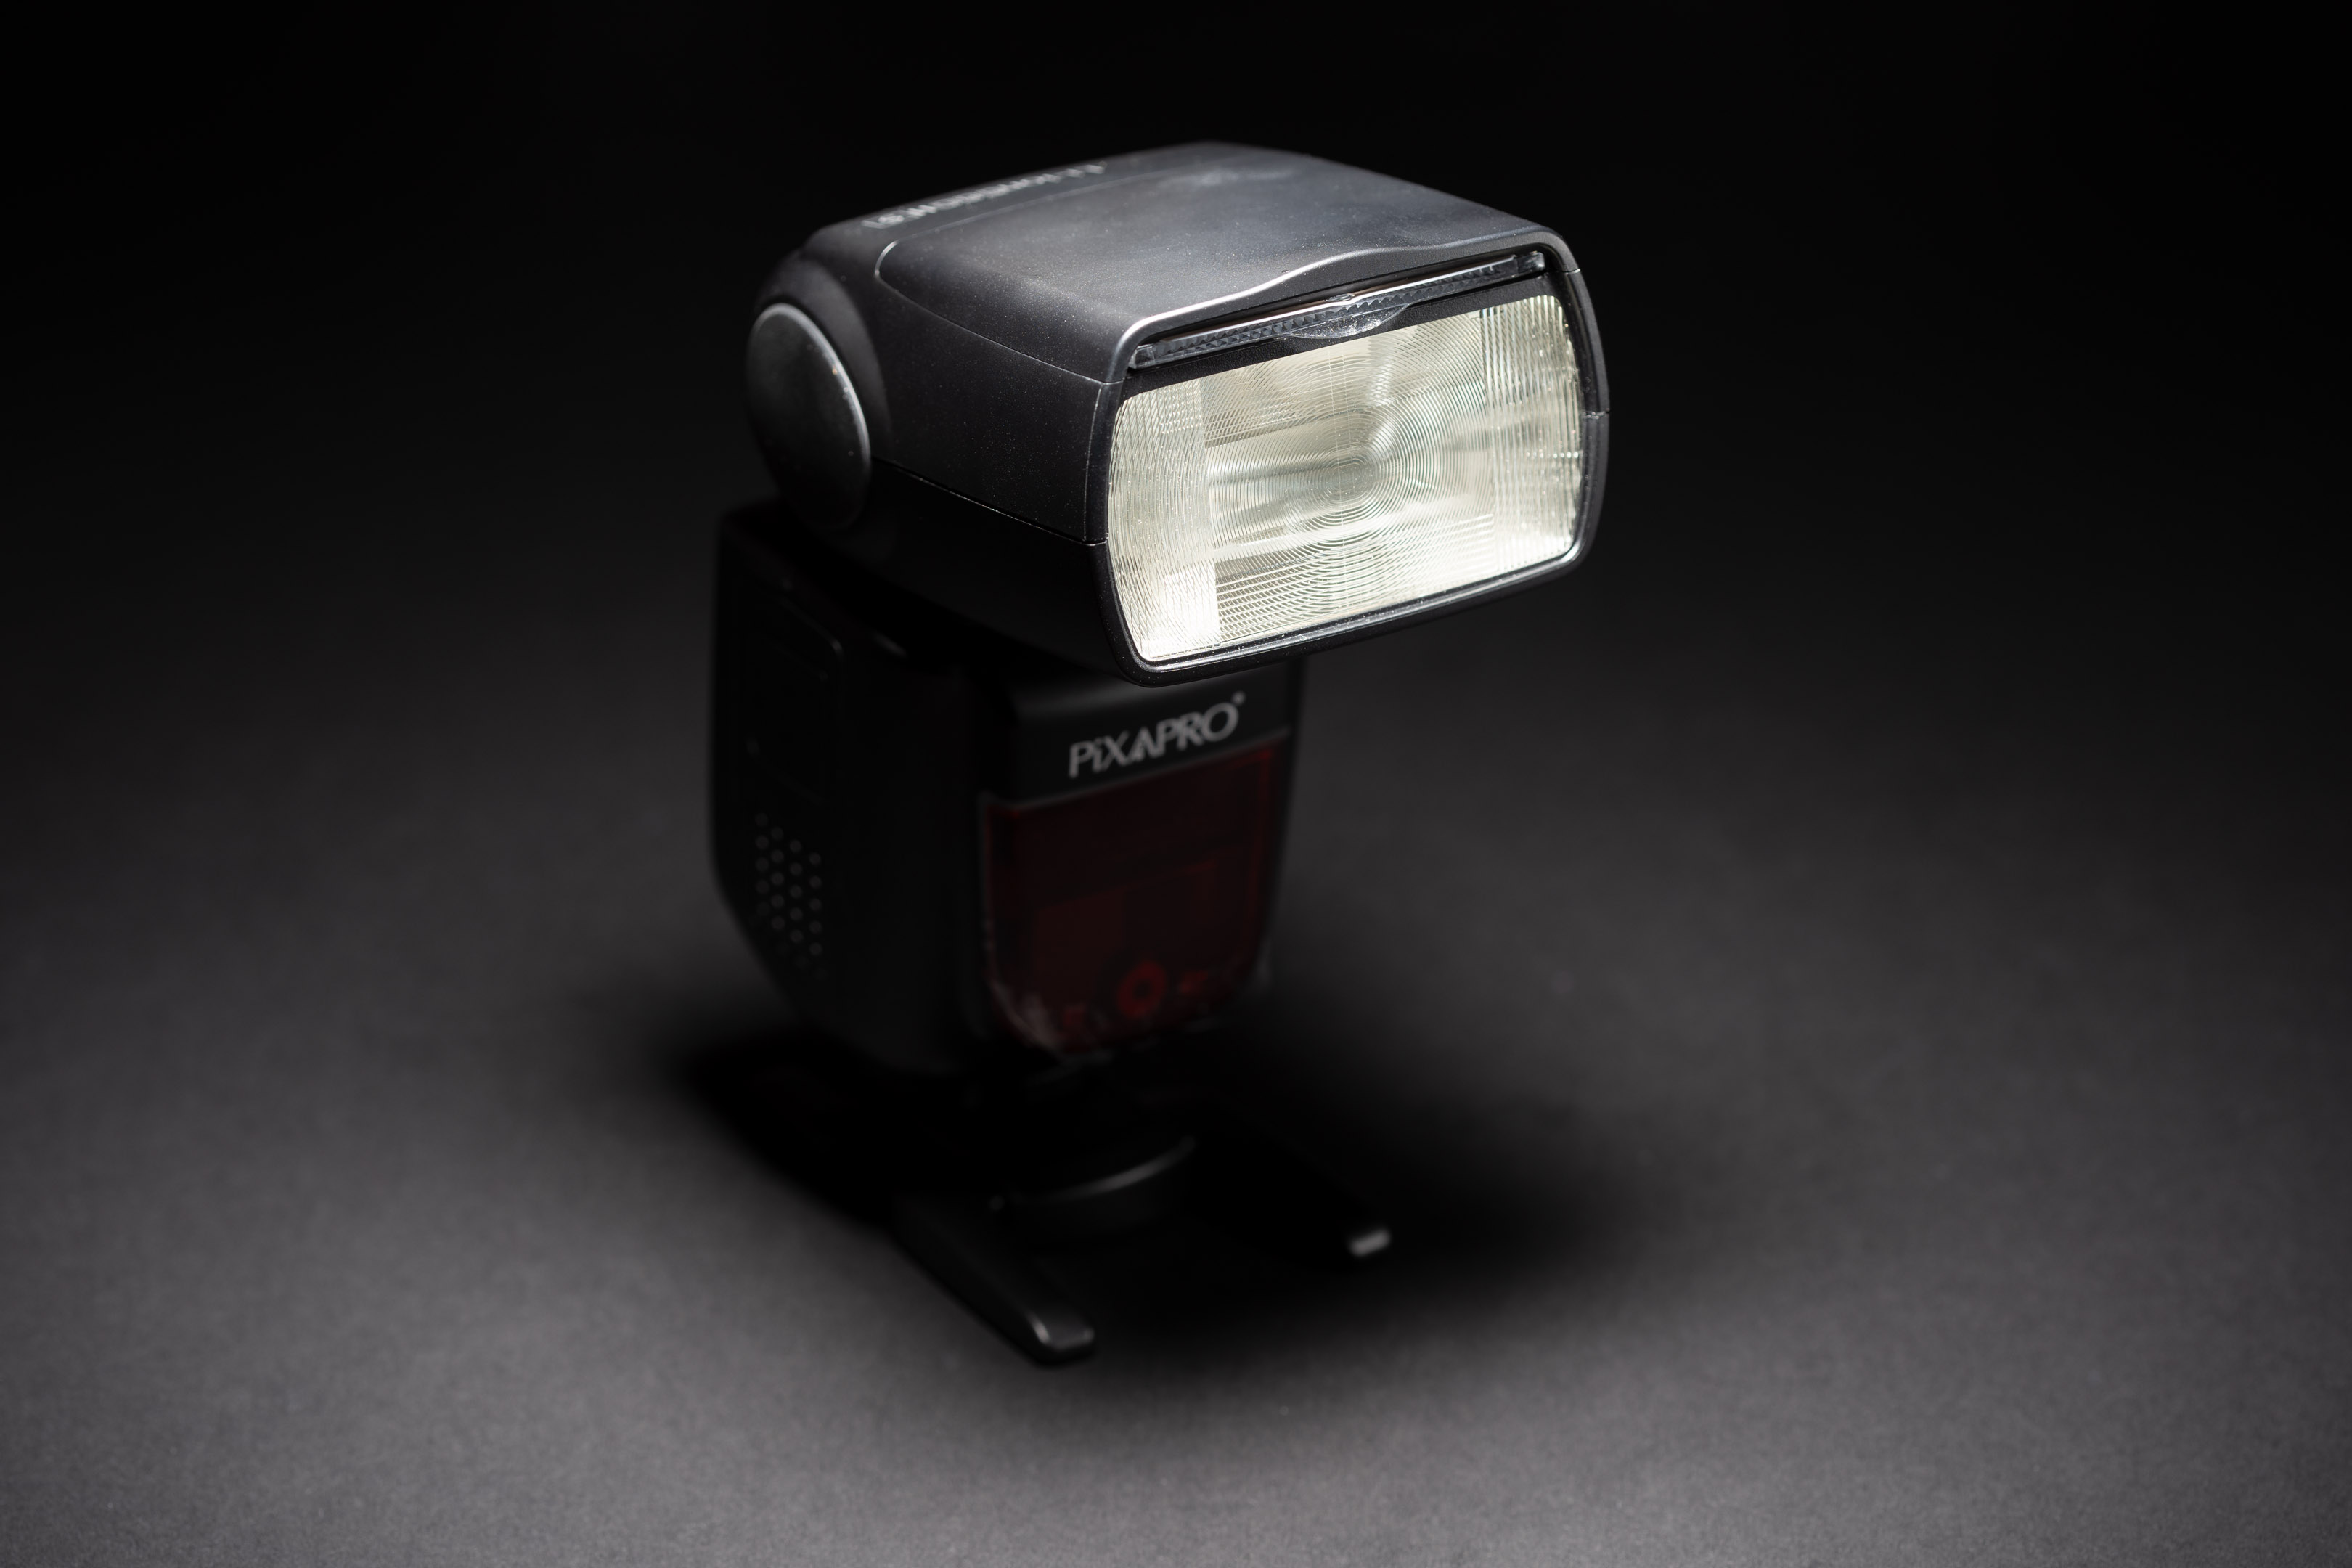
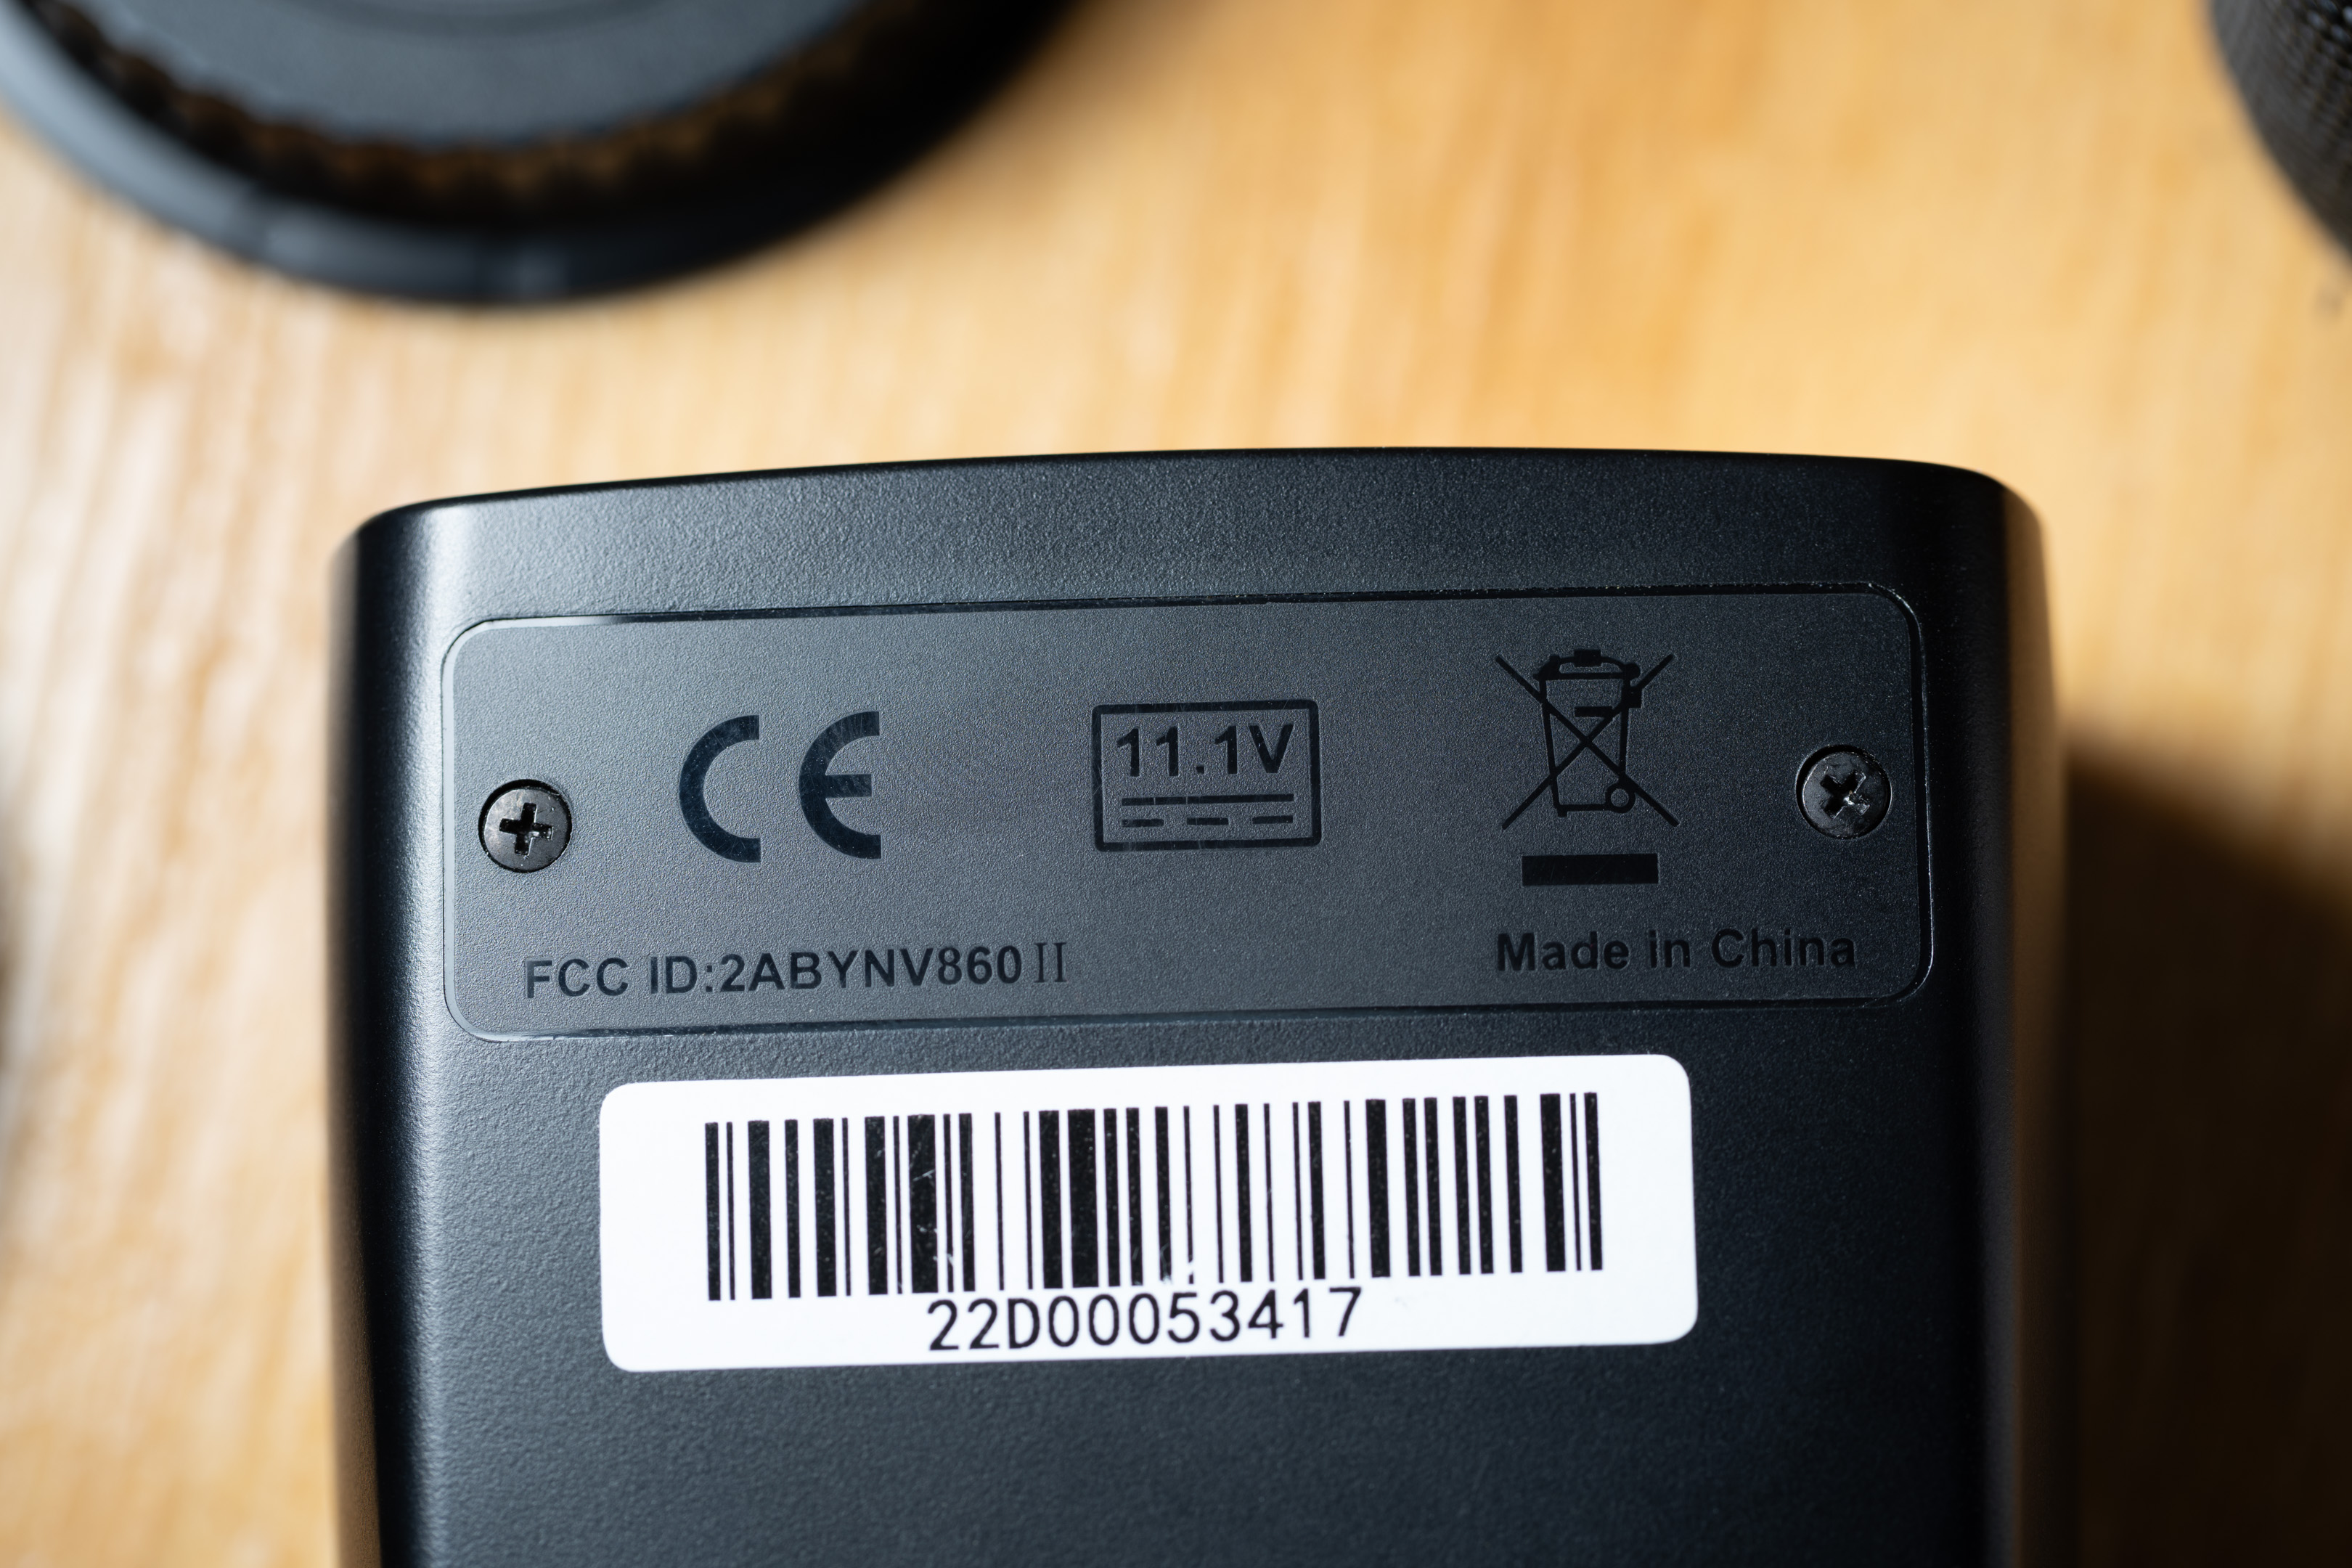
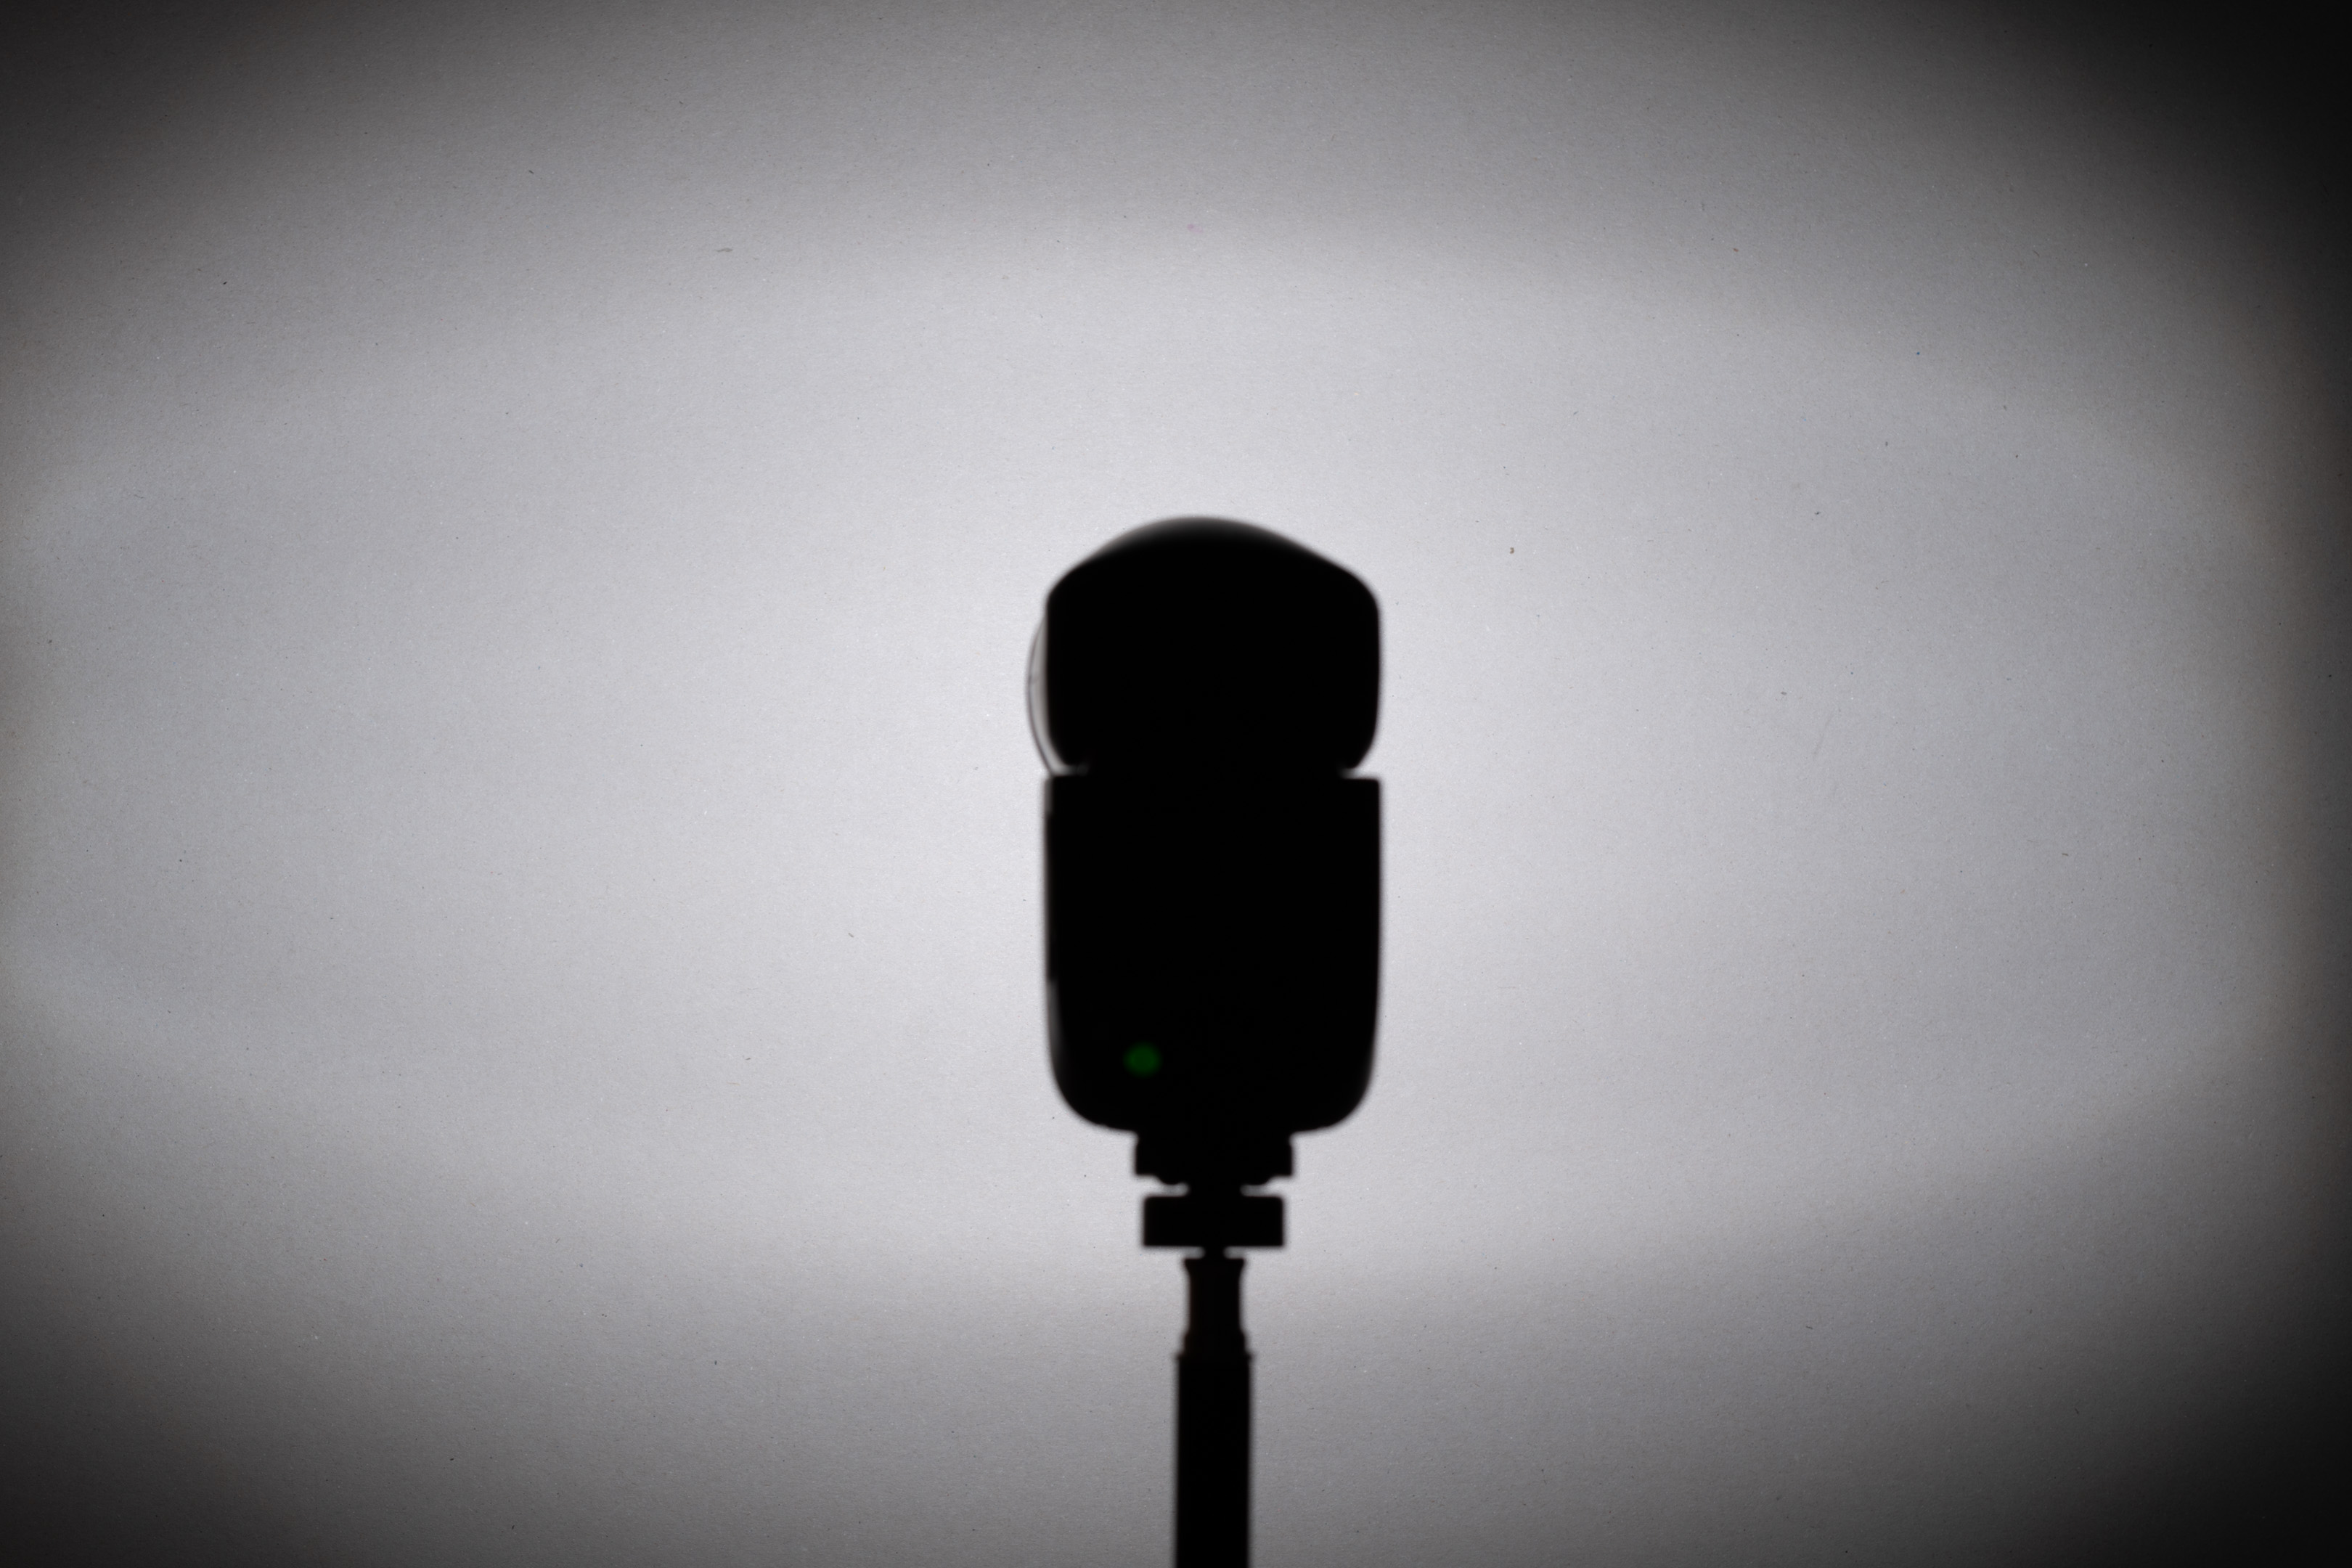
Godox V860II
The V860II (mine is branded as the Pixapro Li-ION580II) is a larger and more powerful flash, weighing 539g and measuring 64*76*190 mm.
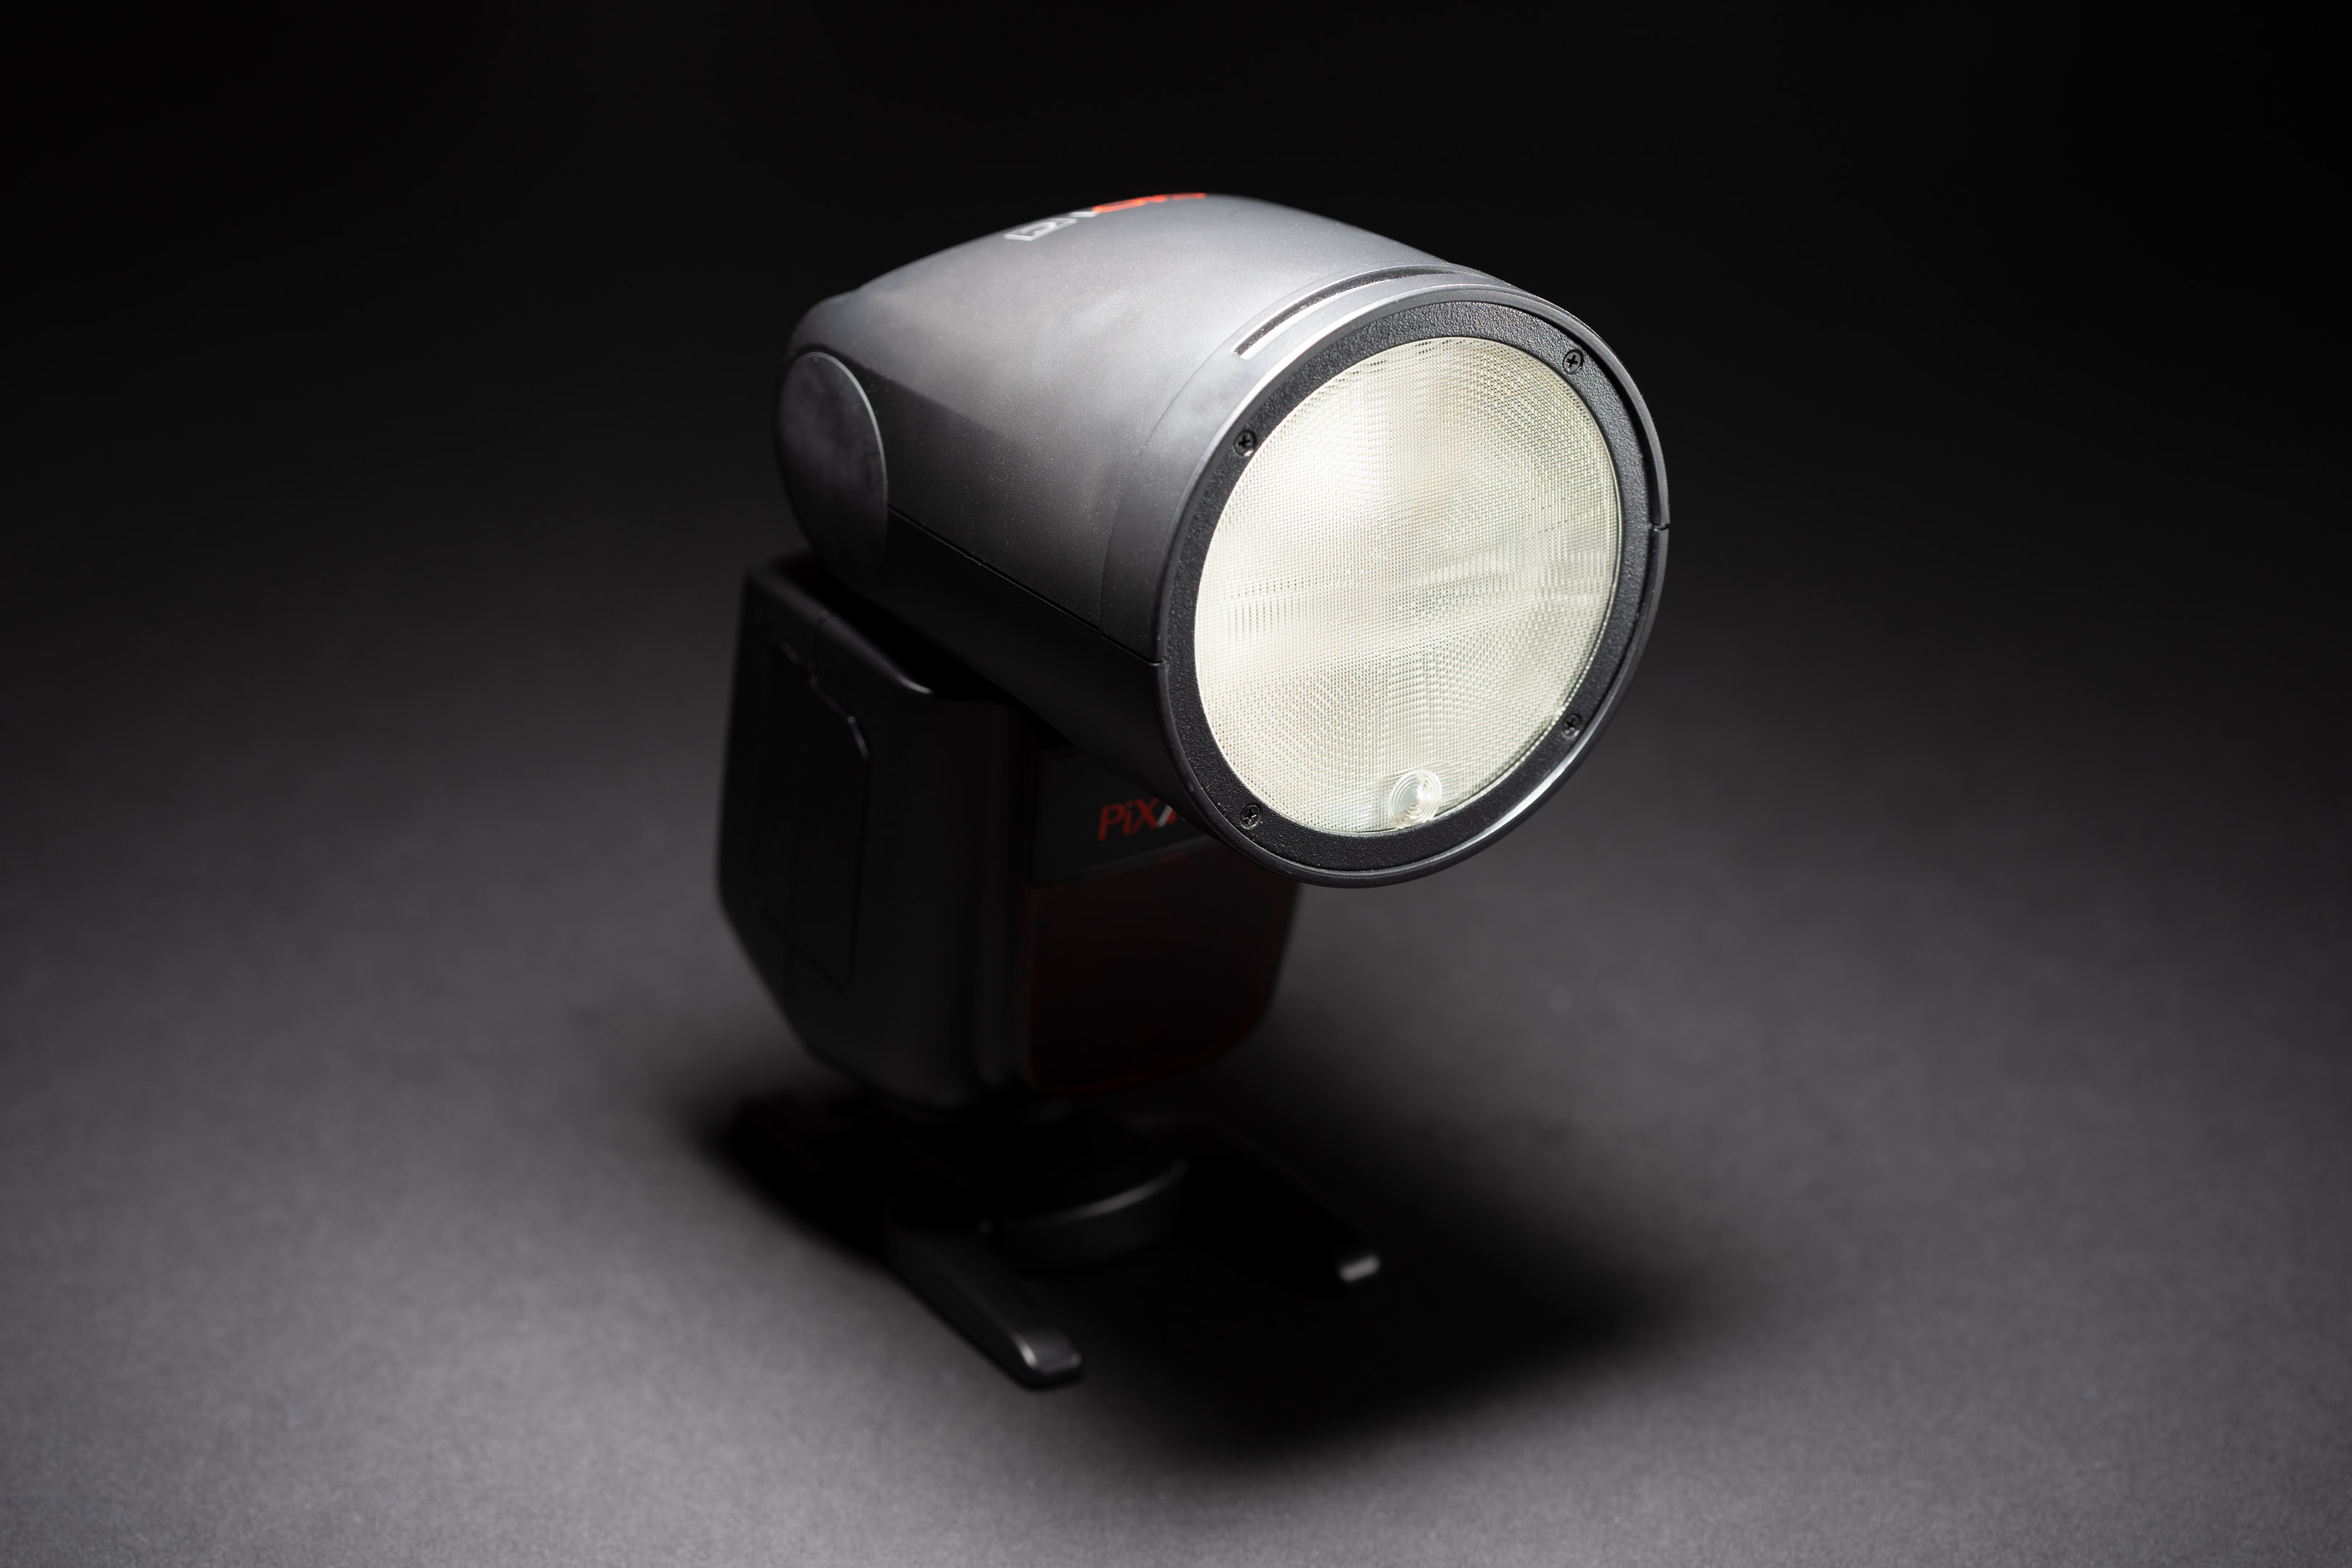
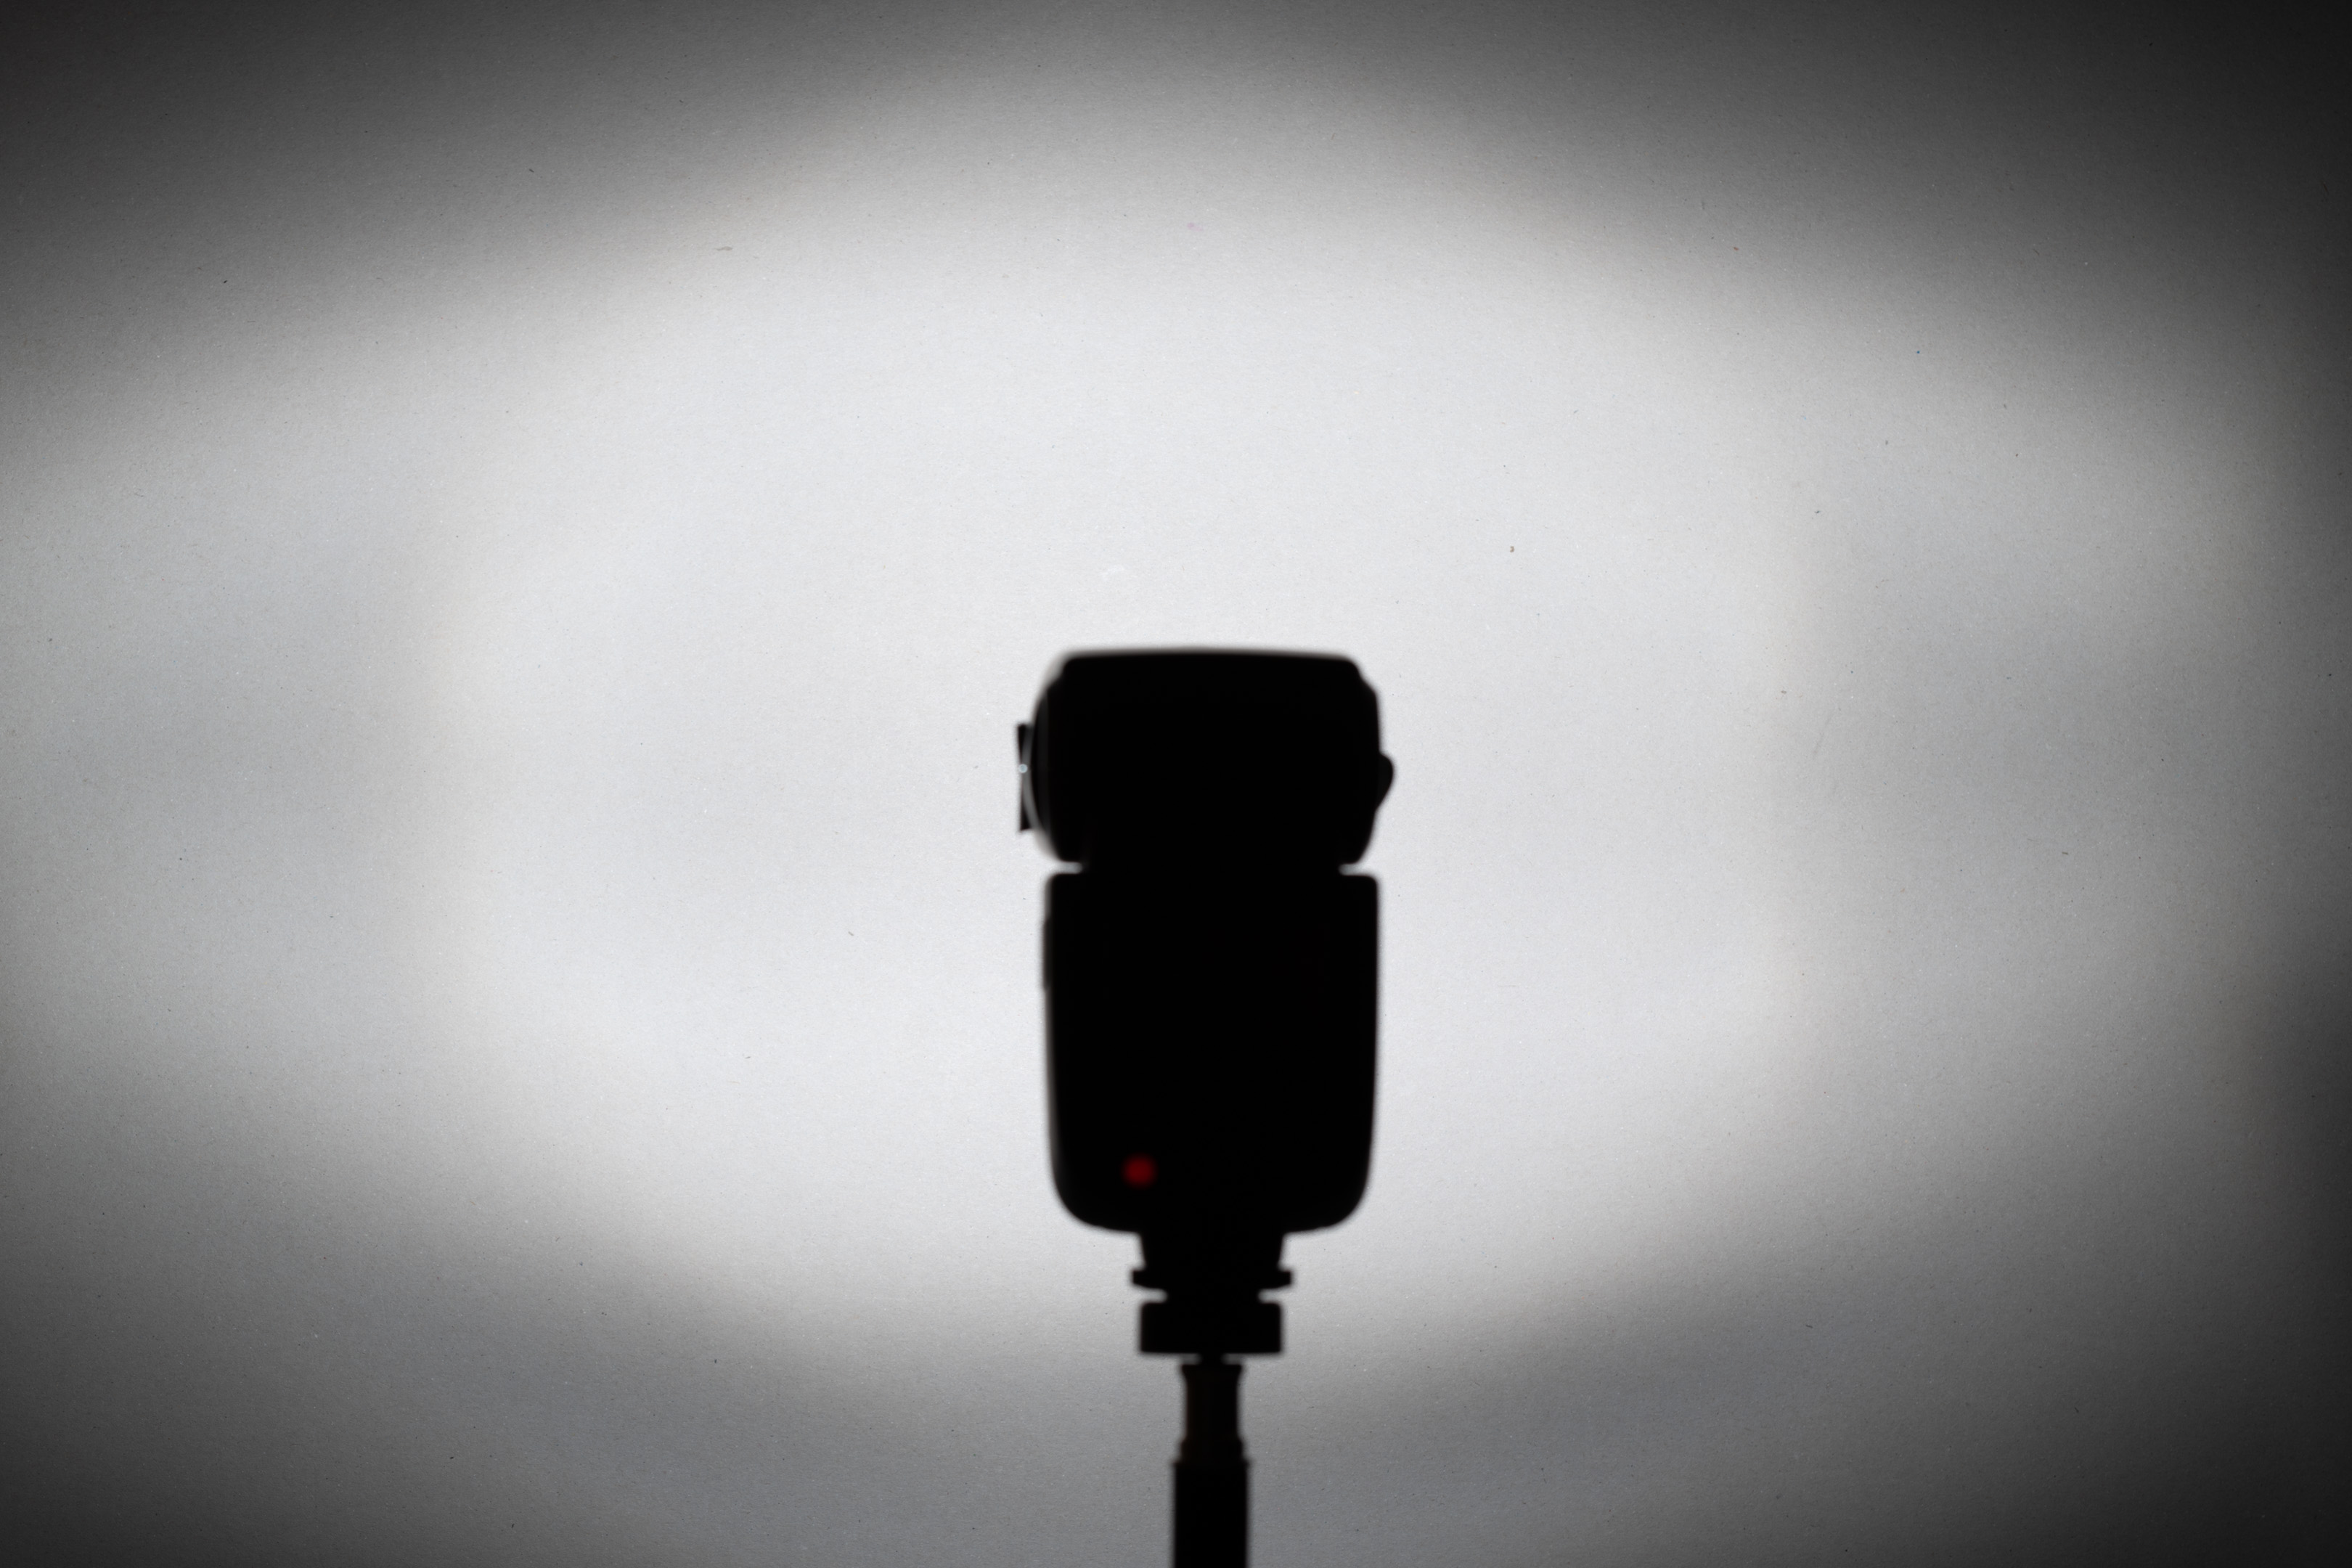
Godox V1
The V1 (or Pixapro GIO1 as mine is branded) is a flash with a round head. It weighs 542g and measures 76*93*197 mm - but I'm not sure where the 93 mm measurement comes from since the head is round?
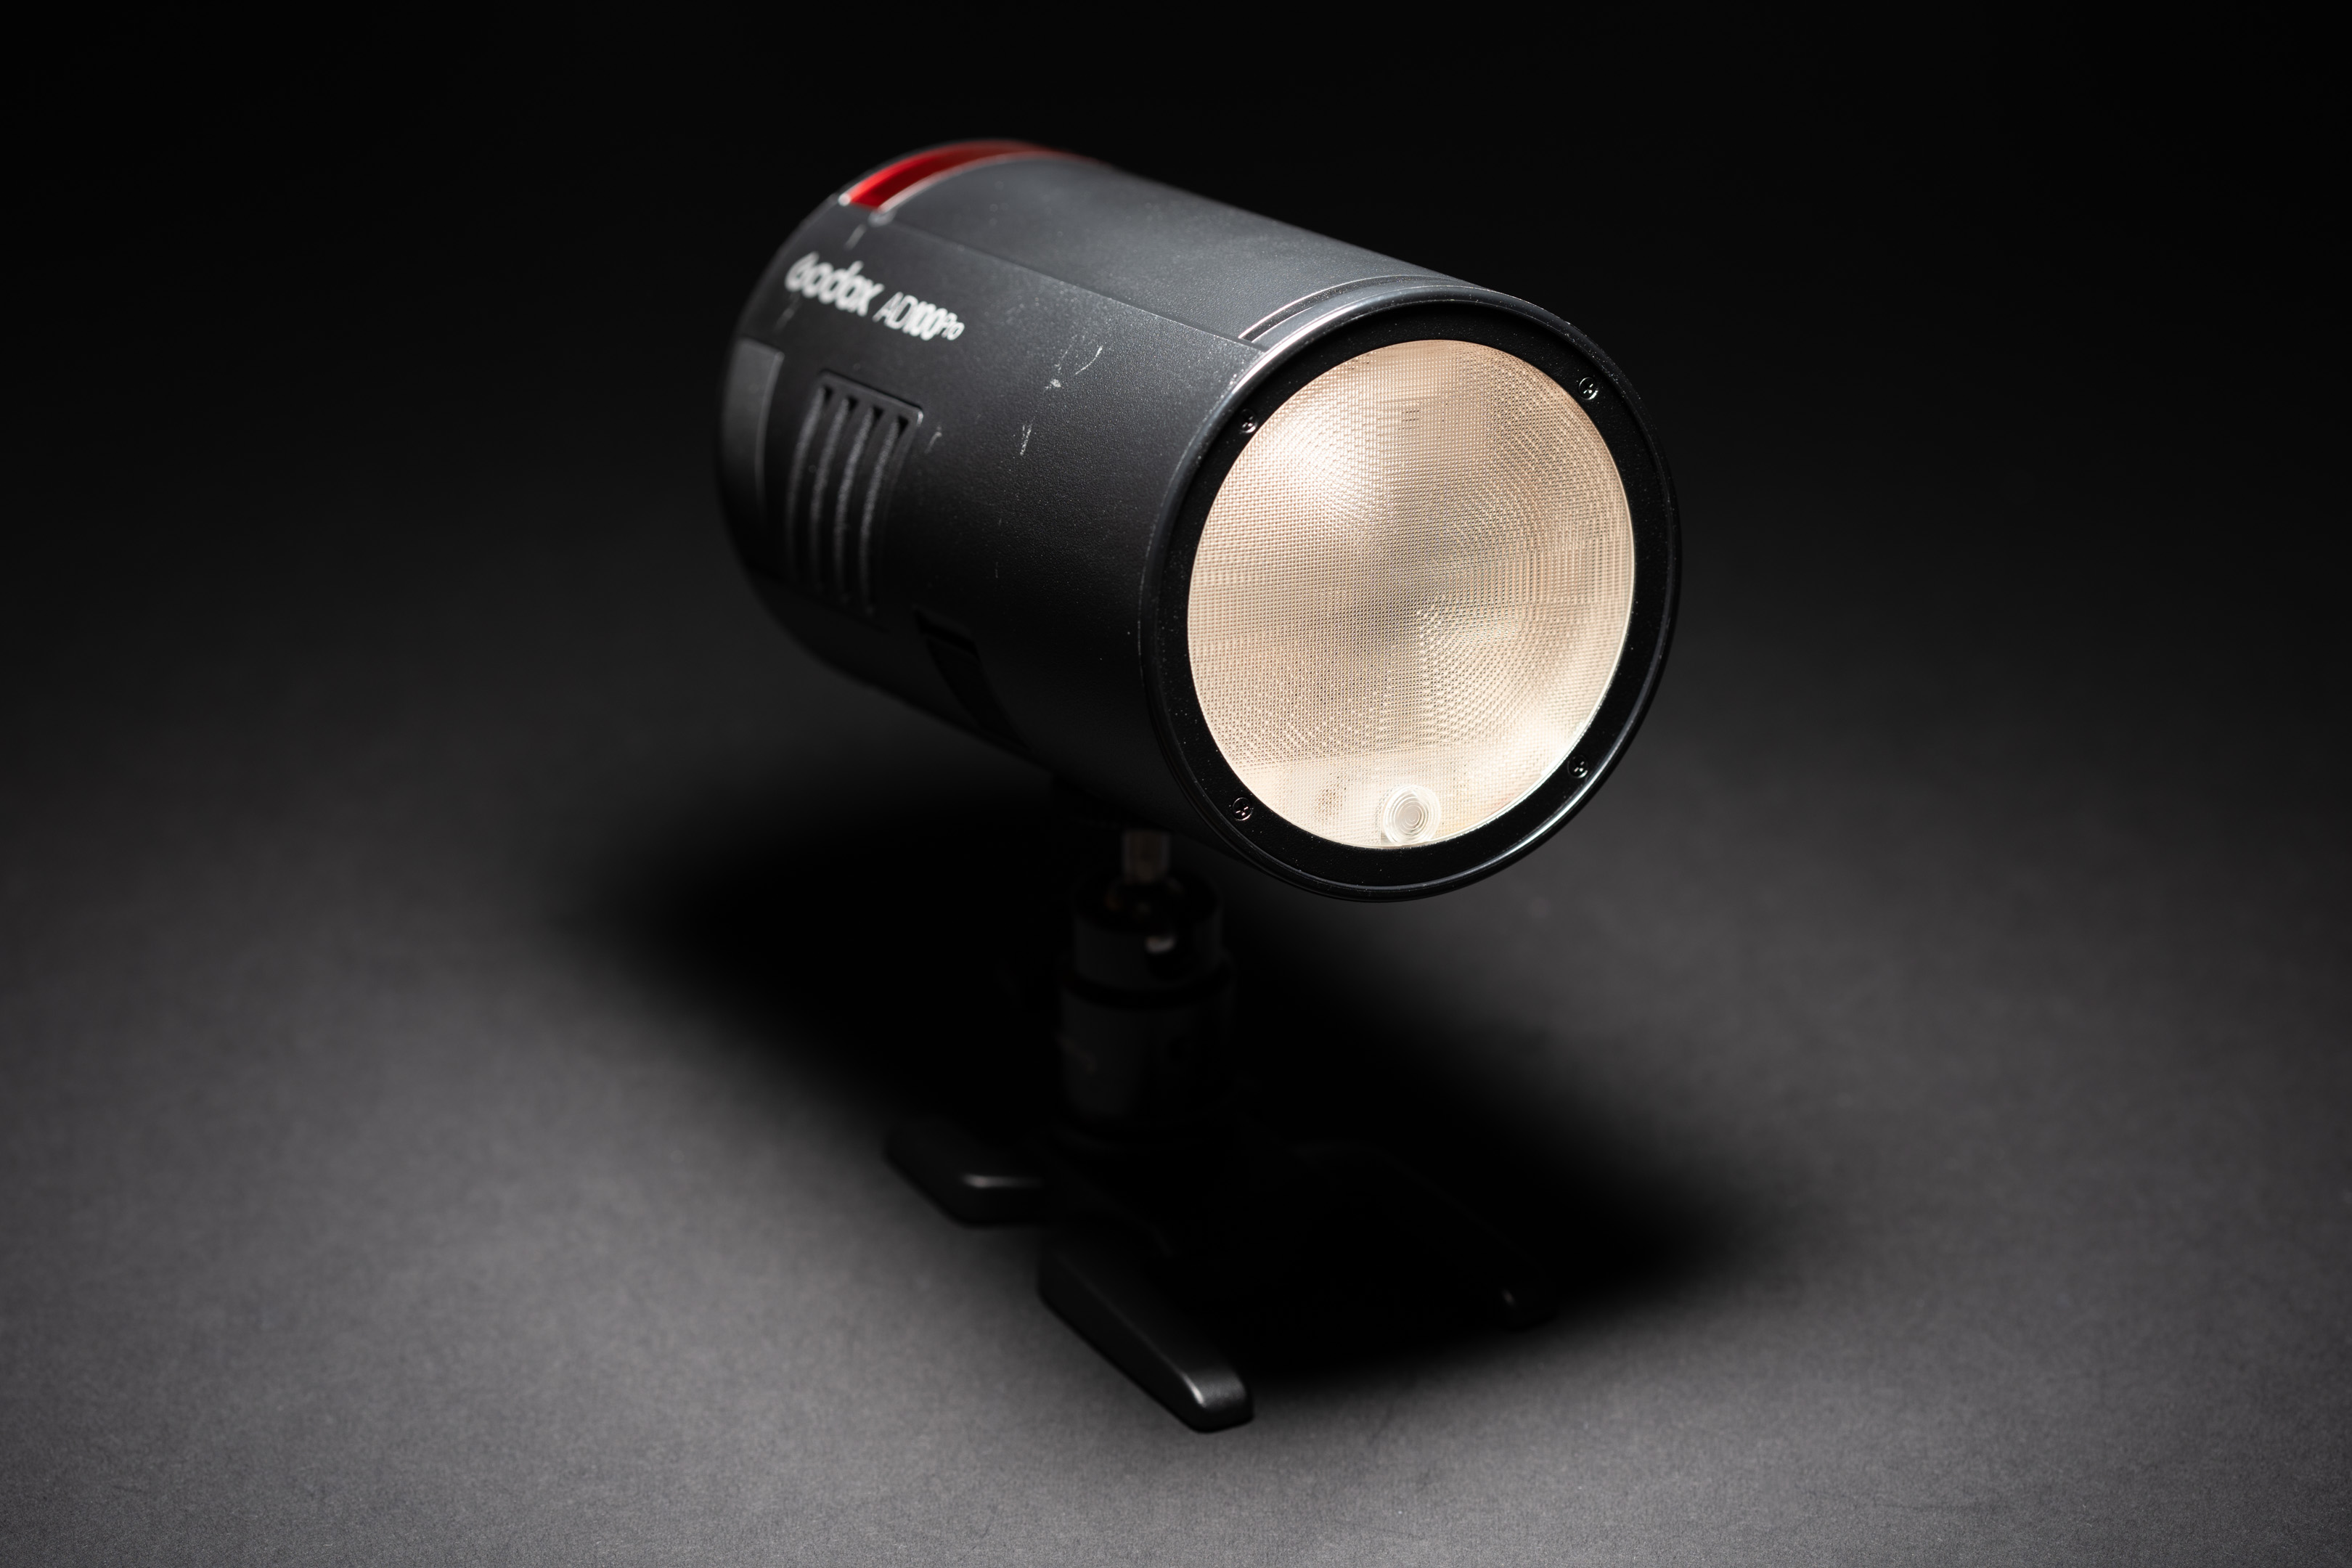
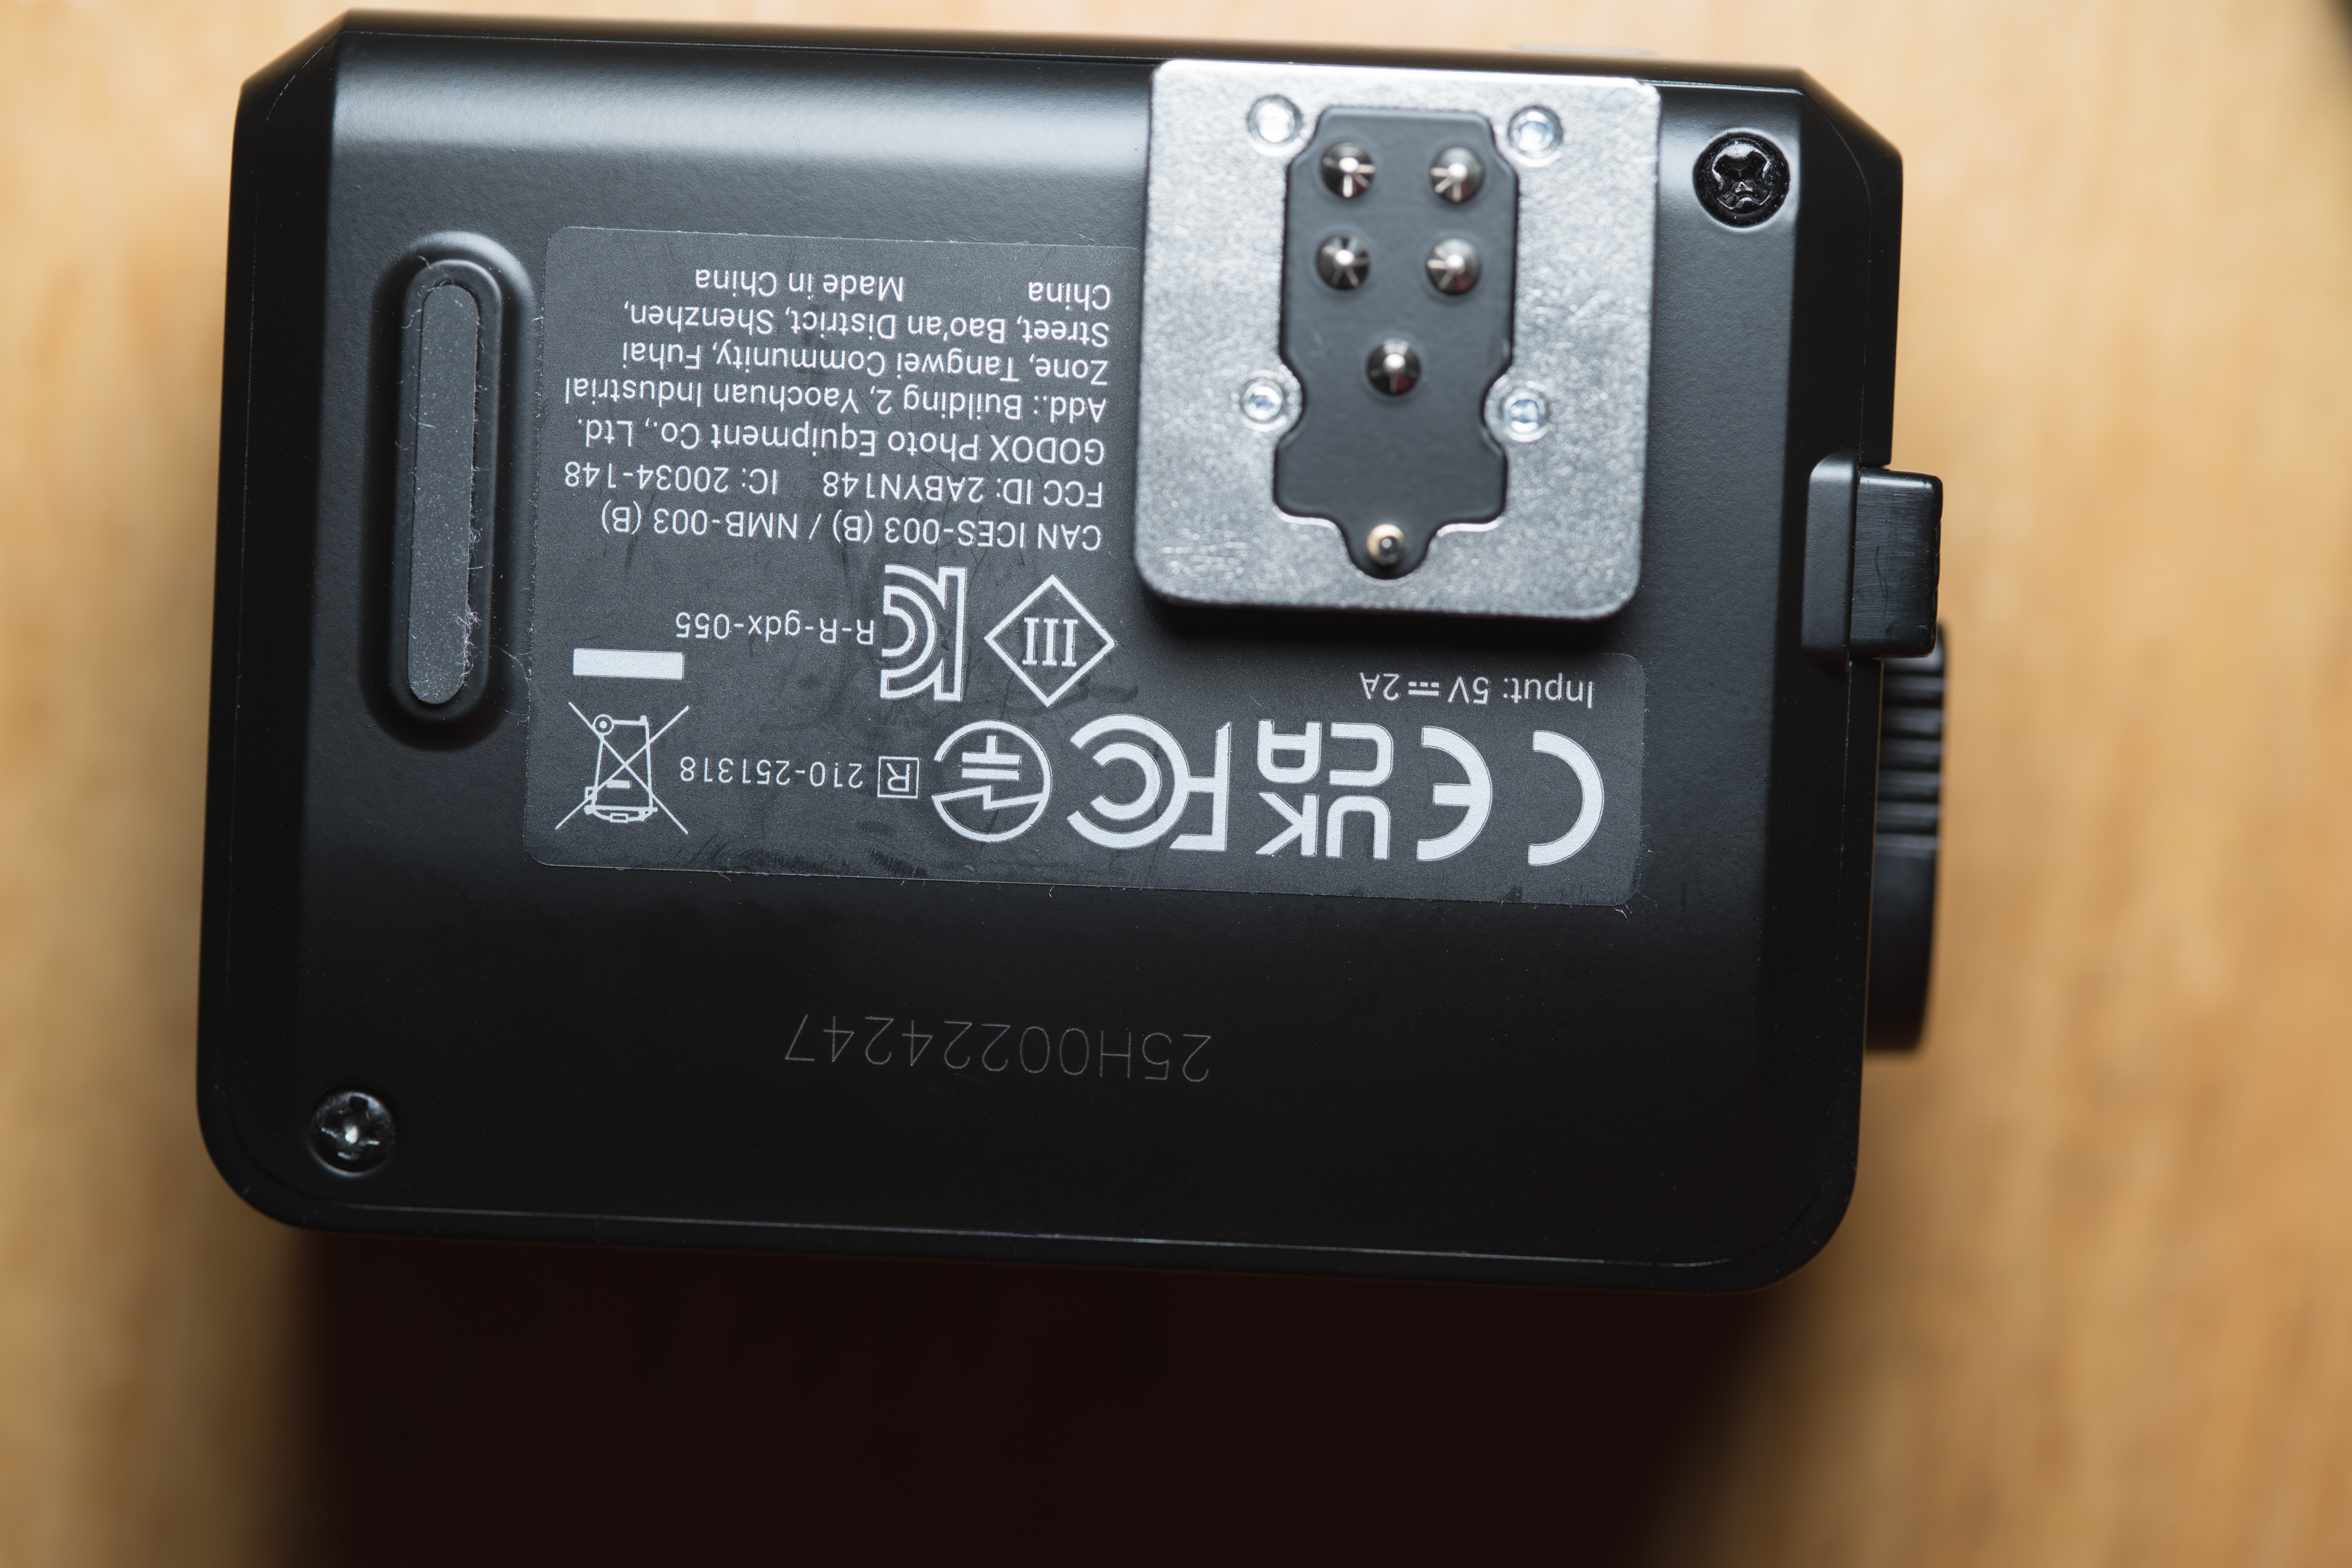
Godox AD100 Pro
The AD100 Pro is designed for off-camera use and has no foot to attach to the camera's hotshoe. It has a round design, weighs 543g and measures 76*120 mm.
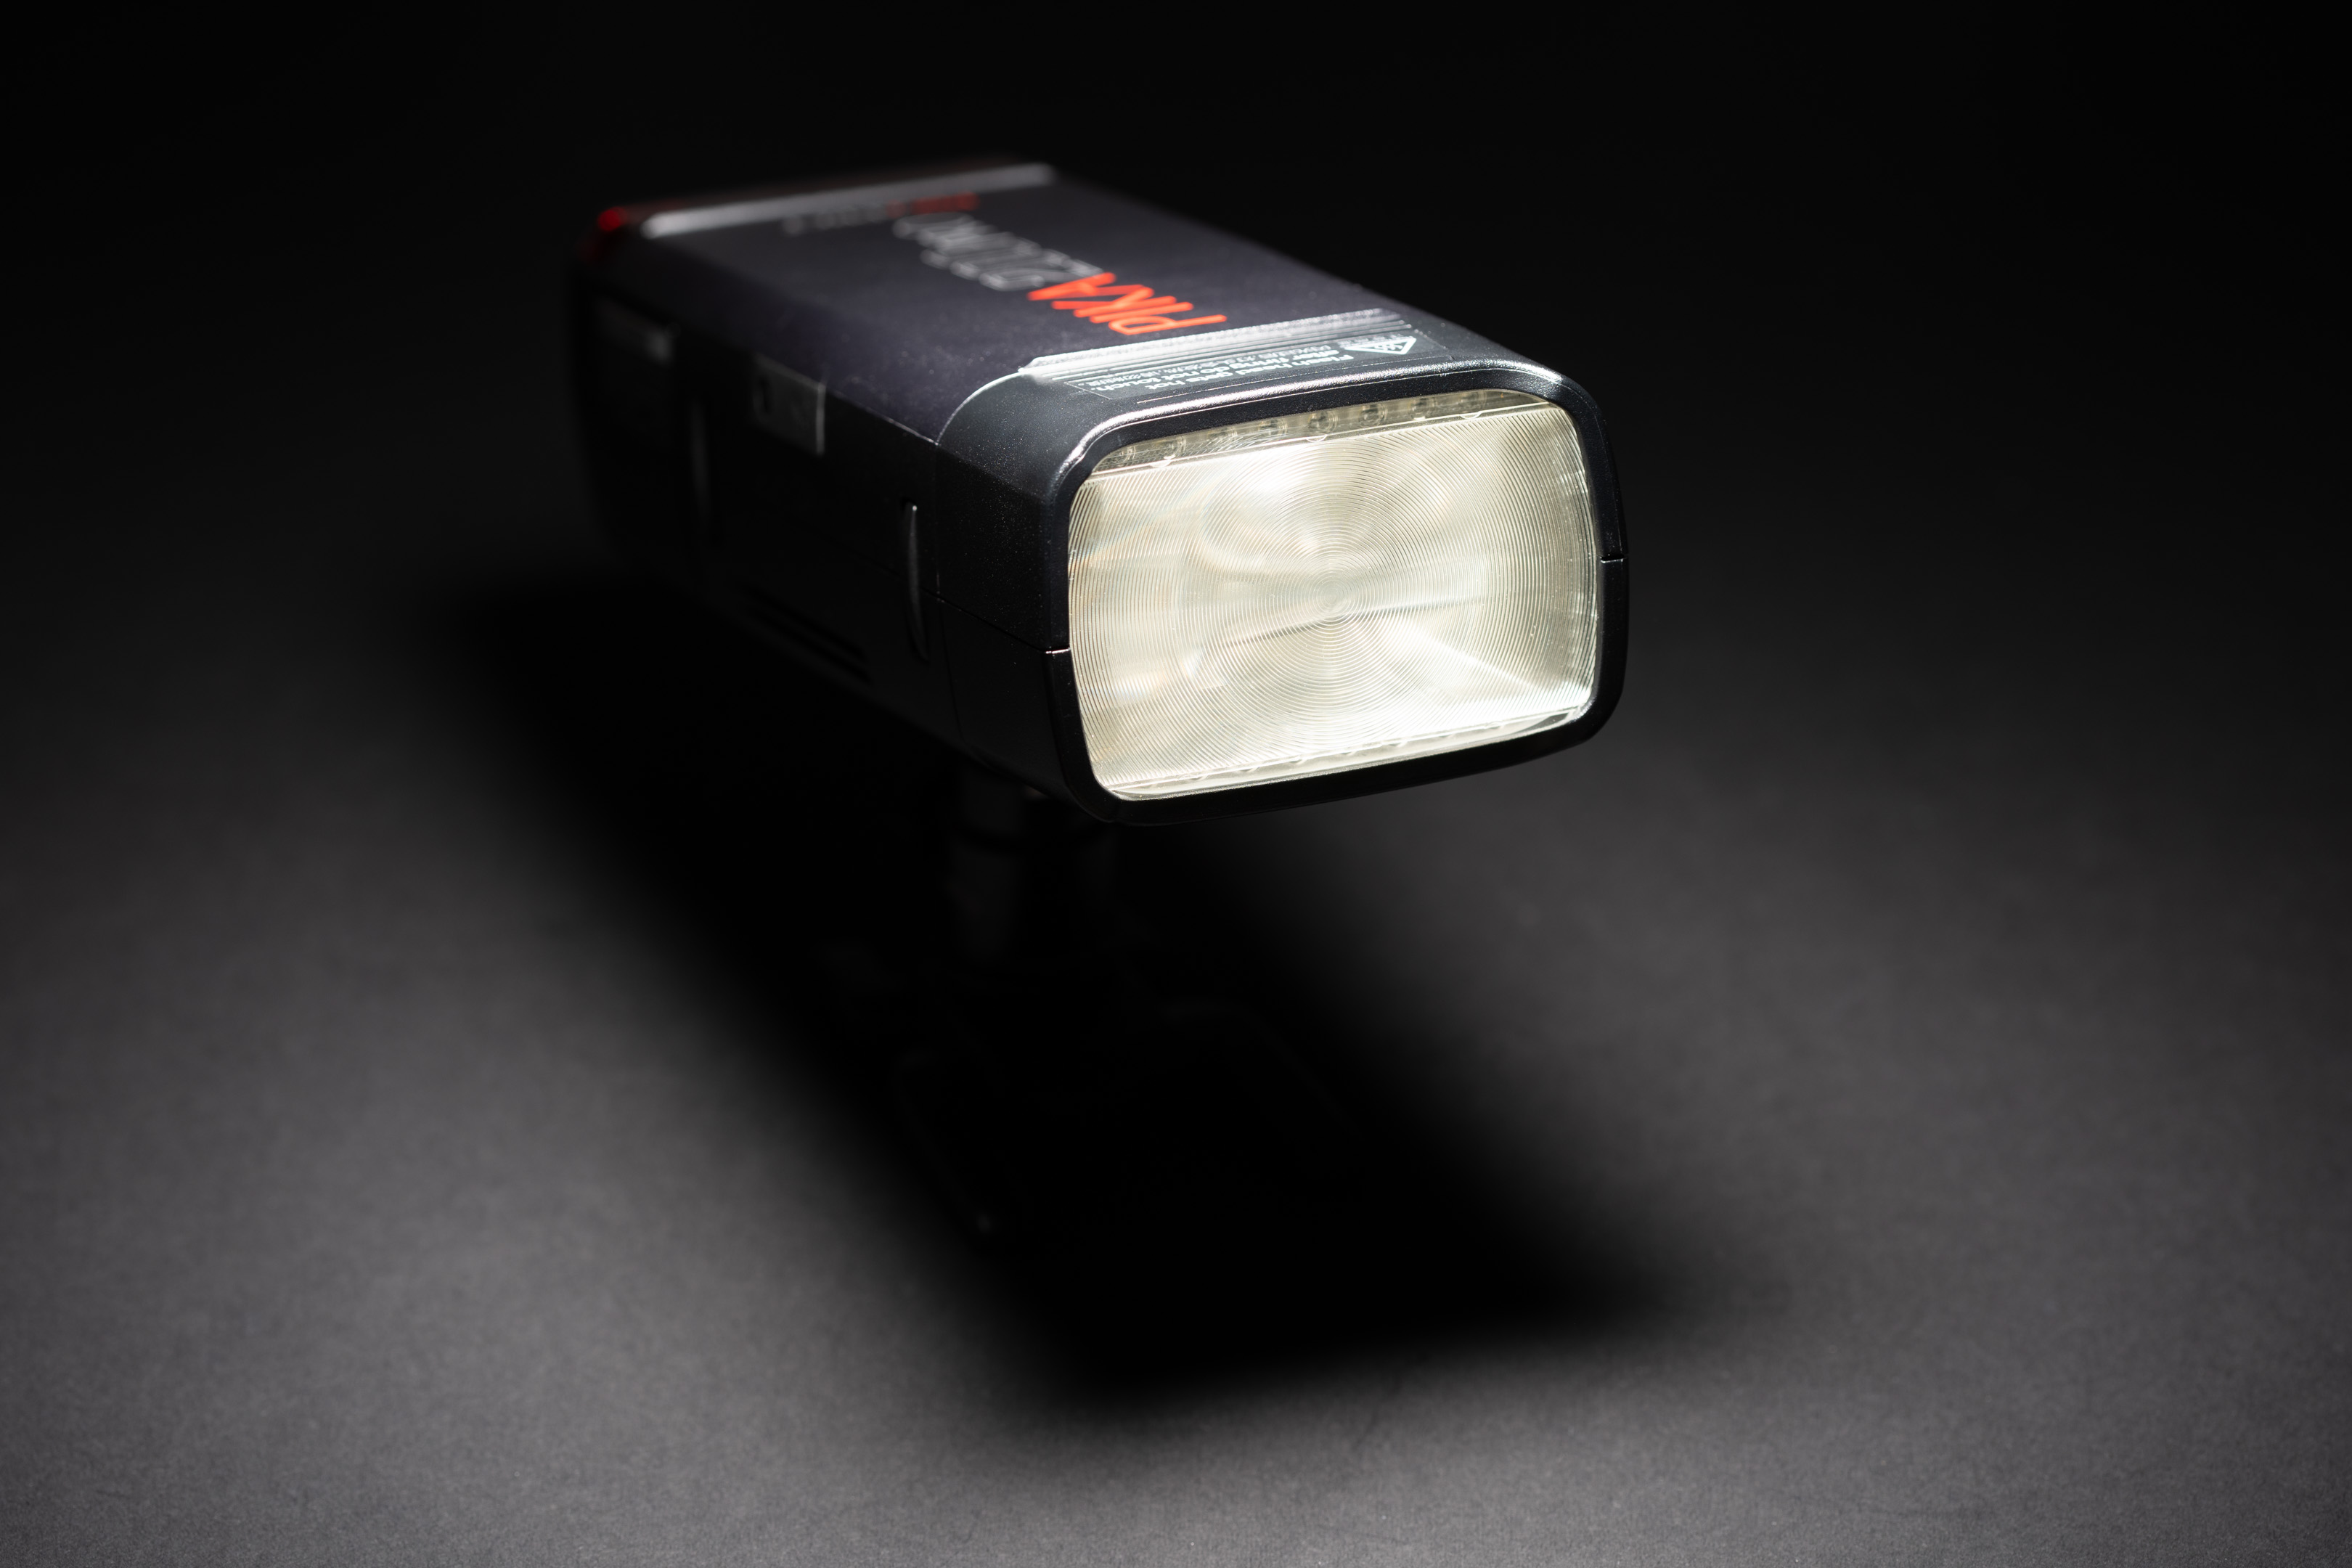
Godox AD200 Pro with standard head
The AD200 Pro is also only usable off-camera. It has swappable heads, with the standard flash head it weighs 893g and measures 54*75*208 mm.
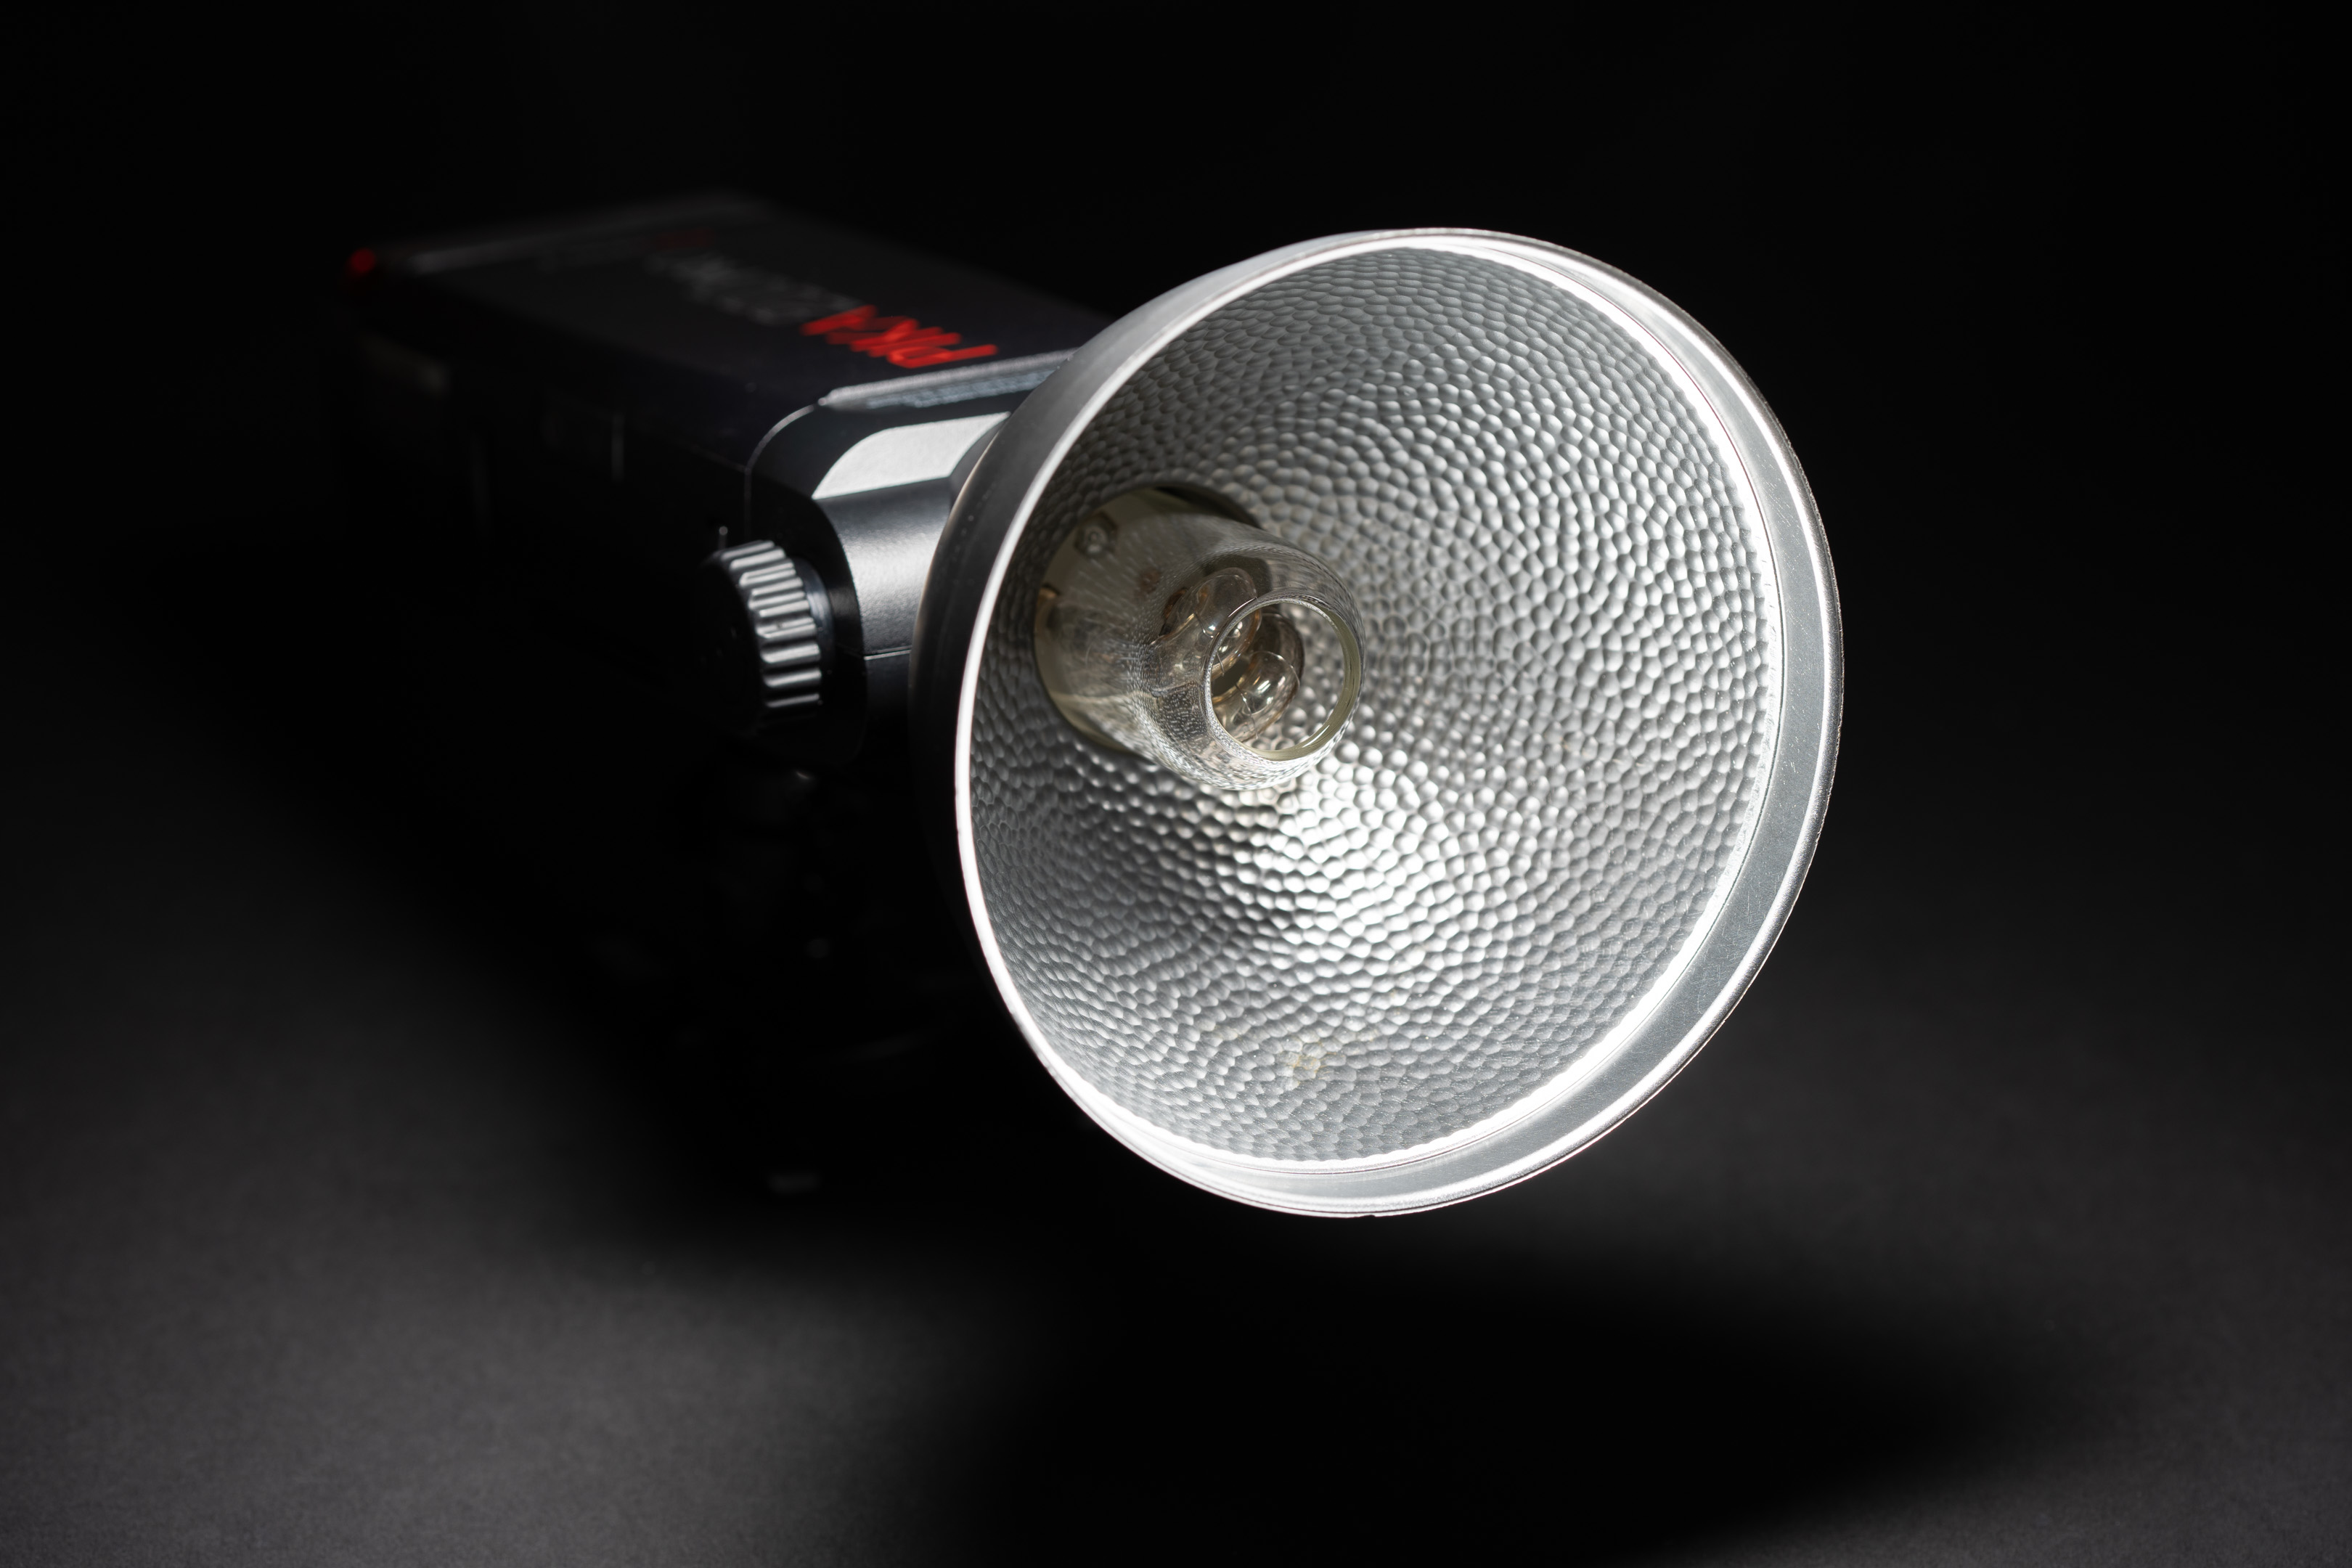
Godox AD200 Pro with bulb head and AD-S2 reflector
The other head the AD200 Pro comes with is the bulb head, but it does not come with the AD-S2 reflector dish you see here, that has to be purchased separately. This combination weighs 1026g and measures 121*295 mm.
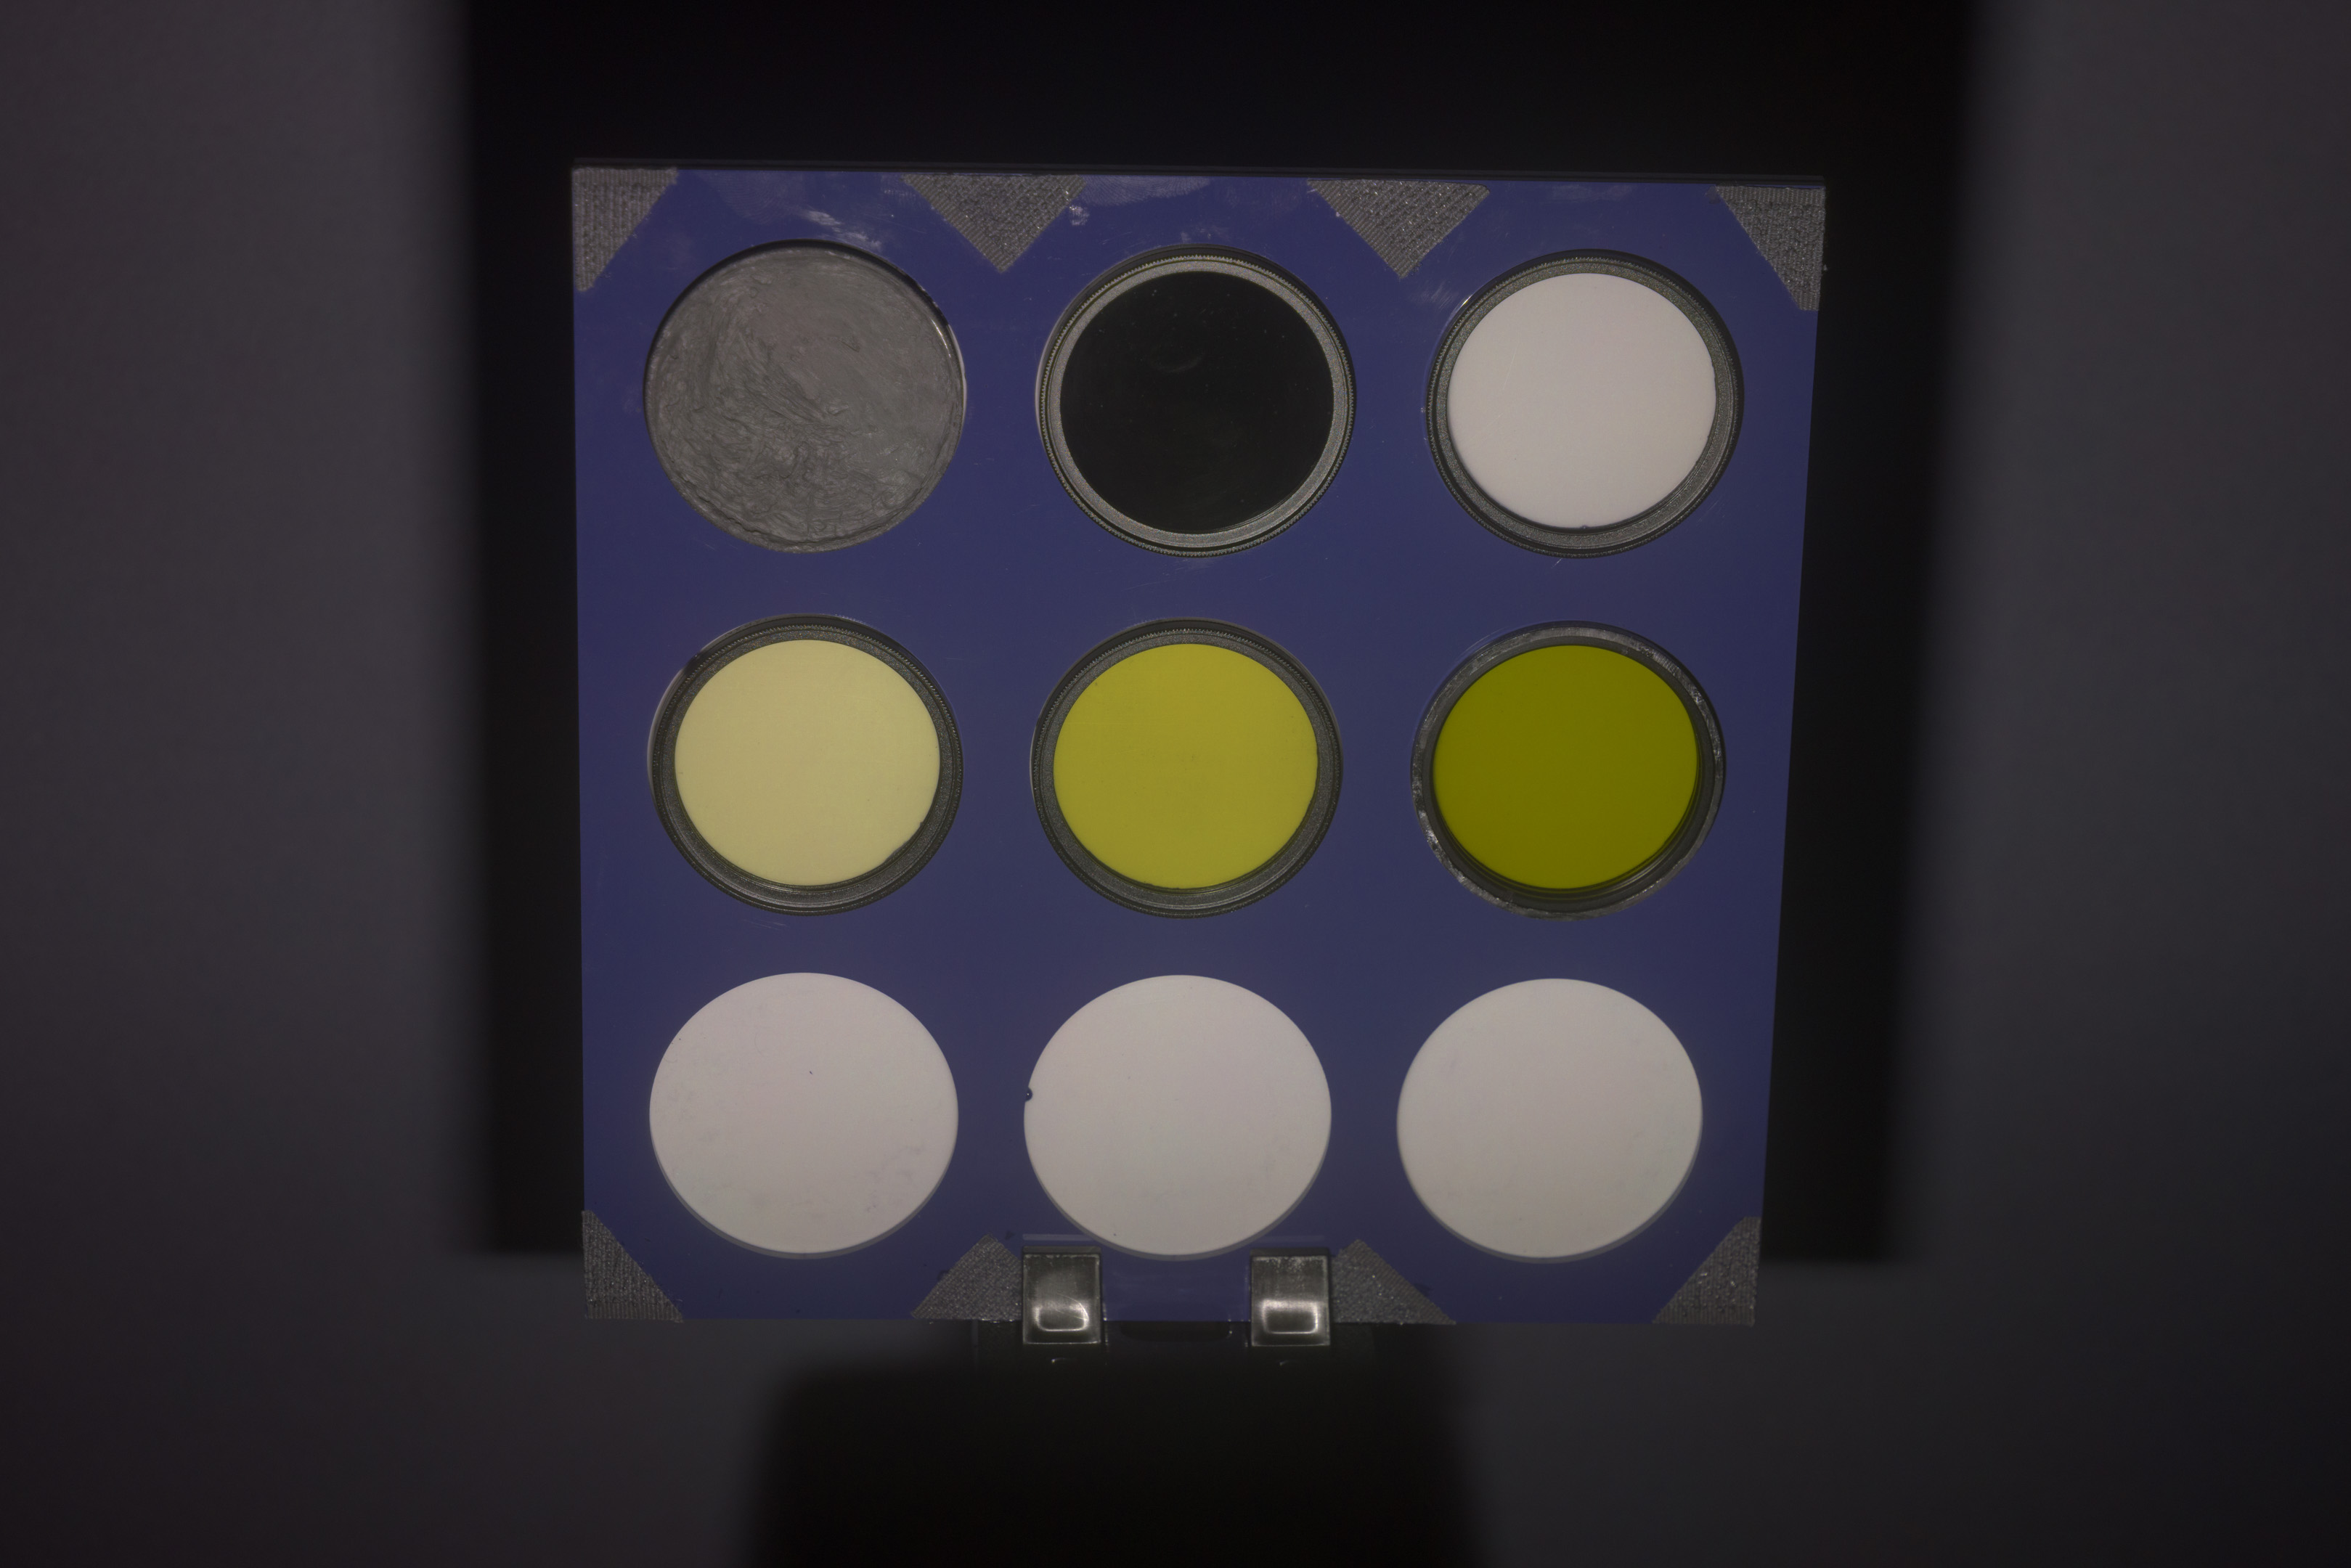
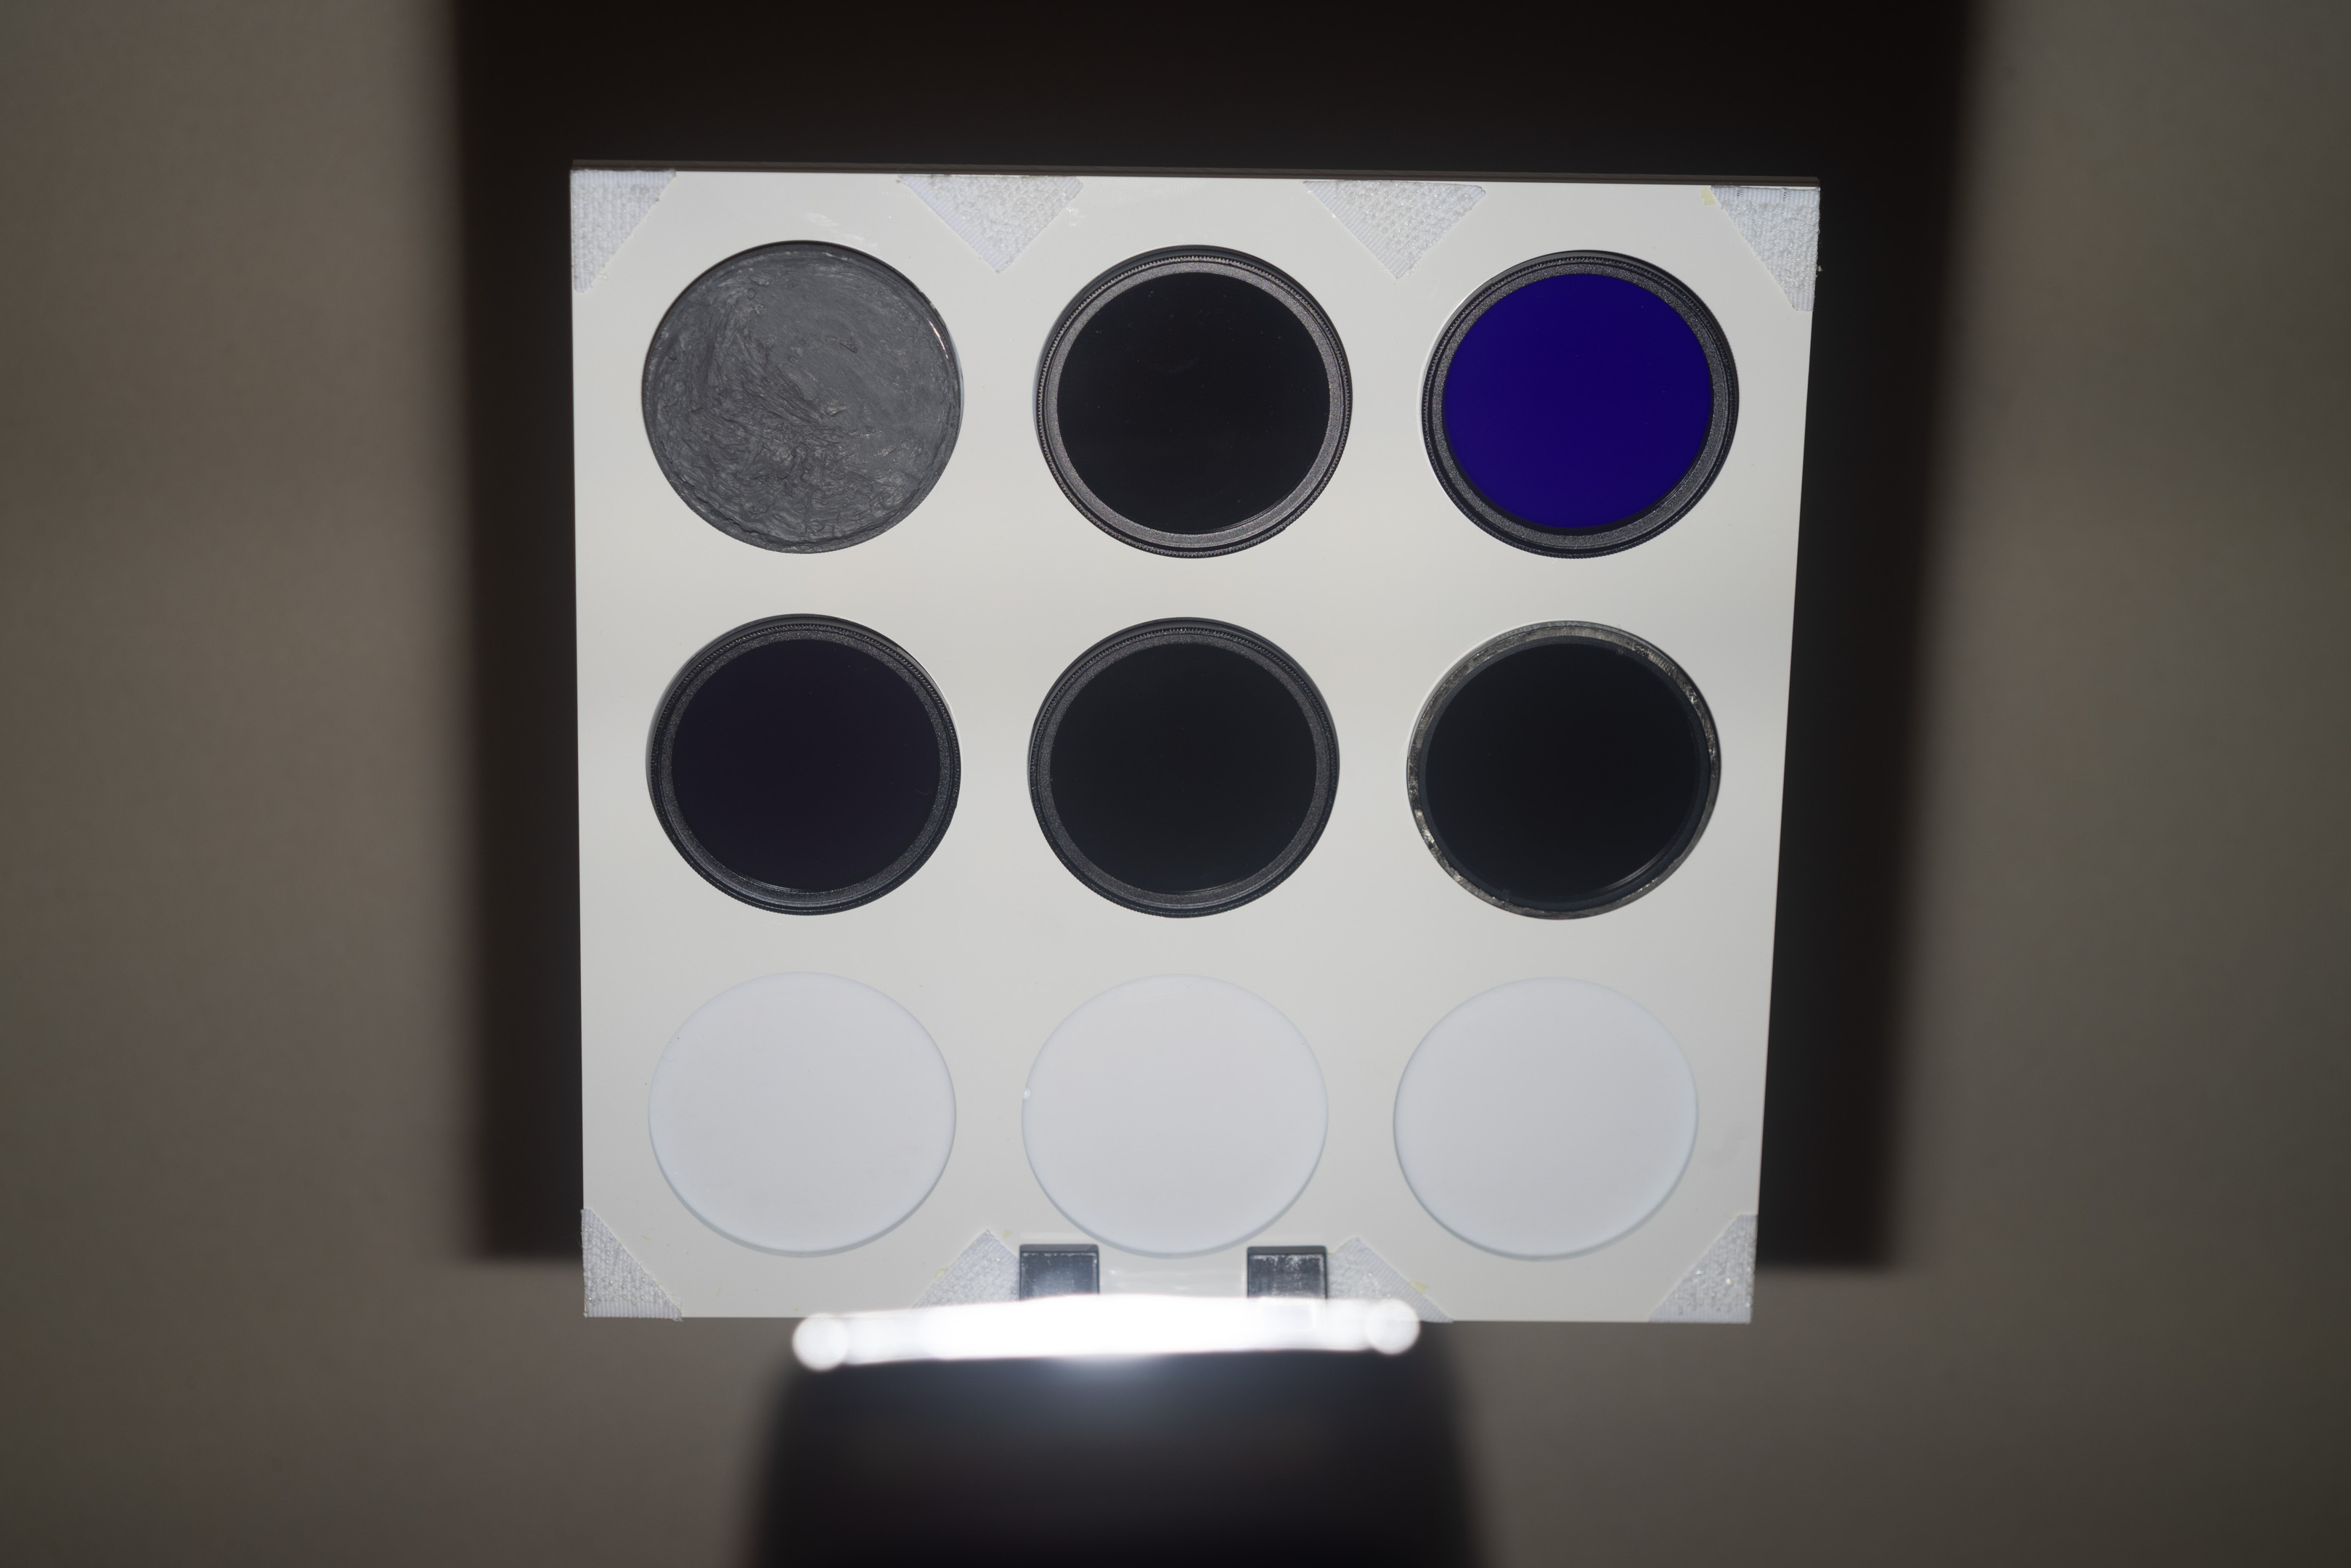
UV output test before conversion
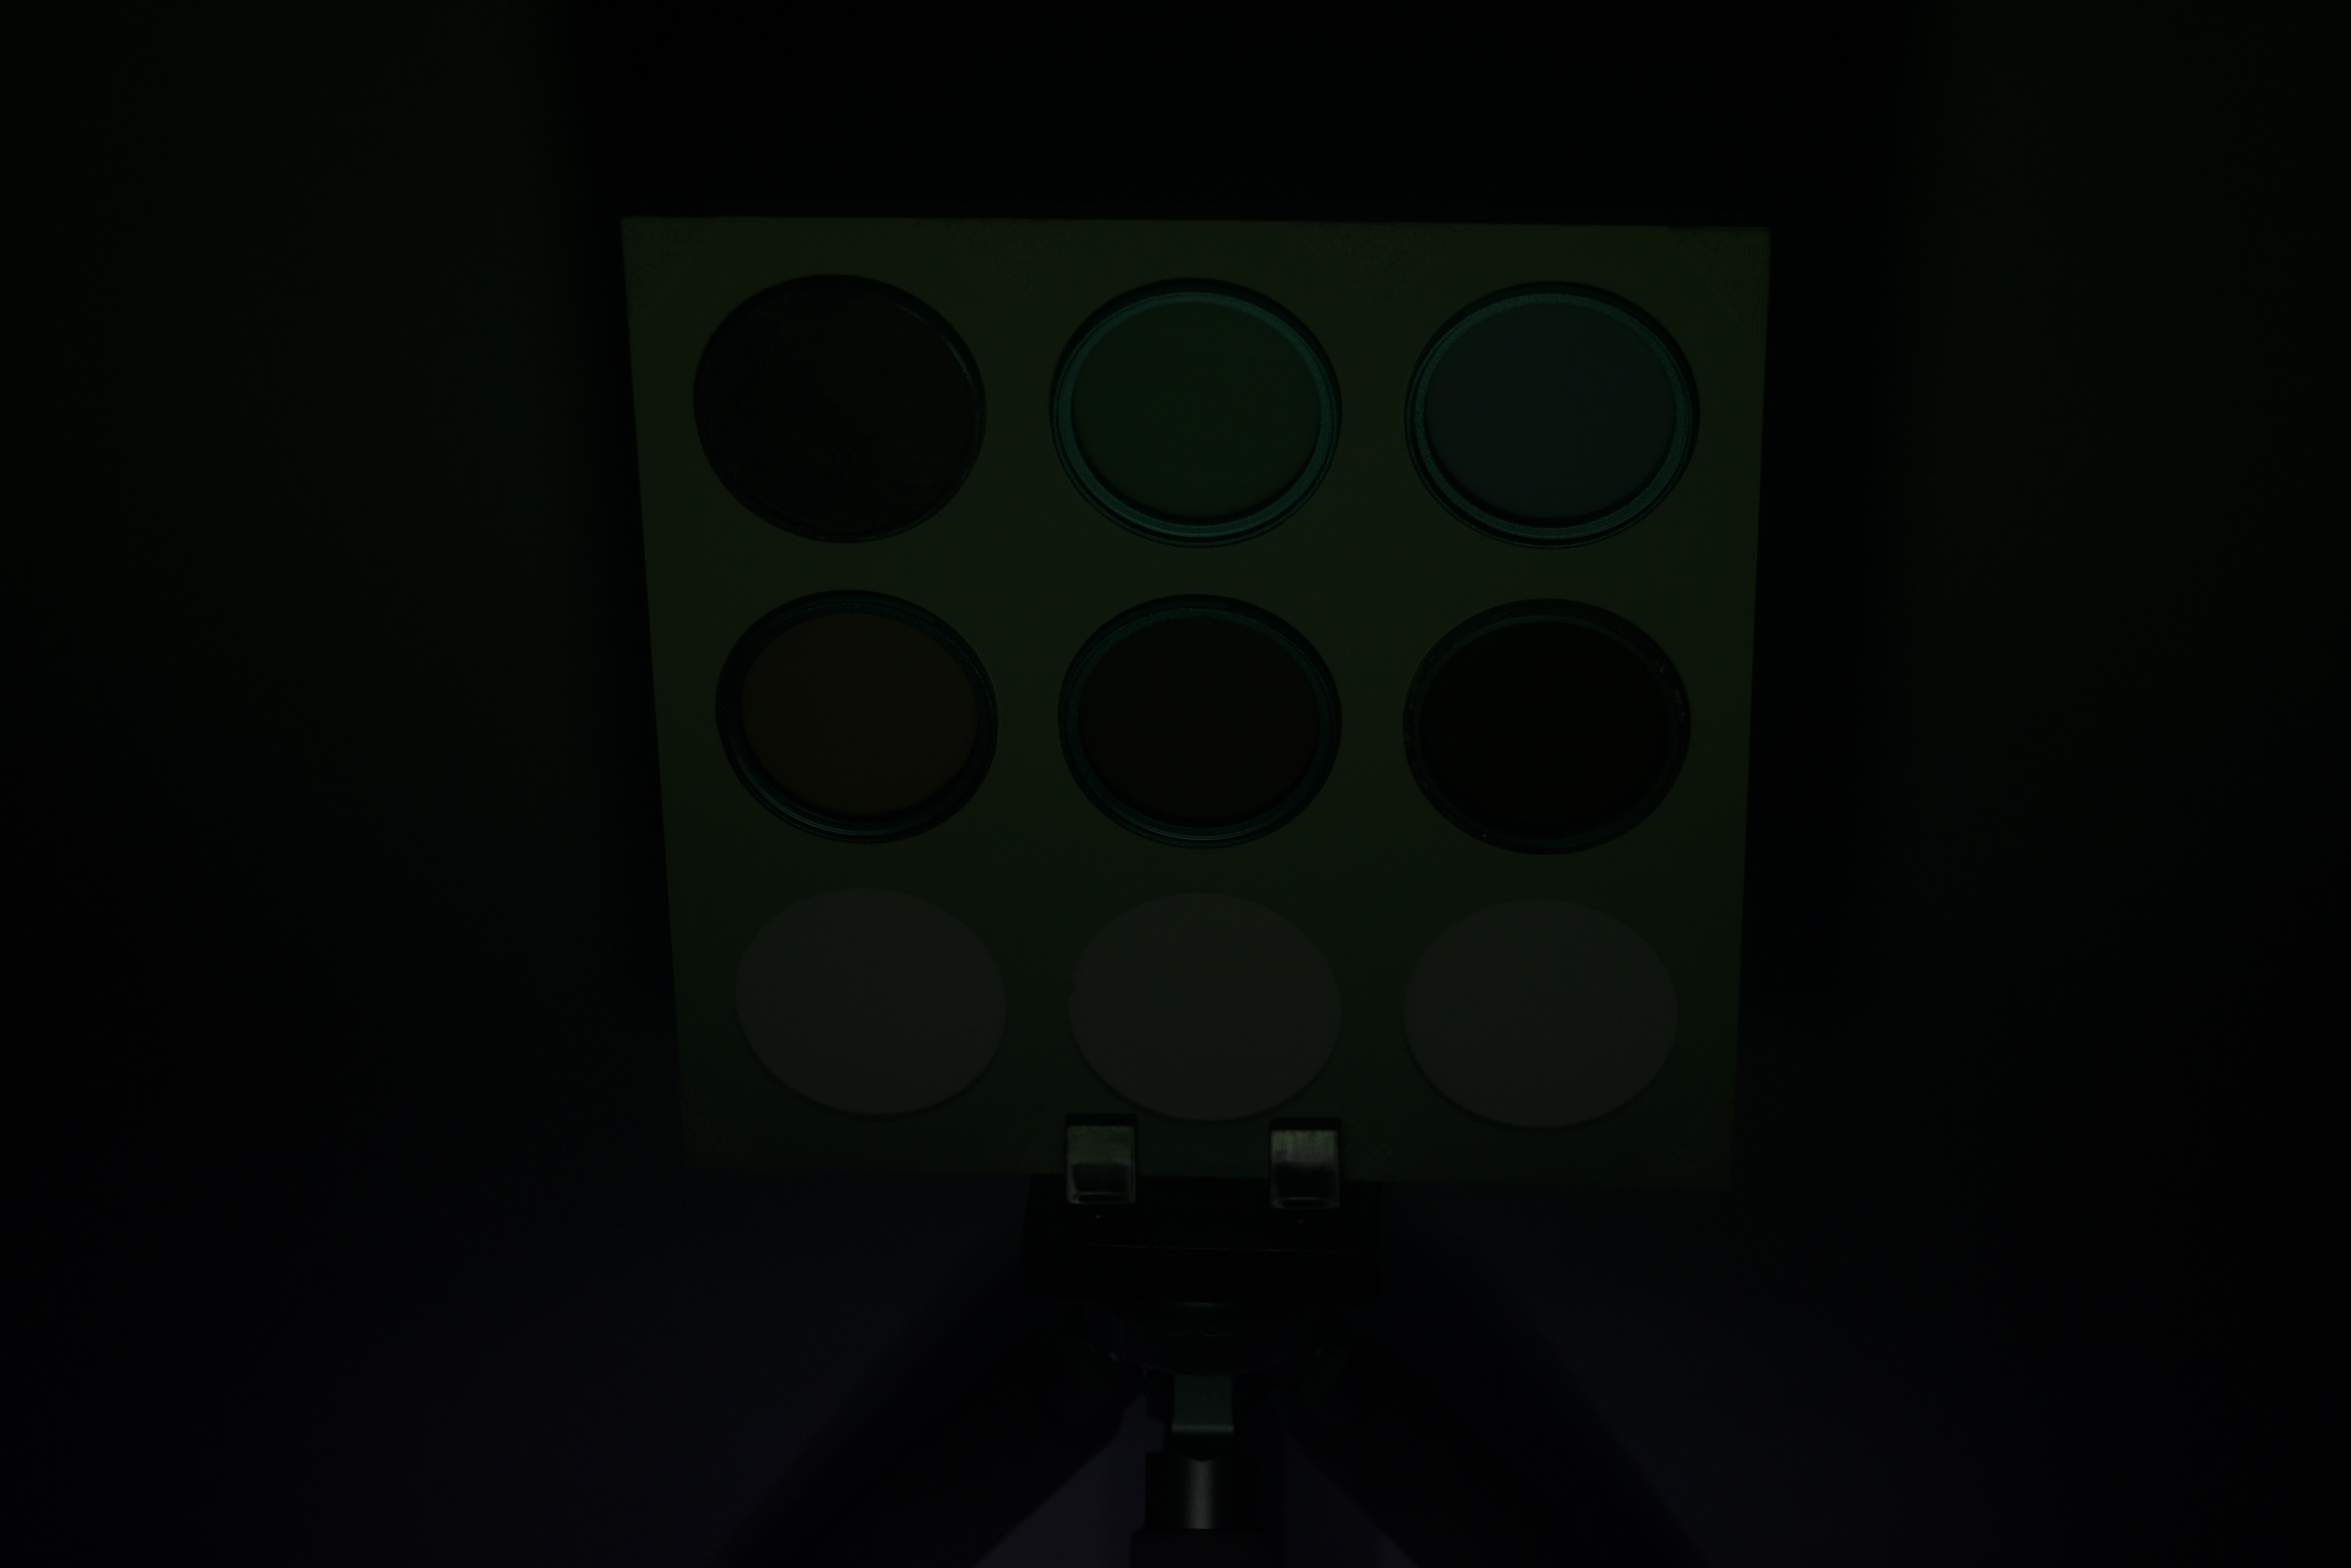
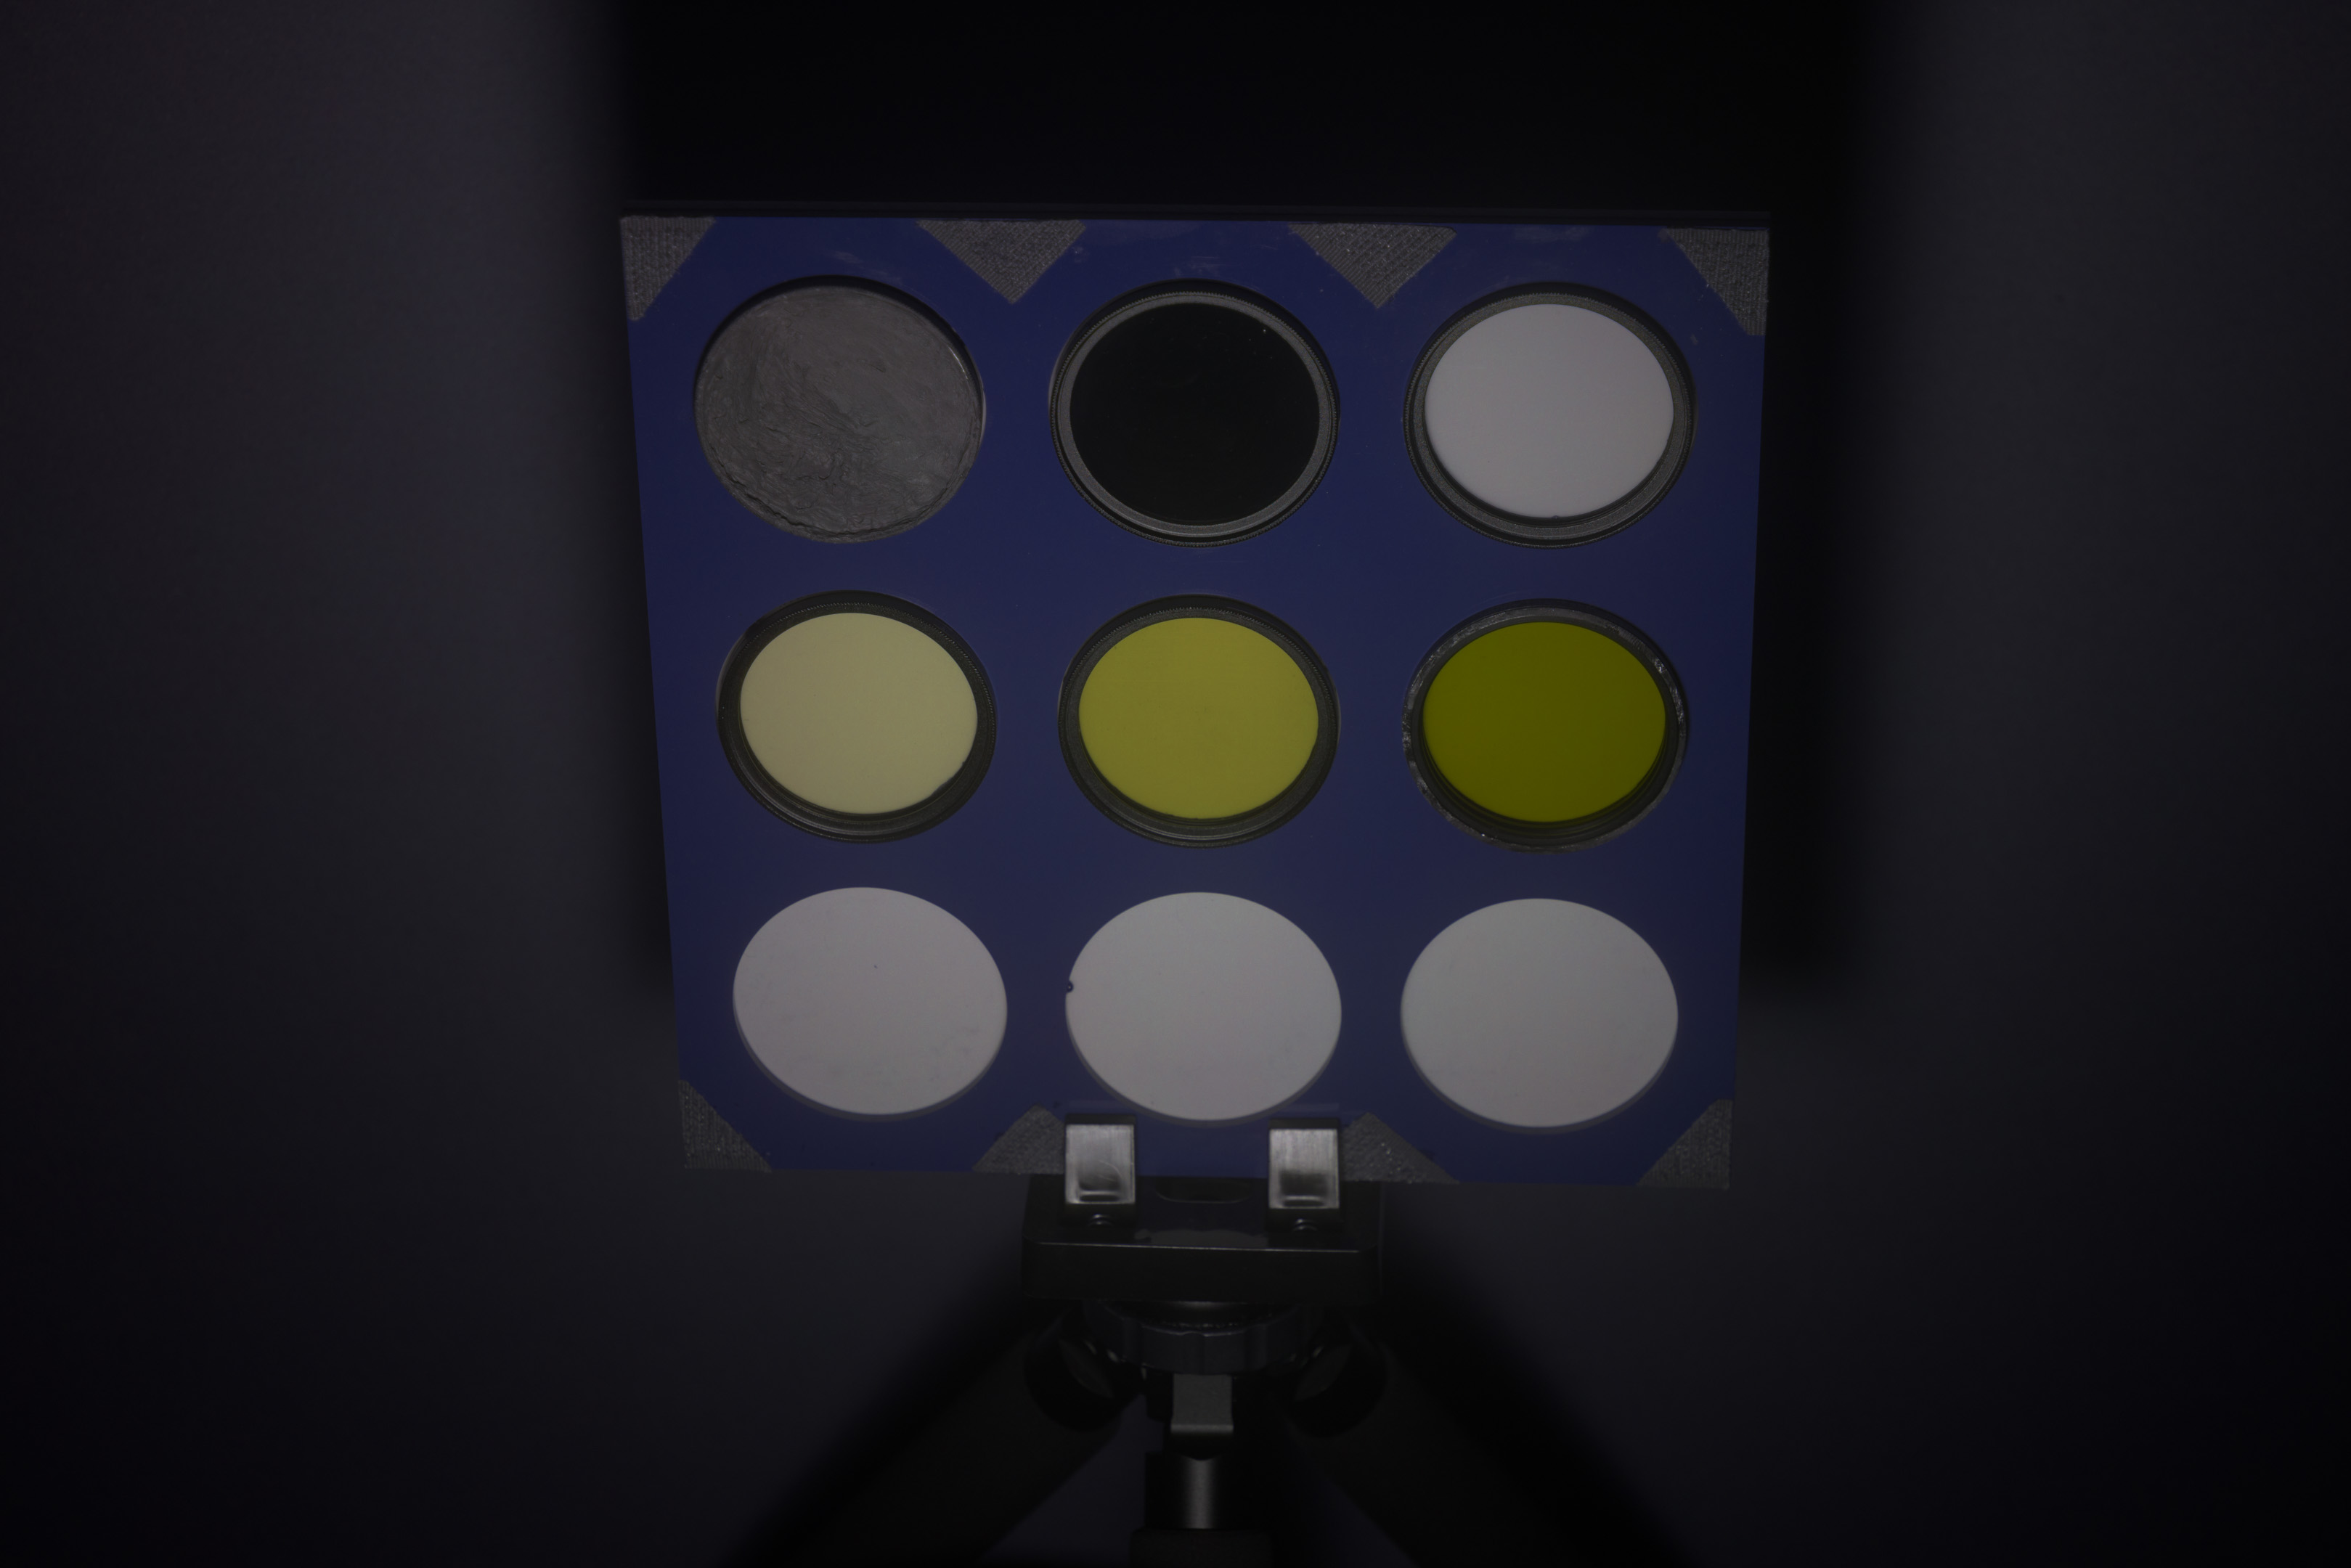
First we'll test the flashes to see if any output UV as they are. The test images are shot with a full spectrum converted Canon R5, 80mm/5.6 EL-Nikkor lens at f/5.6, and Baader U UV pass filter.

MF12, full power ISO 400

IT30 Pro at normal setting, full power ISO 400

IT30 Pro at wide setting, full power ISO 400

TT350, full power ISO 400
V480, full power ISO 400
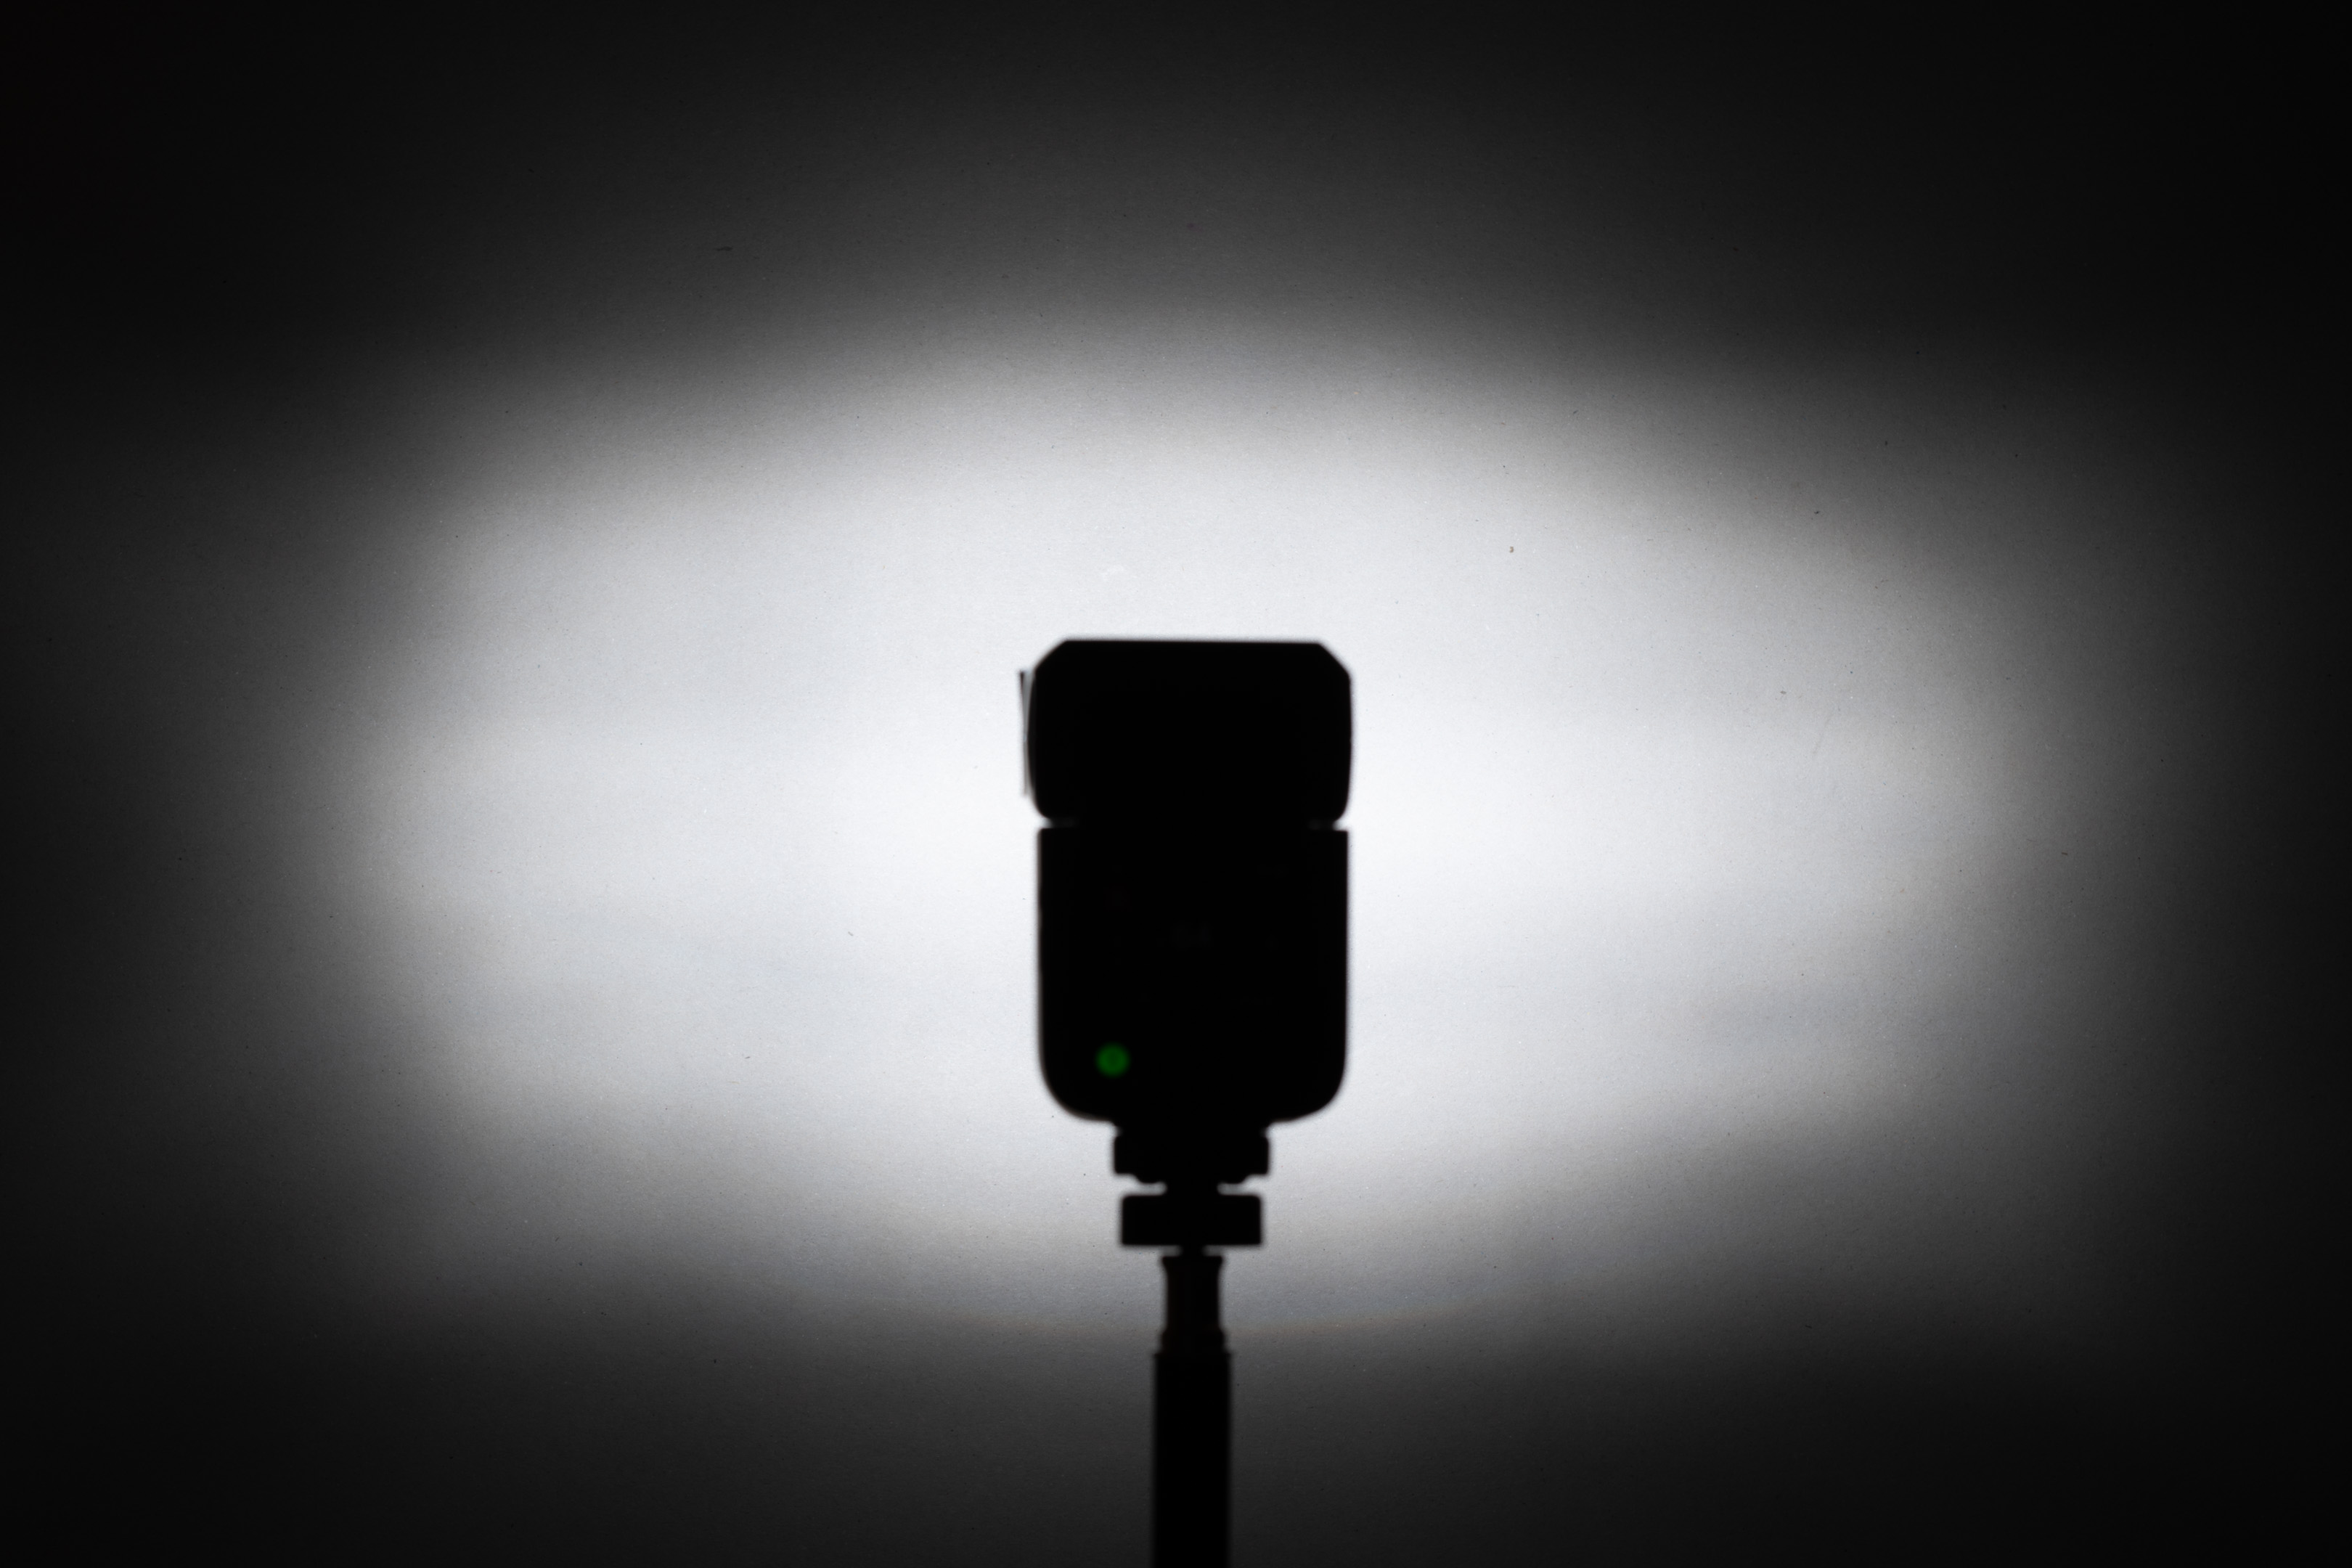
V860II, full power ISO 400

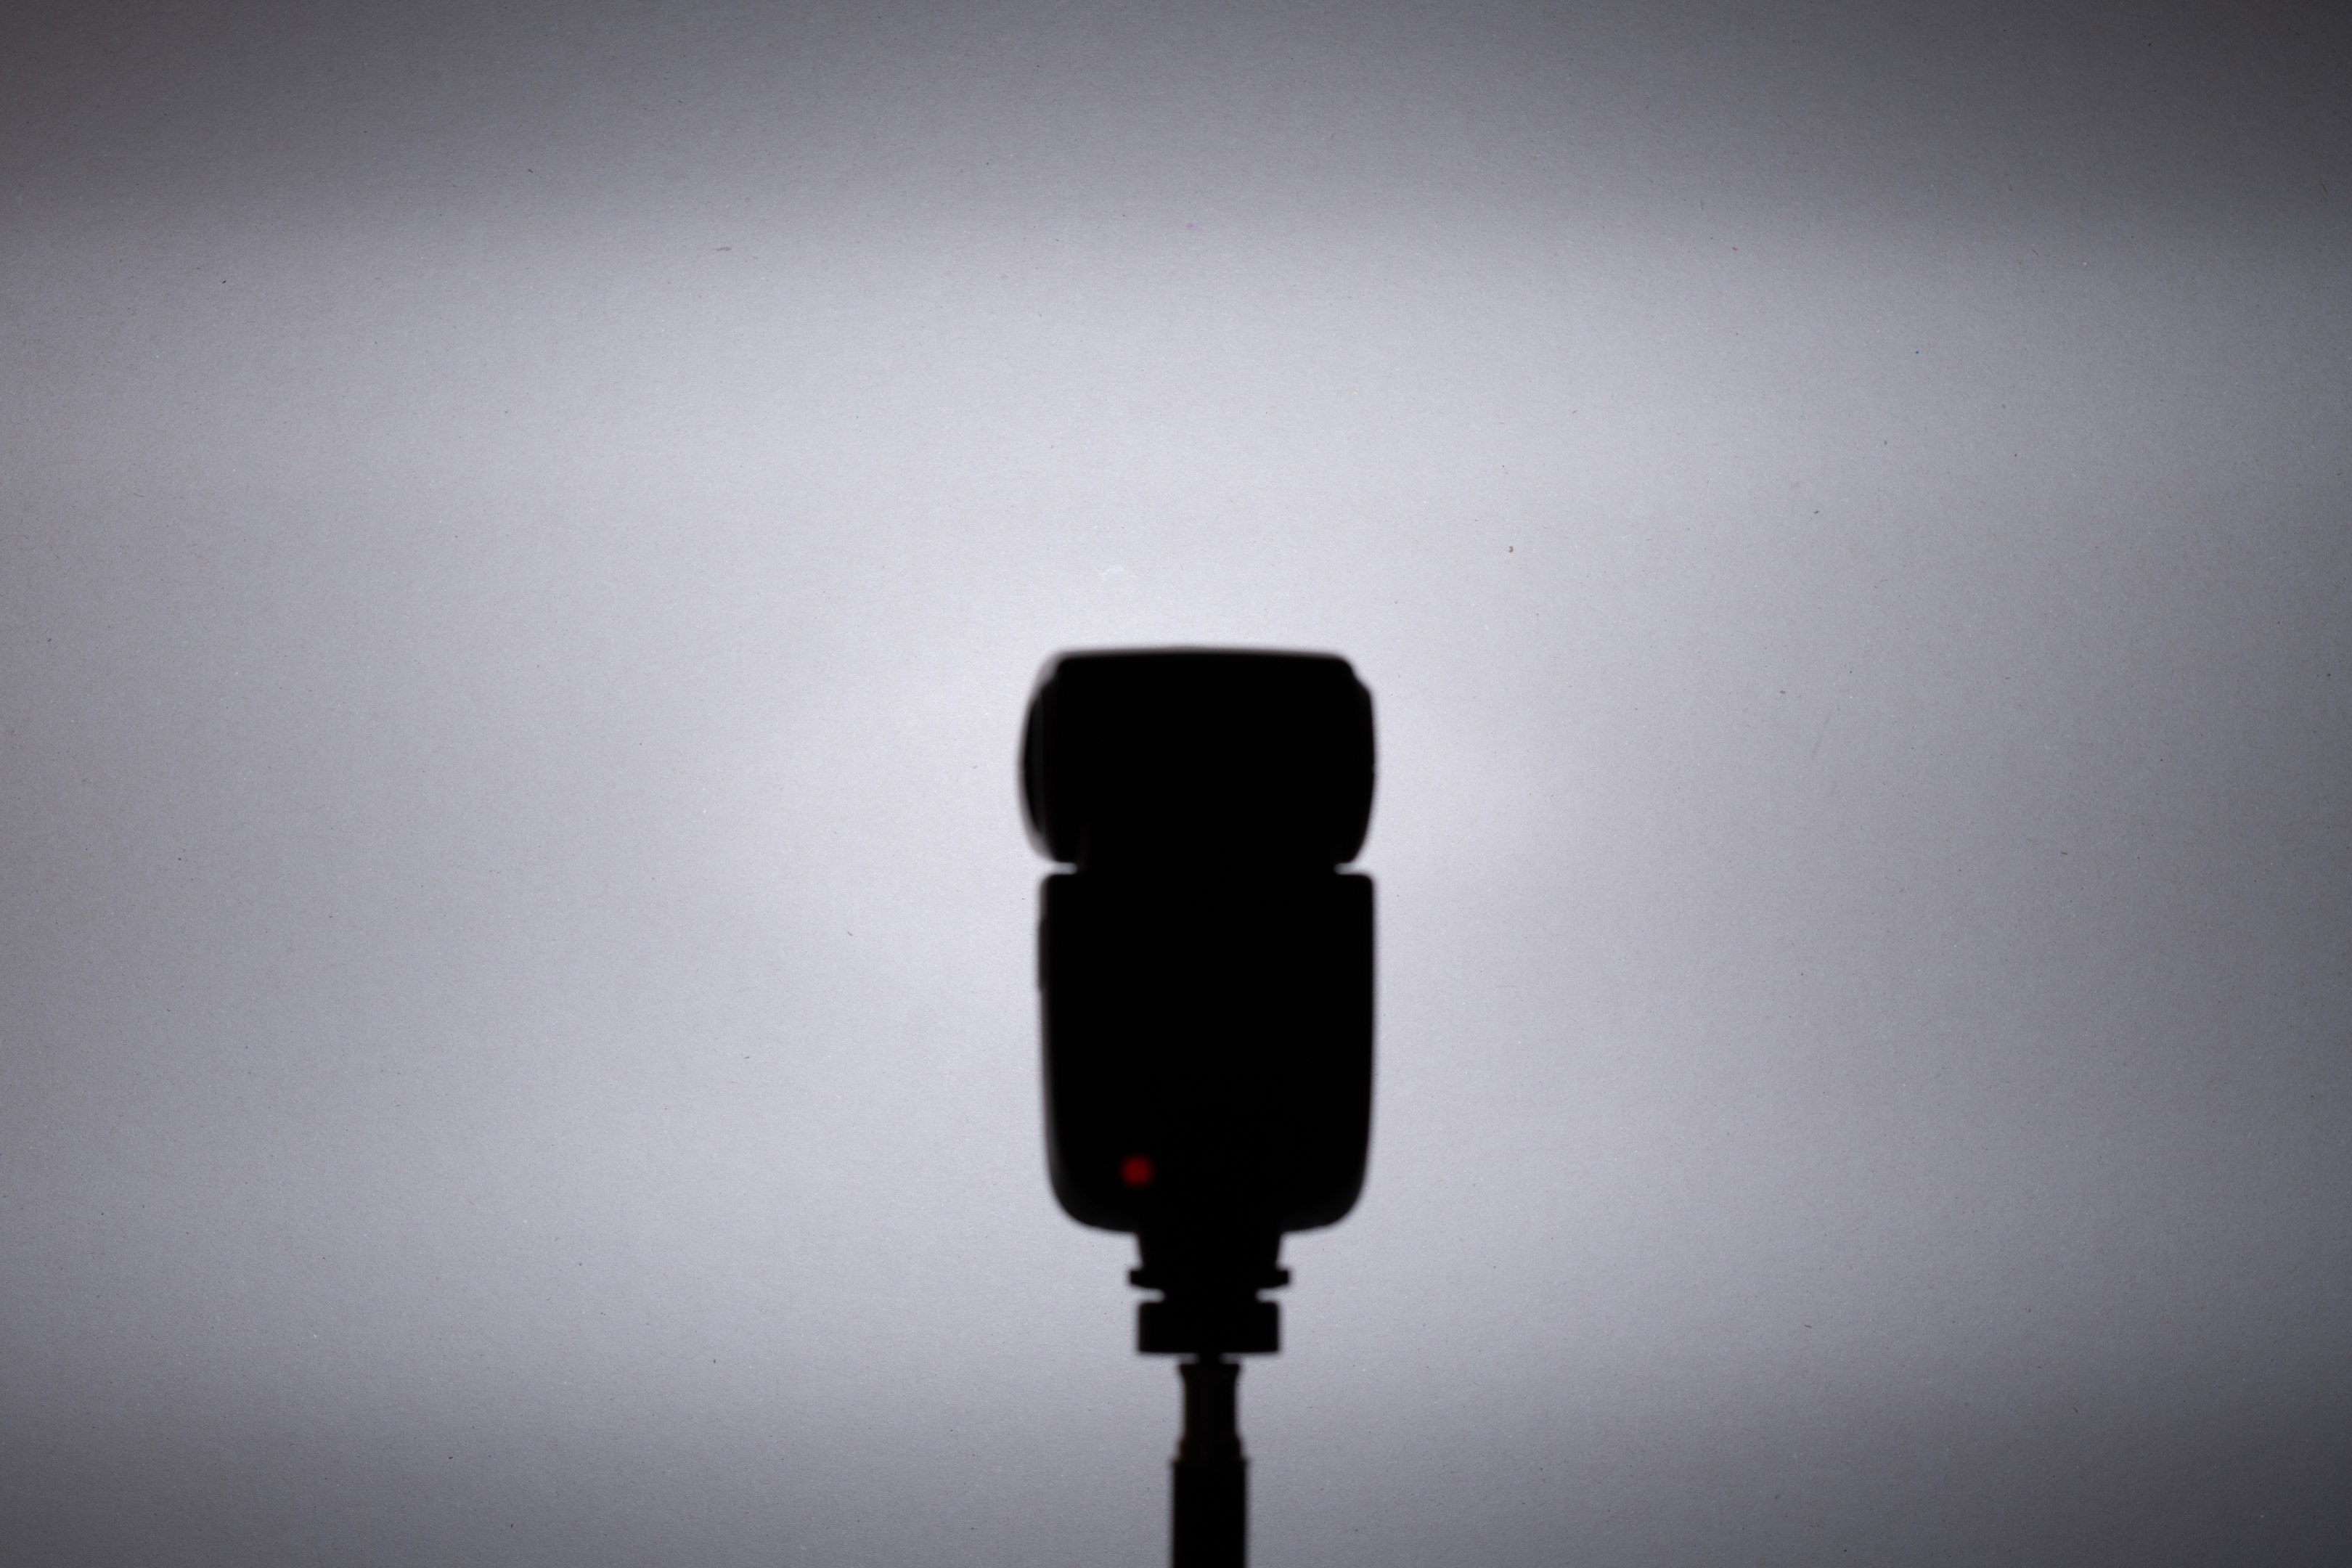
V1, full power ISO 400
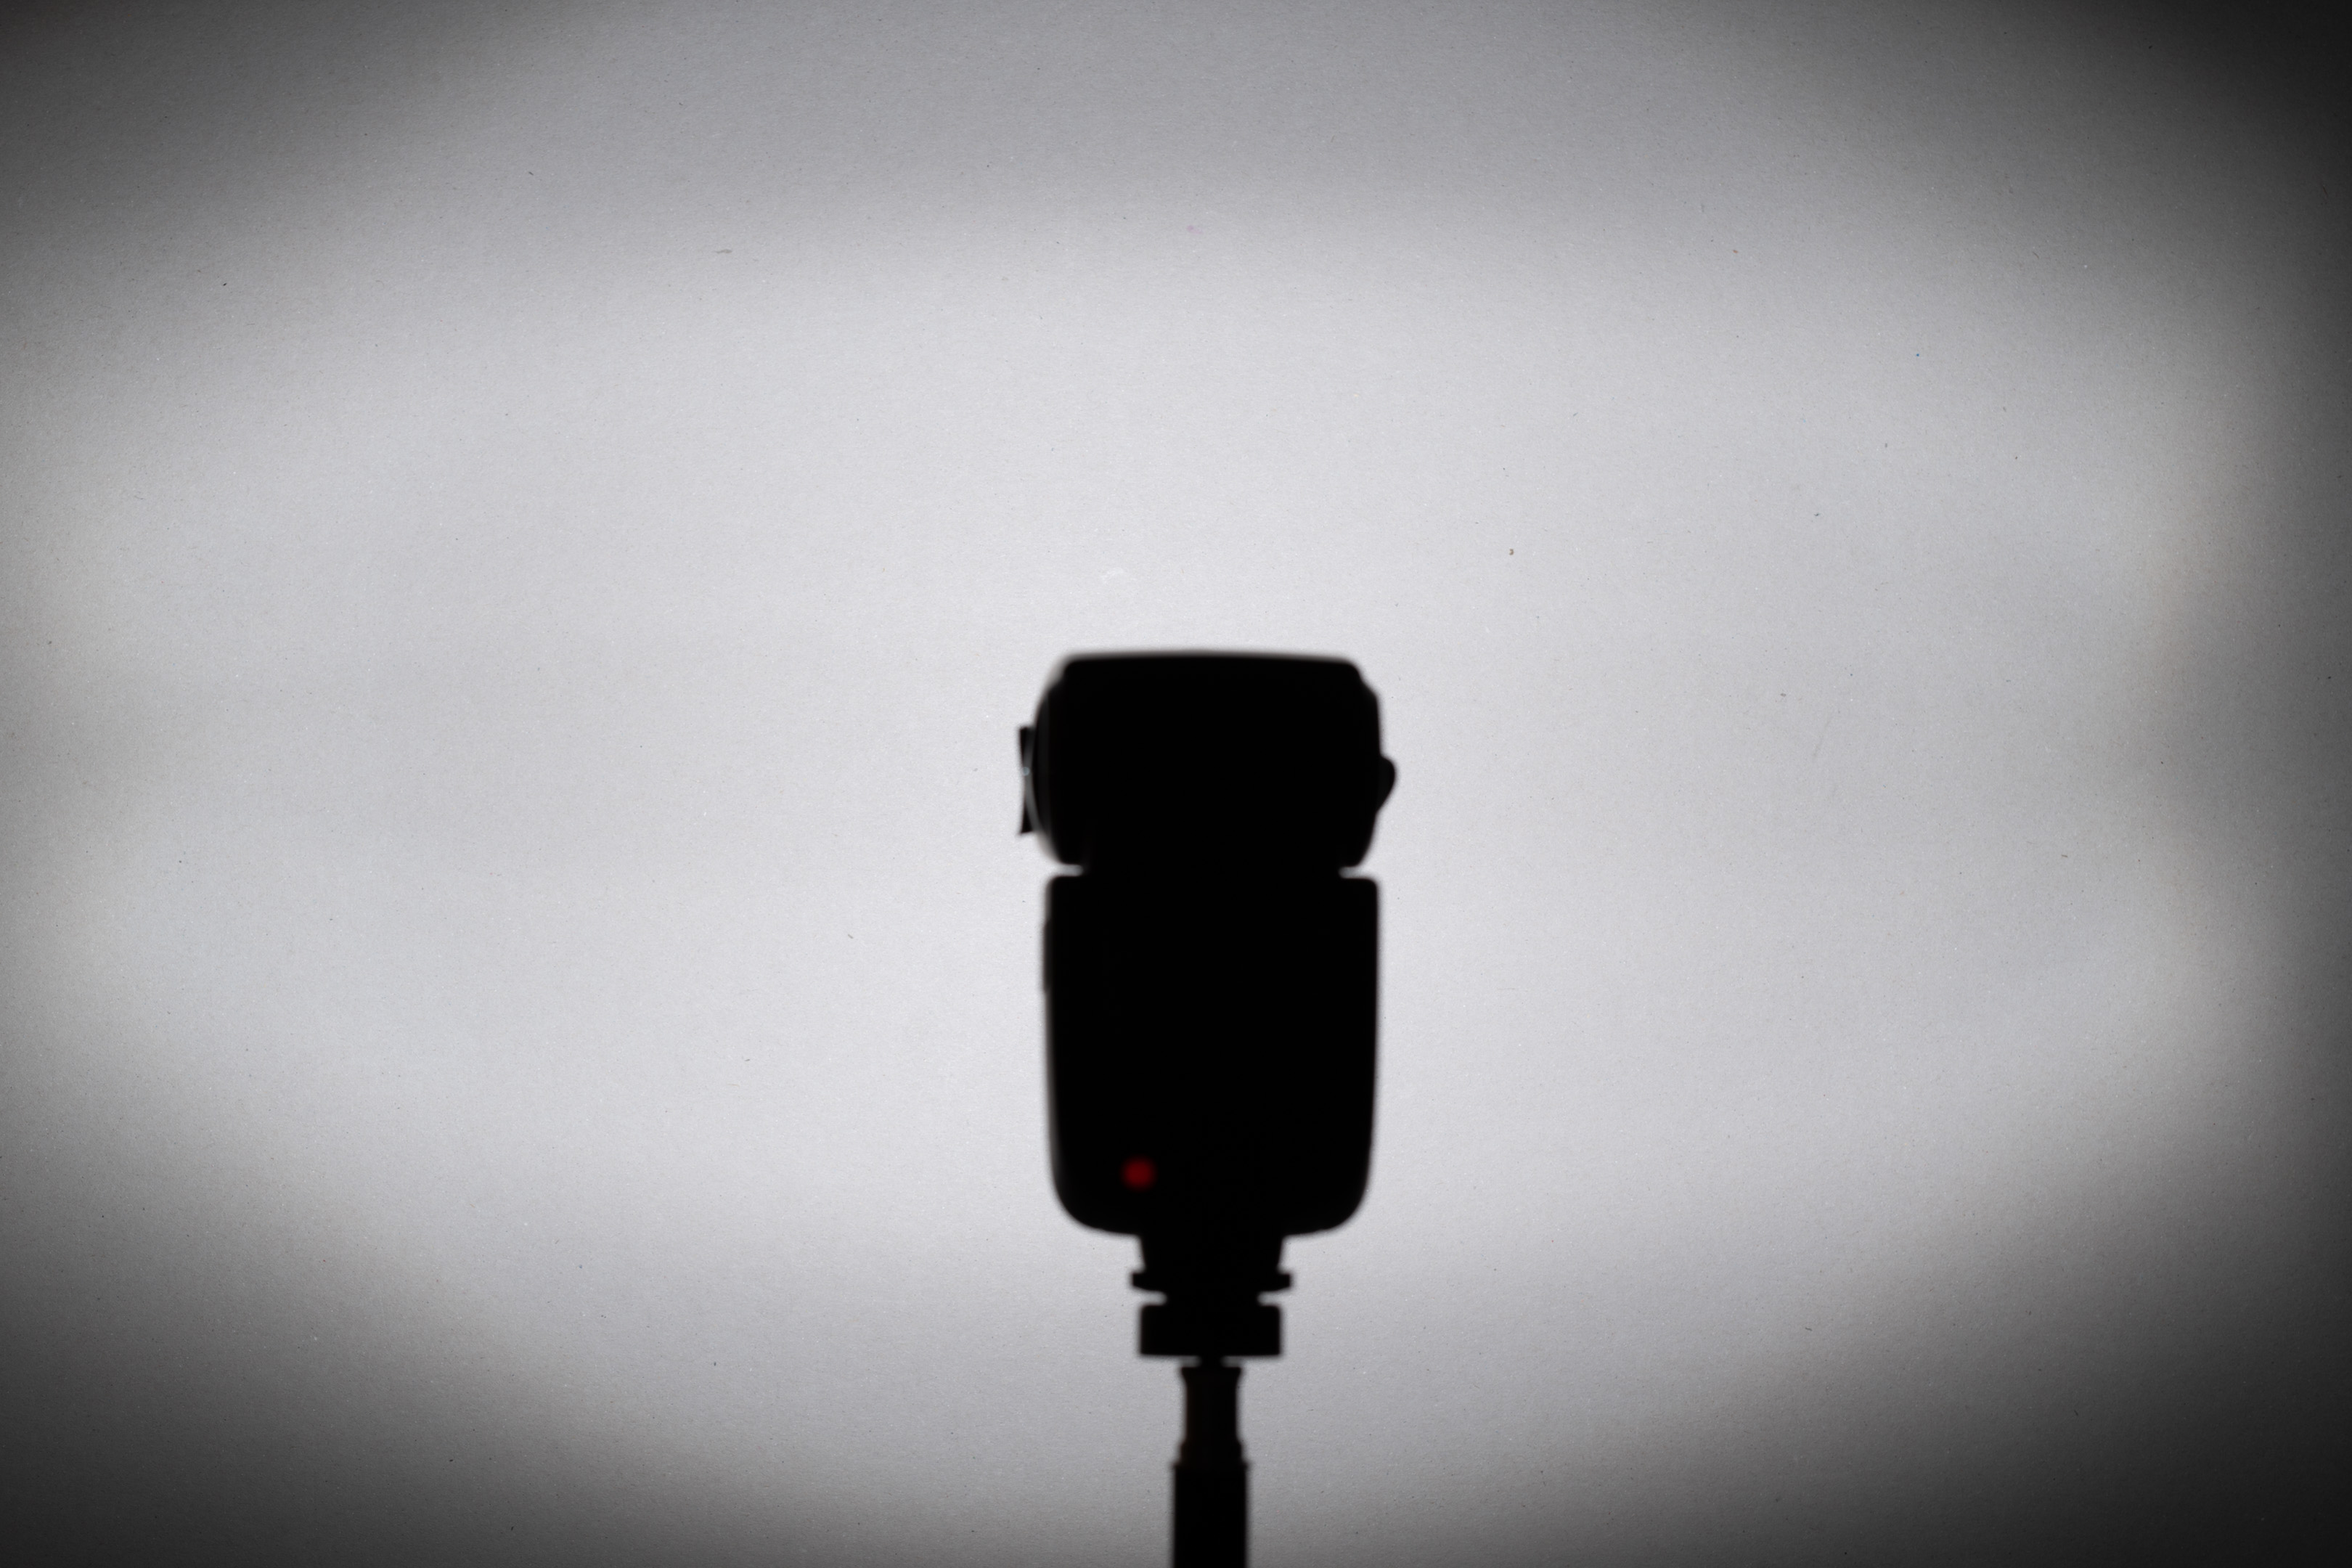
AD100 Pro, full power ISO 400
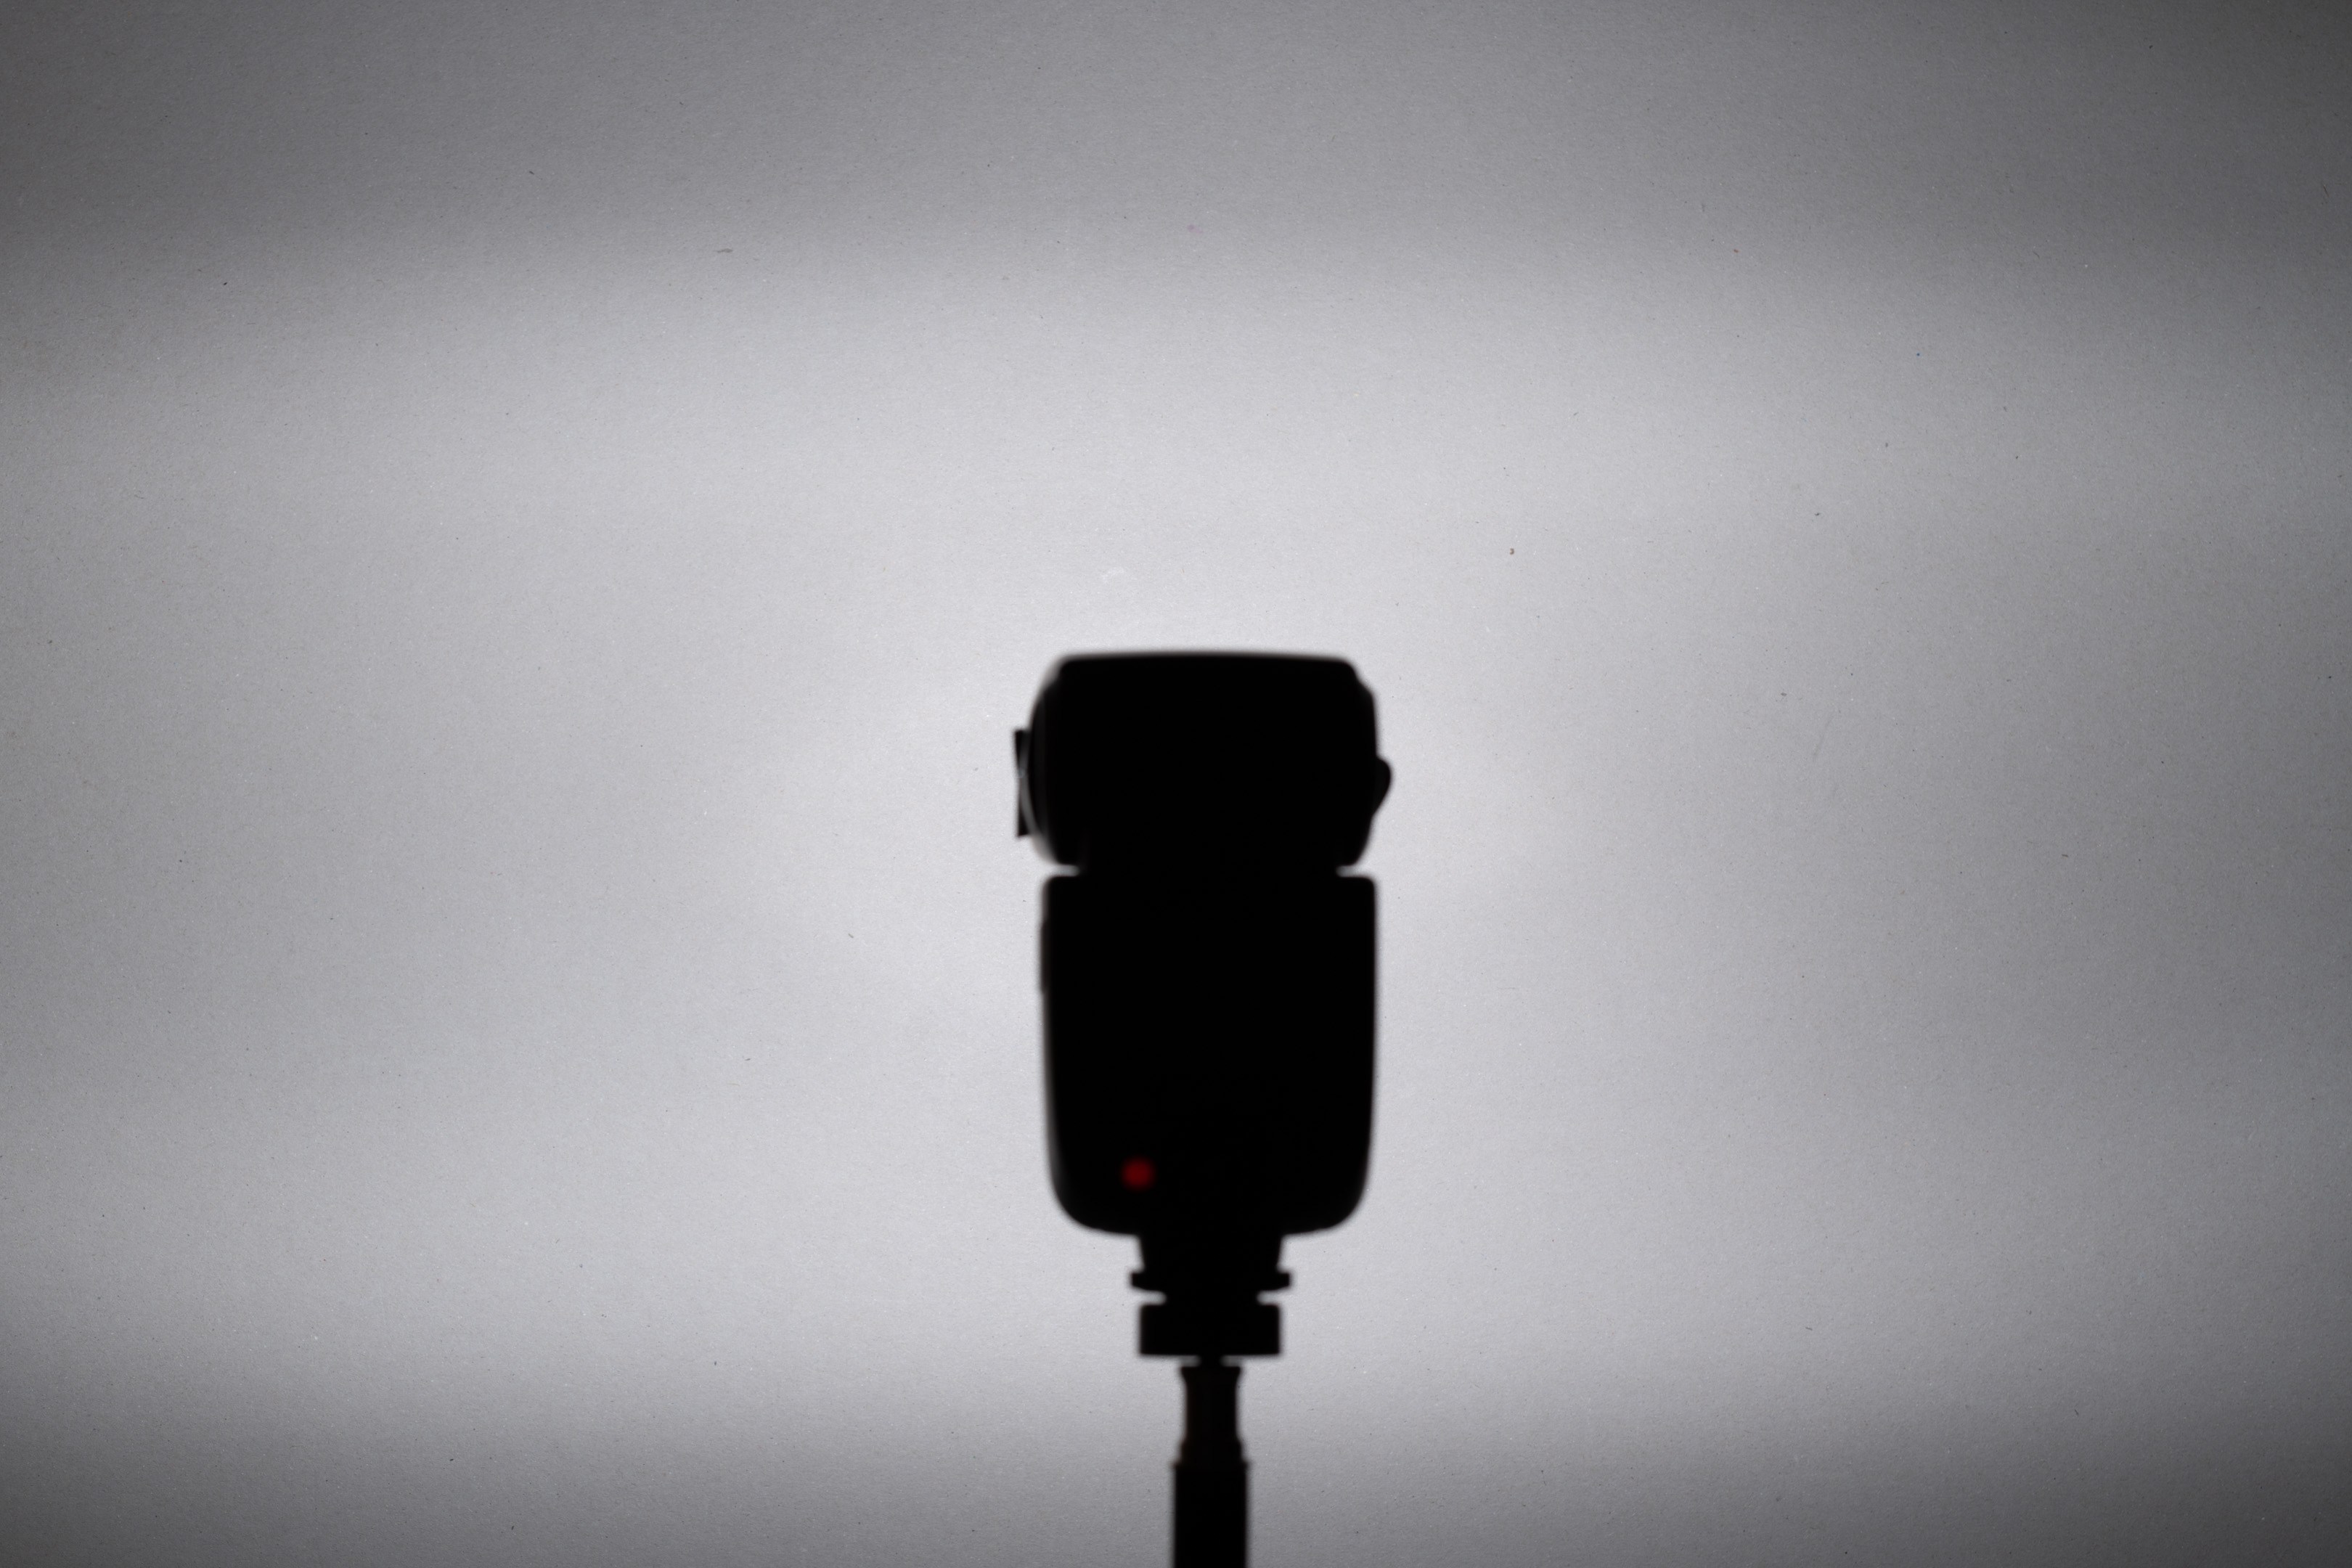
AD200 Pro with standard head, full power ISO 400
AD200 Pro bulb head + AD-S2 reflector, 1/4 power ISO 100
As you can see, only the AD200 with the bare bulb outputs any UV.
Conversion for UV photography
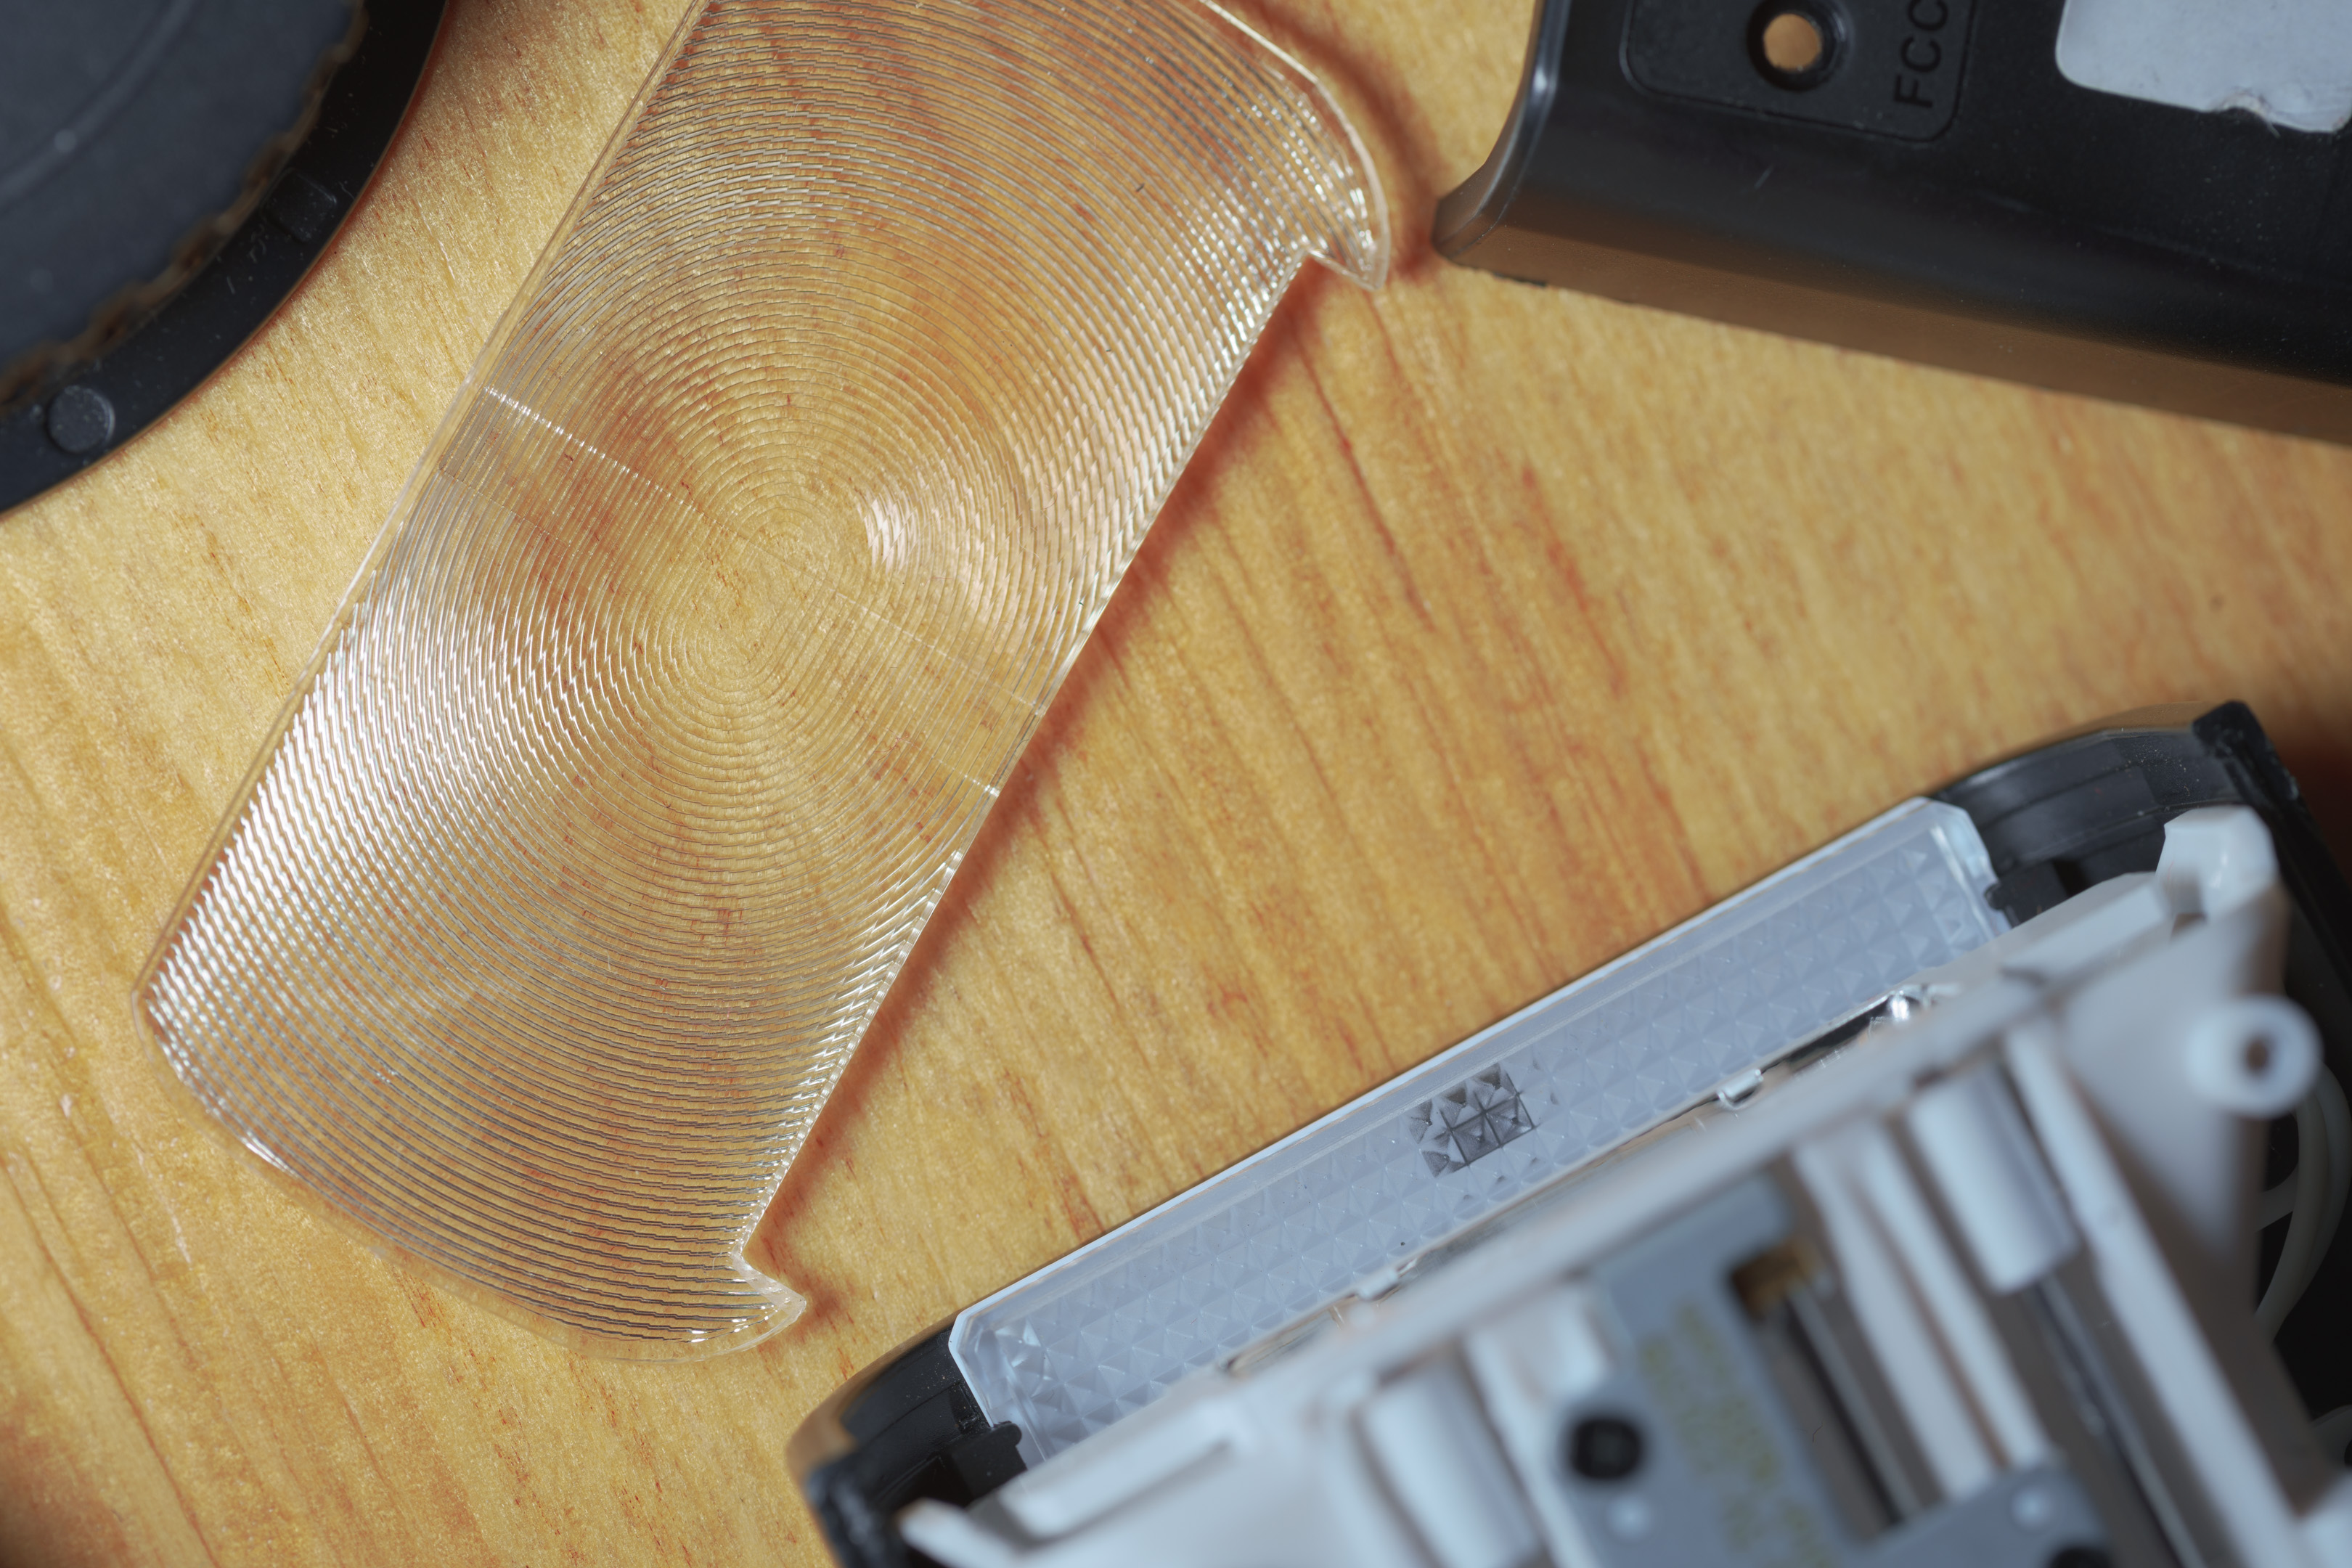
To get the flashes to output ultraviolet you need to remove the Fresnel lens at the front, as this blocks the UV output of the flash tube. For these tests, I have generally just left the front of the flash empty, but you should replace the Fresnel lens with some other glass or plastic that does not block UV. Leaving it open means your flash tube could get broken and is also dangerous in case the flash tube explodes.
I will hopefully be ordering some sunbed grade acrylic pieces to replace the Fresnel lenses on these flashes, but in the past I have just used the plastic from an old CD case.
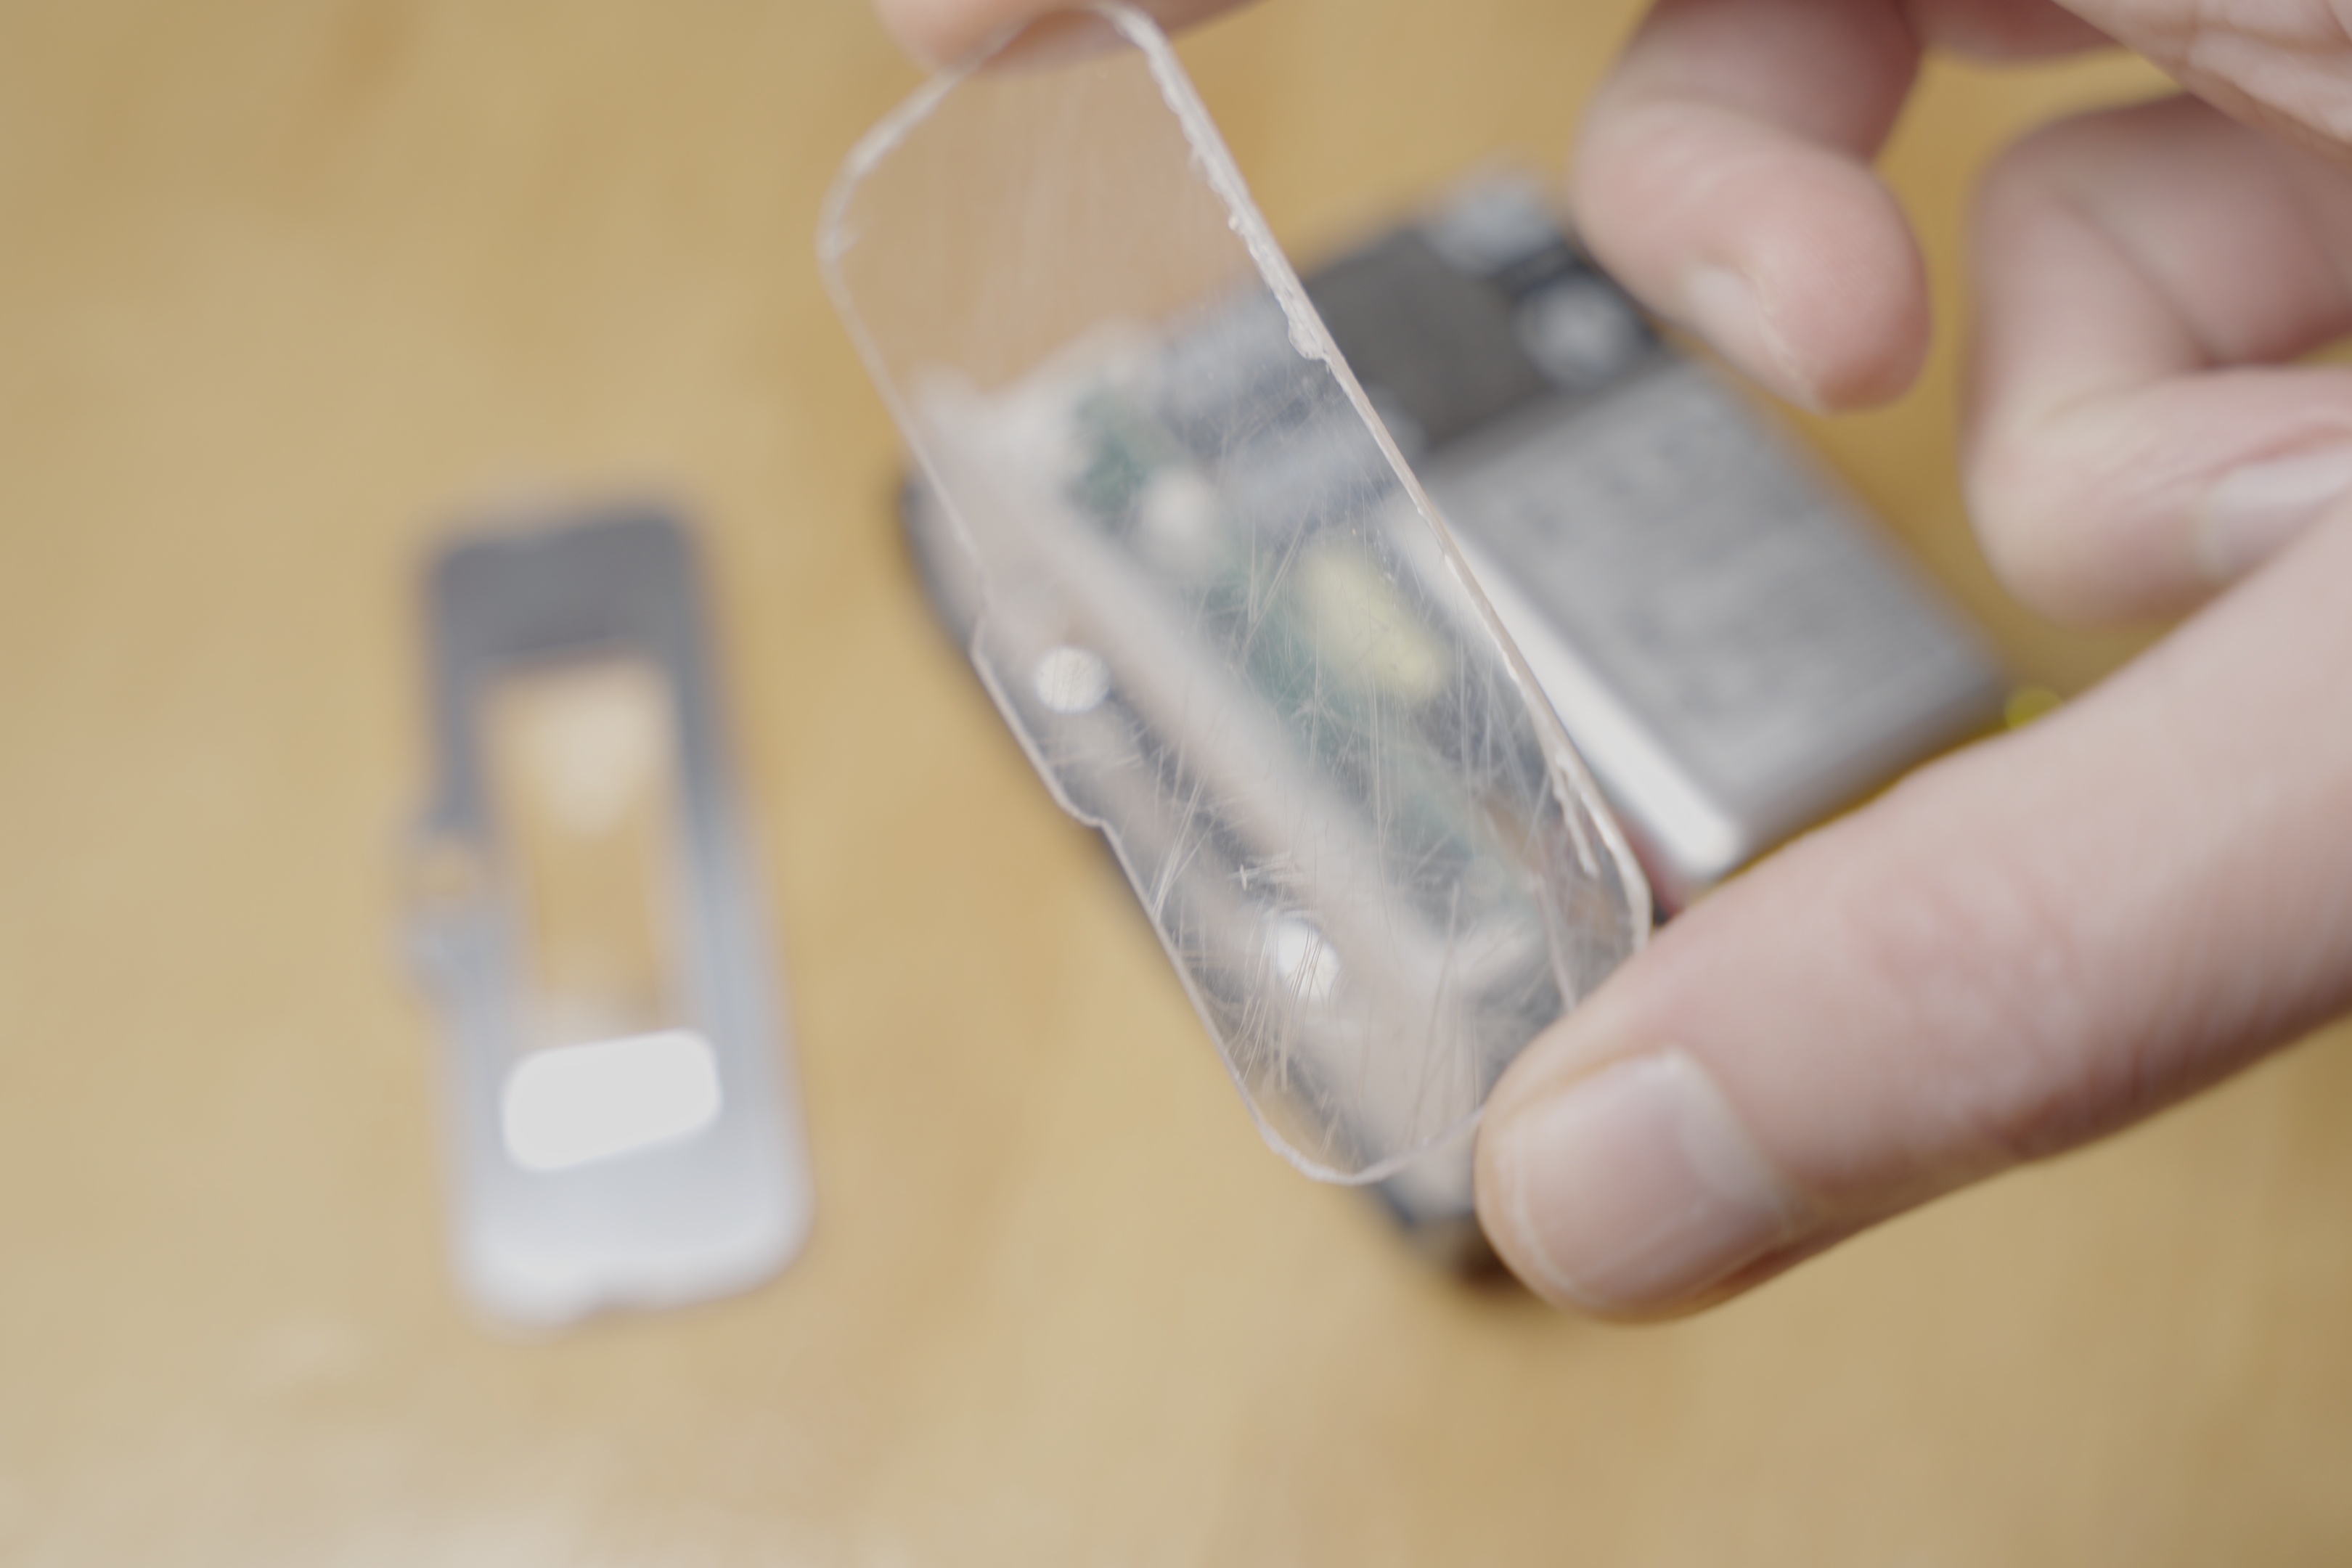
Plastic from an old CD case cut to fit the MF12 to protect the flash tube
MF12 dismantle
Undo the two screws near the front on the bottom. Use a spudger to prise the two halves of the flash casing apart.
Screw holes in the bottom
Spudger halves apart
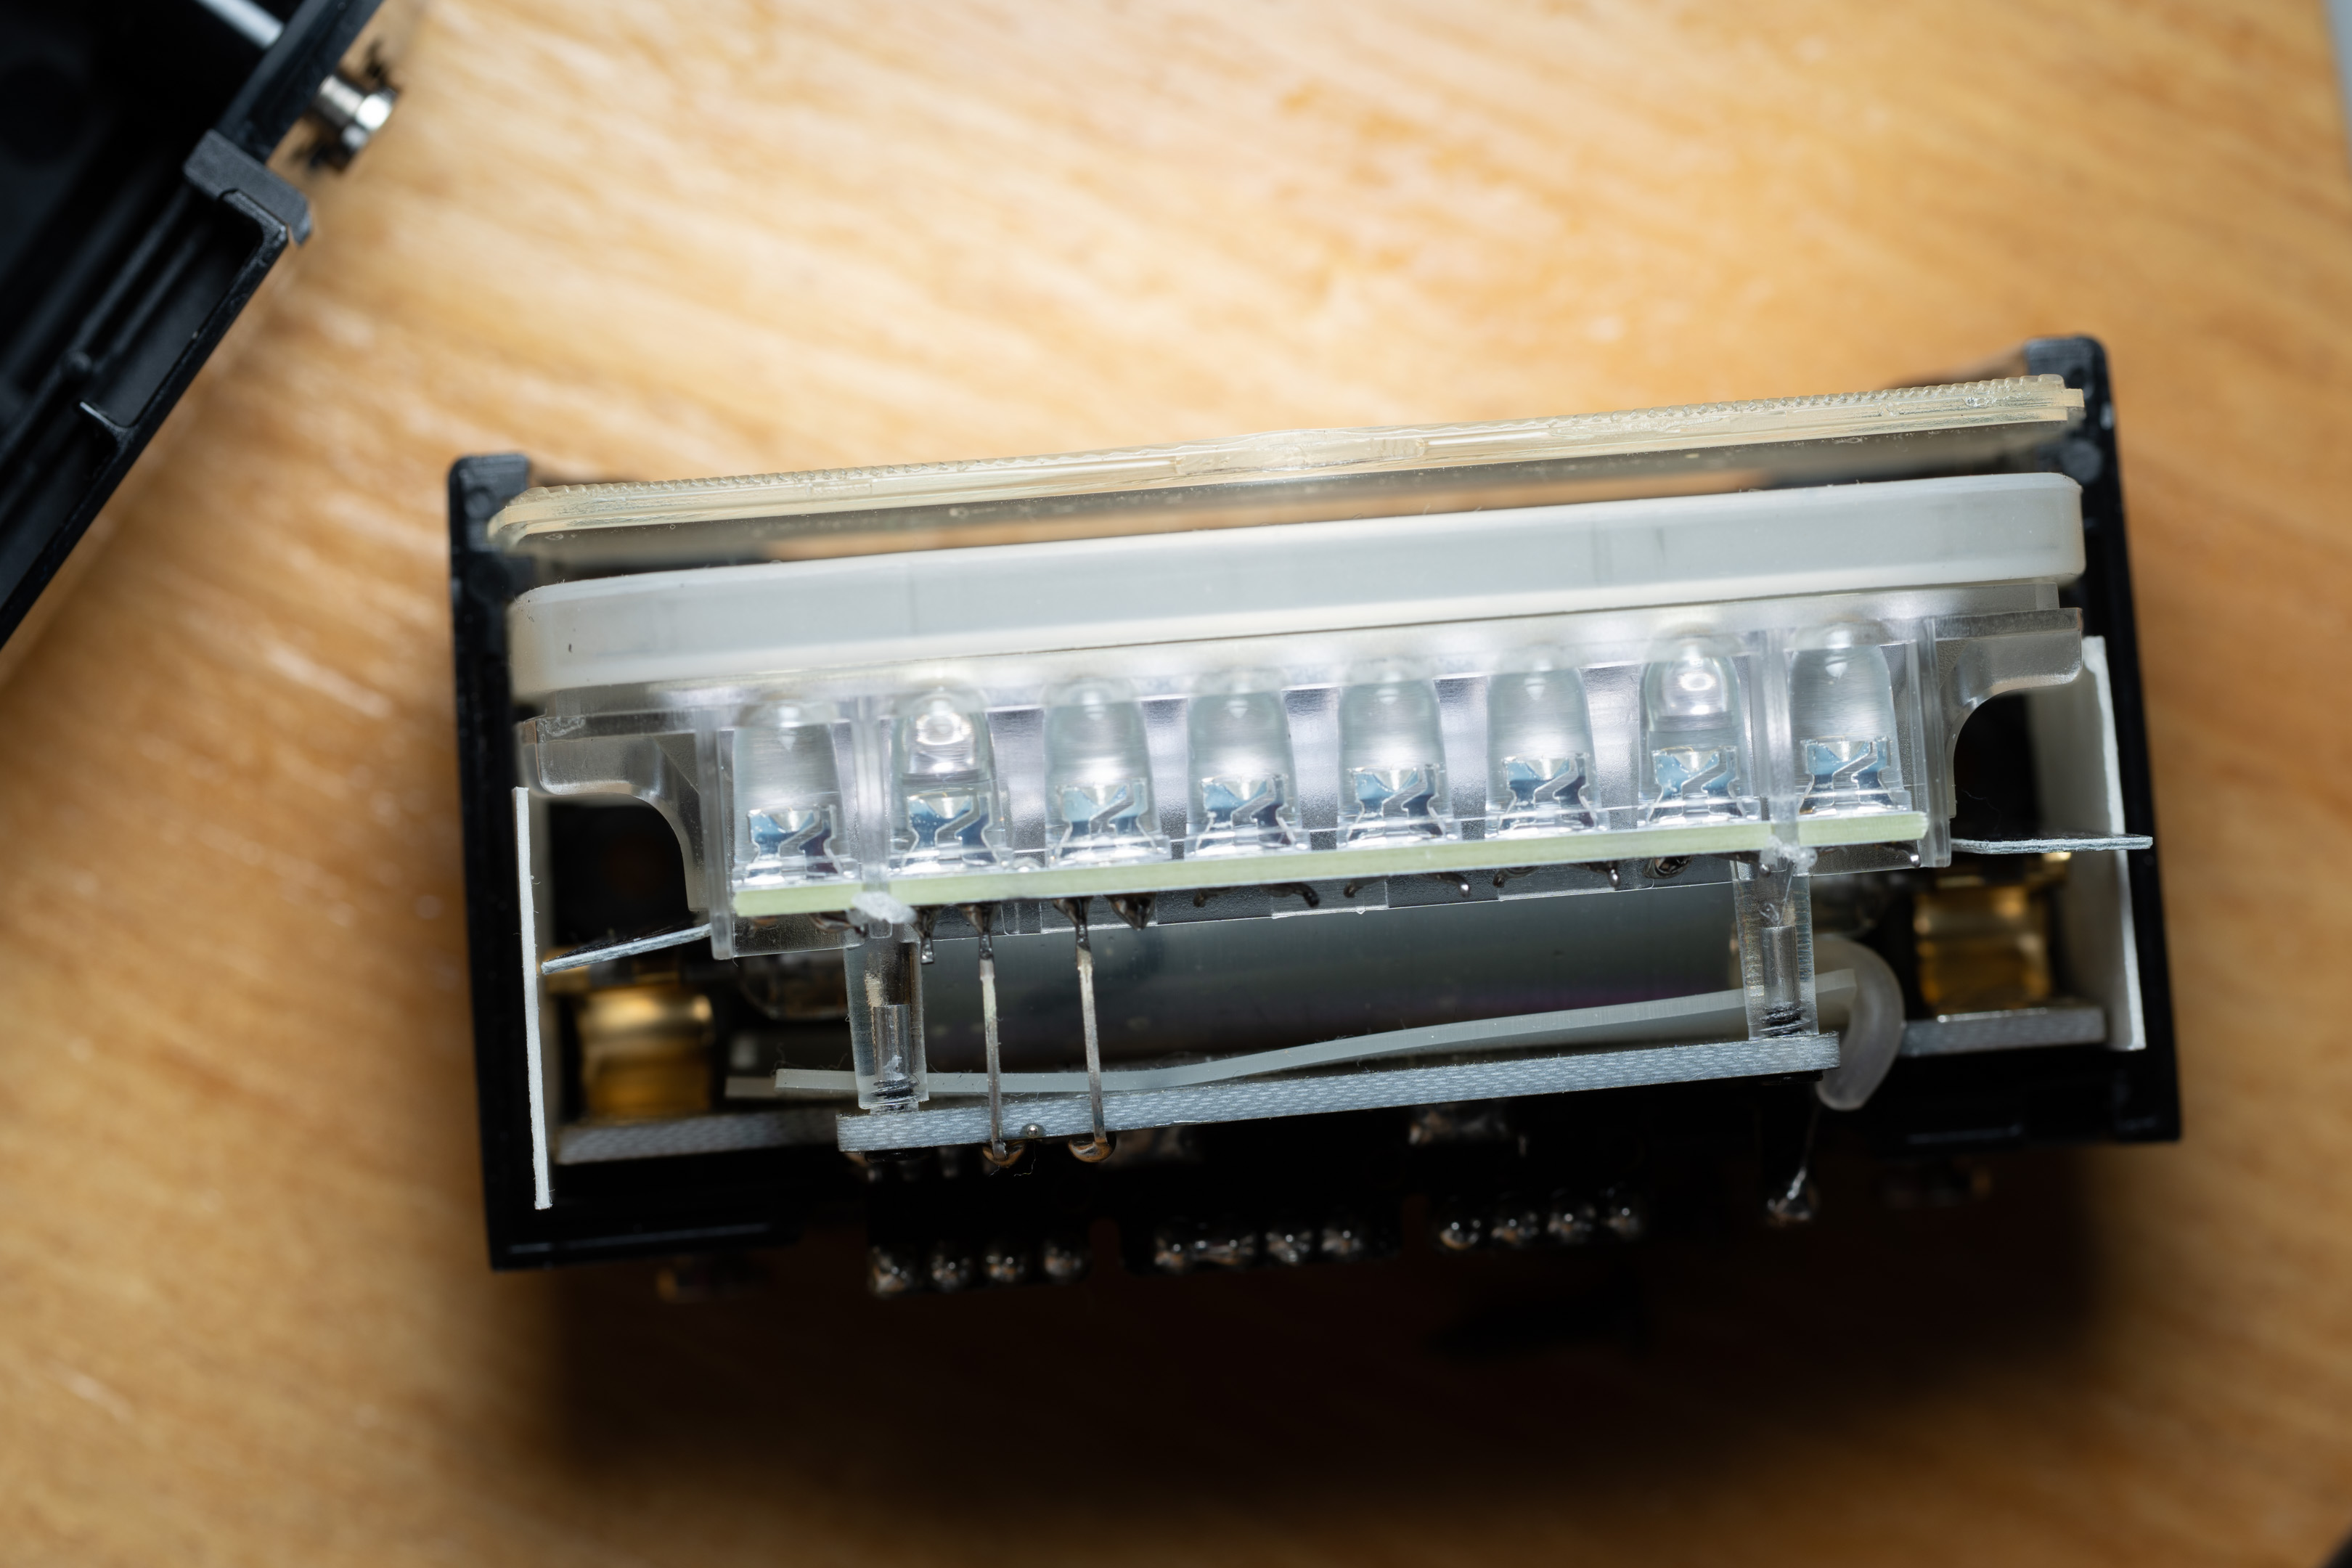
Carefully pull up the front part of the flash where the Fresnel is enough so that you can remove the Fresnel. Note that the front PCB with the flash tube attaches to the lower PCB via a set of pins, and these will likely come unsocketed when removing the Fresnel, so be sure to carefully socket these back in when you are done.
Front lifted up to release Fresnel
Pins connecting the flash tube PCB and main PCB
The thin metal front part will need removing with the Fresnel lens as it sits inside a rim on the back of the Fresnel.
Fresnel removed
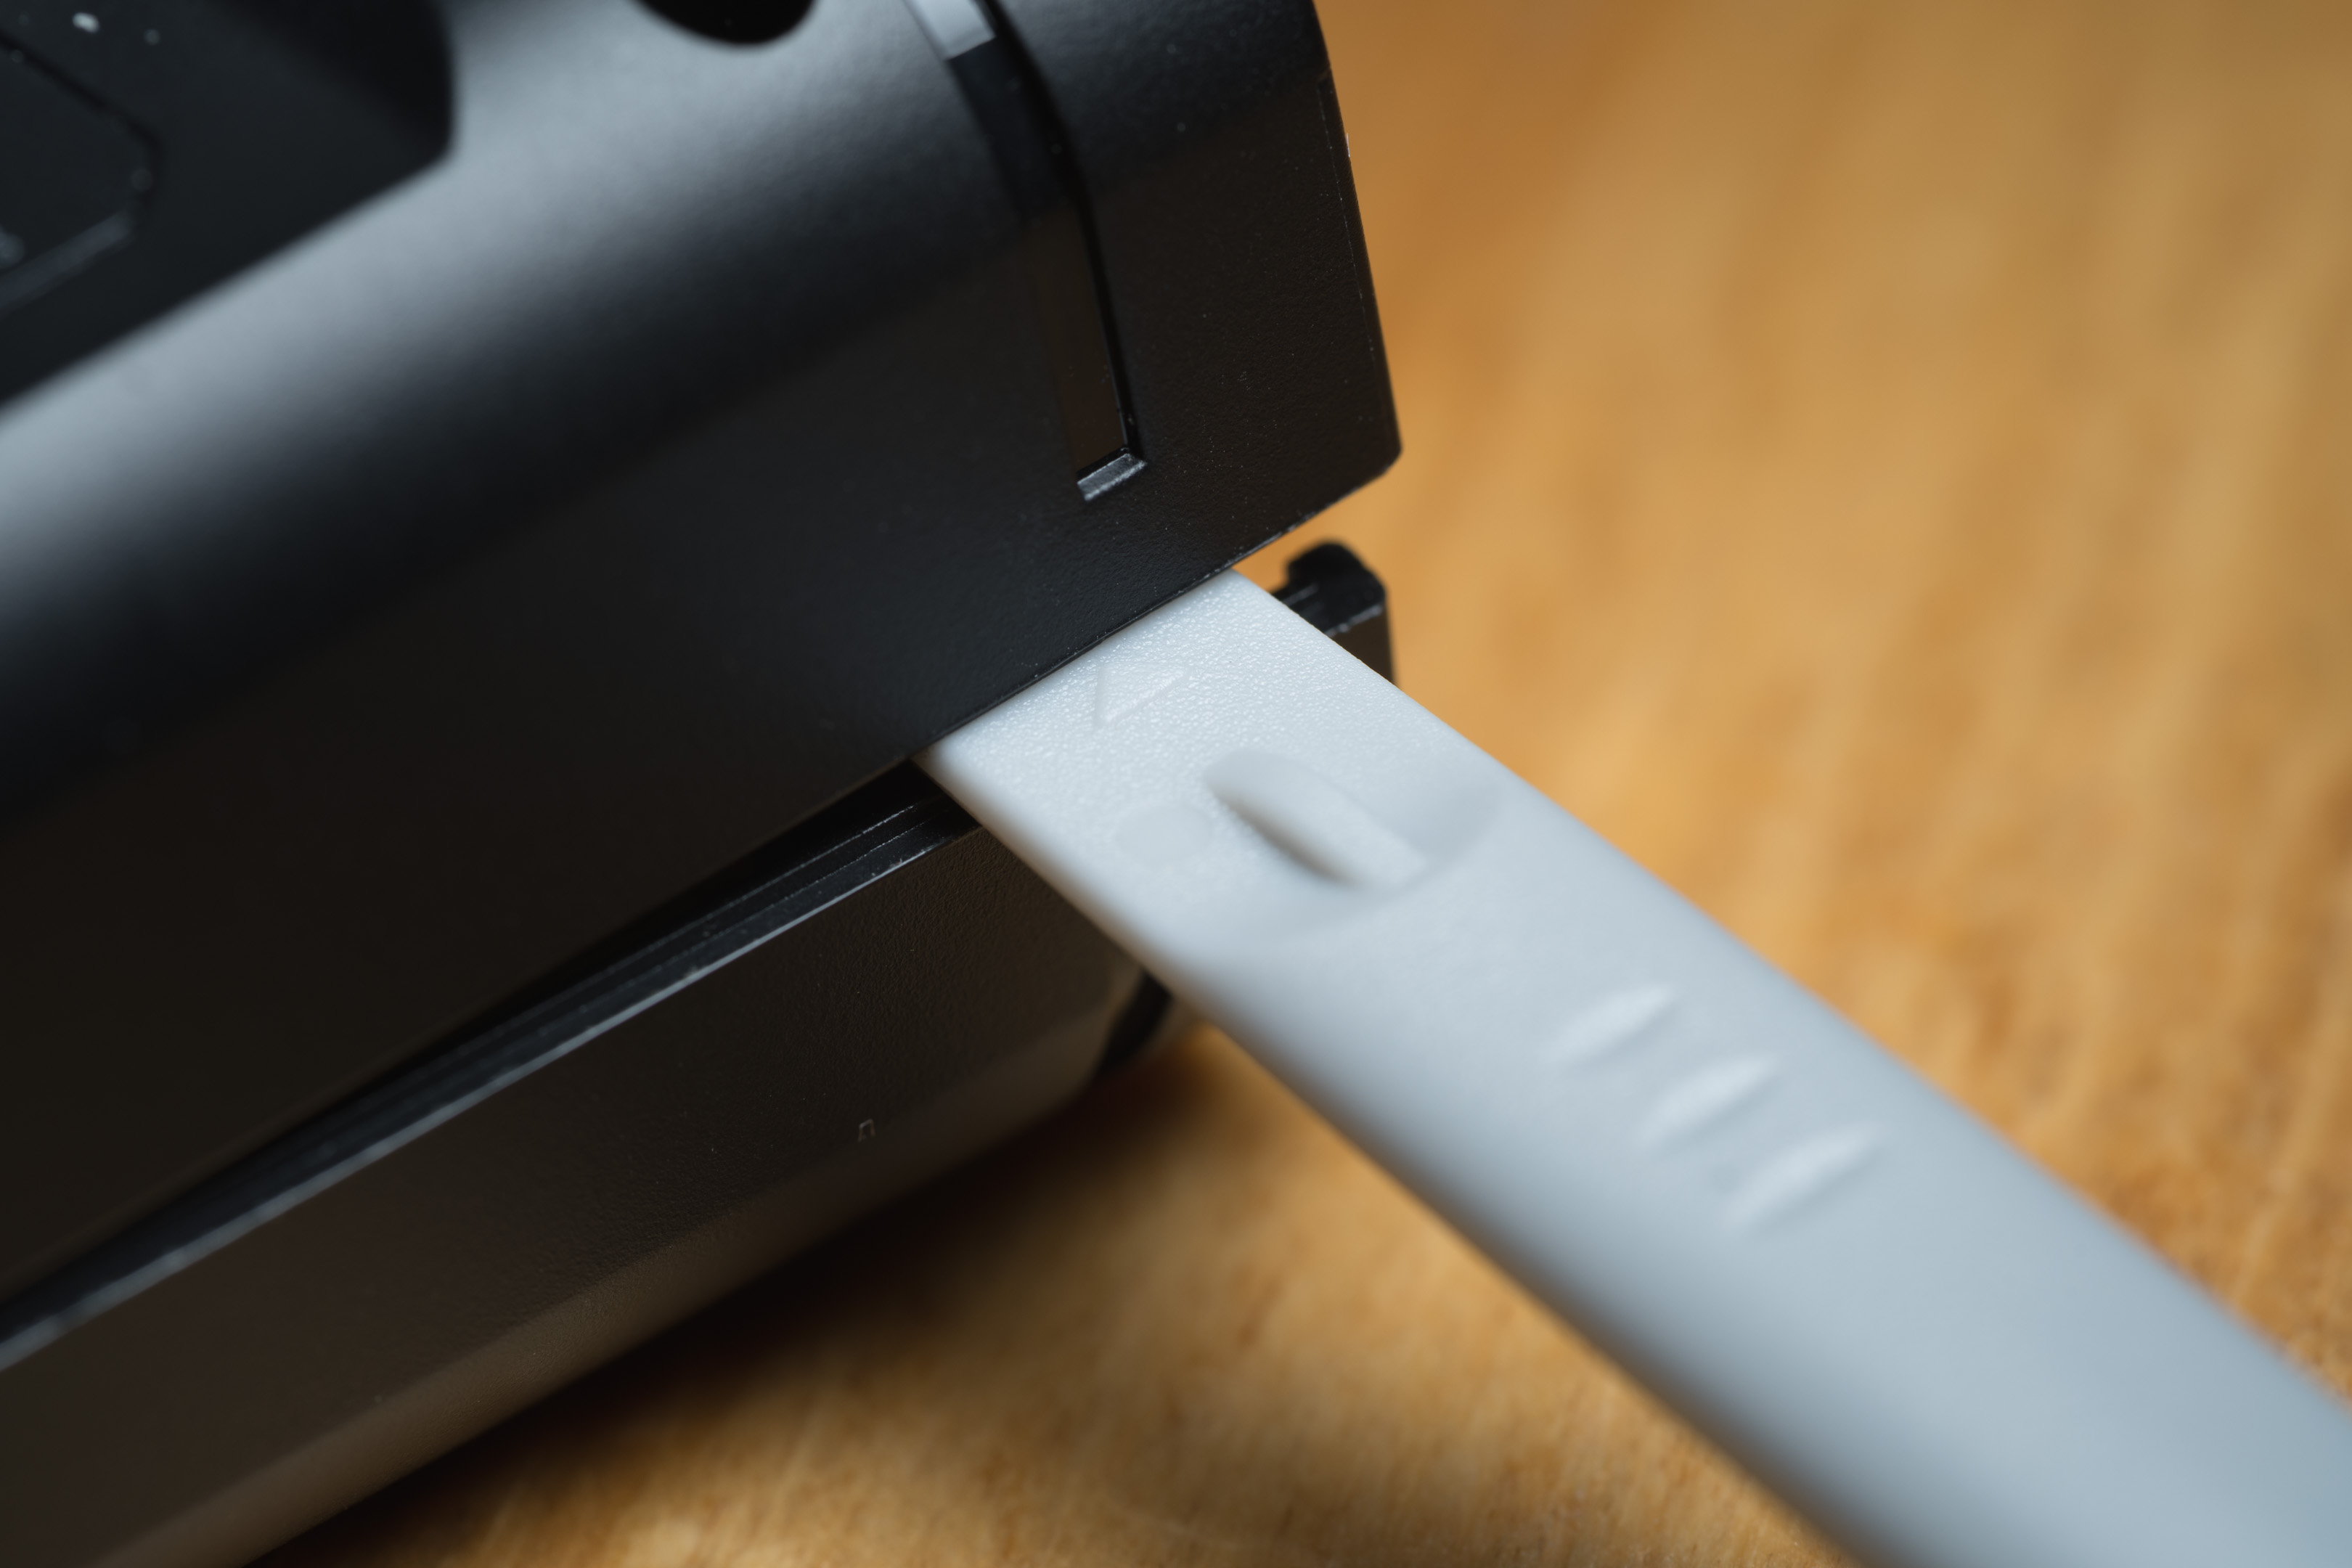
IT30 Pro dismantle
I'll go through my attempt at converting this flash, but most of this is unnecessary. To take it apart there are two screws on the bottom, unscrew these.
Screw holes on the bottom
The seam between the bottom and top parts of the case is very tight, but if you pull up on the flash foot you can hopefully separate the two parts at the corner near the flash foot enough to get a spudger in. It is then a case of lots of spudgering to release the clips until you can eventually get the parts separate. I found that once you've got the rear unclipped, you can pull that up quite a bit and this seems to make getting the front to unclip easier.
Work round the bottom with a spudger
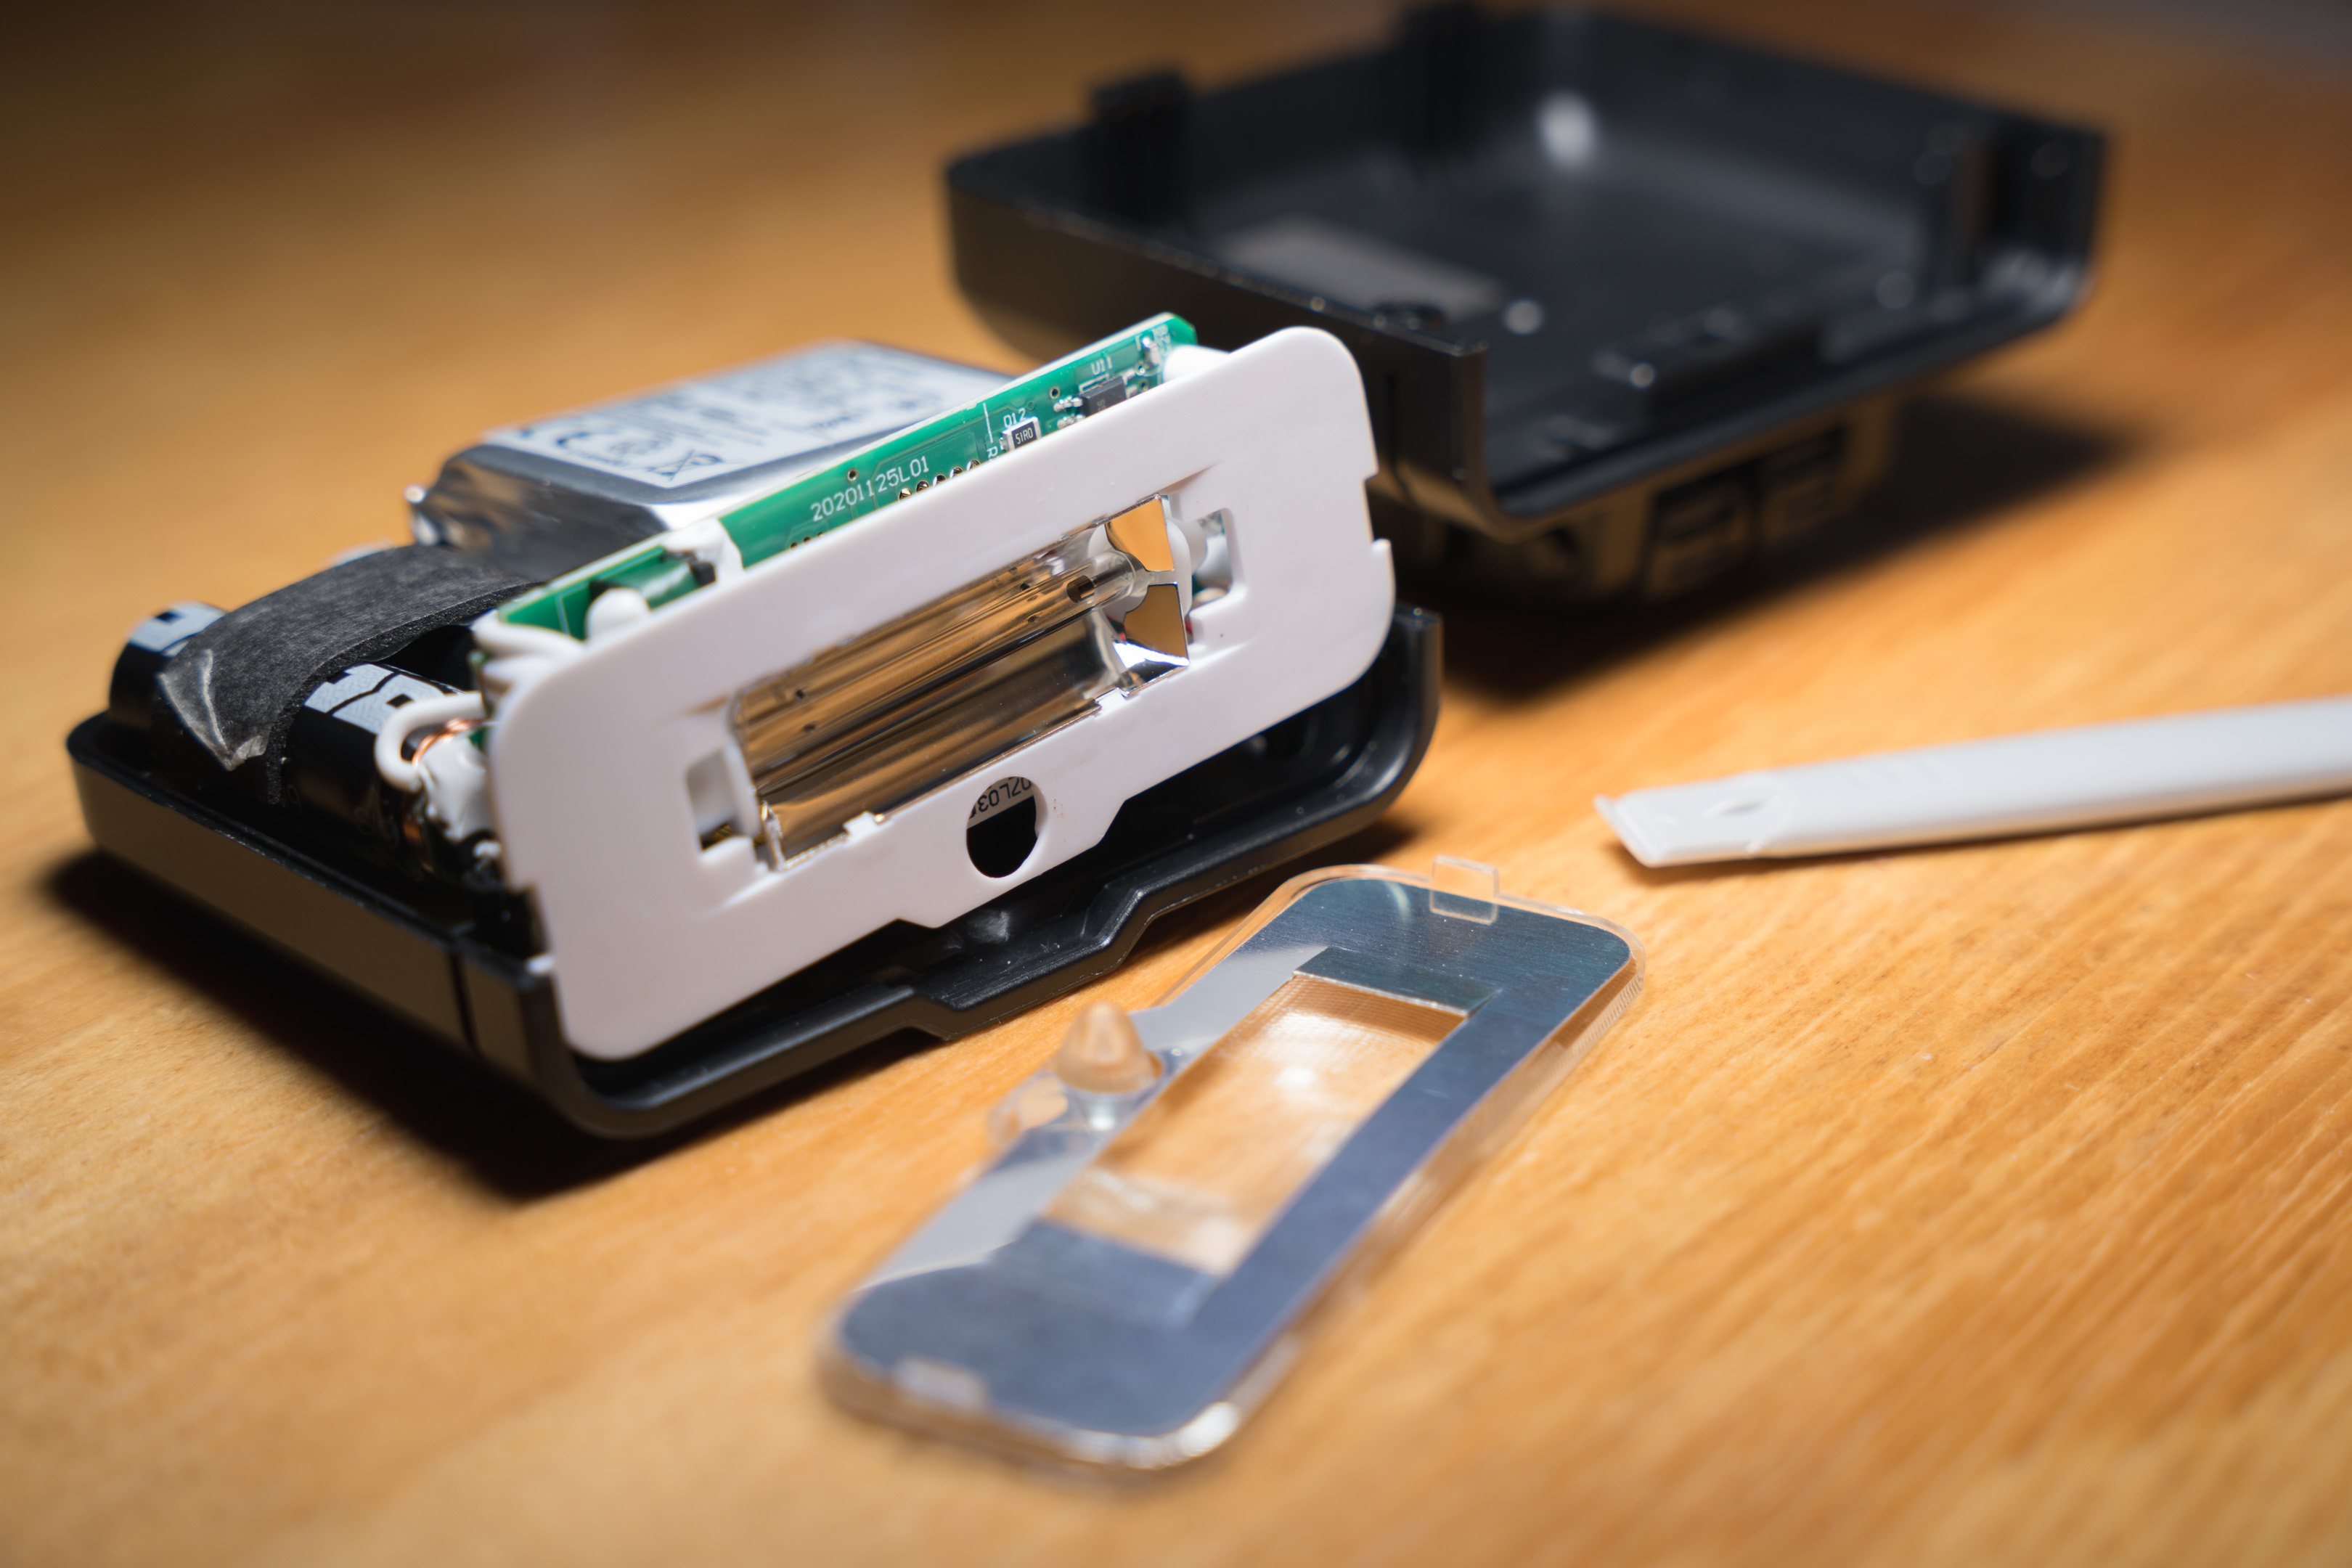
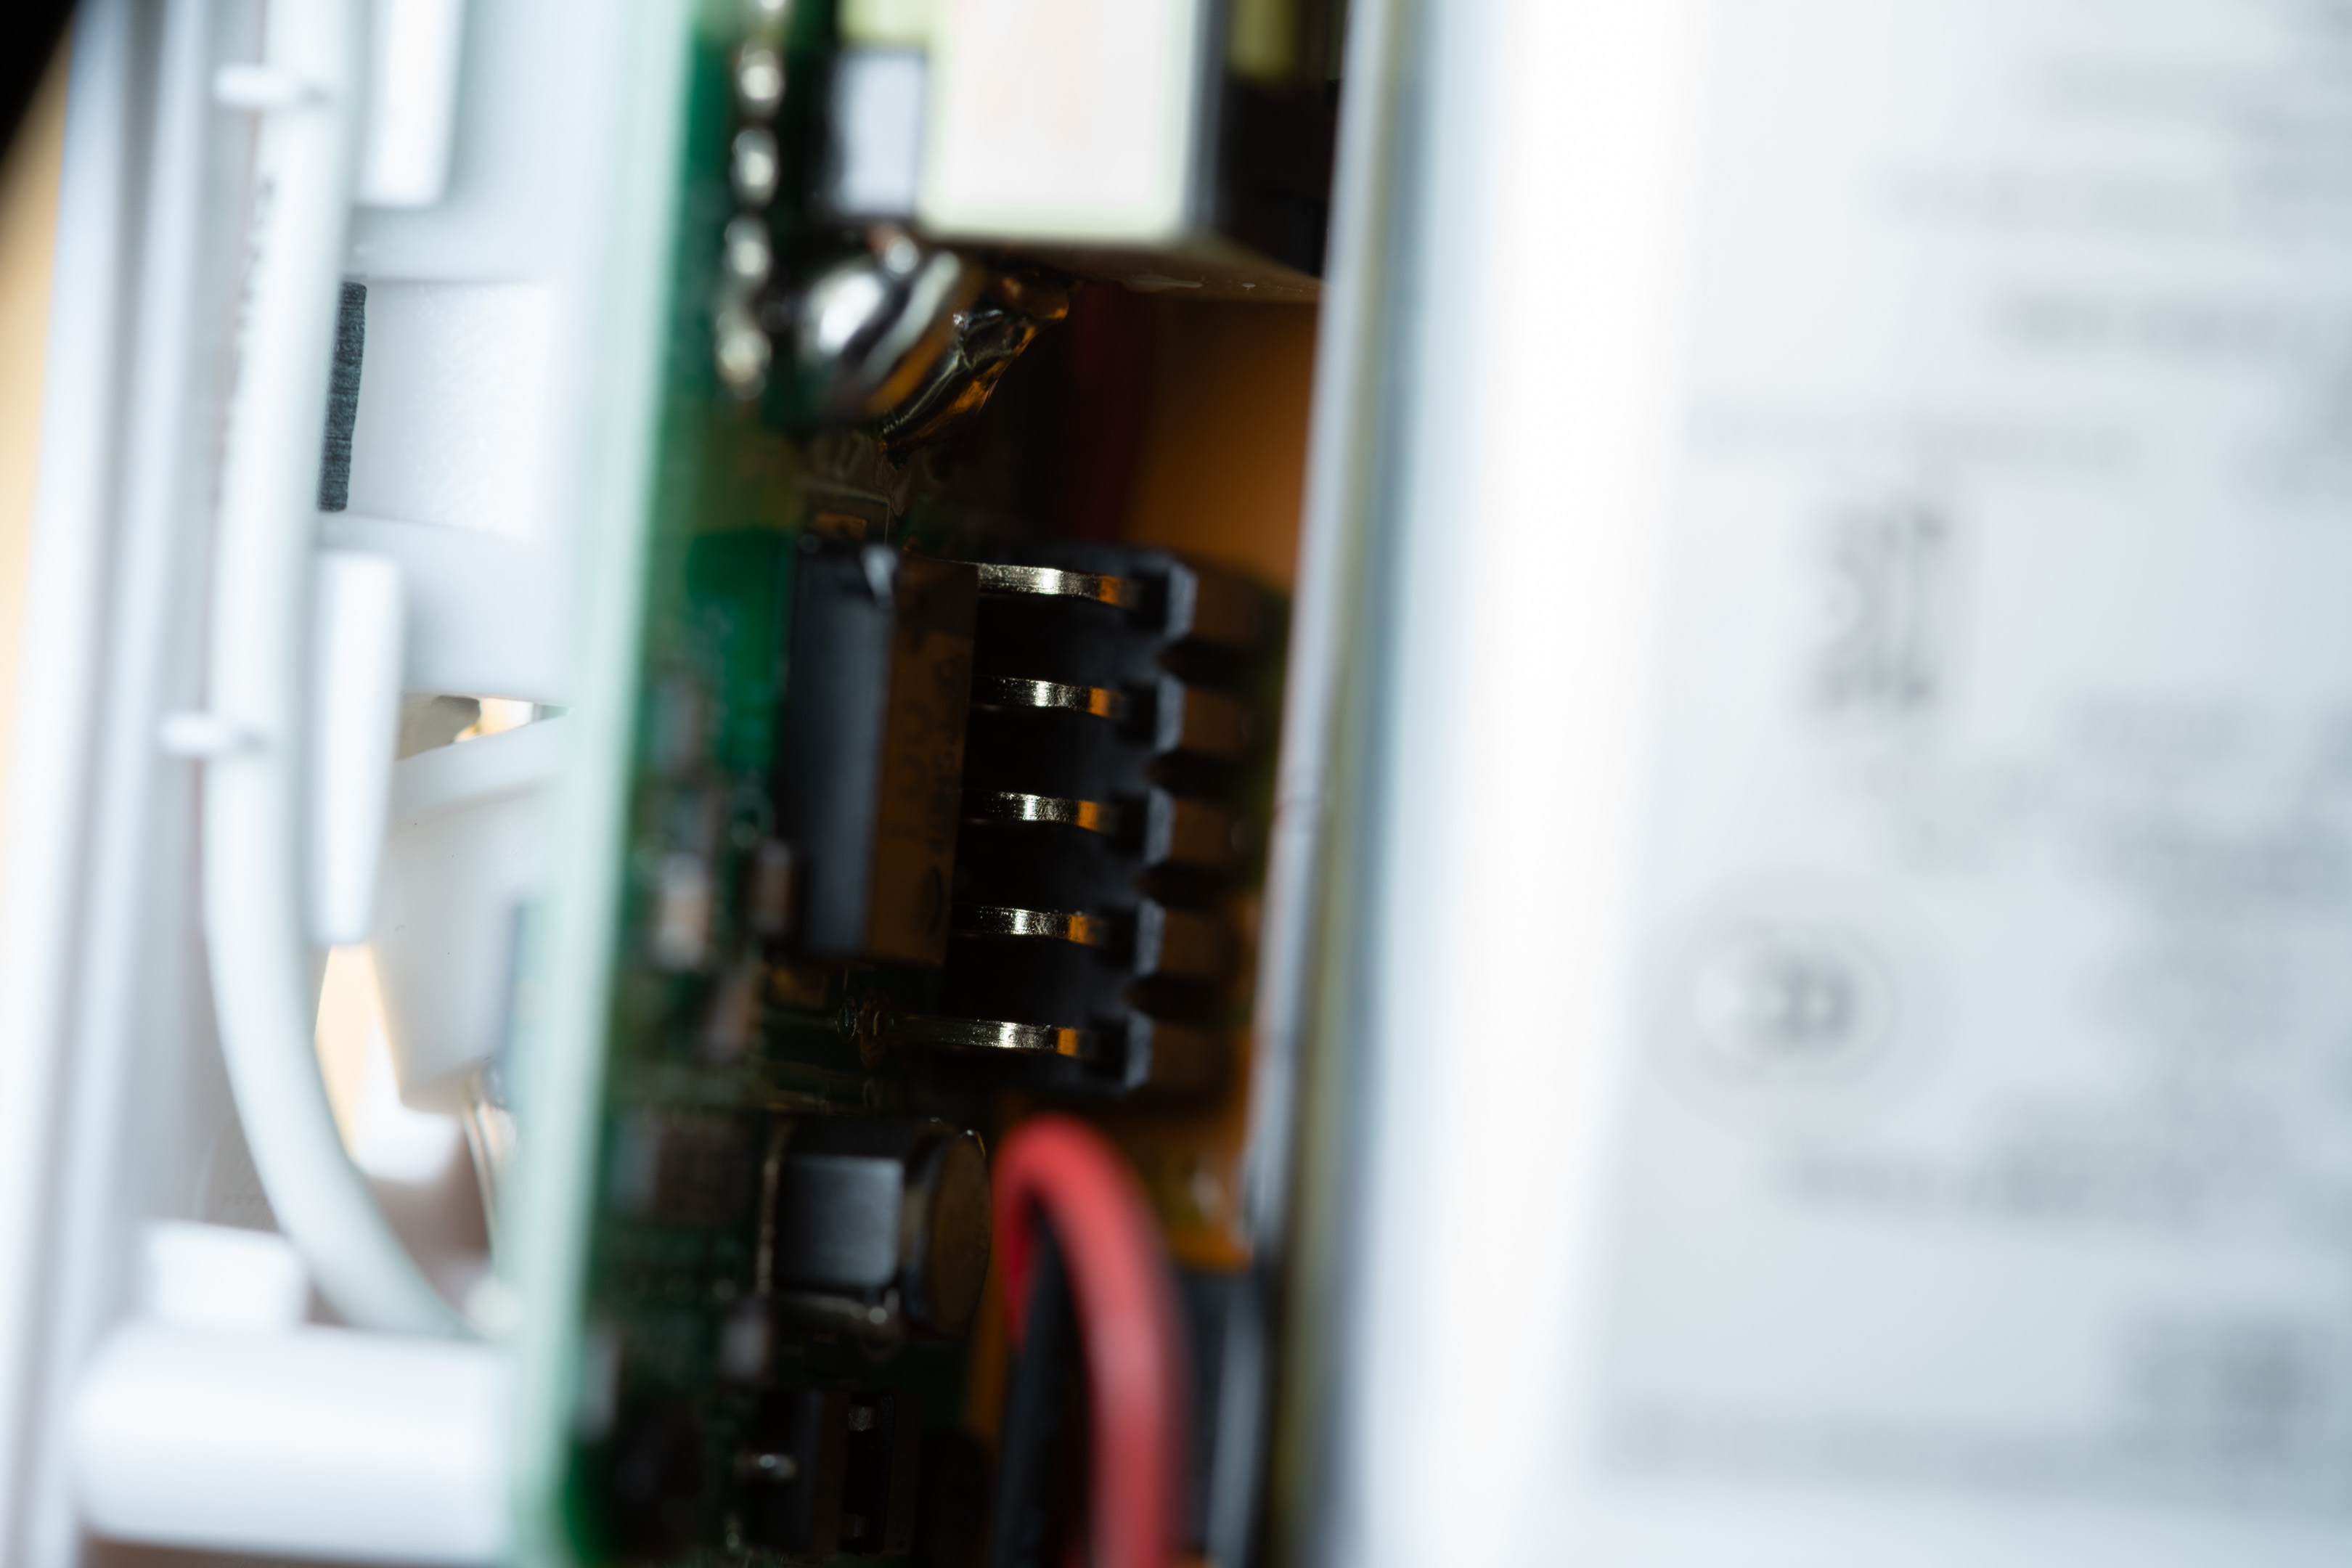
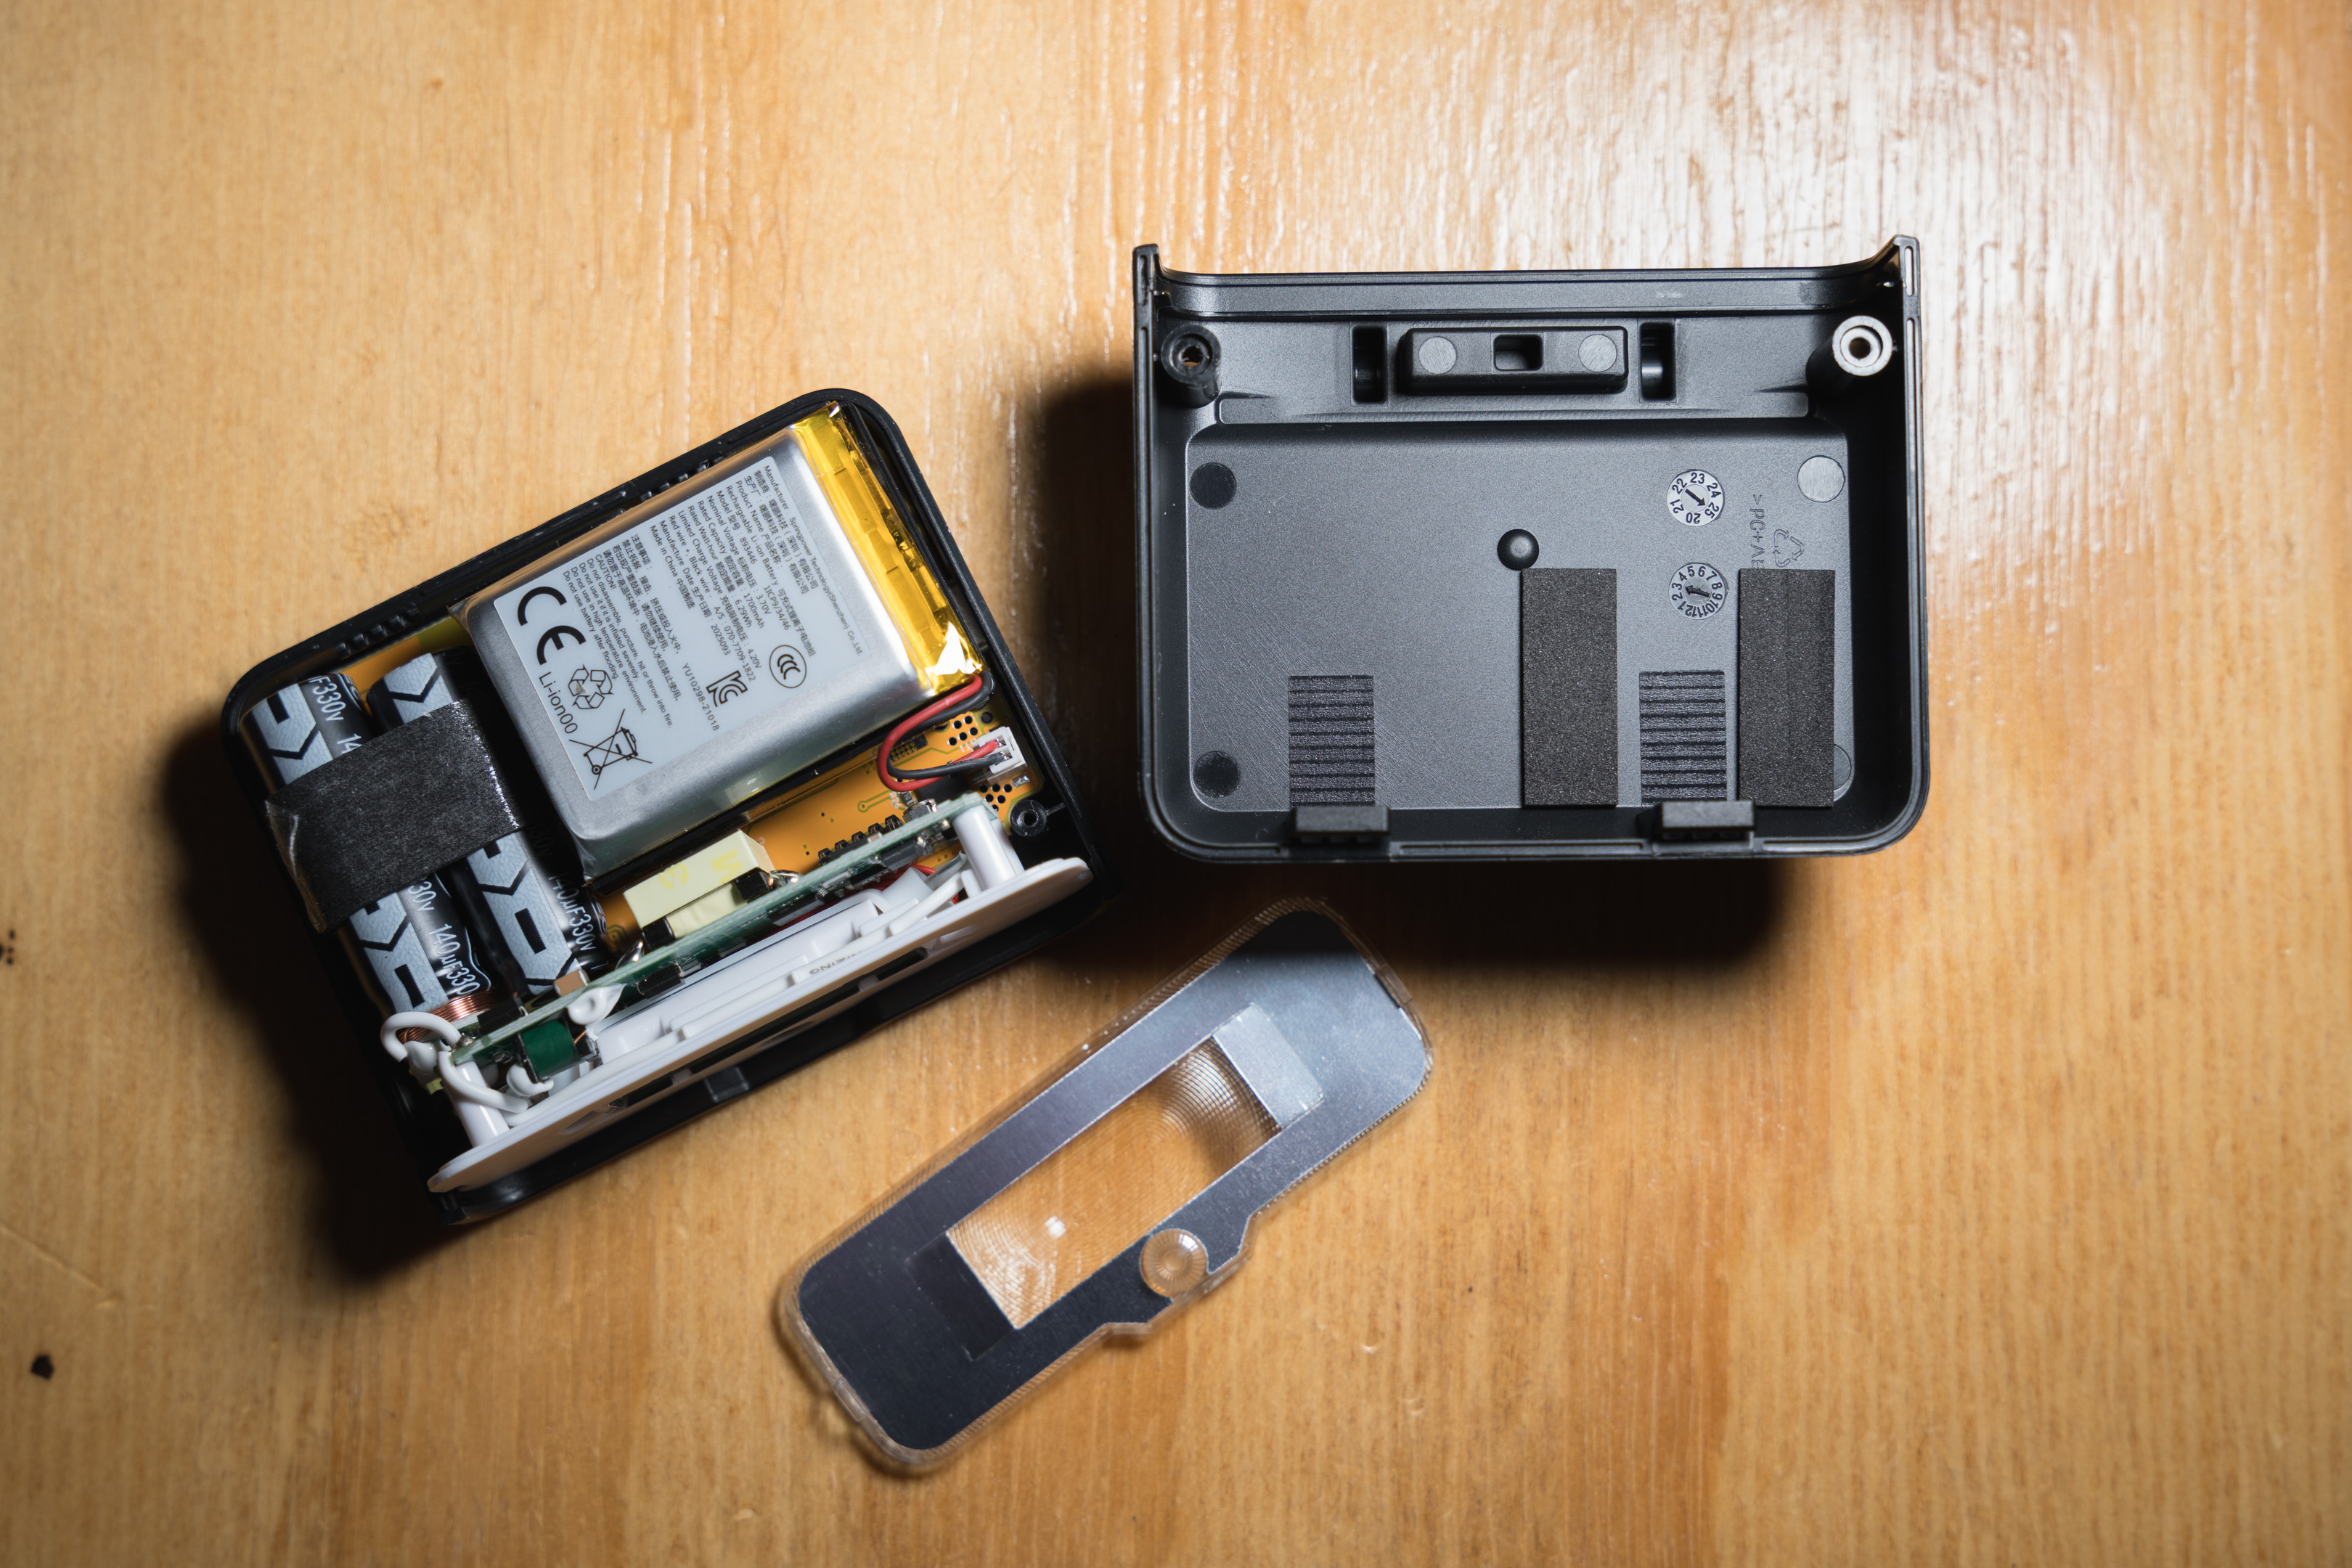
Once inside you are greeted by (what I assume is) a lithium ion battery that seems to be very well stuck down and would rather bend than come out. Hence I decided to give up rather than risk blowing up the battery. There's no way that I can see of getting to where the flash lens is located without removing the battery.
Flash opened up
I managed to purchase a second IT30Pro at a reasonable price for a more destructive and irreversible second conversion attempt. This time I used a knife to score along the edges of the Fresnel, repeating this process many times until eventually I had cut it free.
Fresnel removed
With the Fresnel removed, it looks like actually it is just held in place with double-sided tape. So the actual conversion process for this flash should probably just be to heat up the front with a hairdryer to loosen the glue. Then use a knife to get in round the edge of the Fresnel and hopefully you can just lever it out in a non-destructive and fully reversible process.
TT350 dismantle
Remove the Godox sticker near the flash head and undo the two screws hidden under it. (I couldn't feel there were any screws under the sticker, I only resorted to removing it later in the process).
Screws normally hidden by sticker
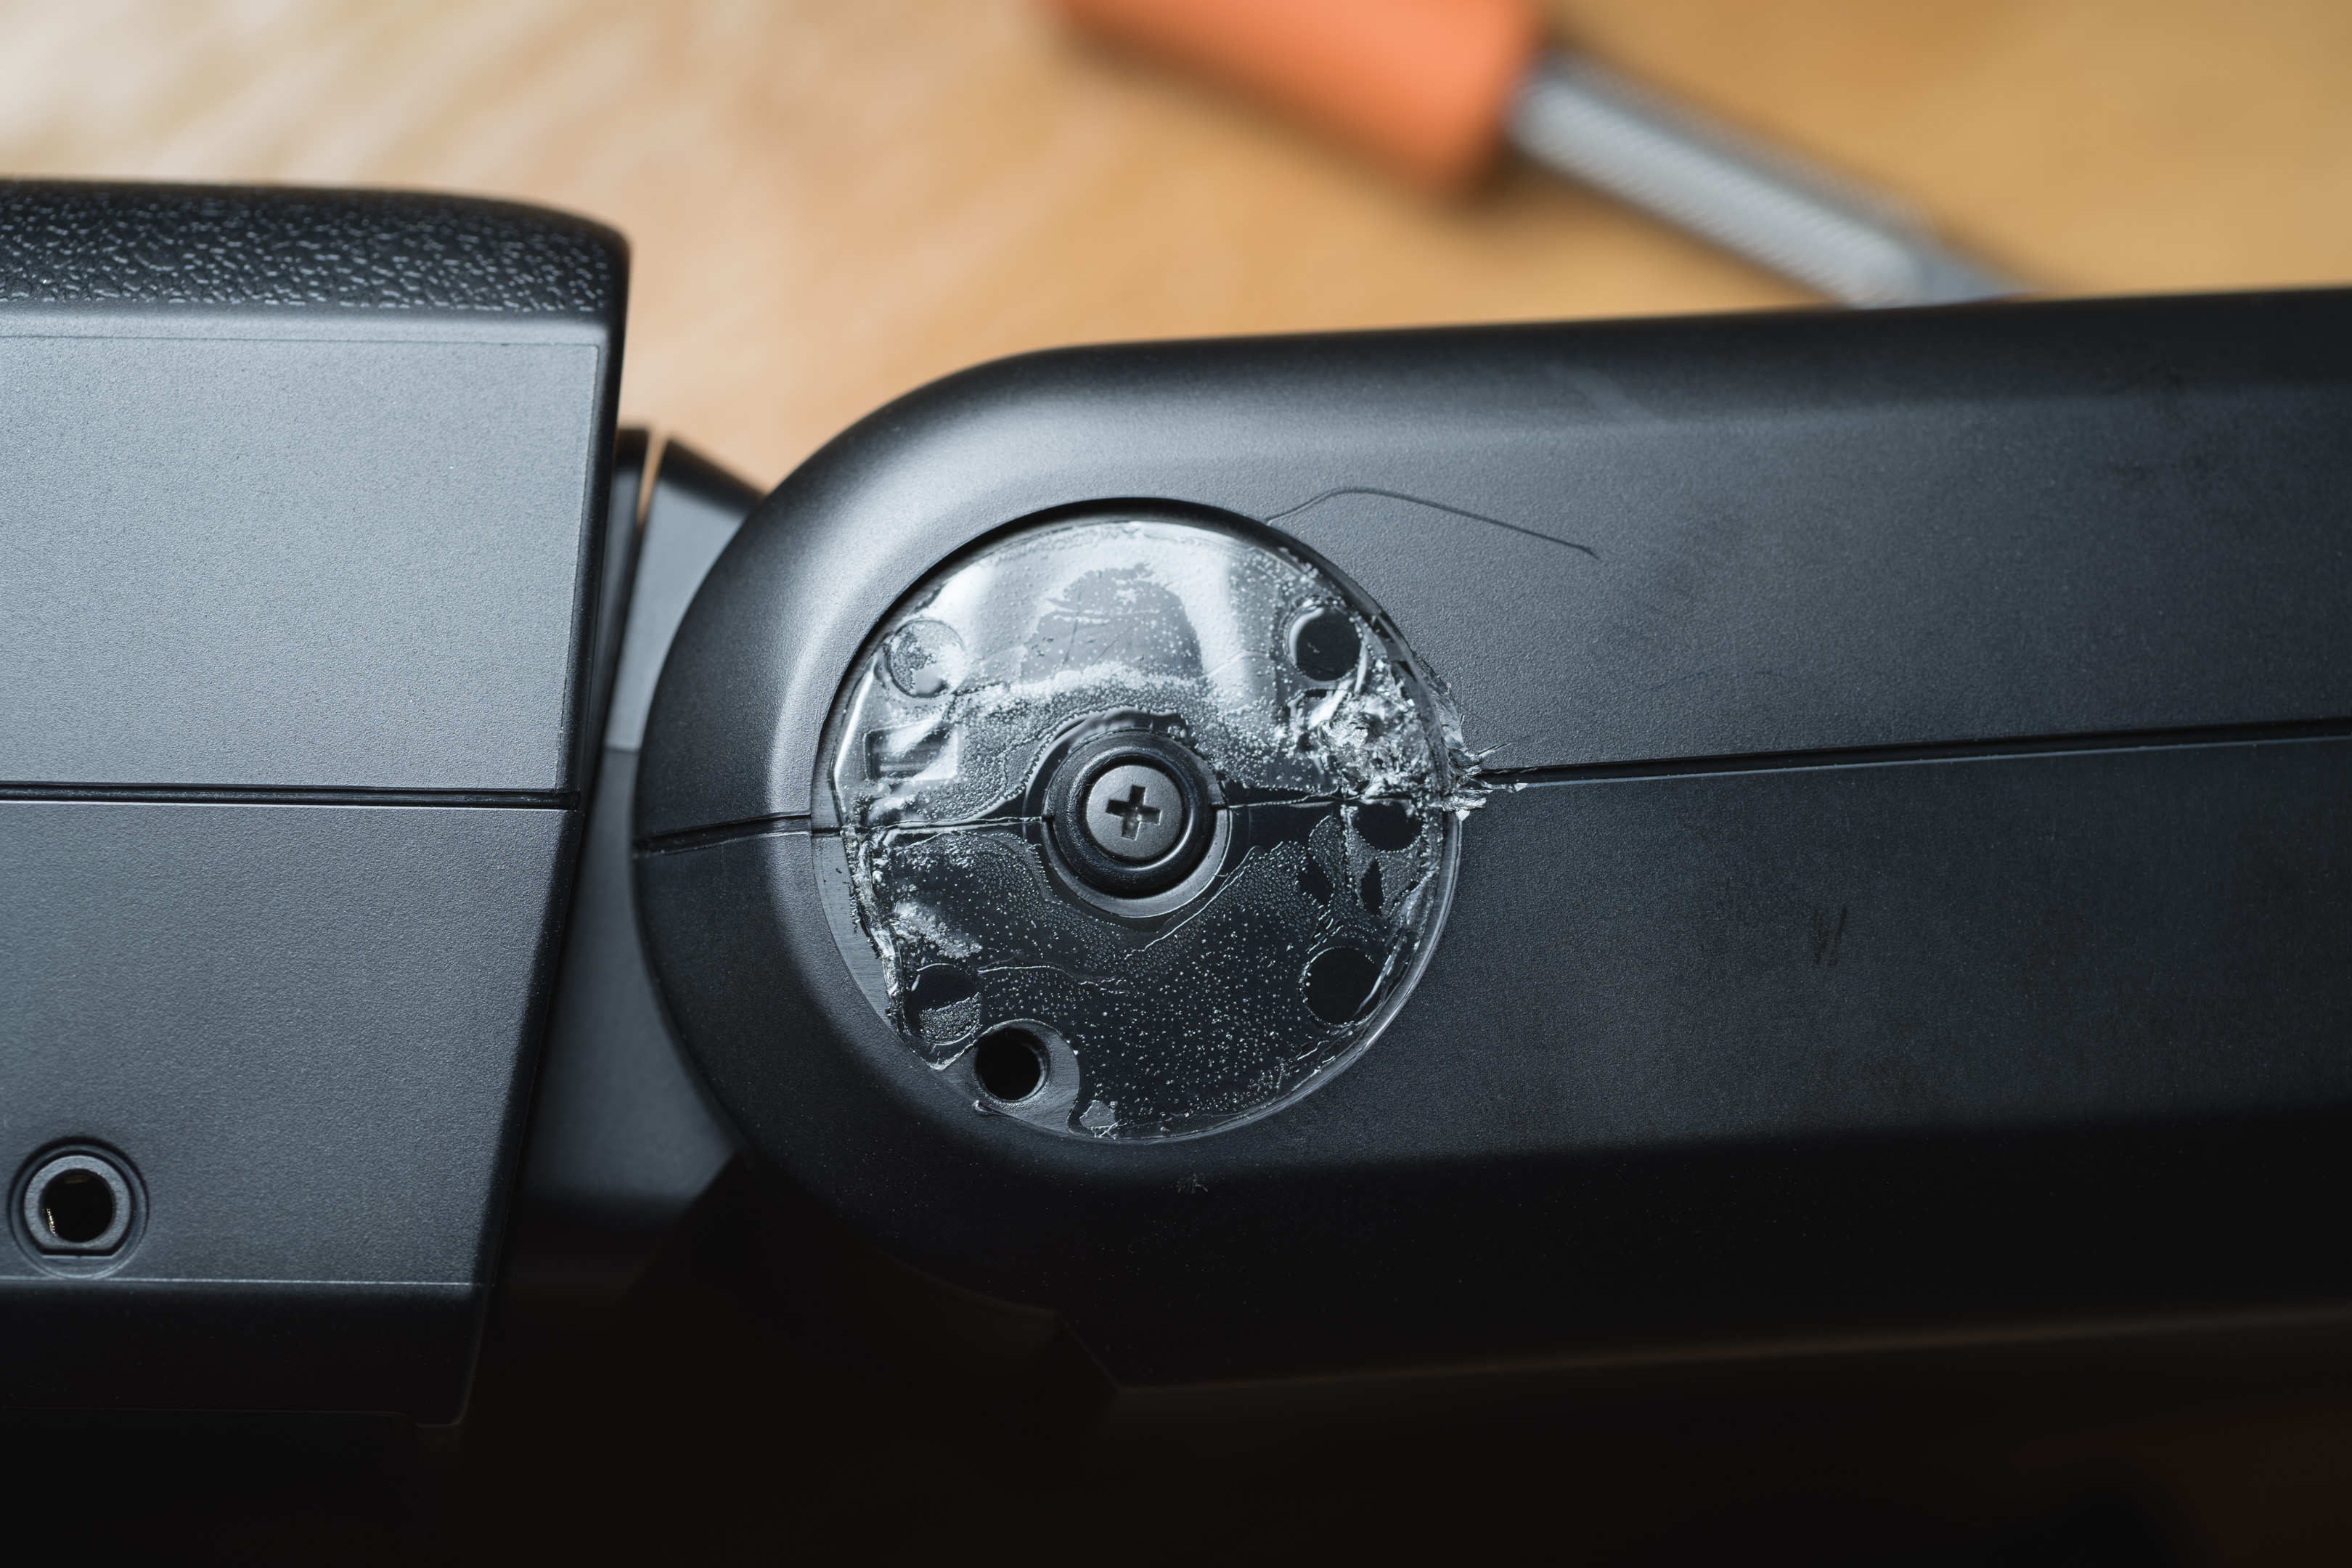
Pry up and remove the round rubber covers at either side where the flash head hinges are. Undo the screws on both sides.
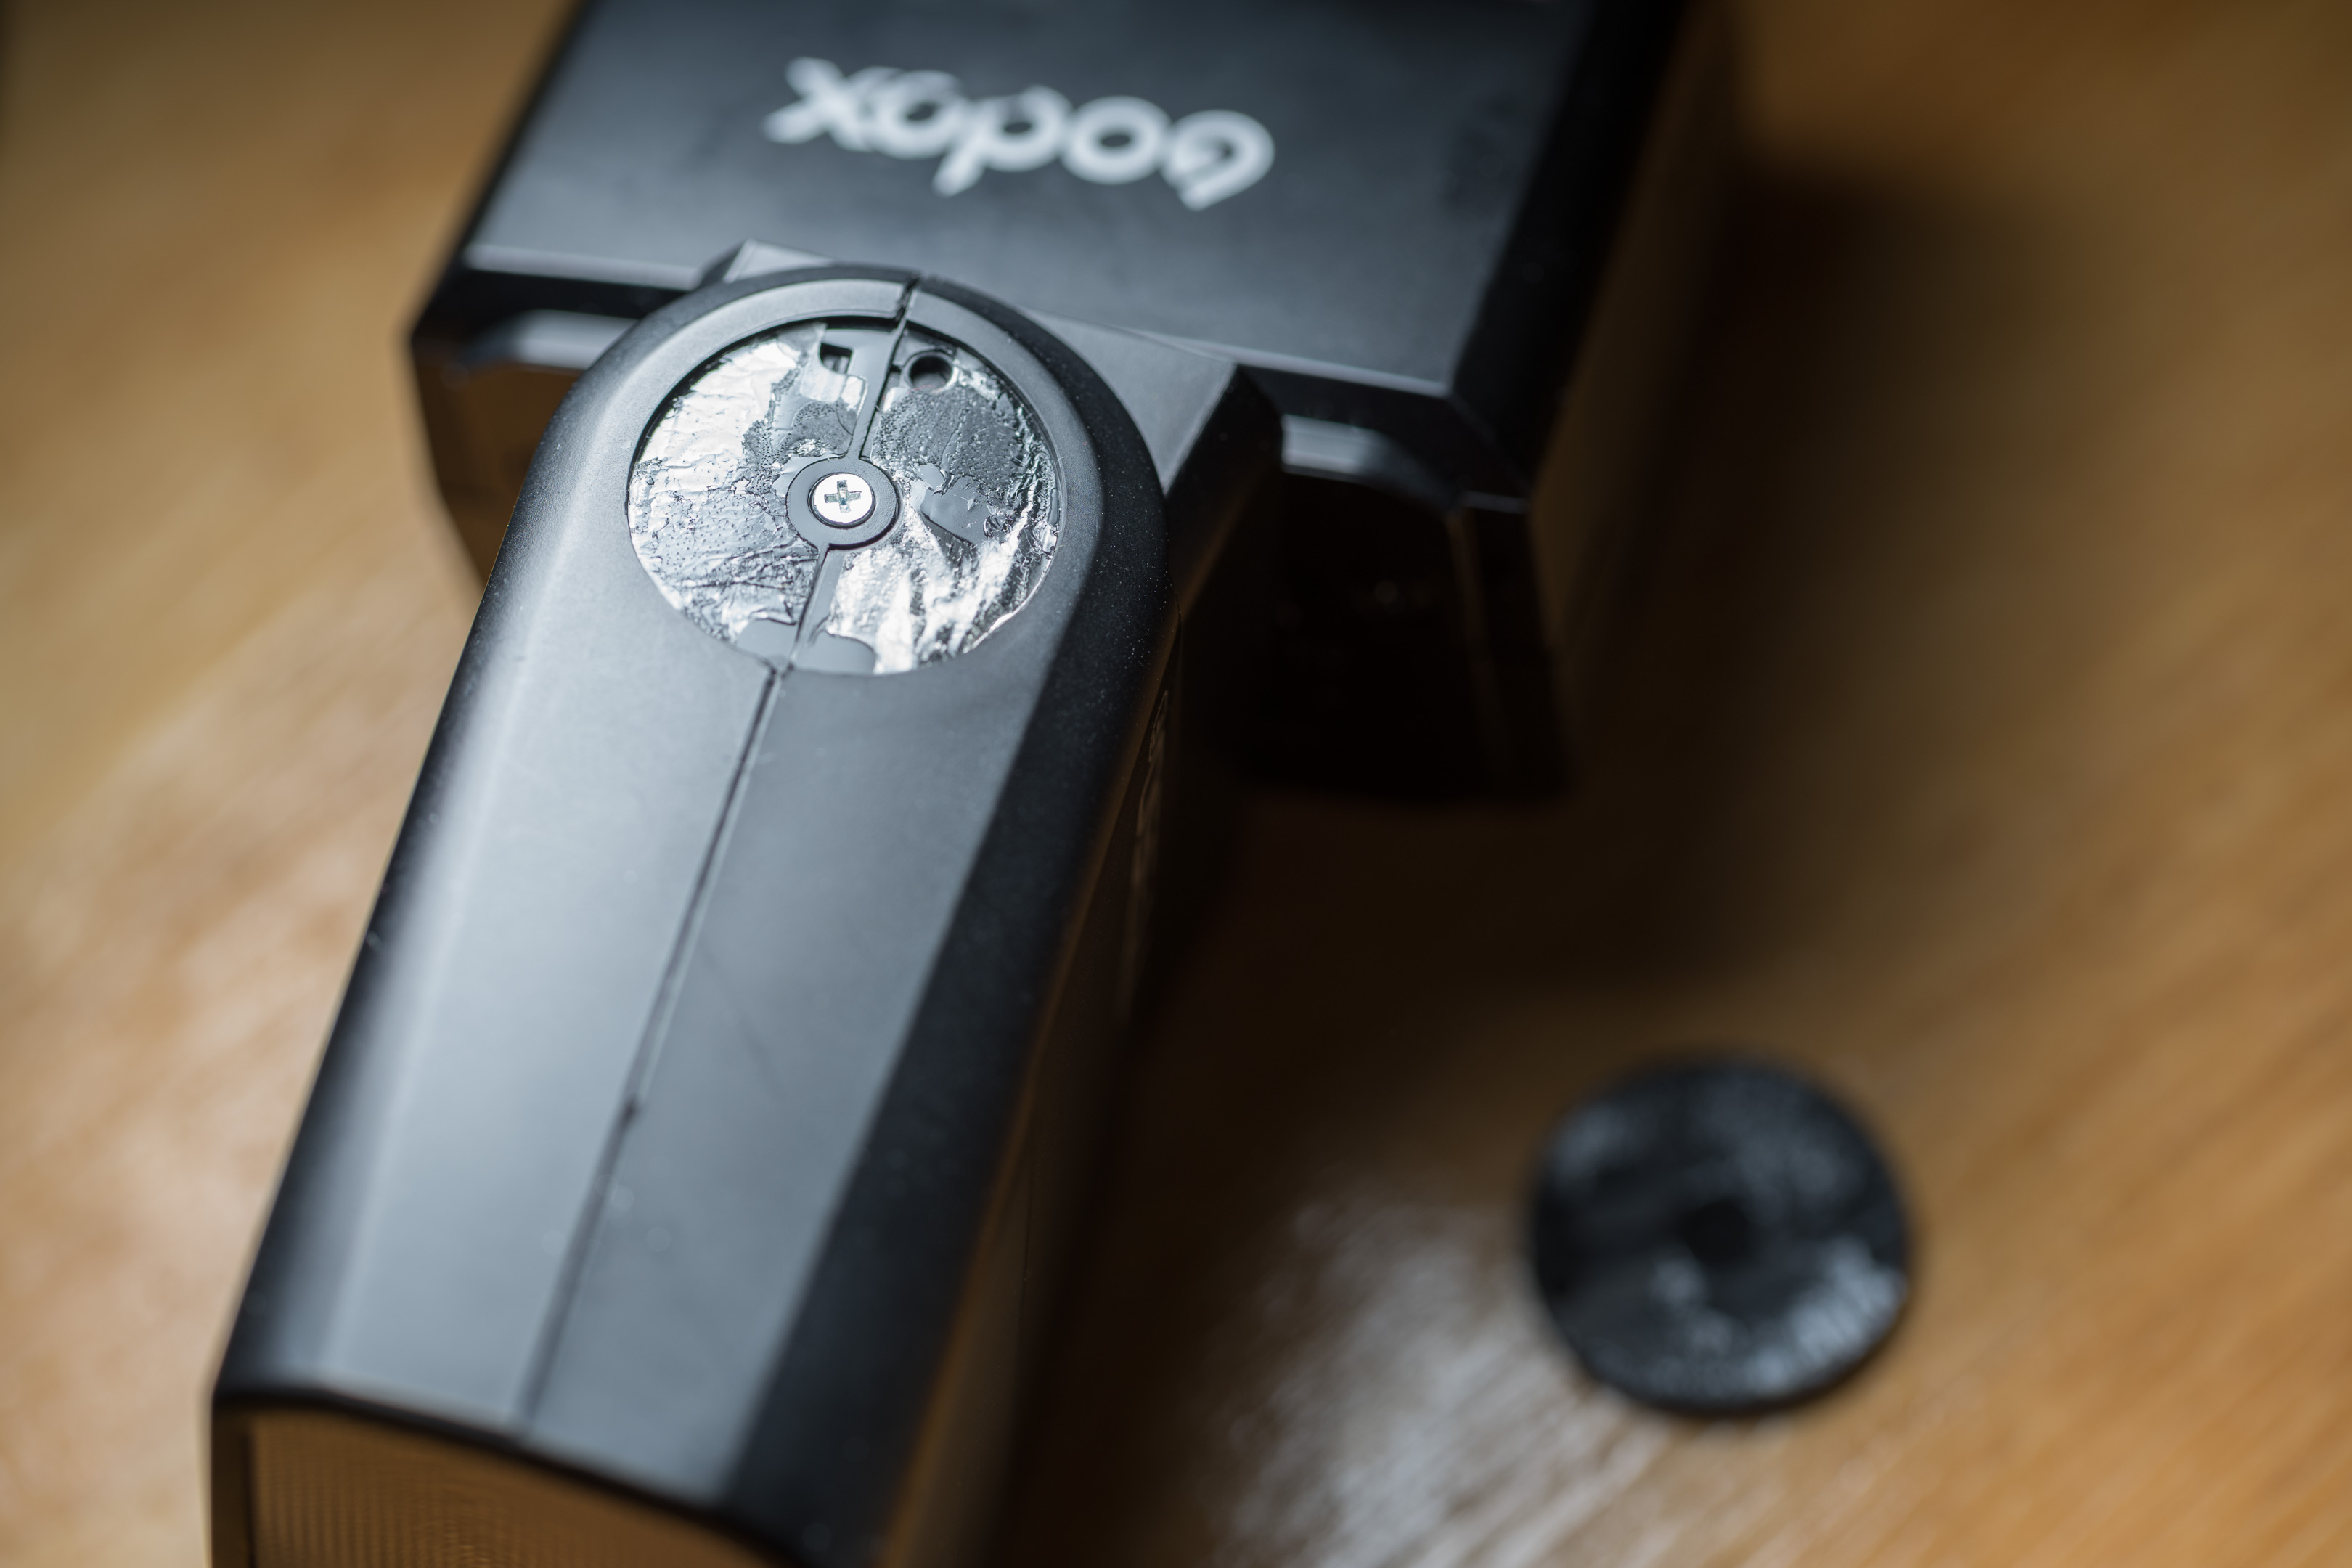
Hinge screw
Use a spudger to separate the two halves of the top part of the flash. The clips that hold the pieces together at the hinge end are visible and can be pushed in with a small tool if necessary.
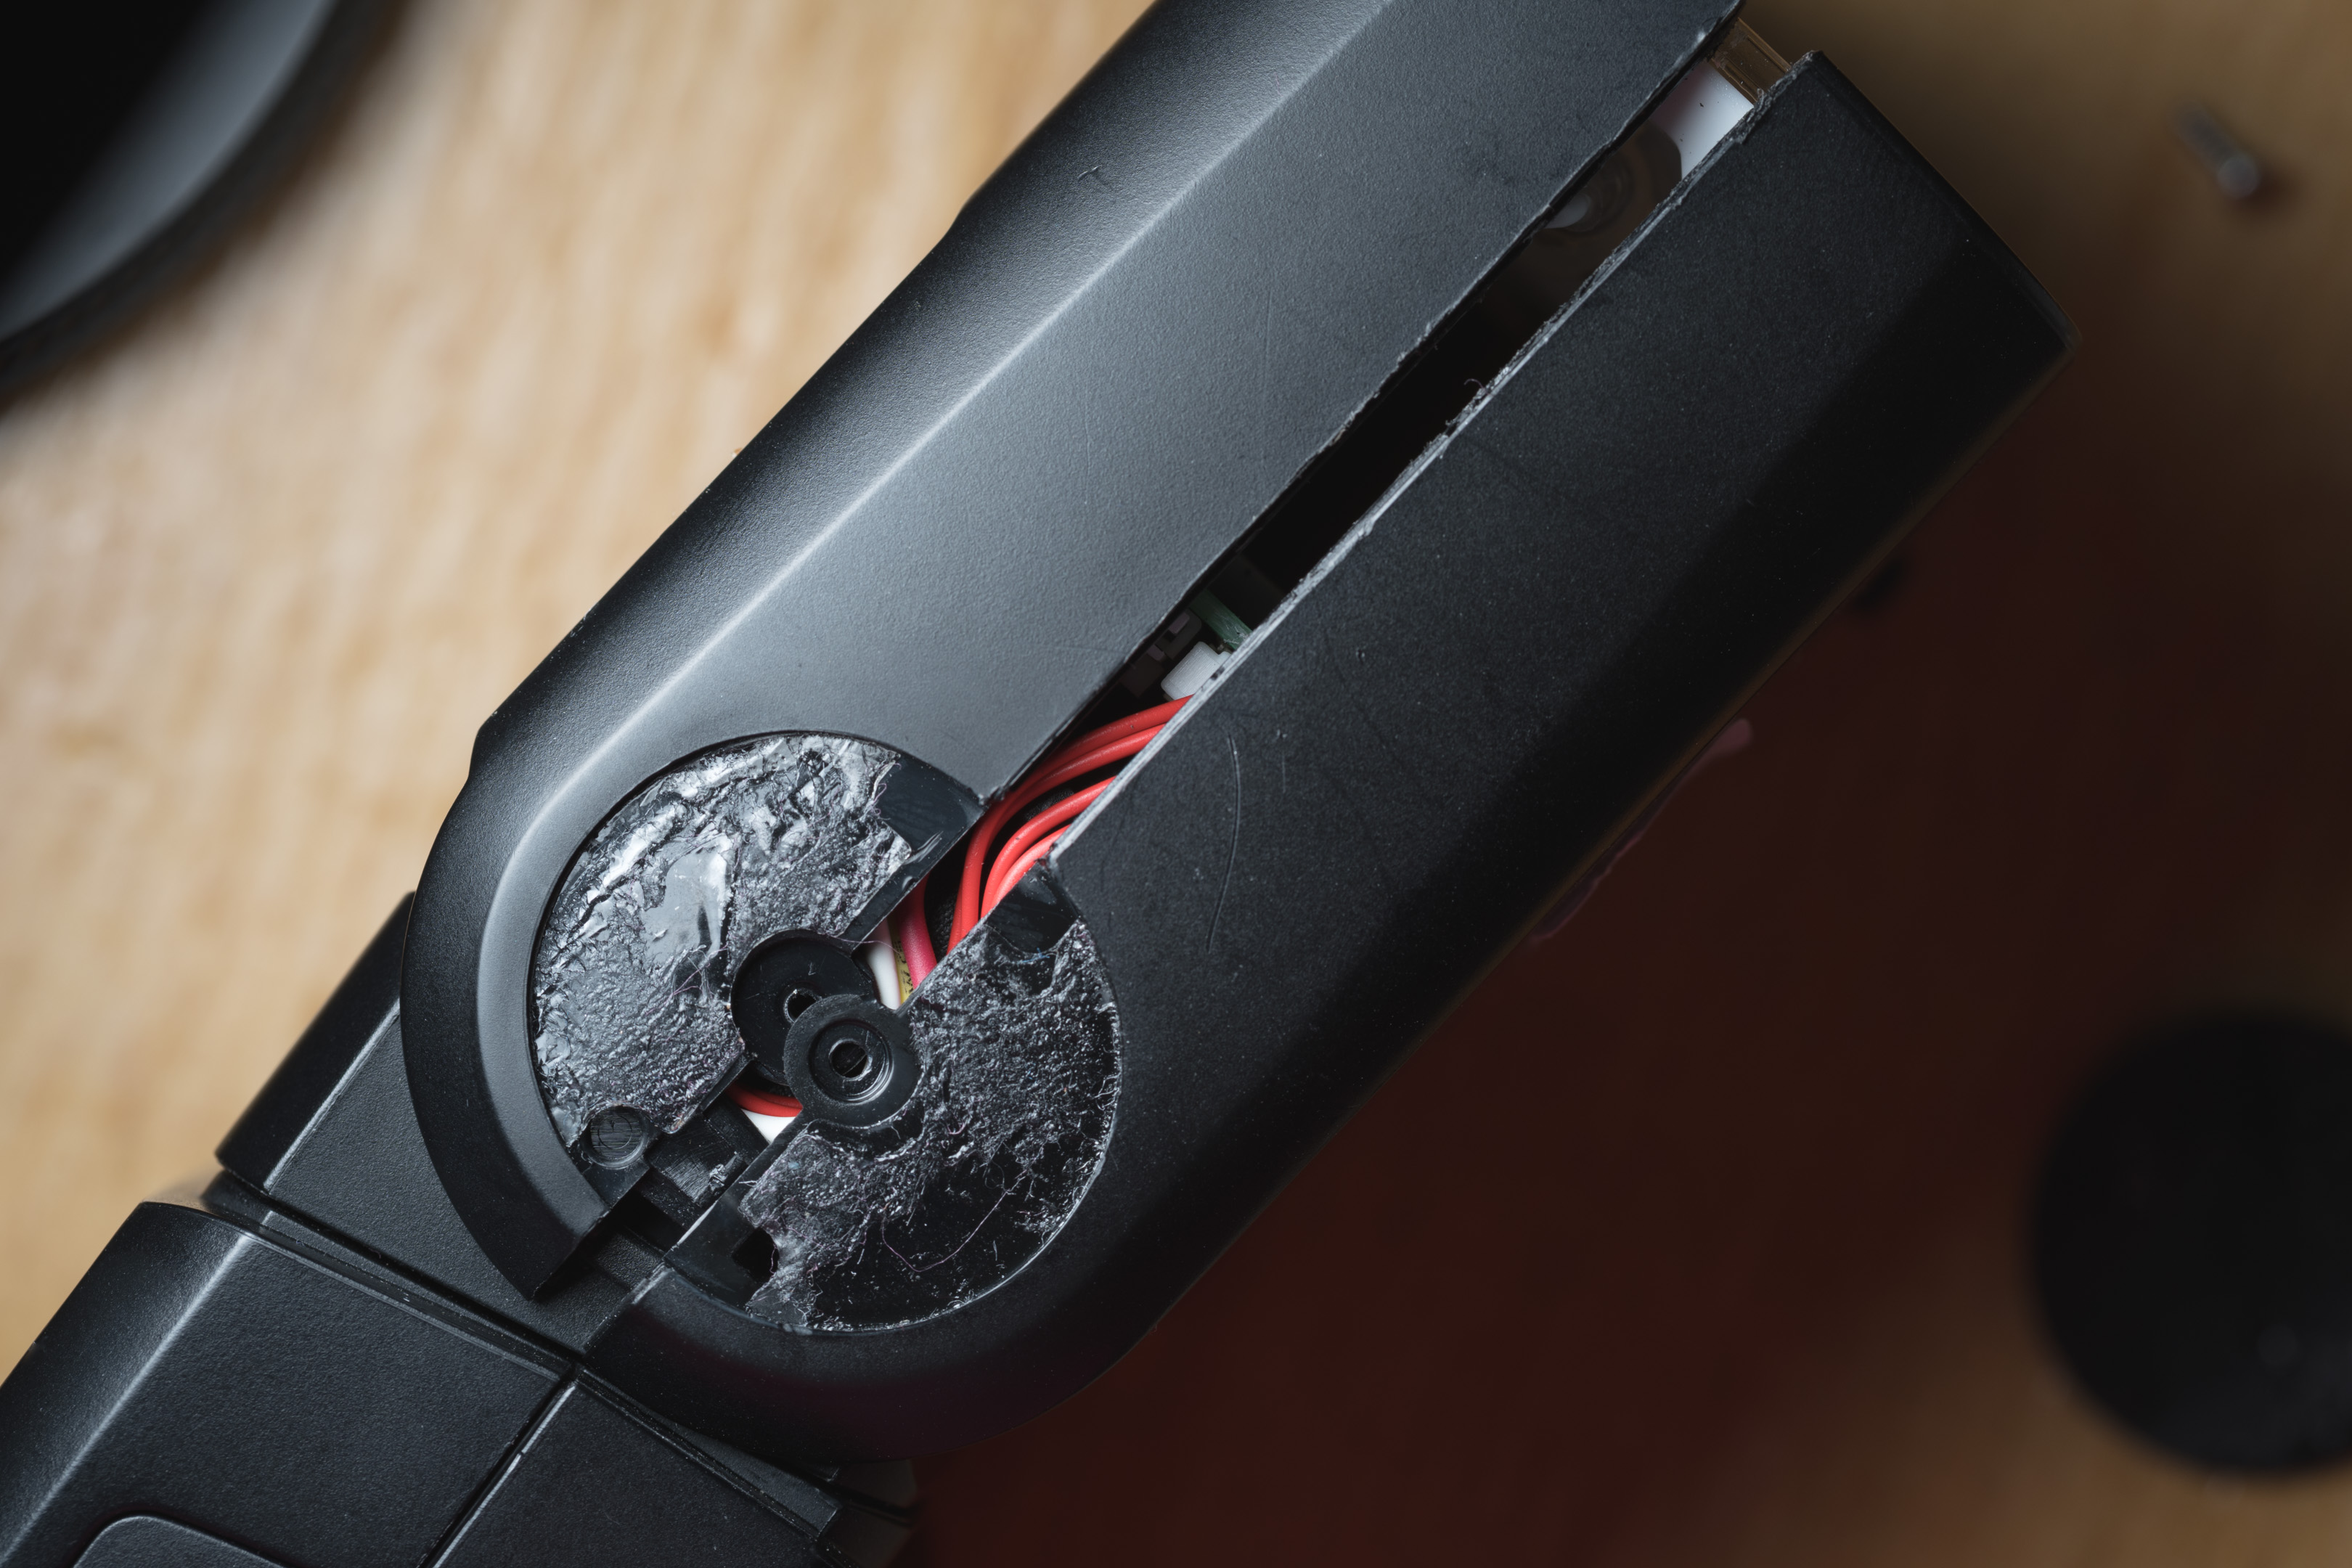
Pull apart the casing
With the top part of the flash open you can just slip the Fresnel lens out.
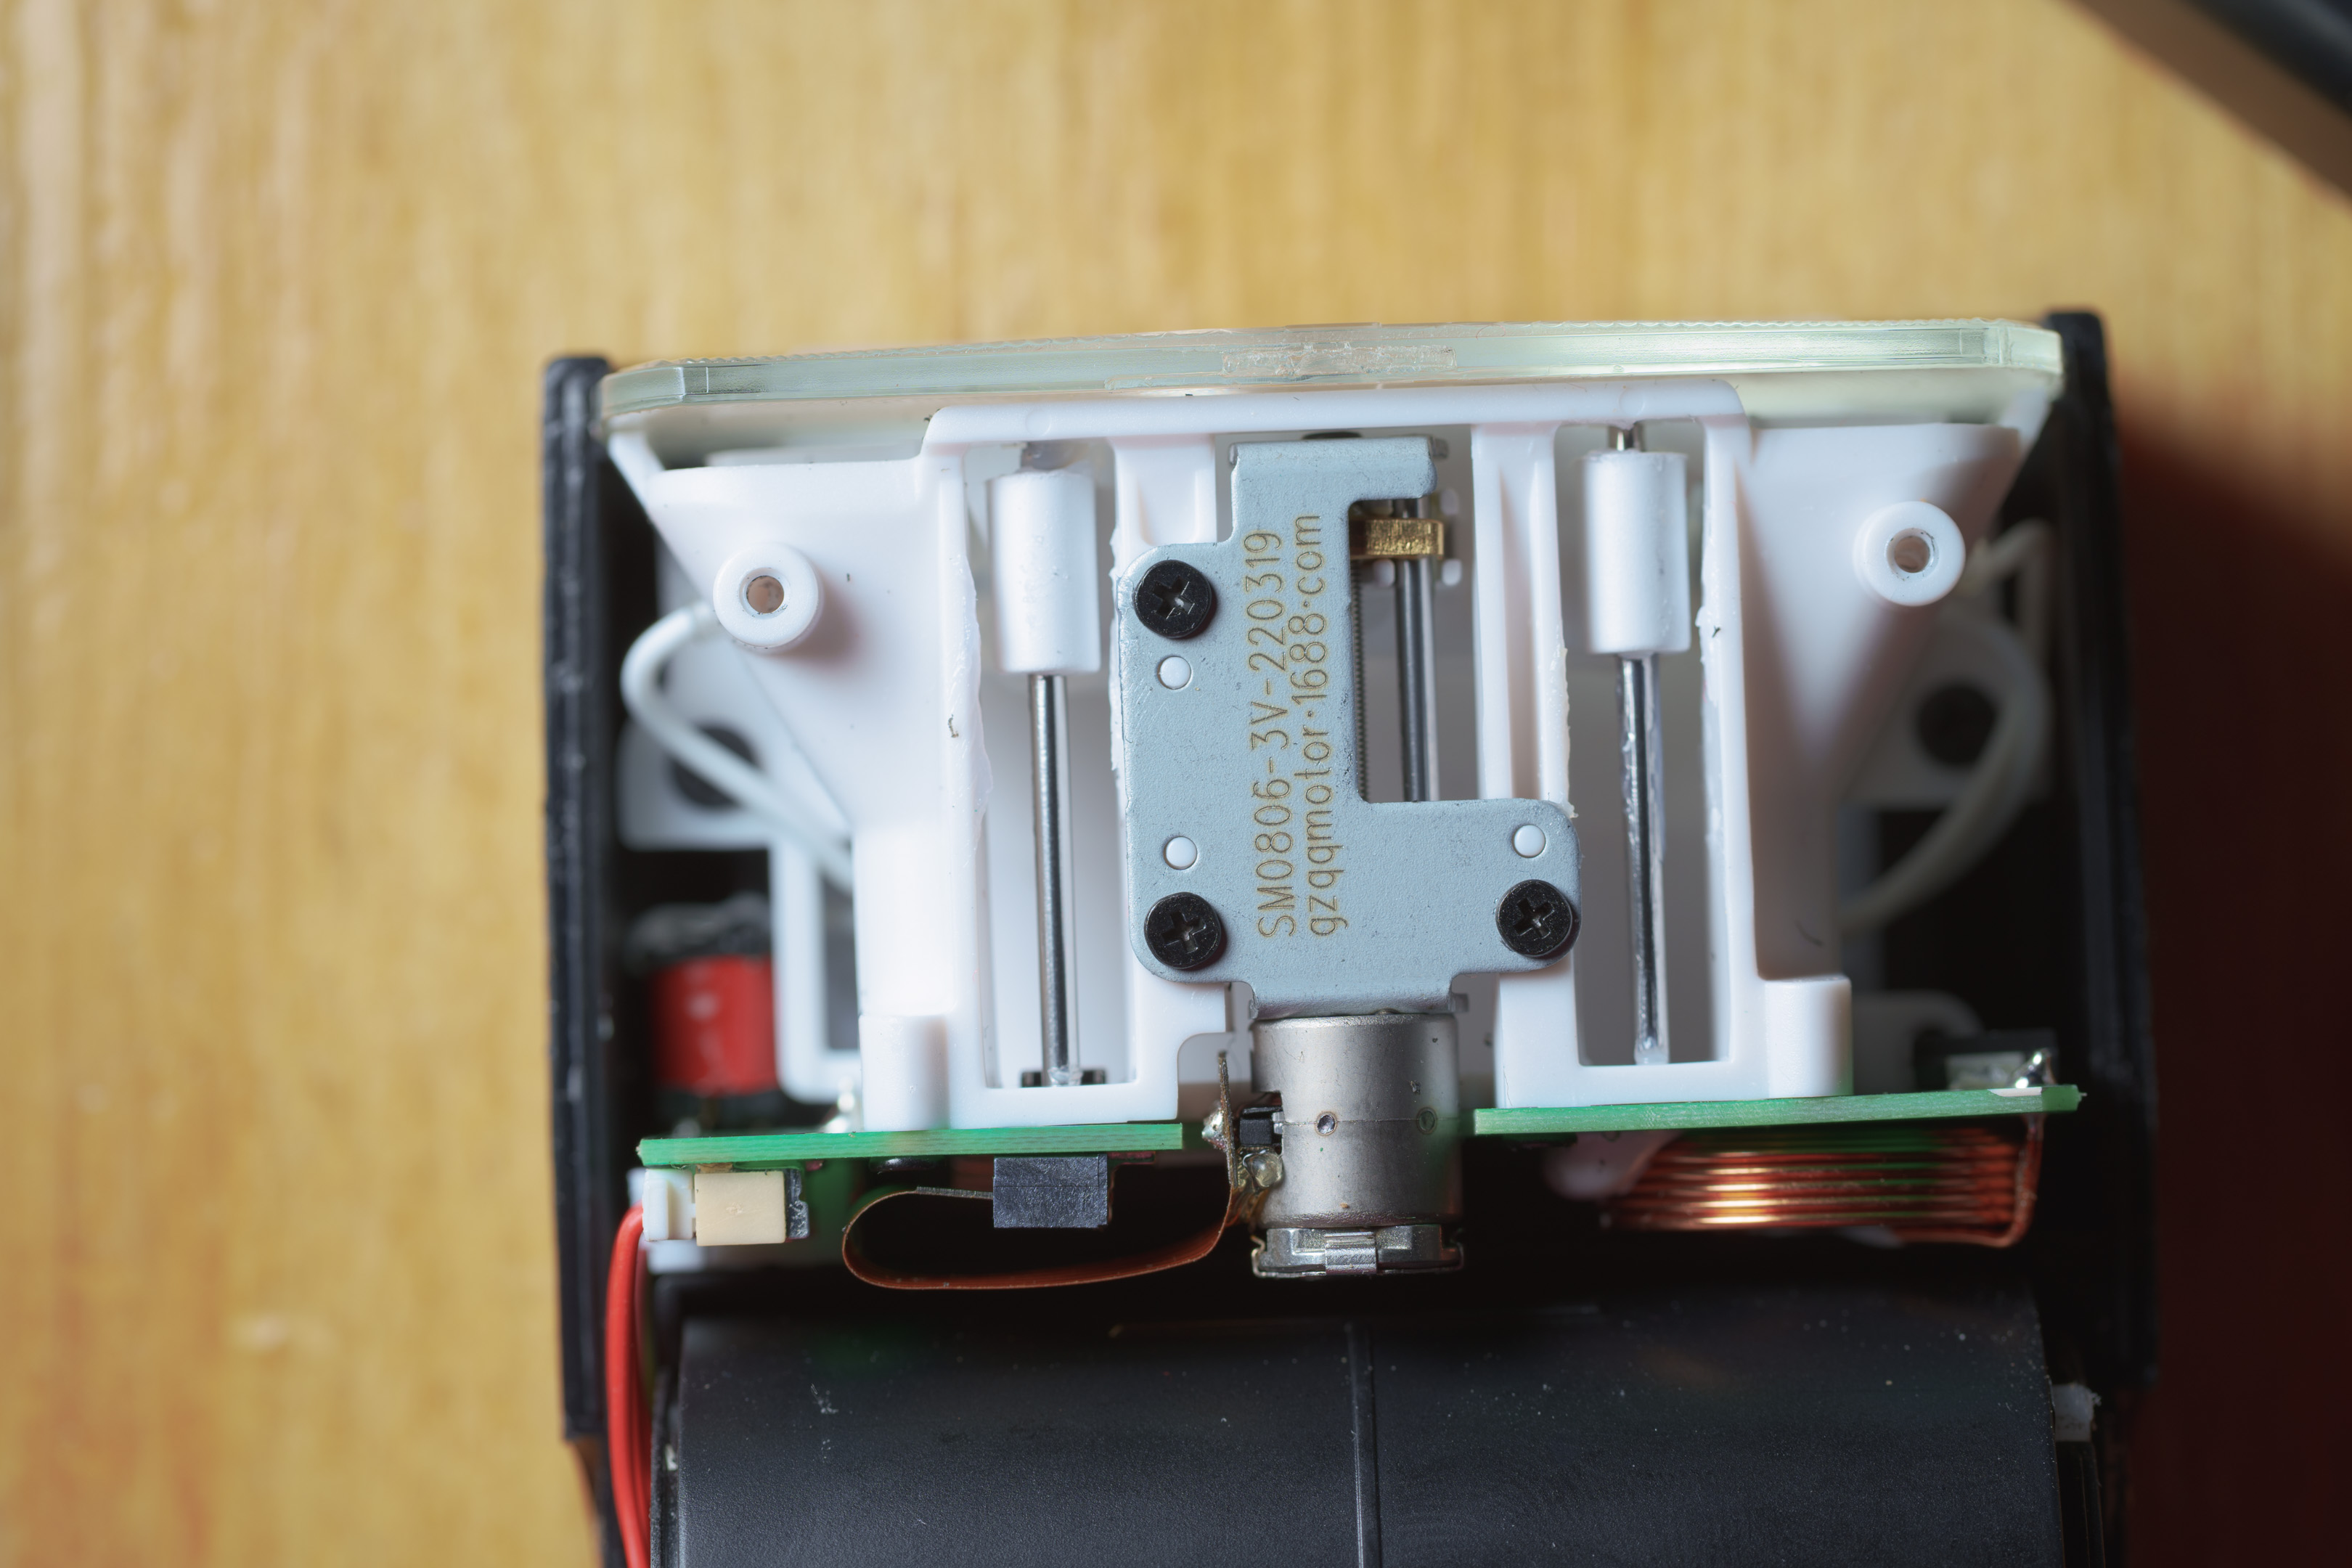
Bottom section of casing removed
Fresnel removed
Bare flash head
V480 dismantle
Undo the two screws near the flash head.
Screws on flash head
Pry up and remove the rubber covers at either side where the flash head hinges are. Mine were very stuck down, possibly using a hairdyer to warm up the glue may help?
Hinge screw
If the double-sided tape stayed stuck to the flash rather than coming off with the rubber covers, cut the tape along the seam of the case halves, otherwise you won't be able to pull the two halves apart.
Use a spudger to pry apart the two parts of the housing.
This flash has a Fresnel lens and an additional piece of plastic in front of that to remove. If you wanted to later restore this flash to its original condition, the pieces should go with the outer rim facing towards the flash tube.
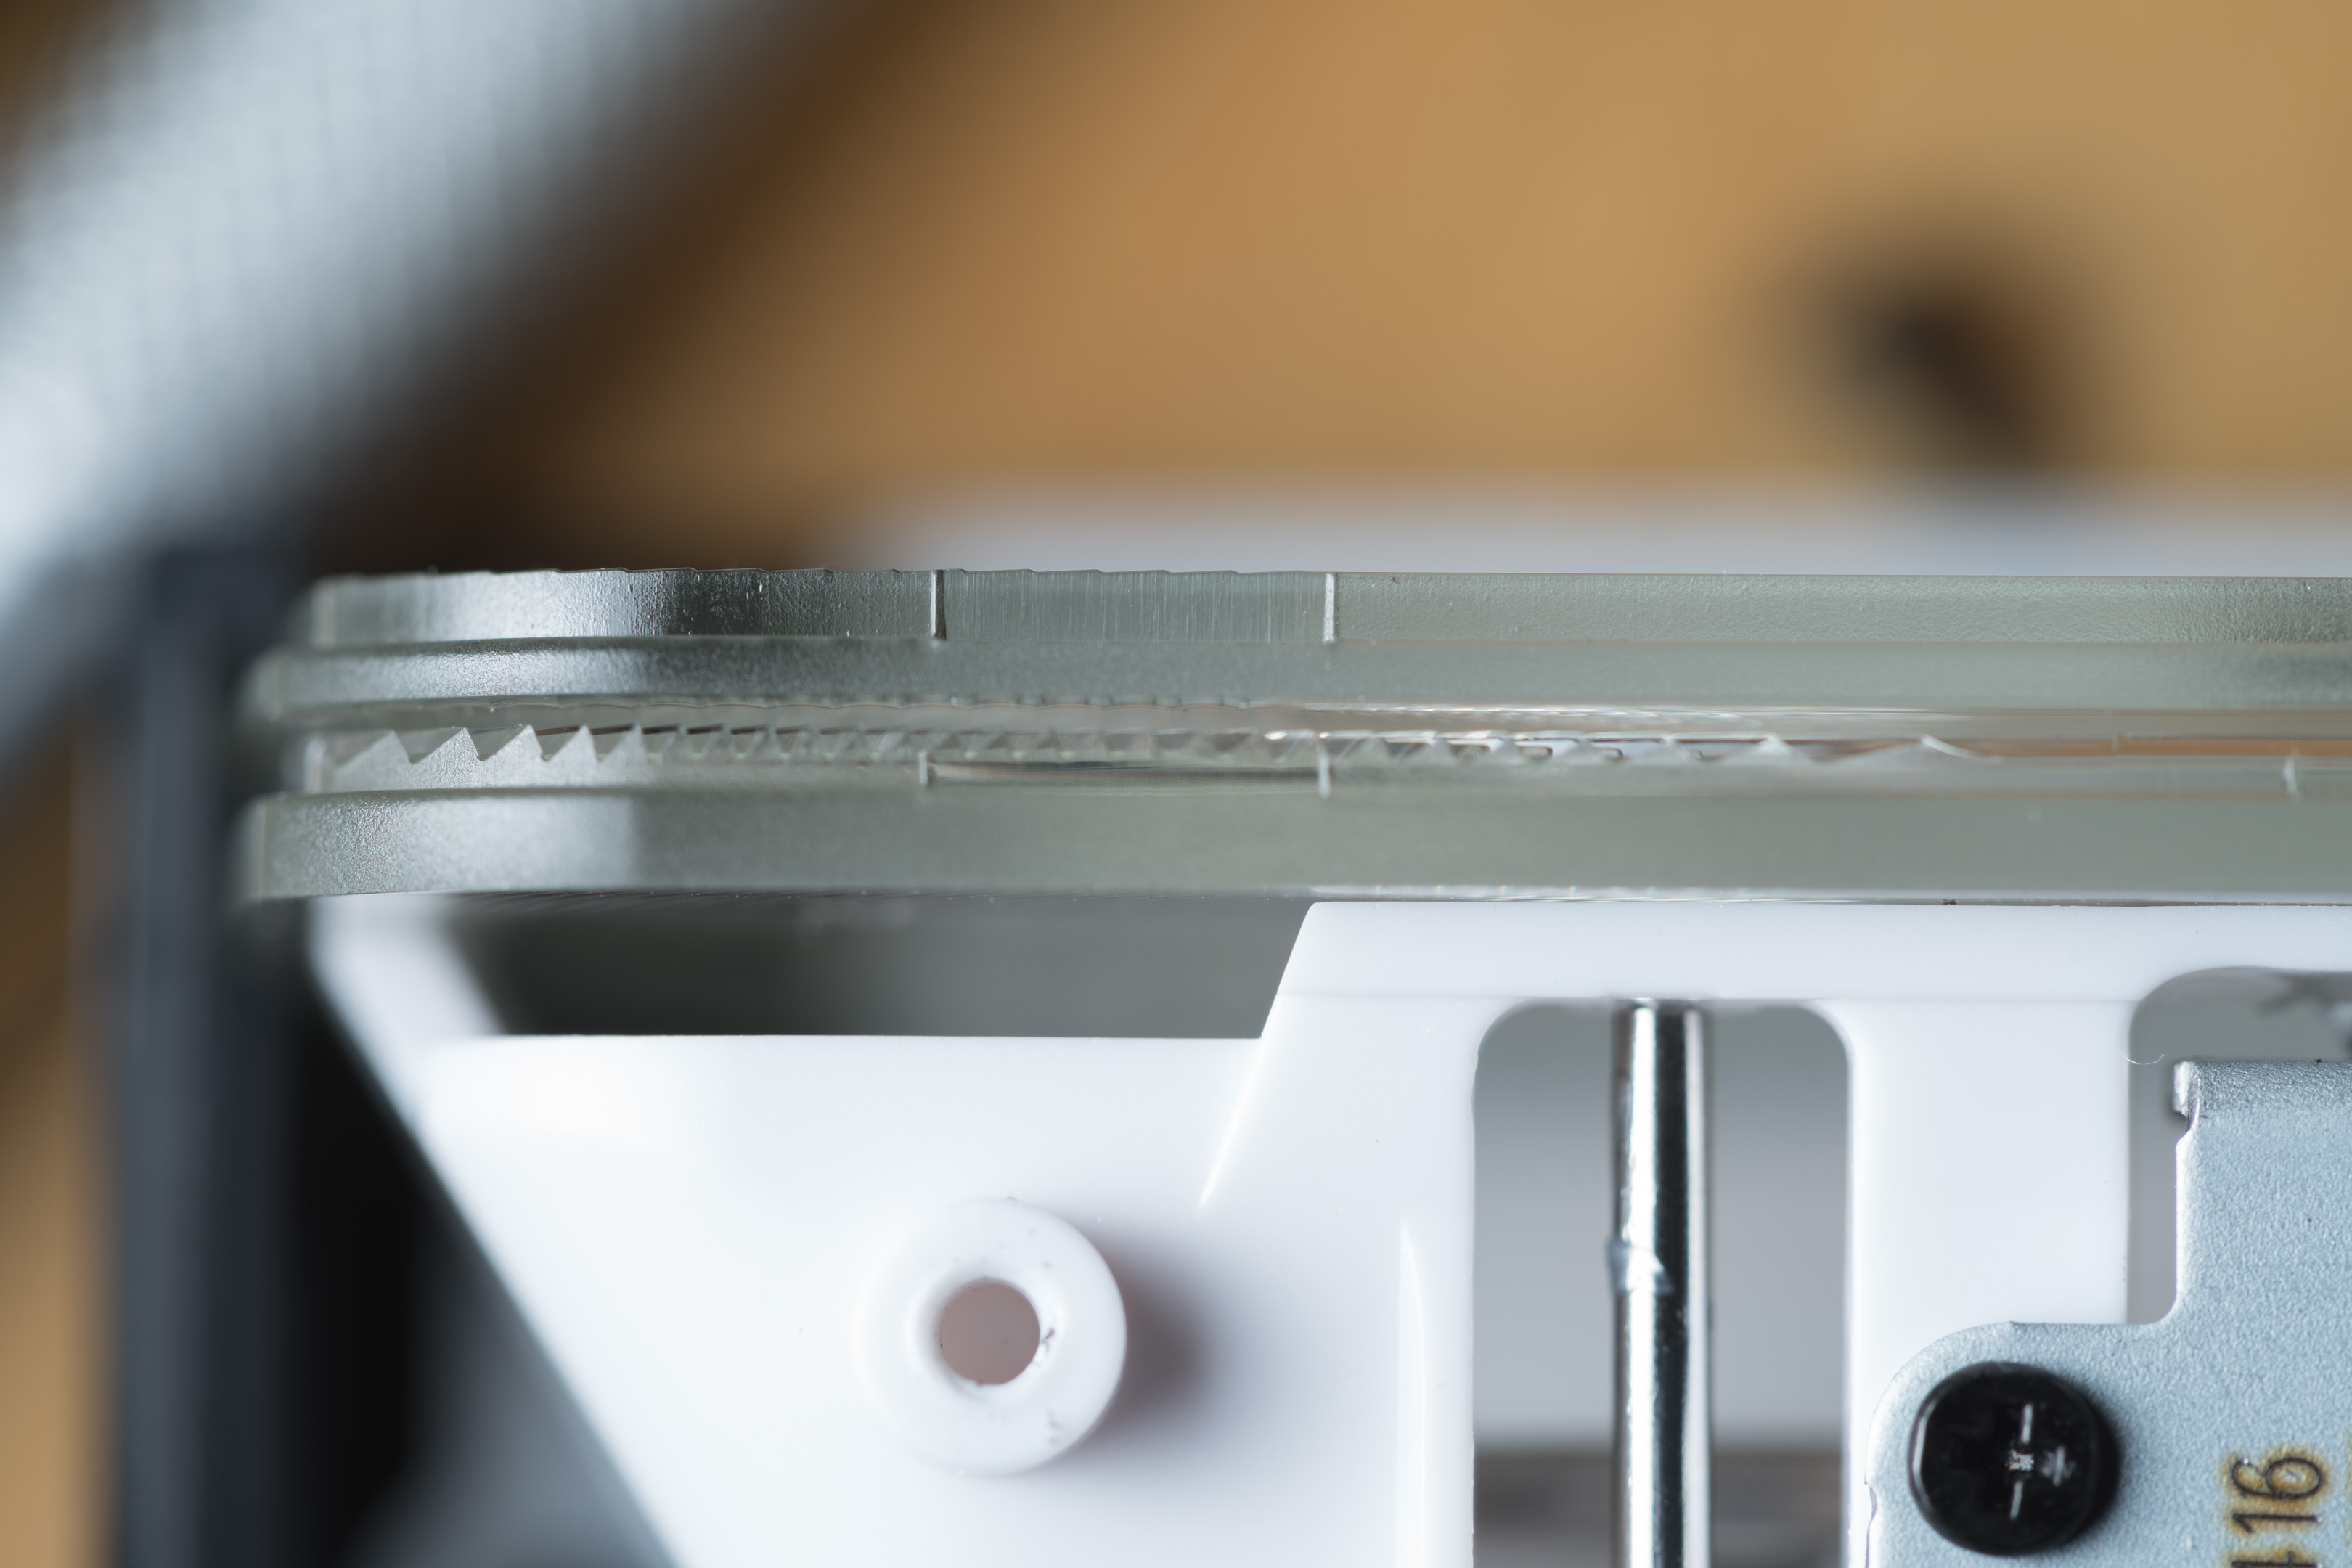
Fresnel and front lens
V860II dismantle
Undo the two screws near the flash head.
Screws
Pry up and remove the rubber covers at either side where the flash head hinges are. On either side you only need to undo the two screws that are on the same half of the case.
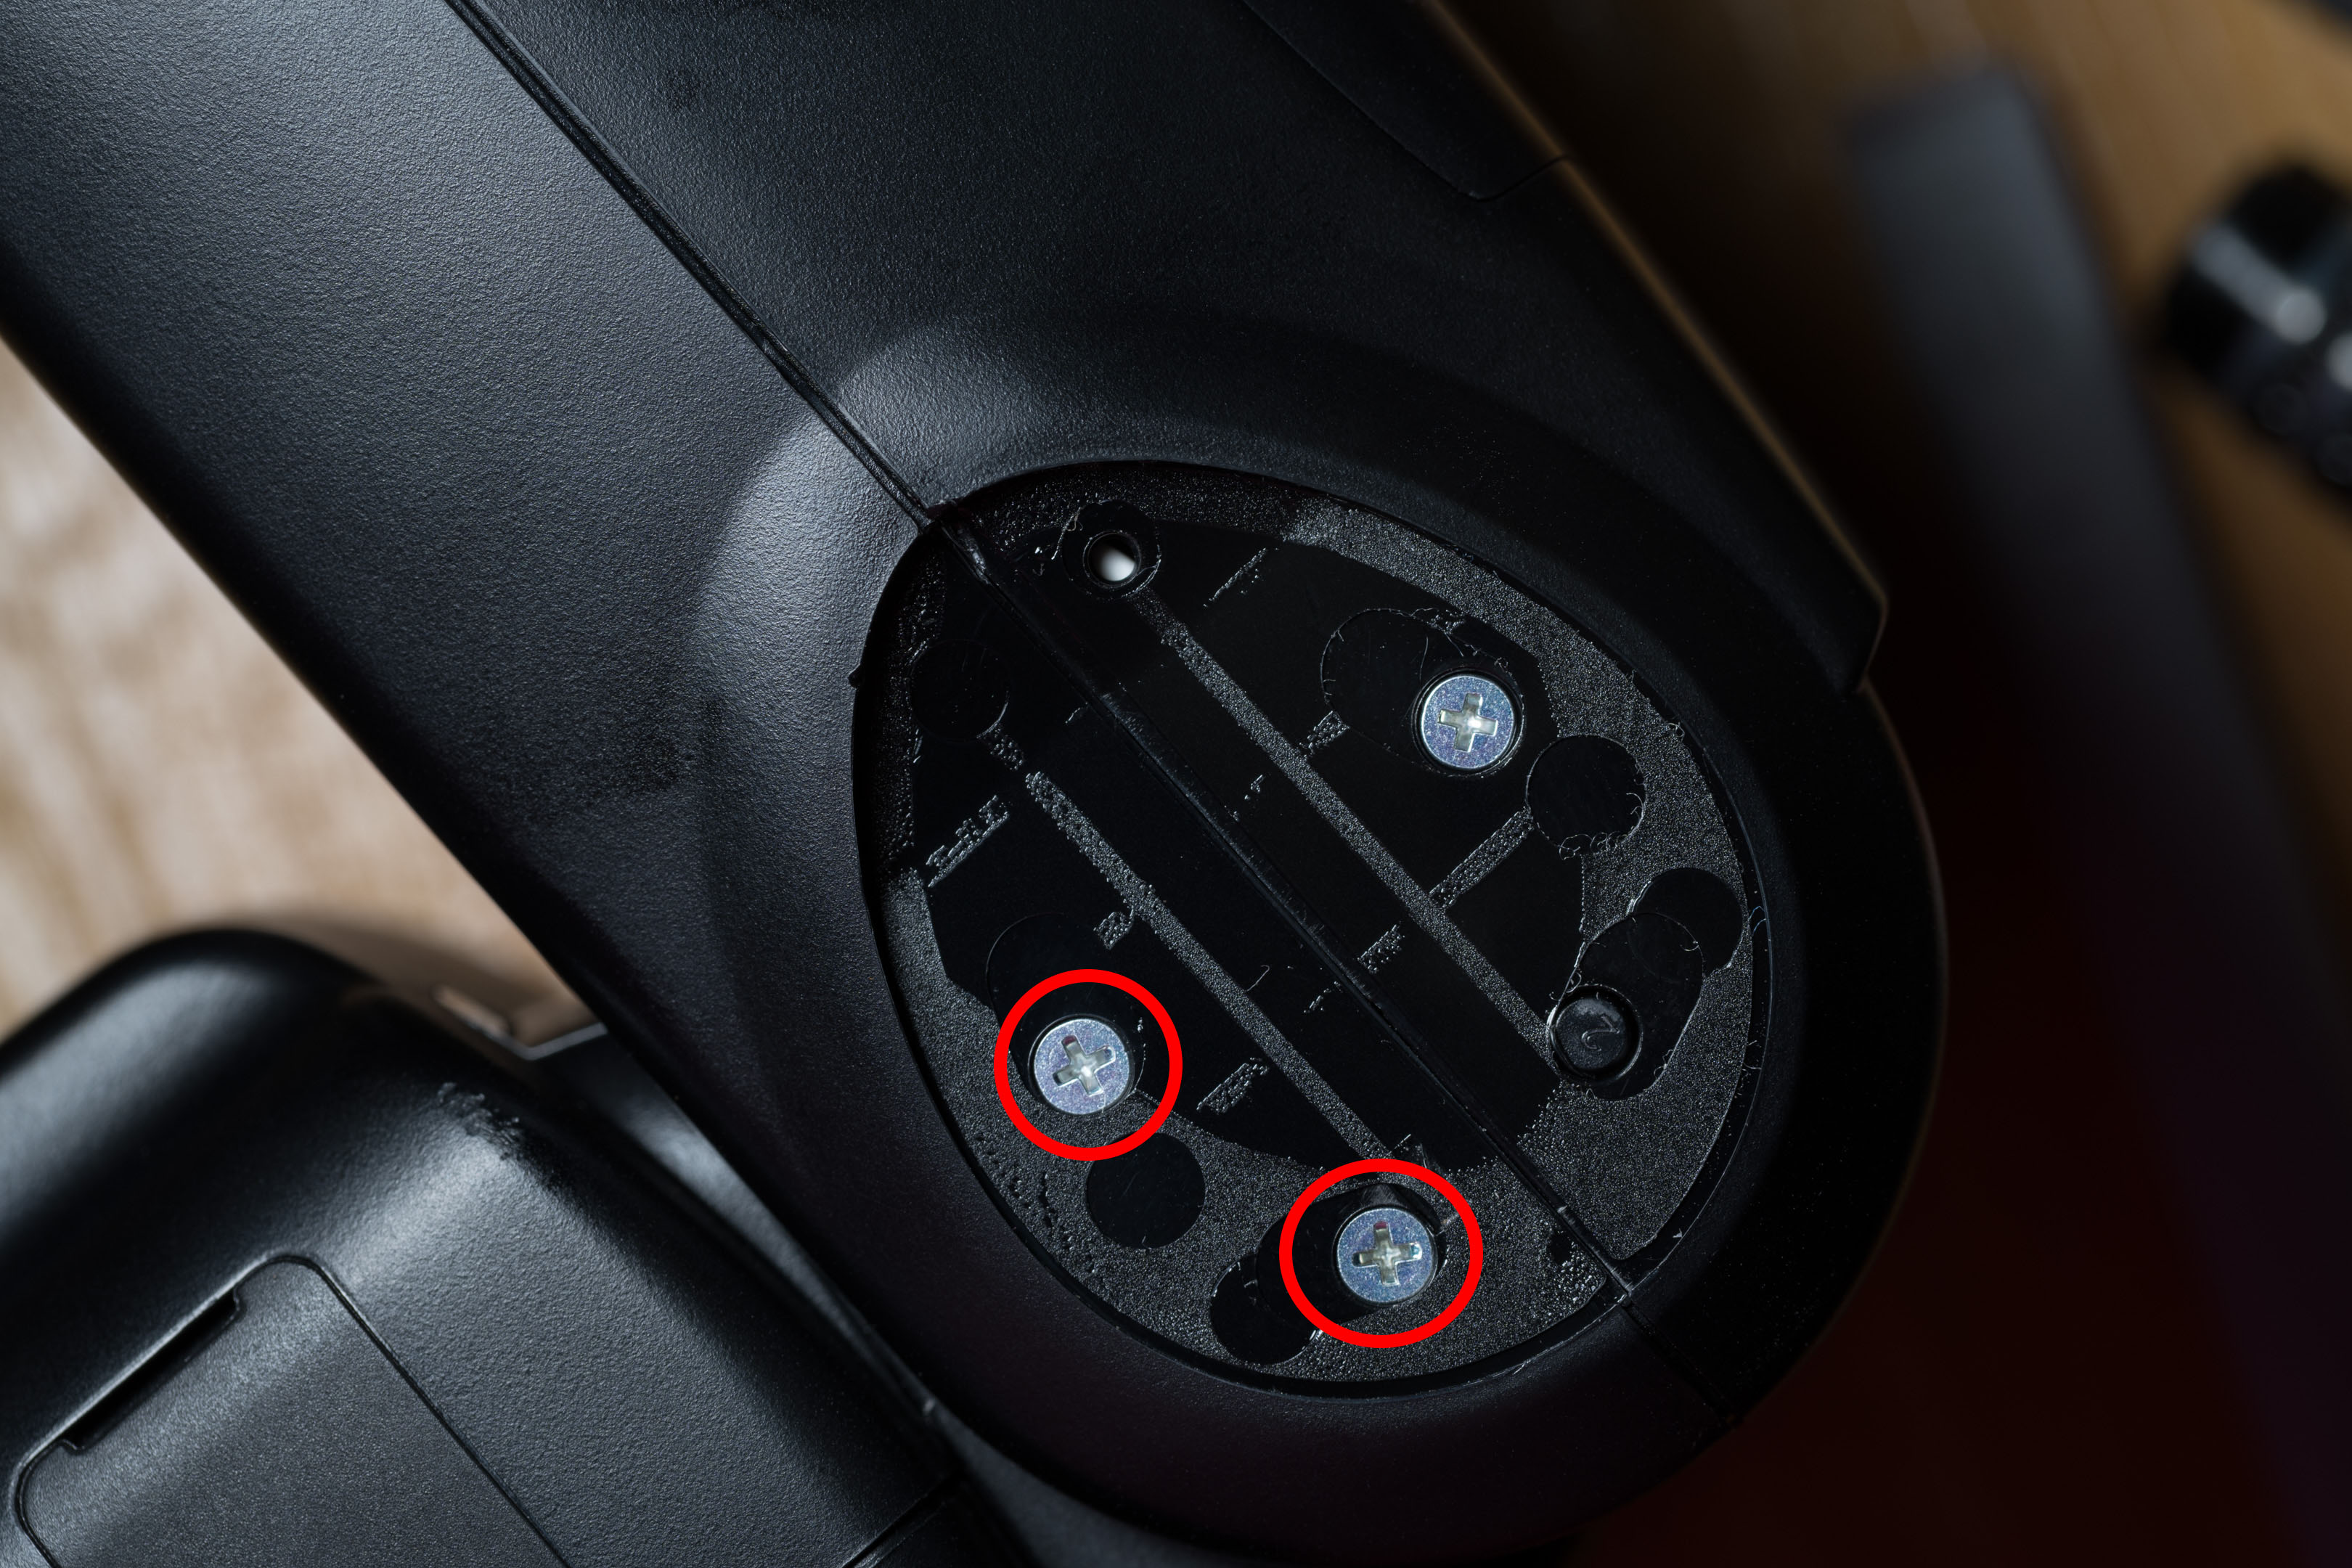
Screws at the hinge
Use a spudger to pry apart the case. Note the bottom part of the case you need to remove is attached to the rest of the flash by a cable.
This flash has a Fresnel lens and an additional piece of plastic in front of that to remove.
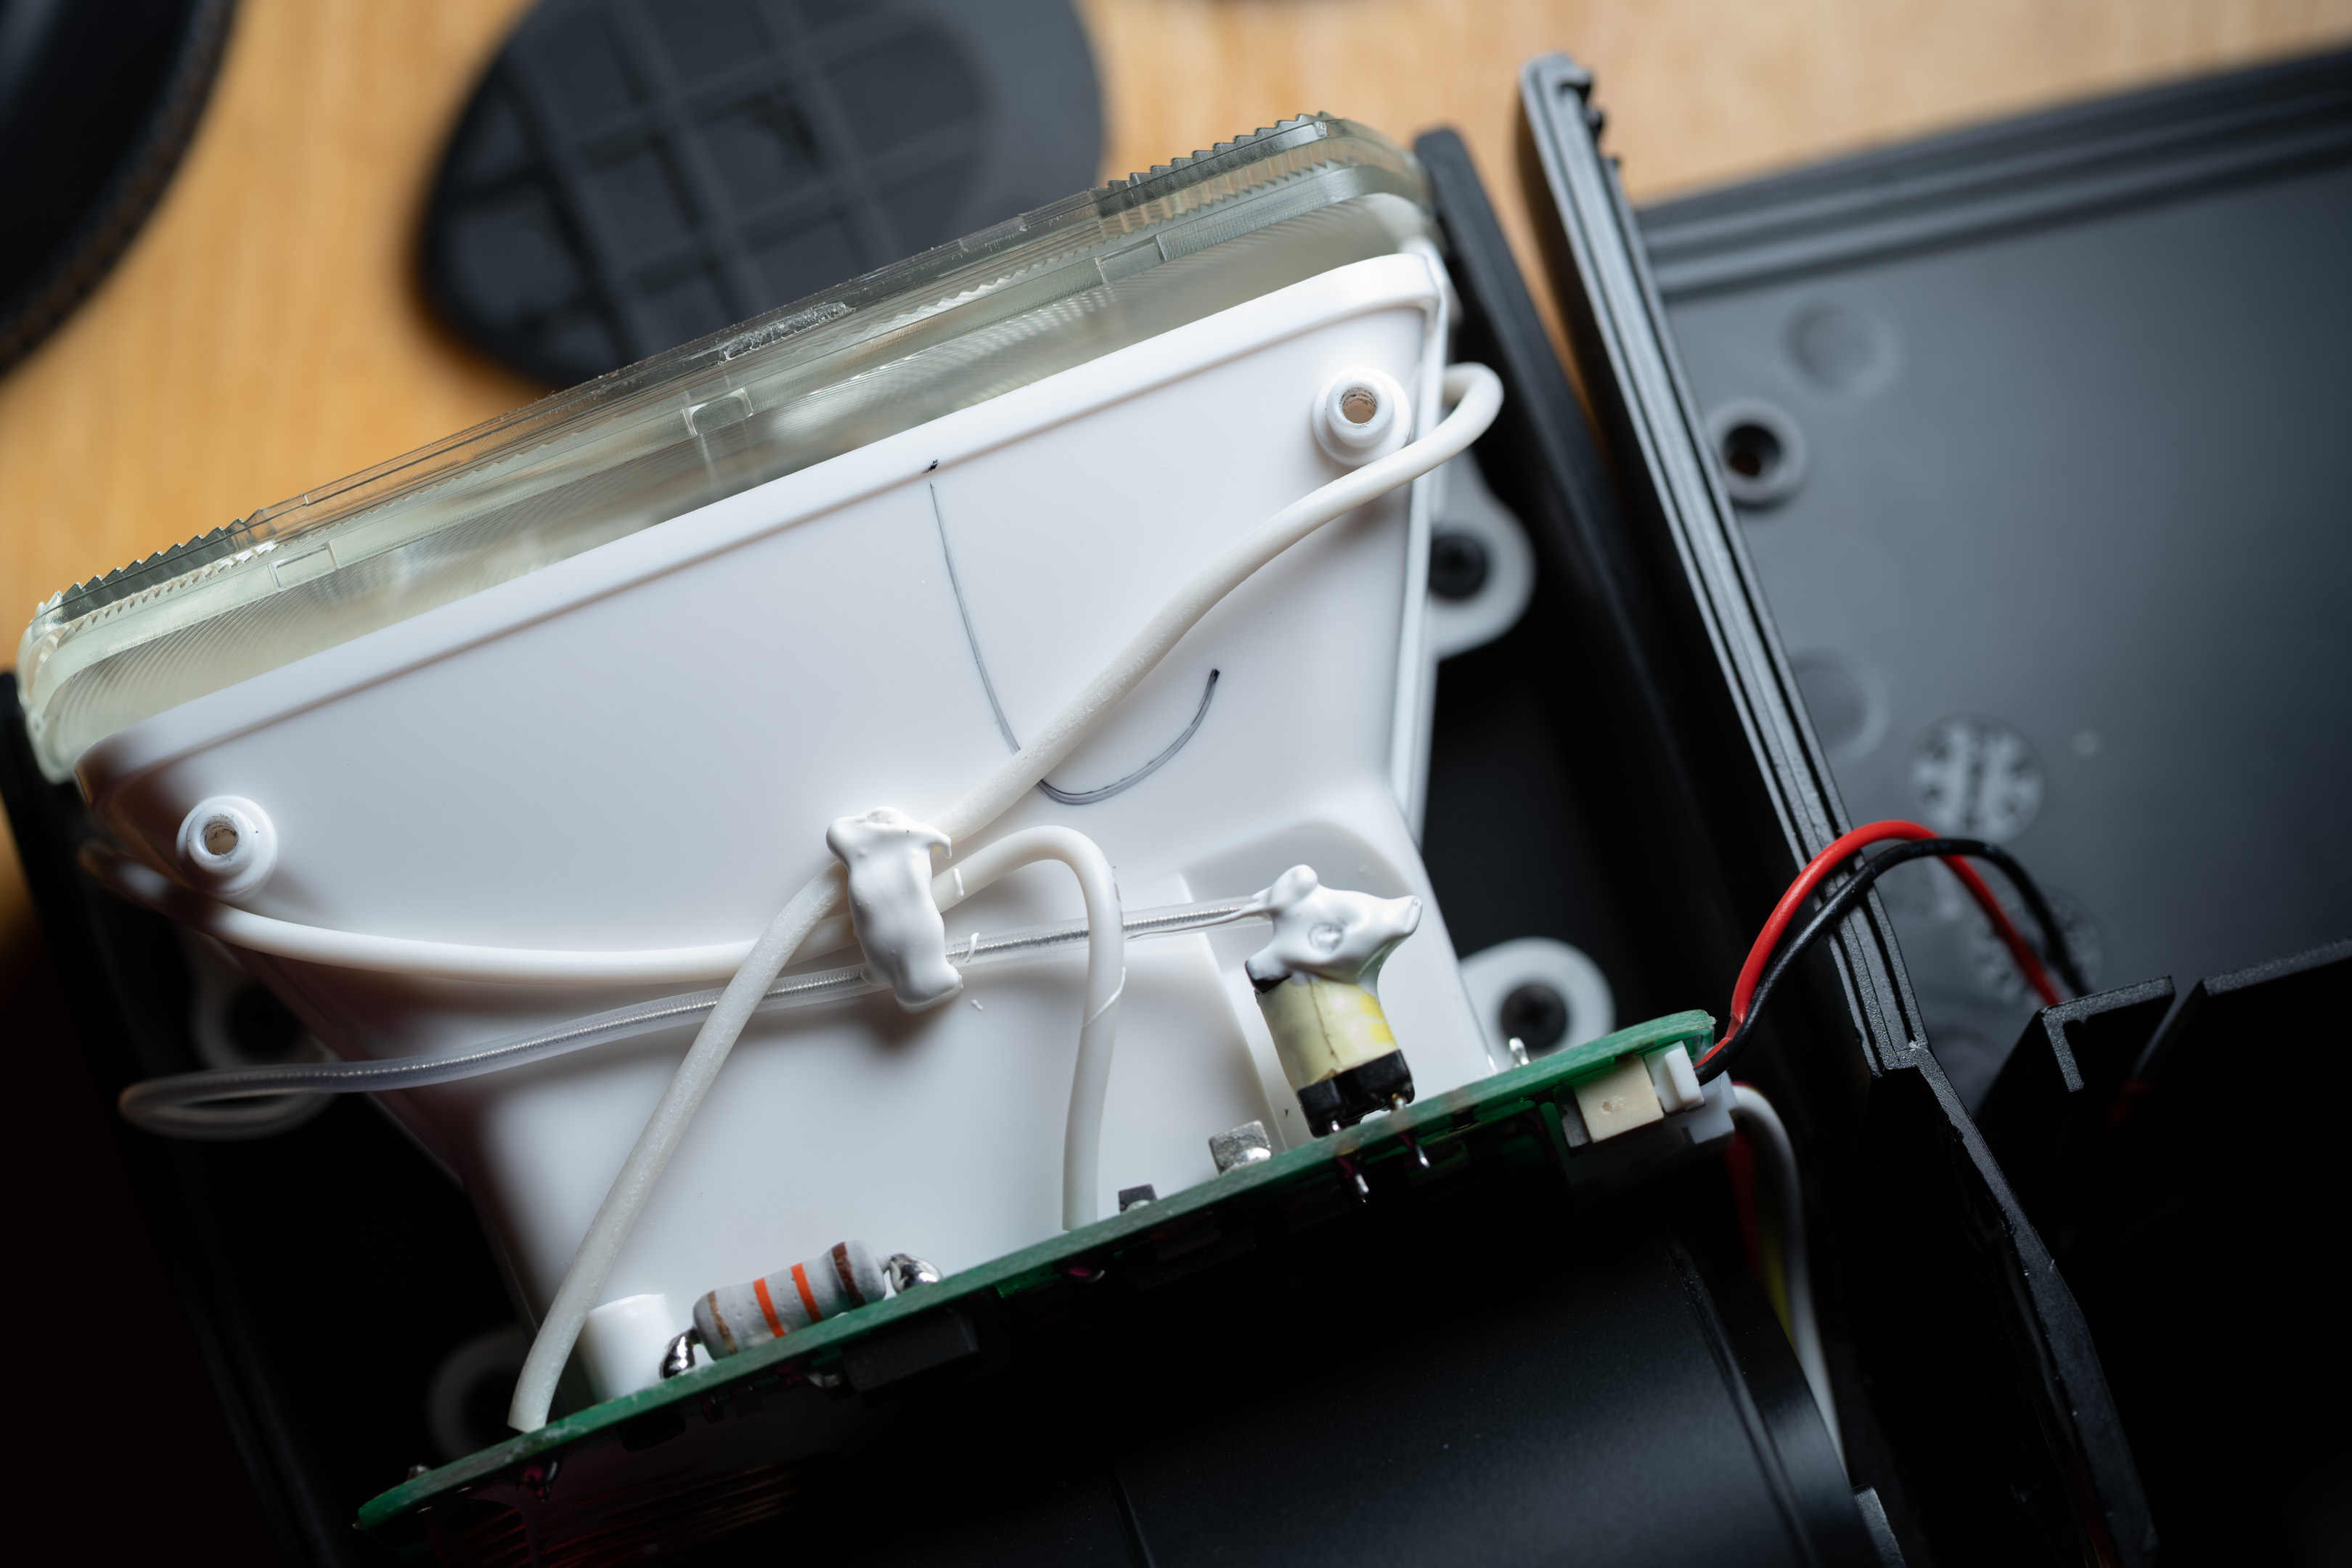
Case opened up
V1 dismantle
Undo the 4 screws around the black metal retaining ring at the front of the flash head.
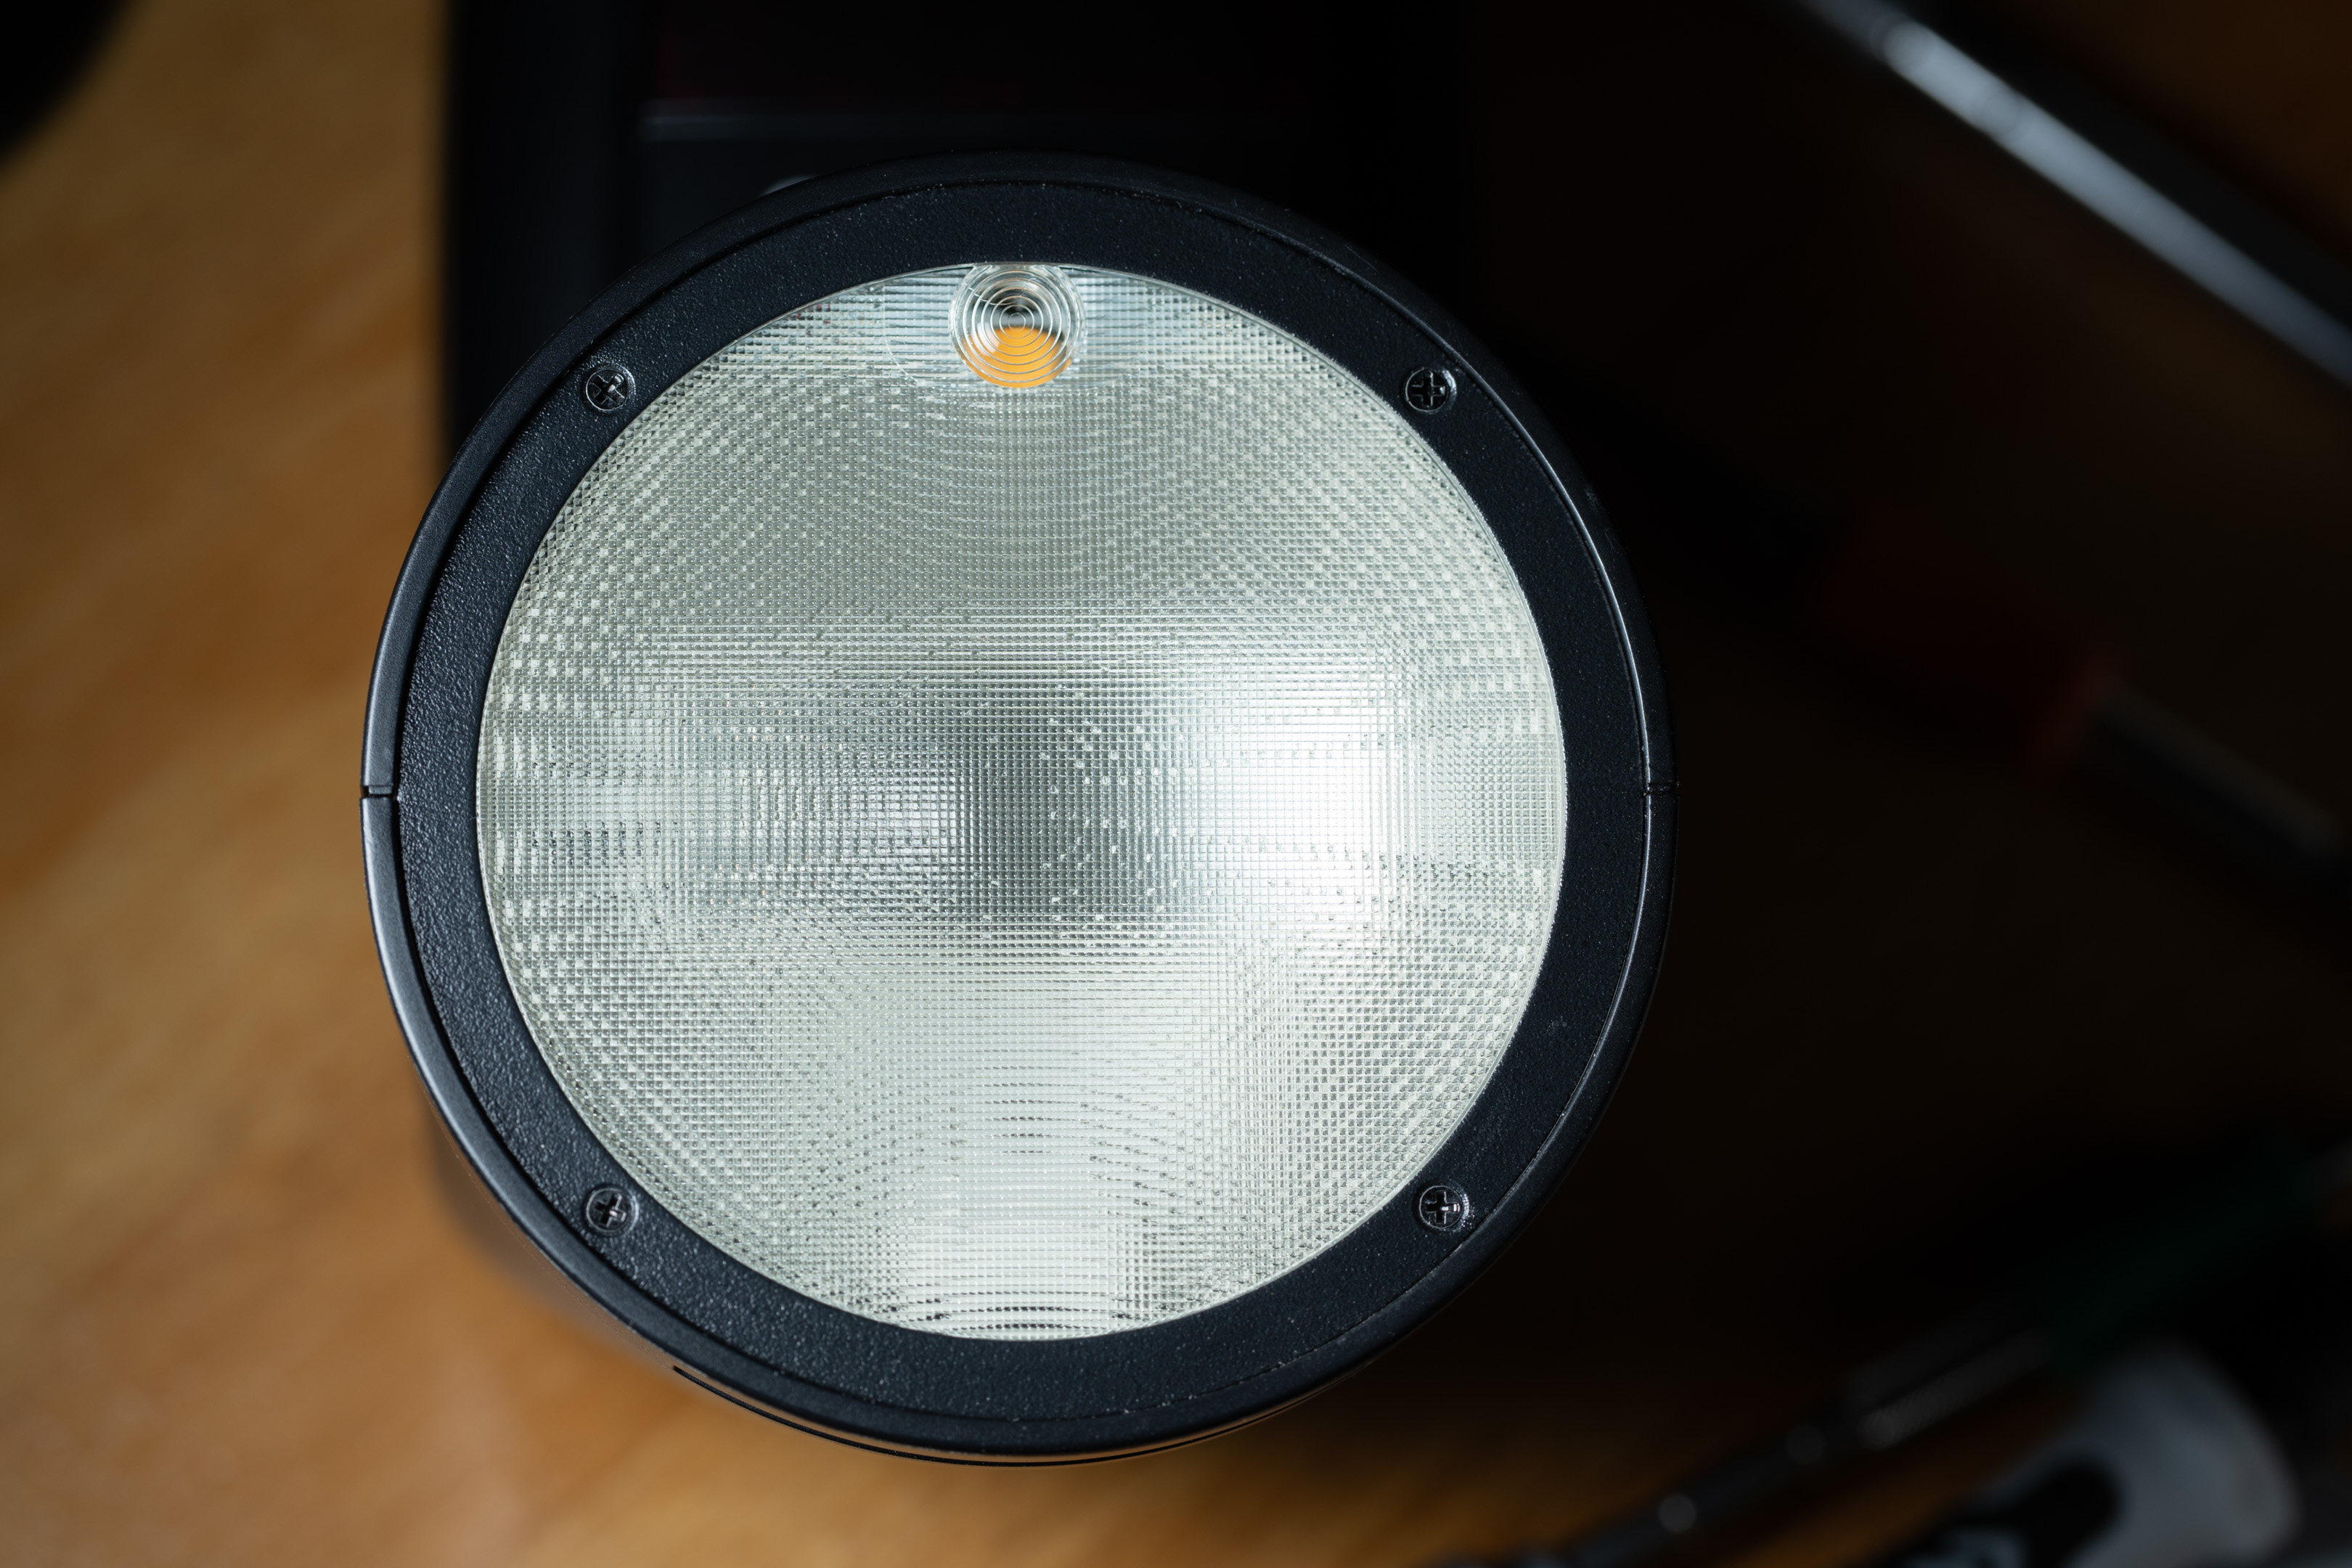
Screws holding the retaining ring in place
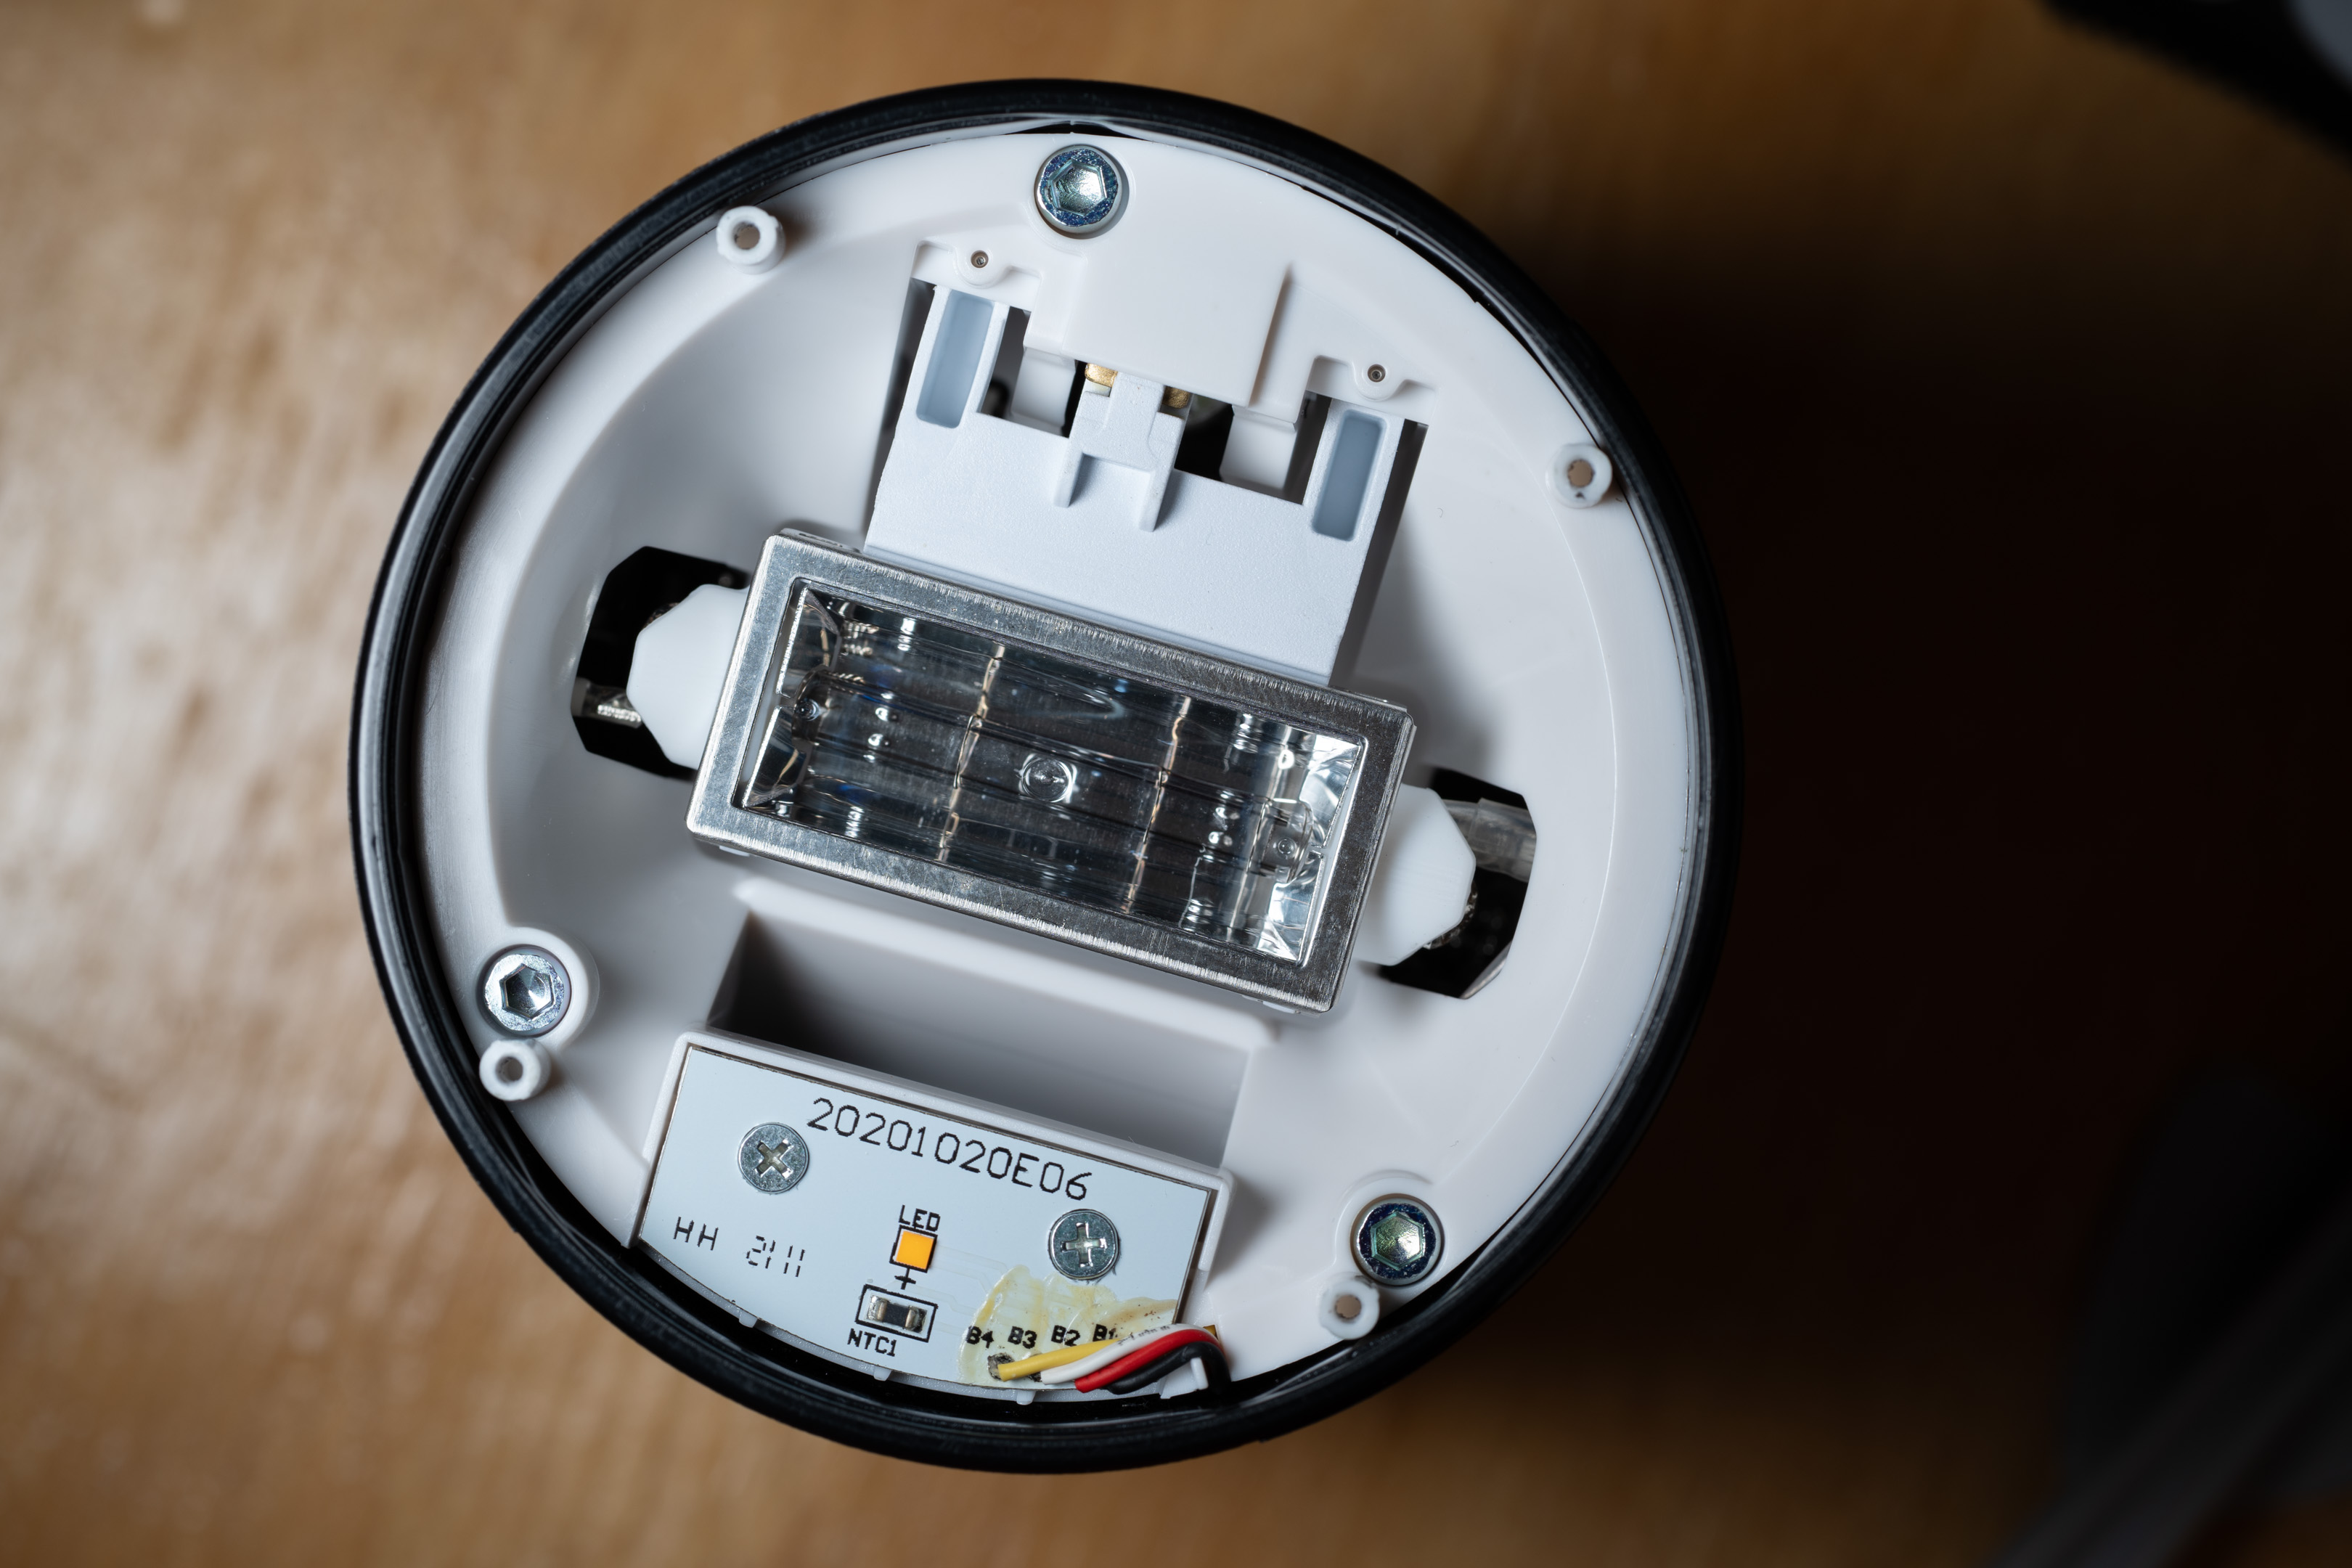
That should be all, though for me I couldn't get the front out, so I then removed the rubber at the hinges and two of the screws there. Then when I was trying to get the halves to separate (without success) the front parts just fell out. But I didn't get the case apart at all, so I'm not sure why the front pieces wouldn't come out earlier. You should be able to just use tweezers or something similar to pry the retaining ring, diffusion plastic, and Fresnel out without undoing the hinge.
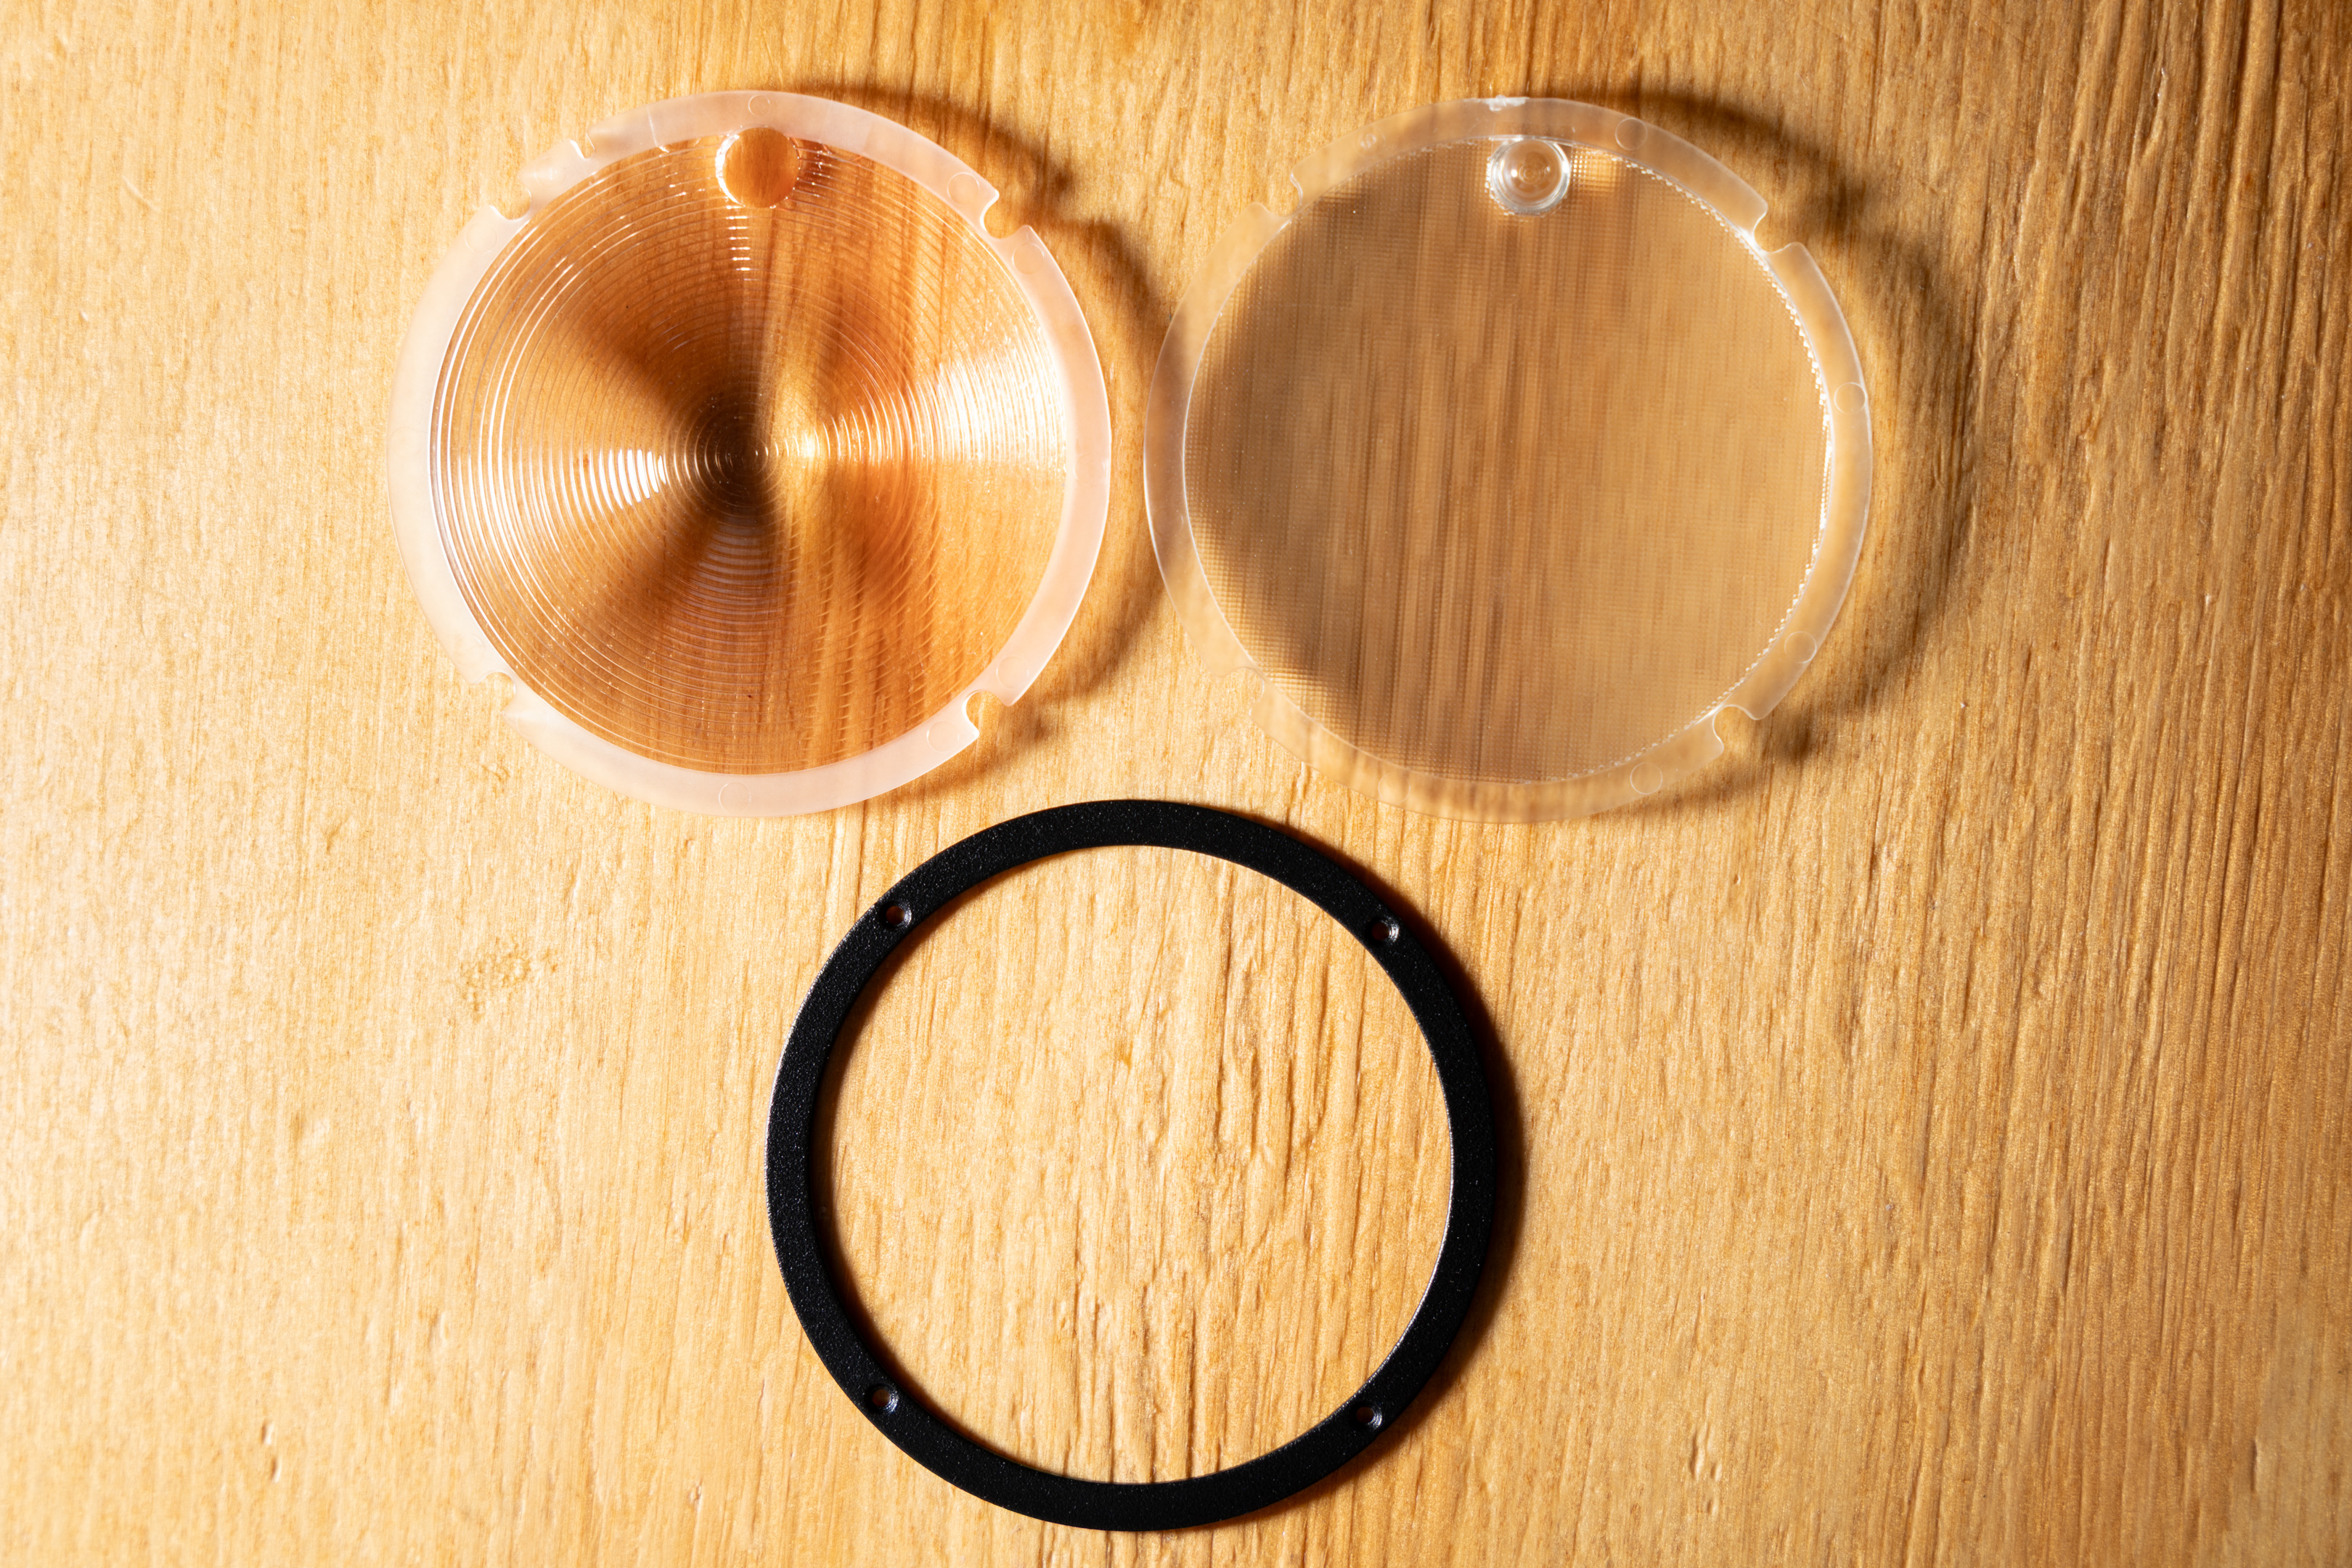
If you want to restore the flash to normal later, the Fresnel goes with the ridgey side facing outwards and the smooth side towards the flash tube. Then in front of that is the diffuser, and that goes with the textured side towards the flash tube. (So the textured side of both pieces are together).

Converted flash with bare tube
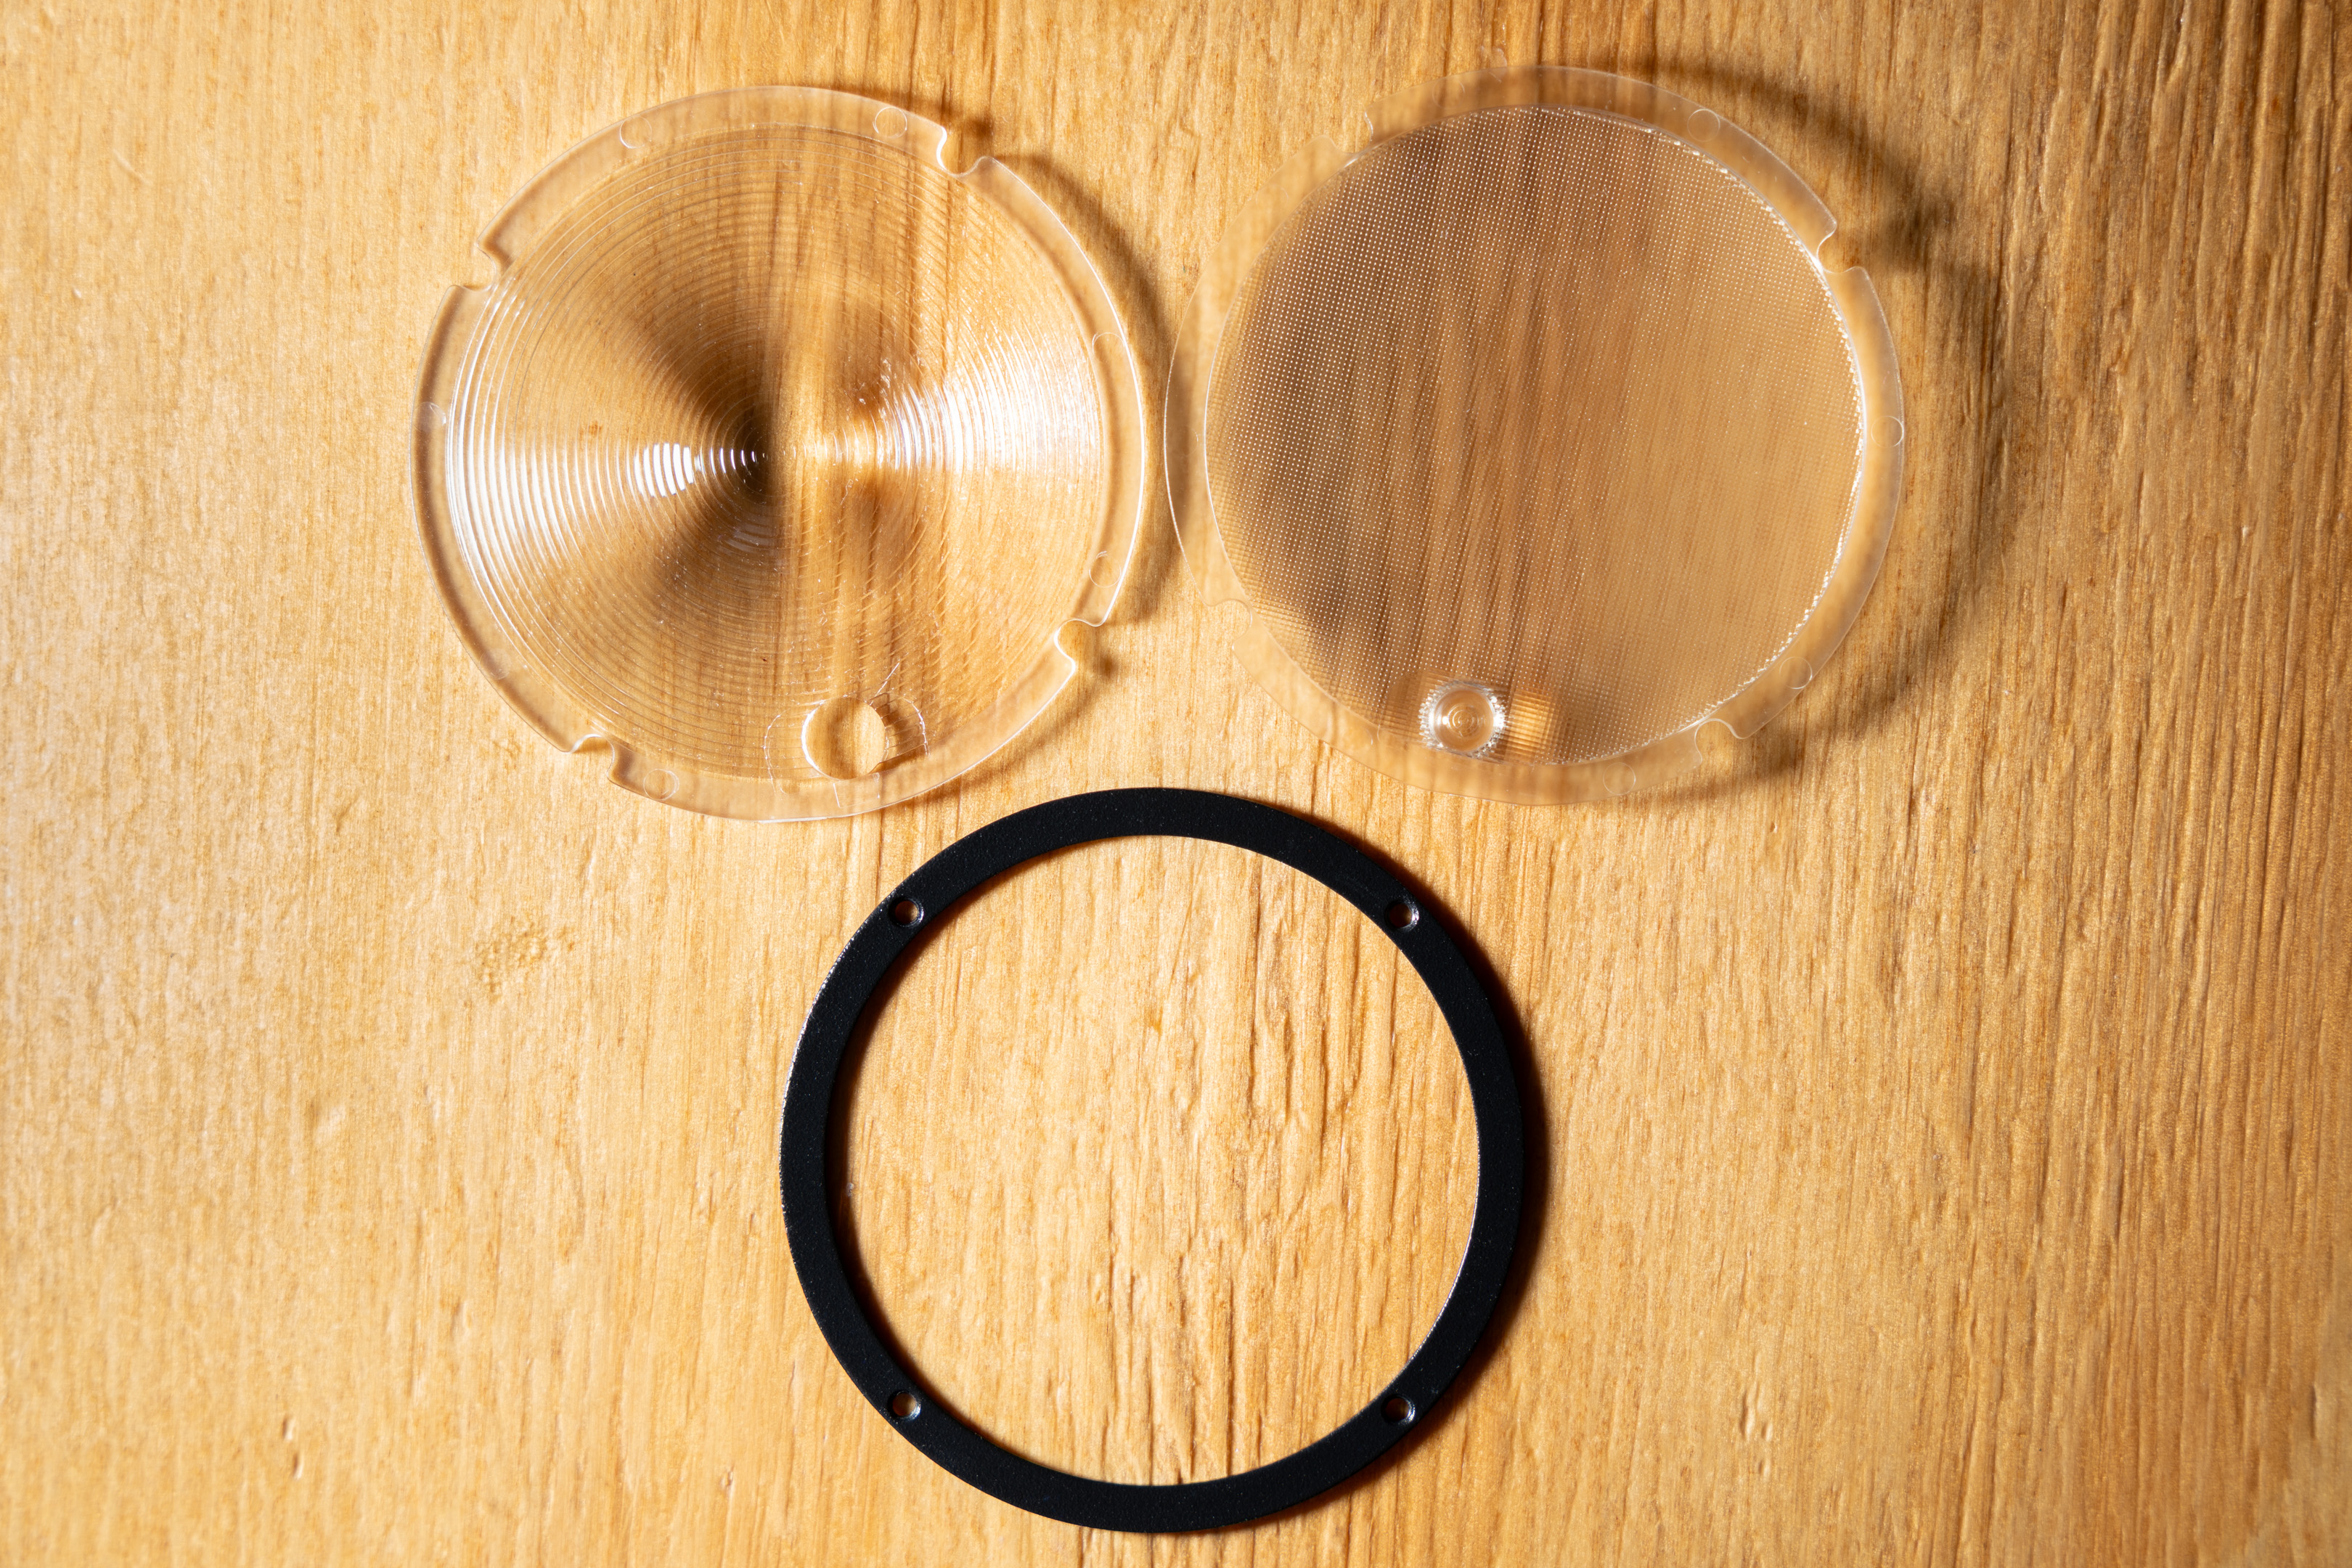
The Fresnel, Diffusion plastic, and retaining ring removed
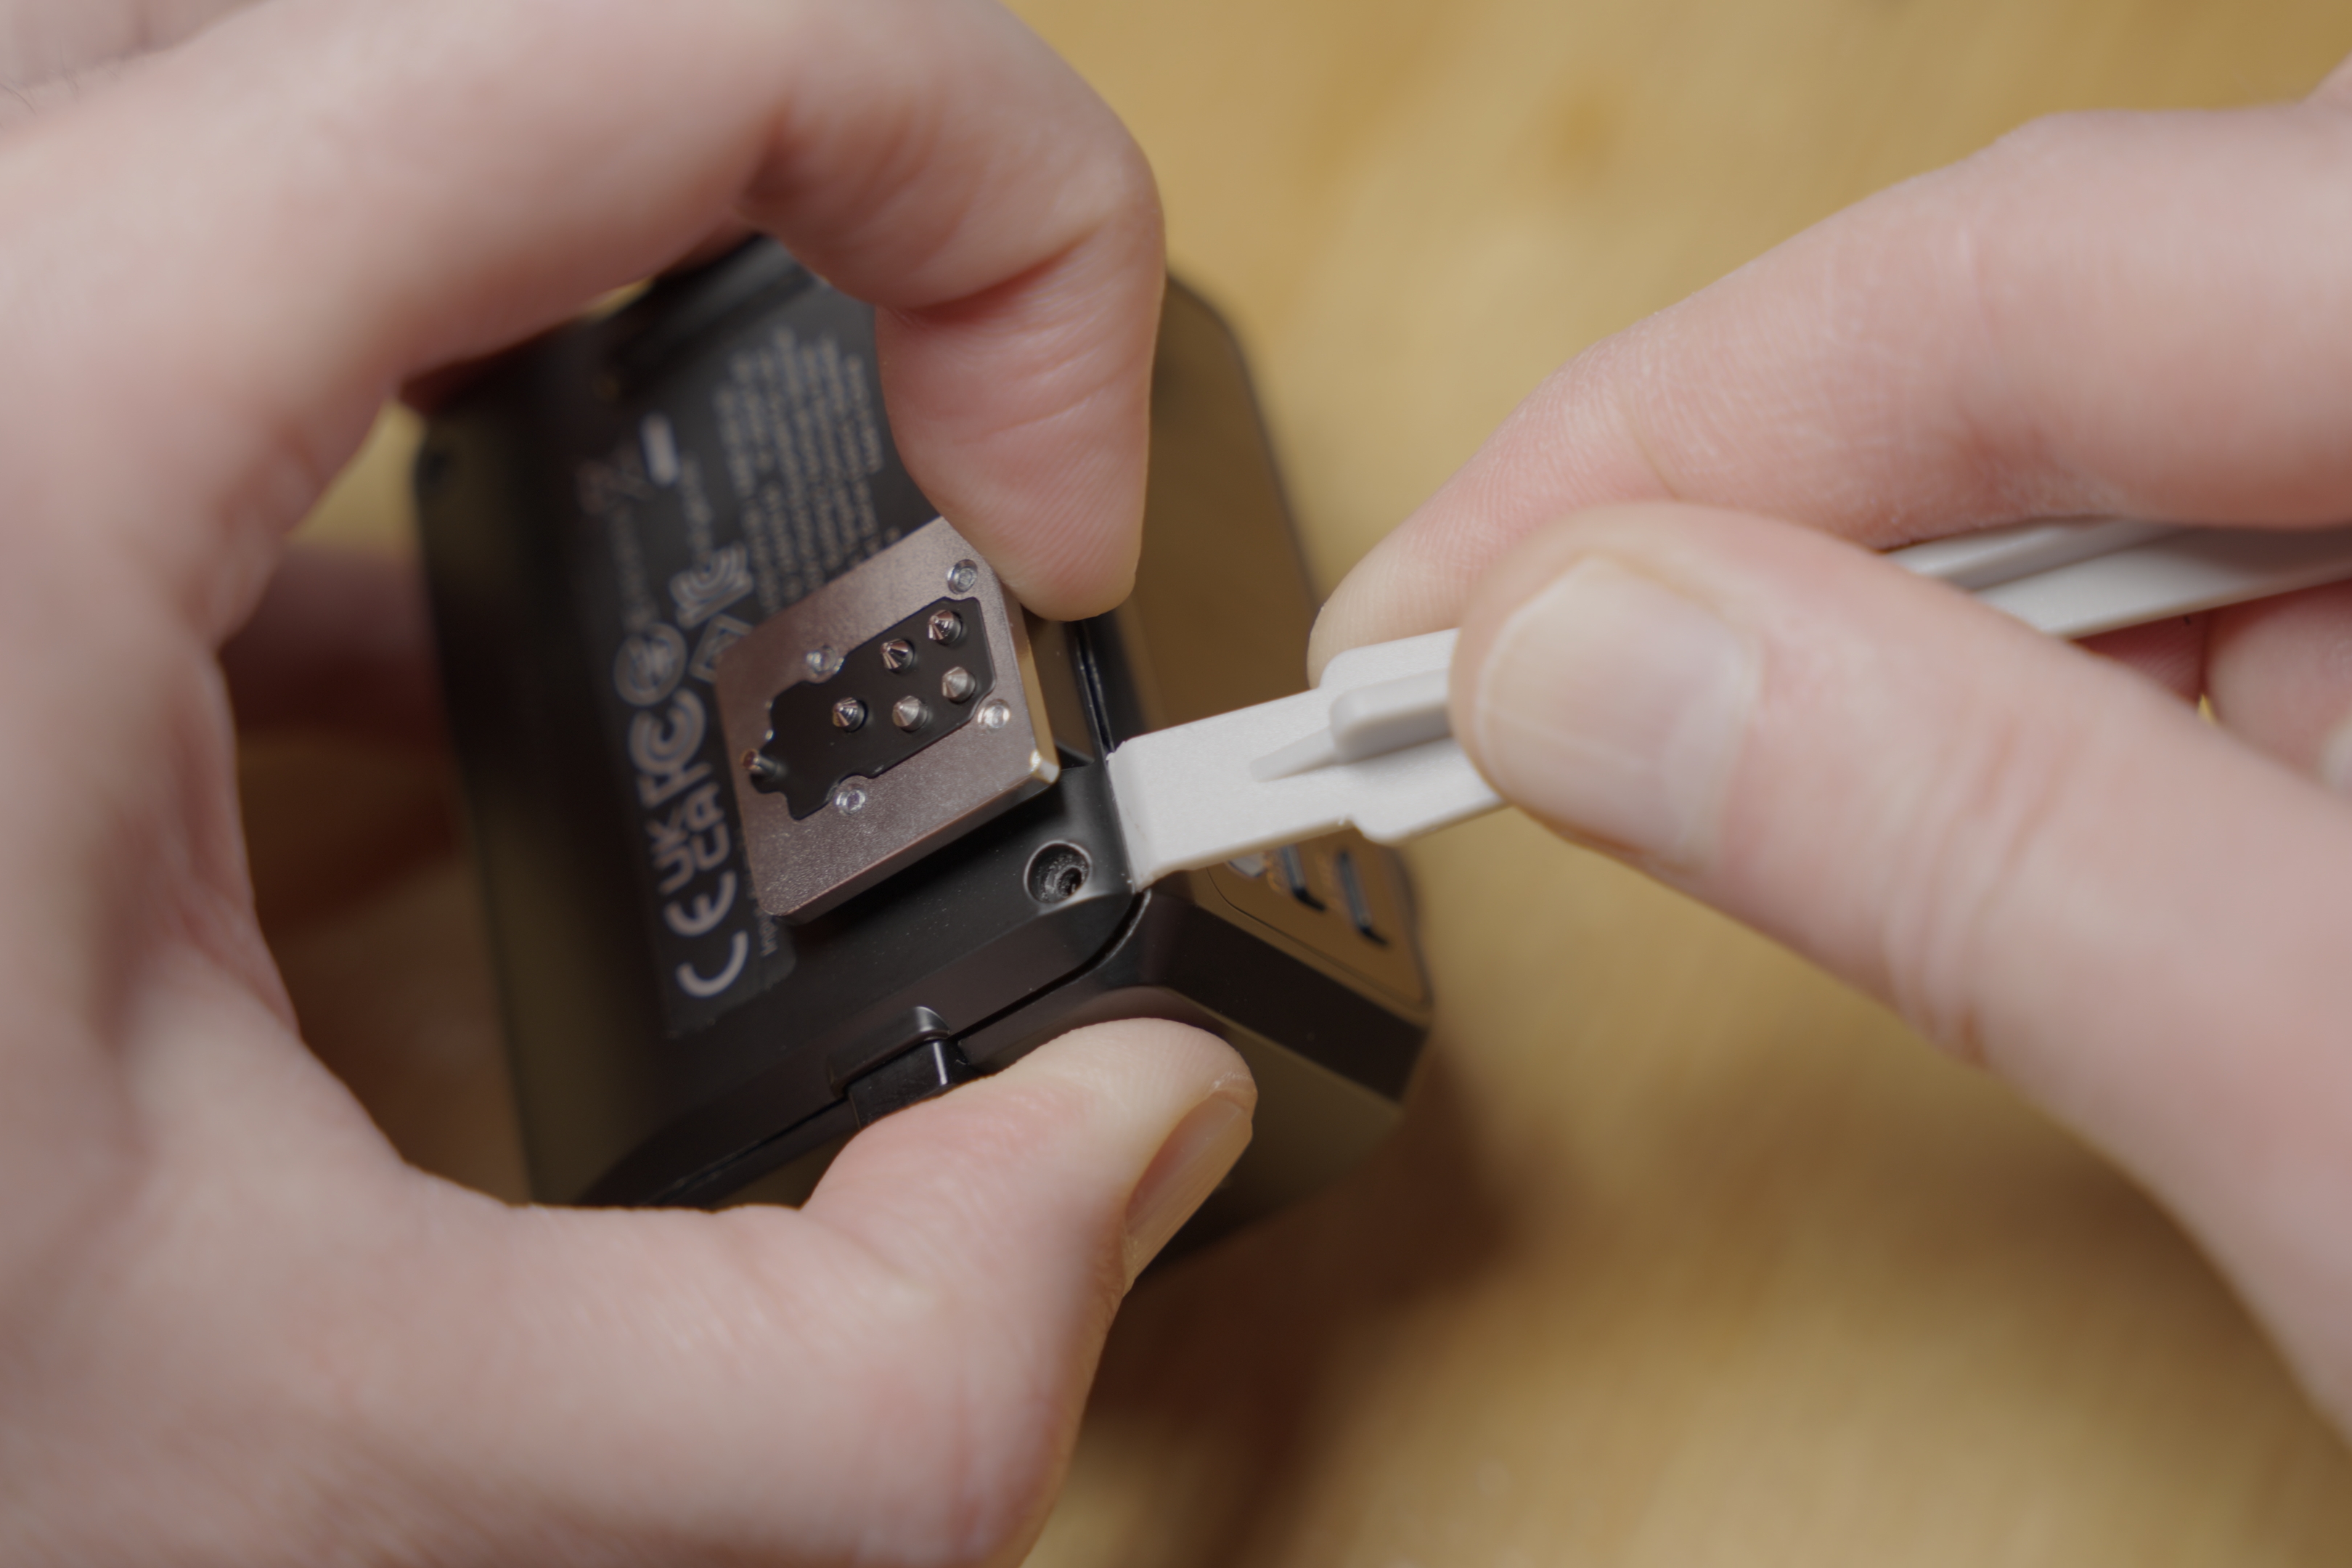
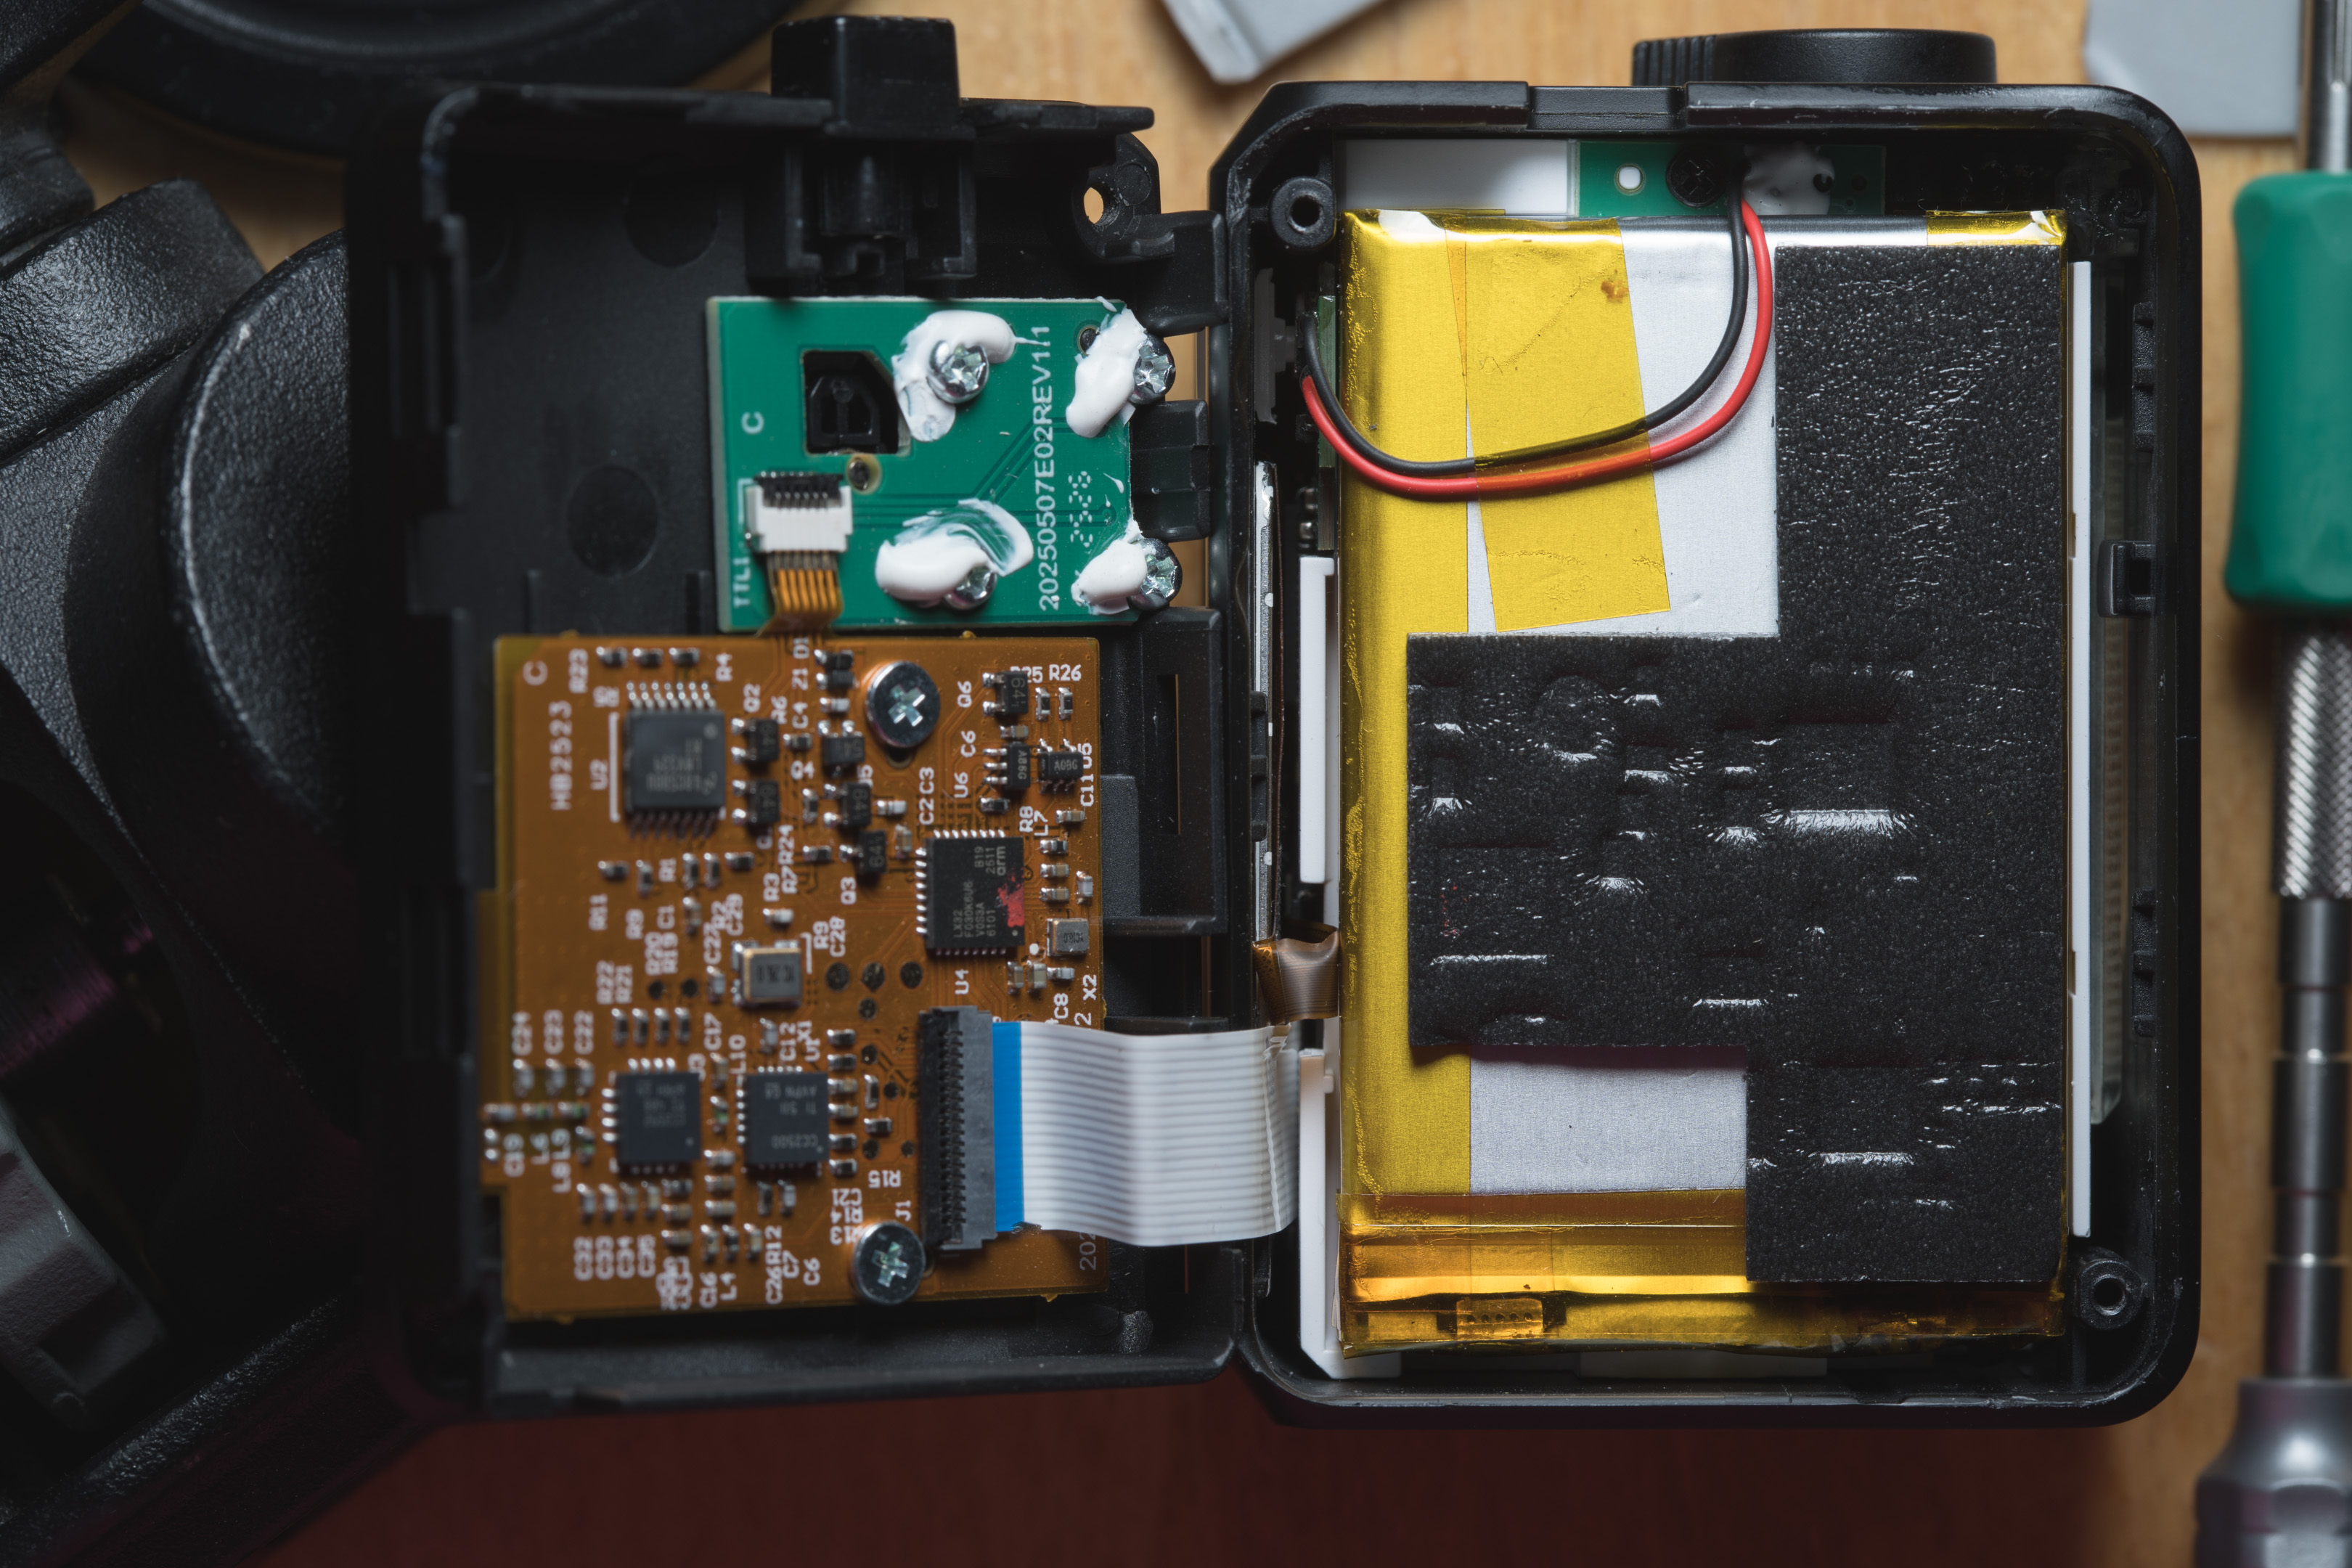
AD100 Pro dismantle
Undo the 4 screws around the black metal retaining ring at the front of the flash head.

Screws holding the retaining ring in place
Use some tweezers or something similar to try and lift off the metal outer ring. I did this with tweezers and putting the tip into the screw holes to lever up the ring.
Then do the same with the front plastic ring, and finally the Fresnel lens. Bashing the flash against your hand can also help dislodge the pieces.
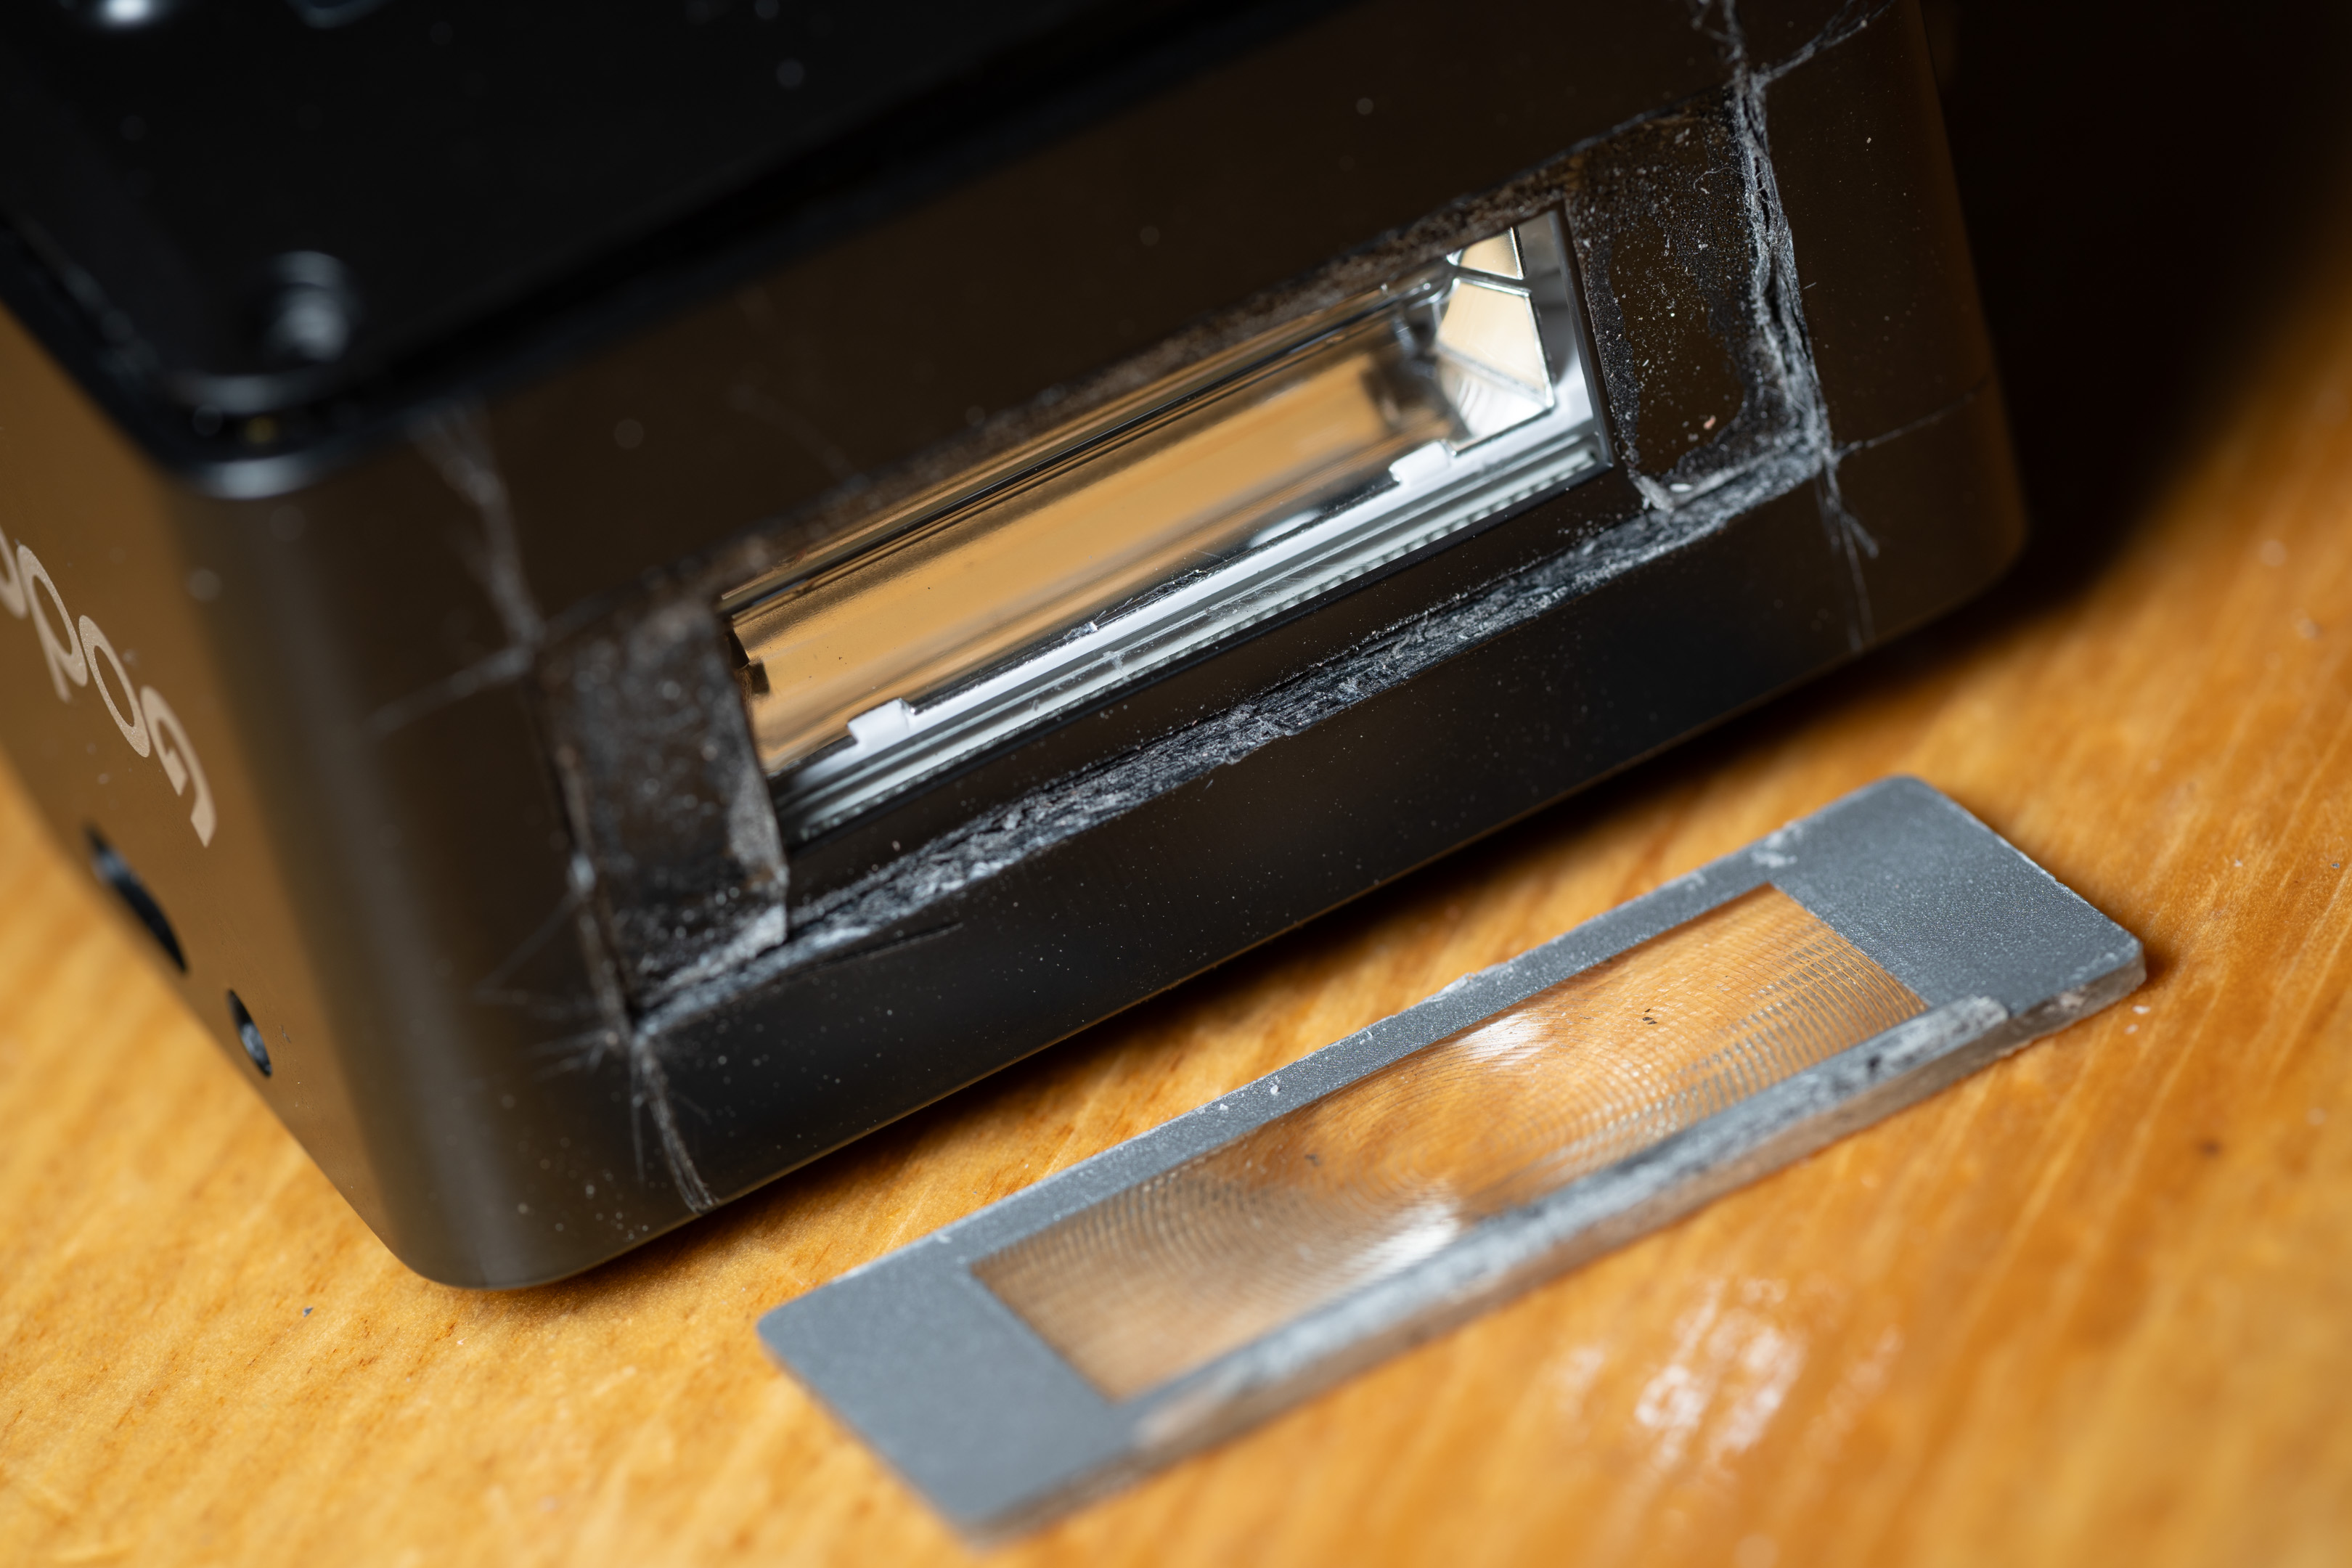
Converted flash with bare tube
The Fresnel lens has a magenta tint to it, which is different to the more neutral Fresnel in the V1.
The Fresnel, Diffusion plastic, and retaining ring removed
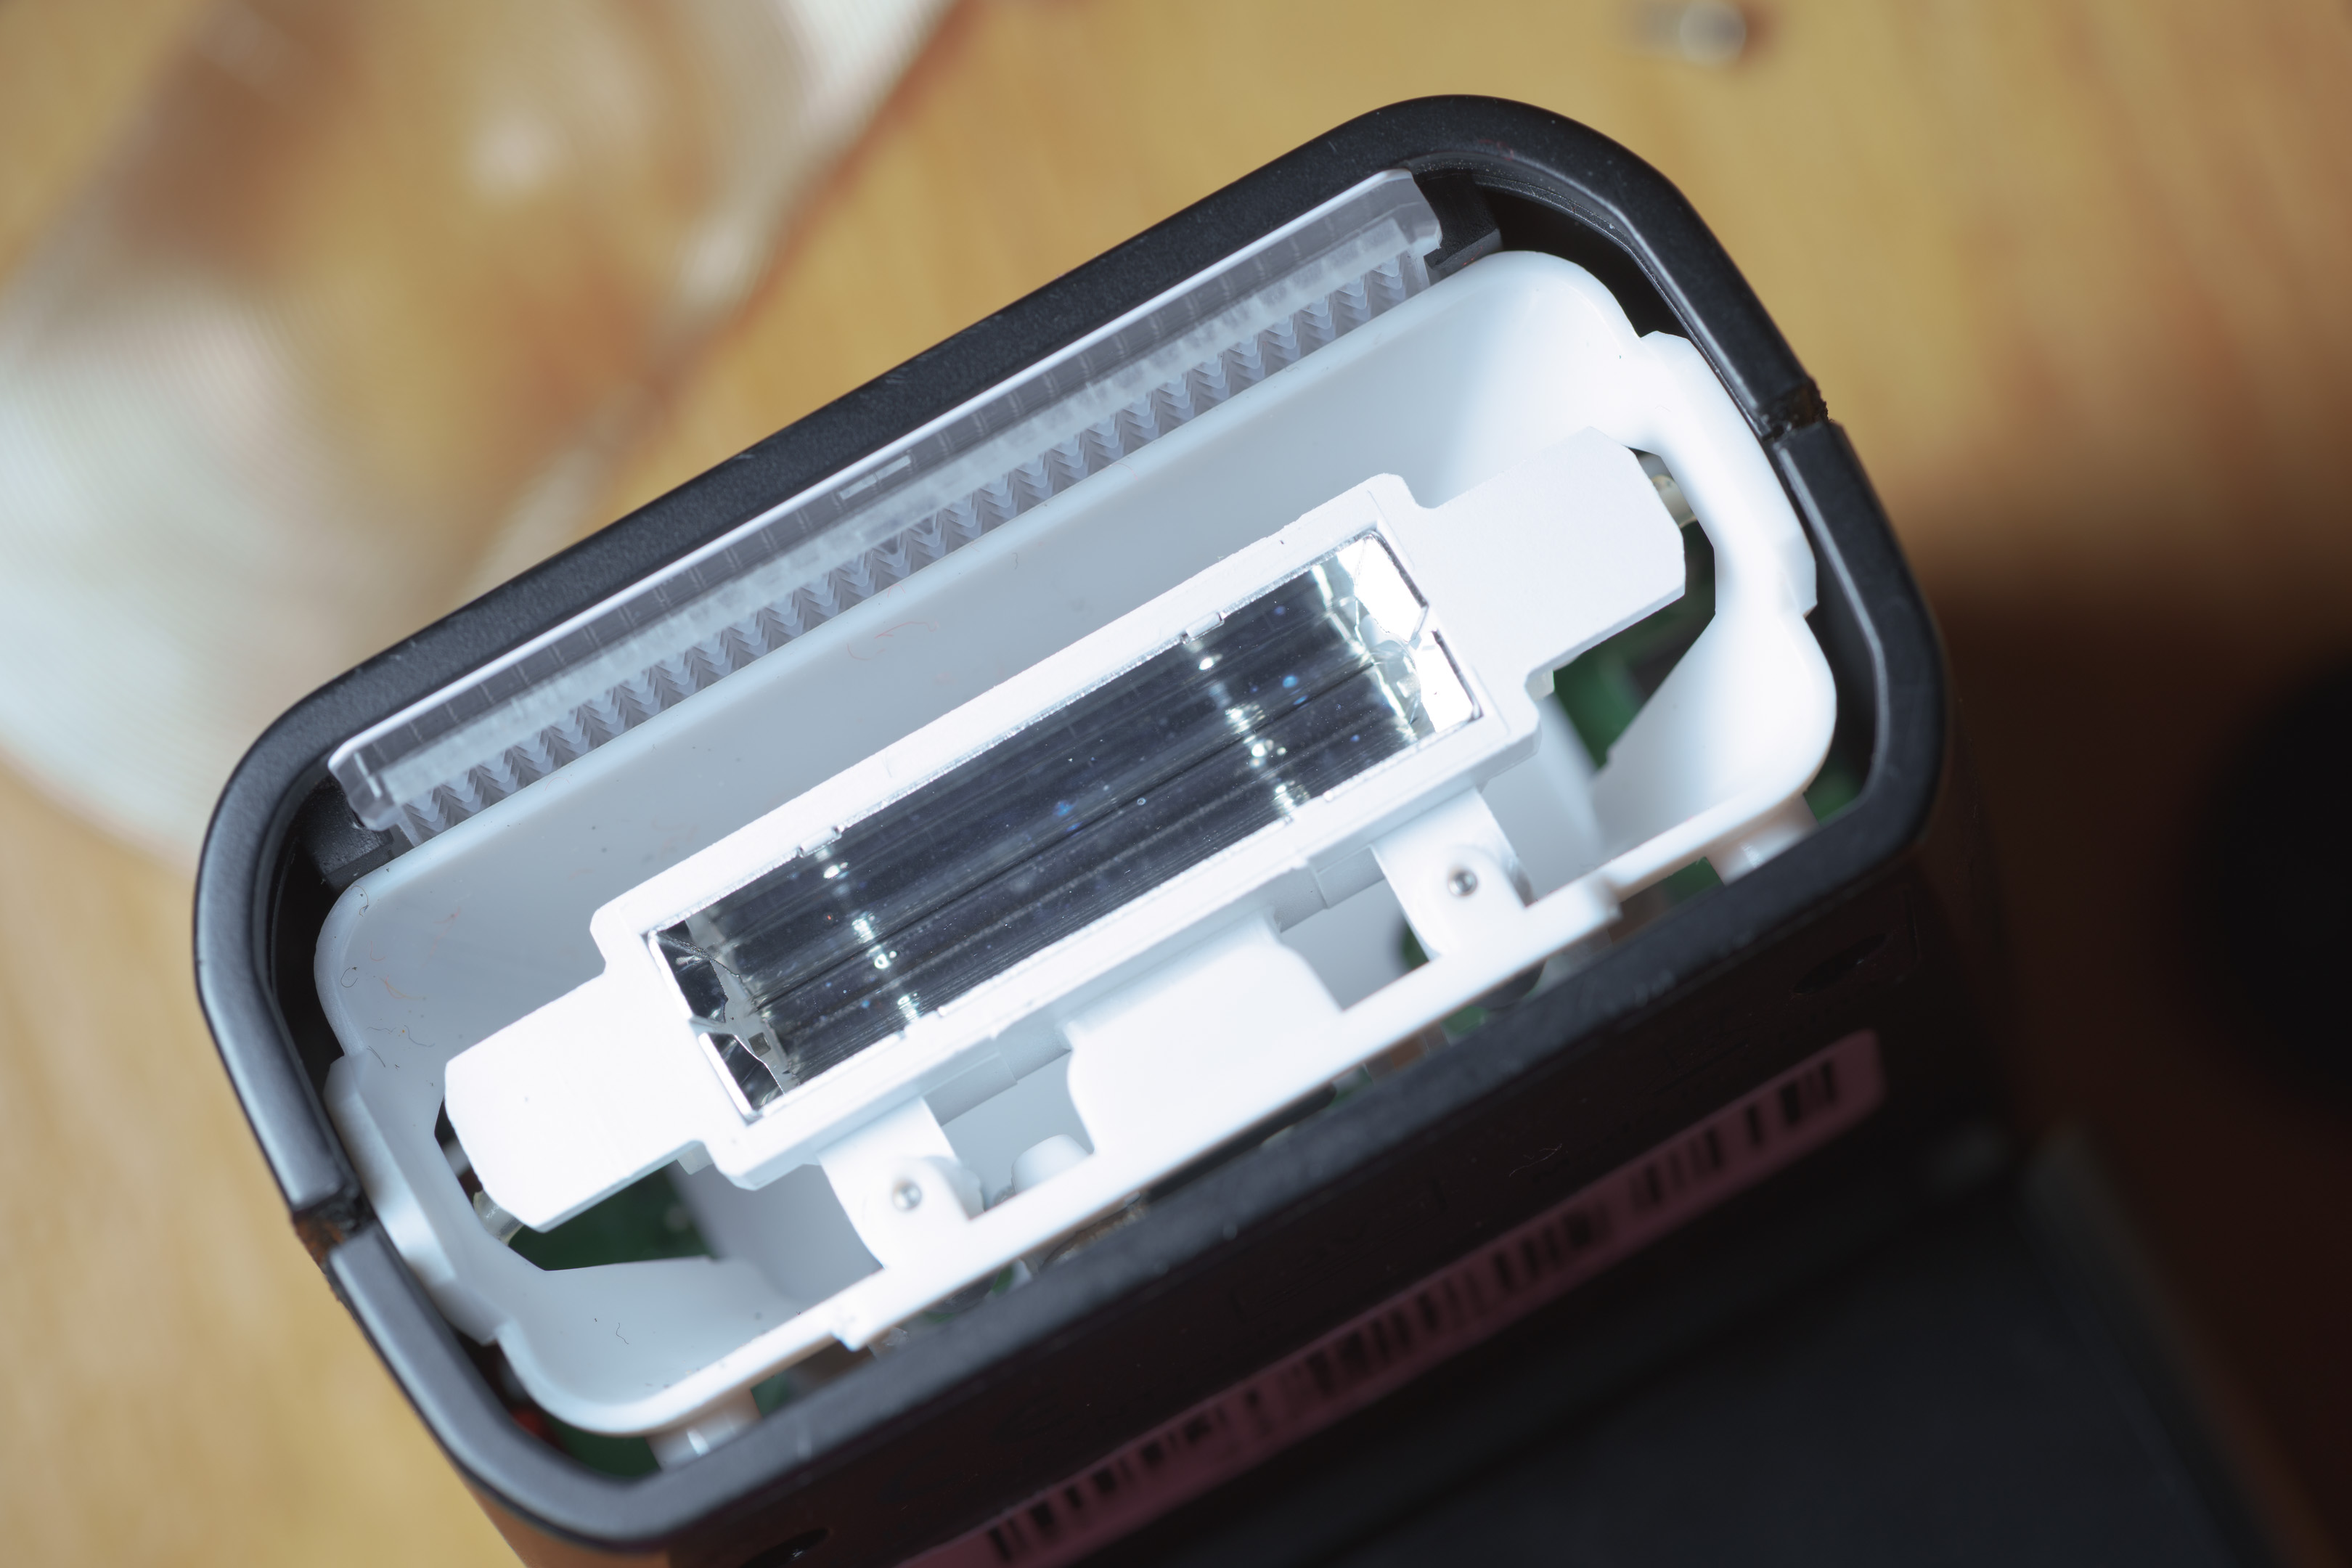
AD200 Pro standard head dismantle
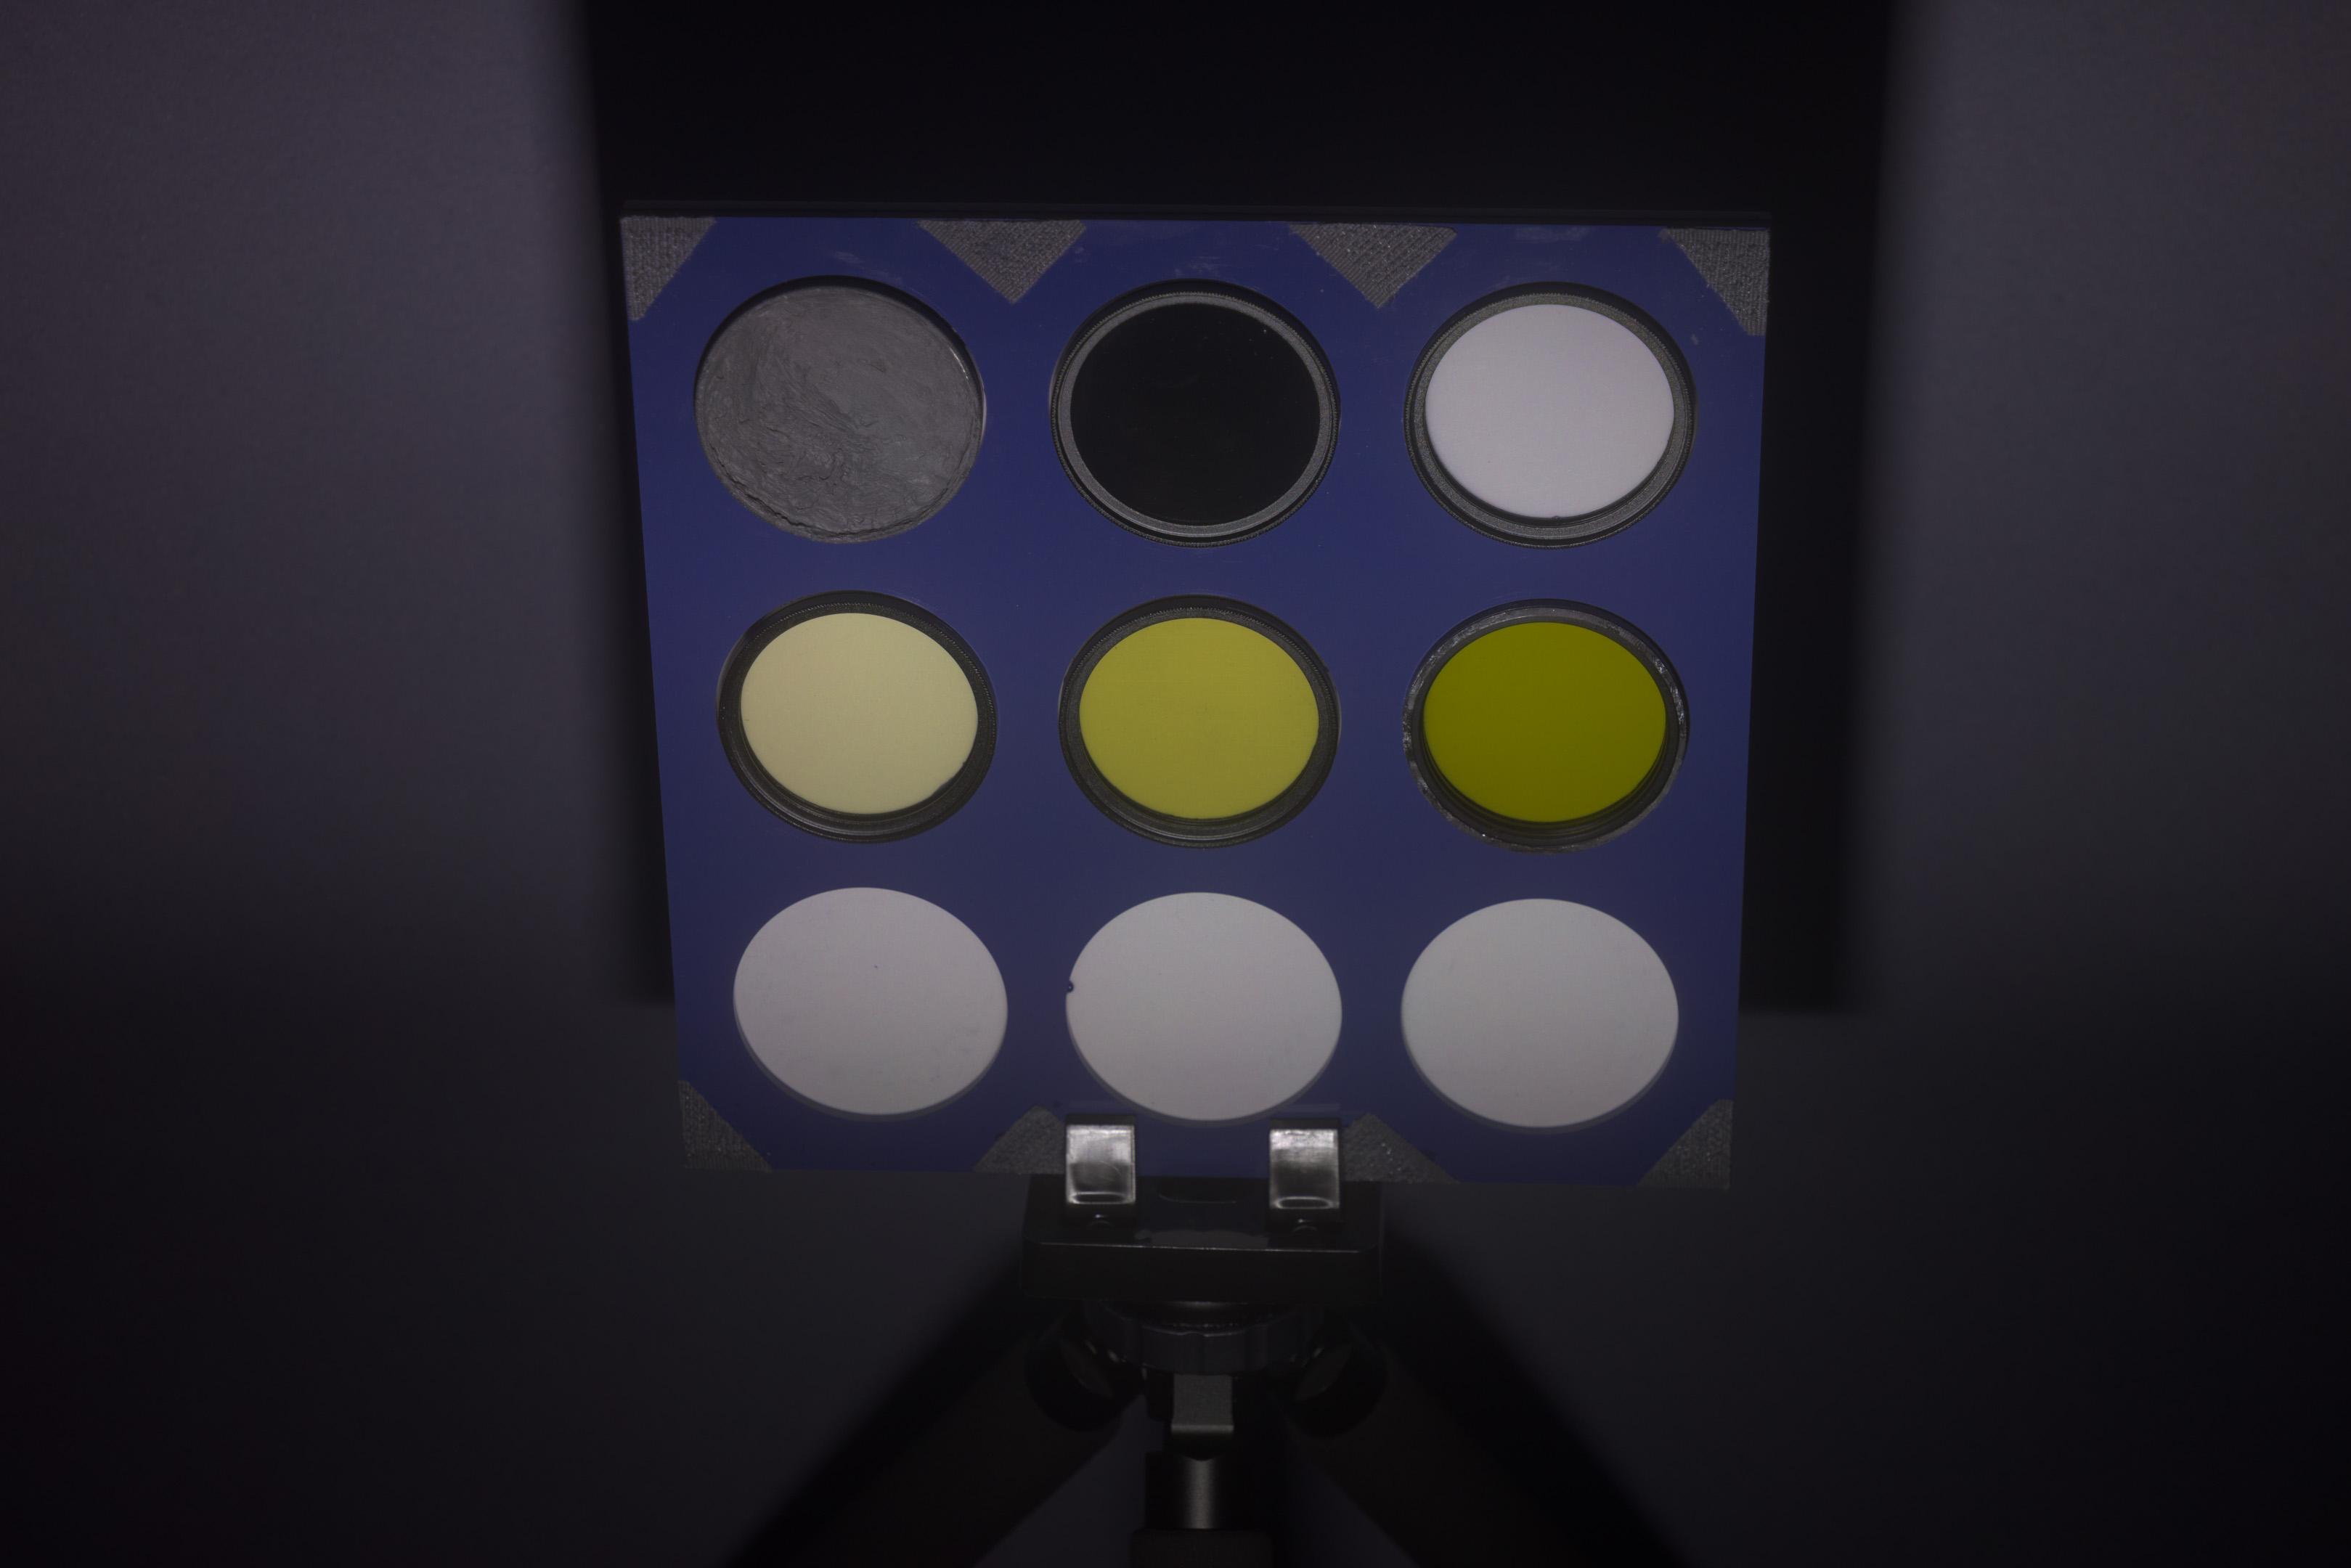
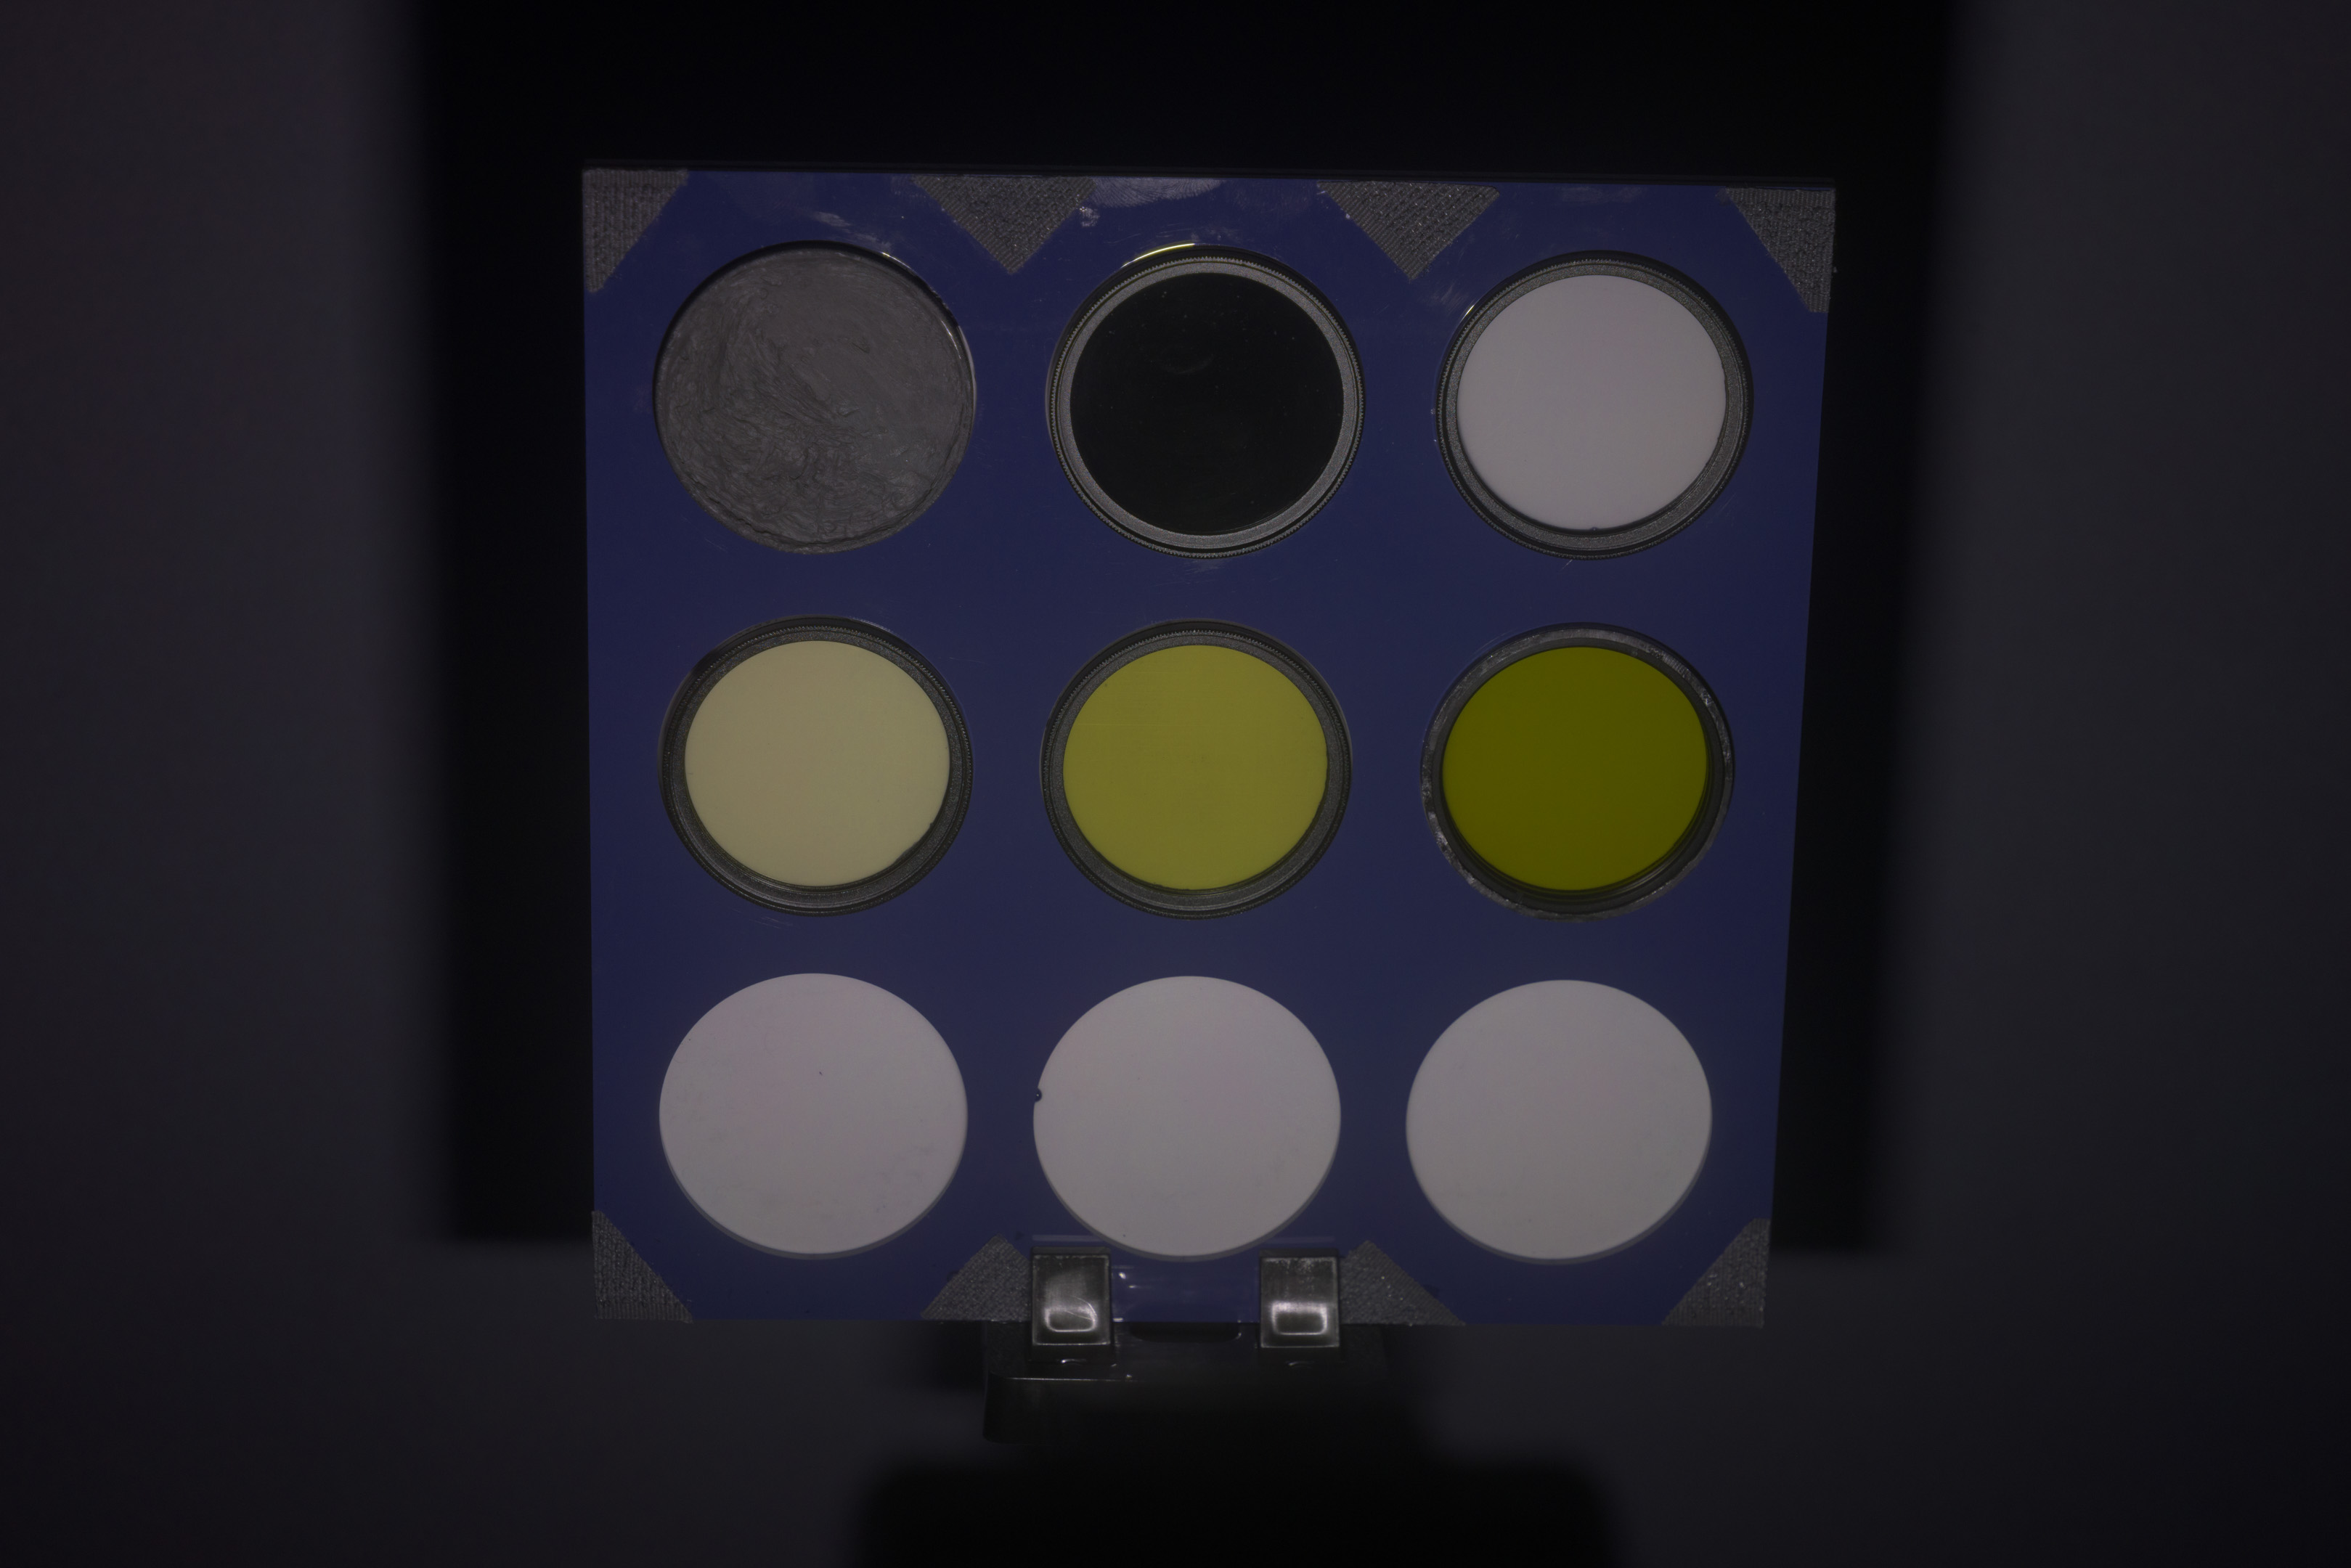
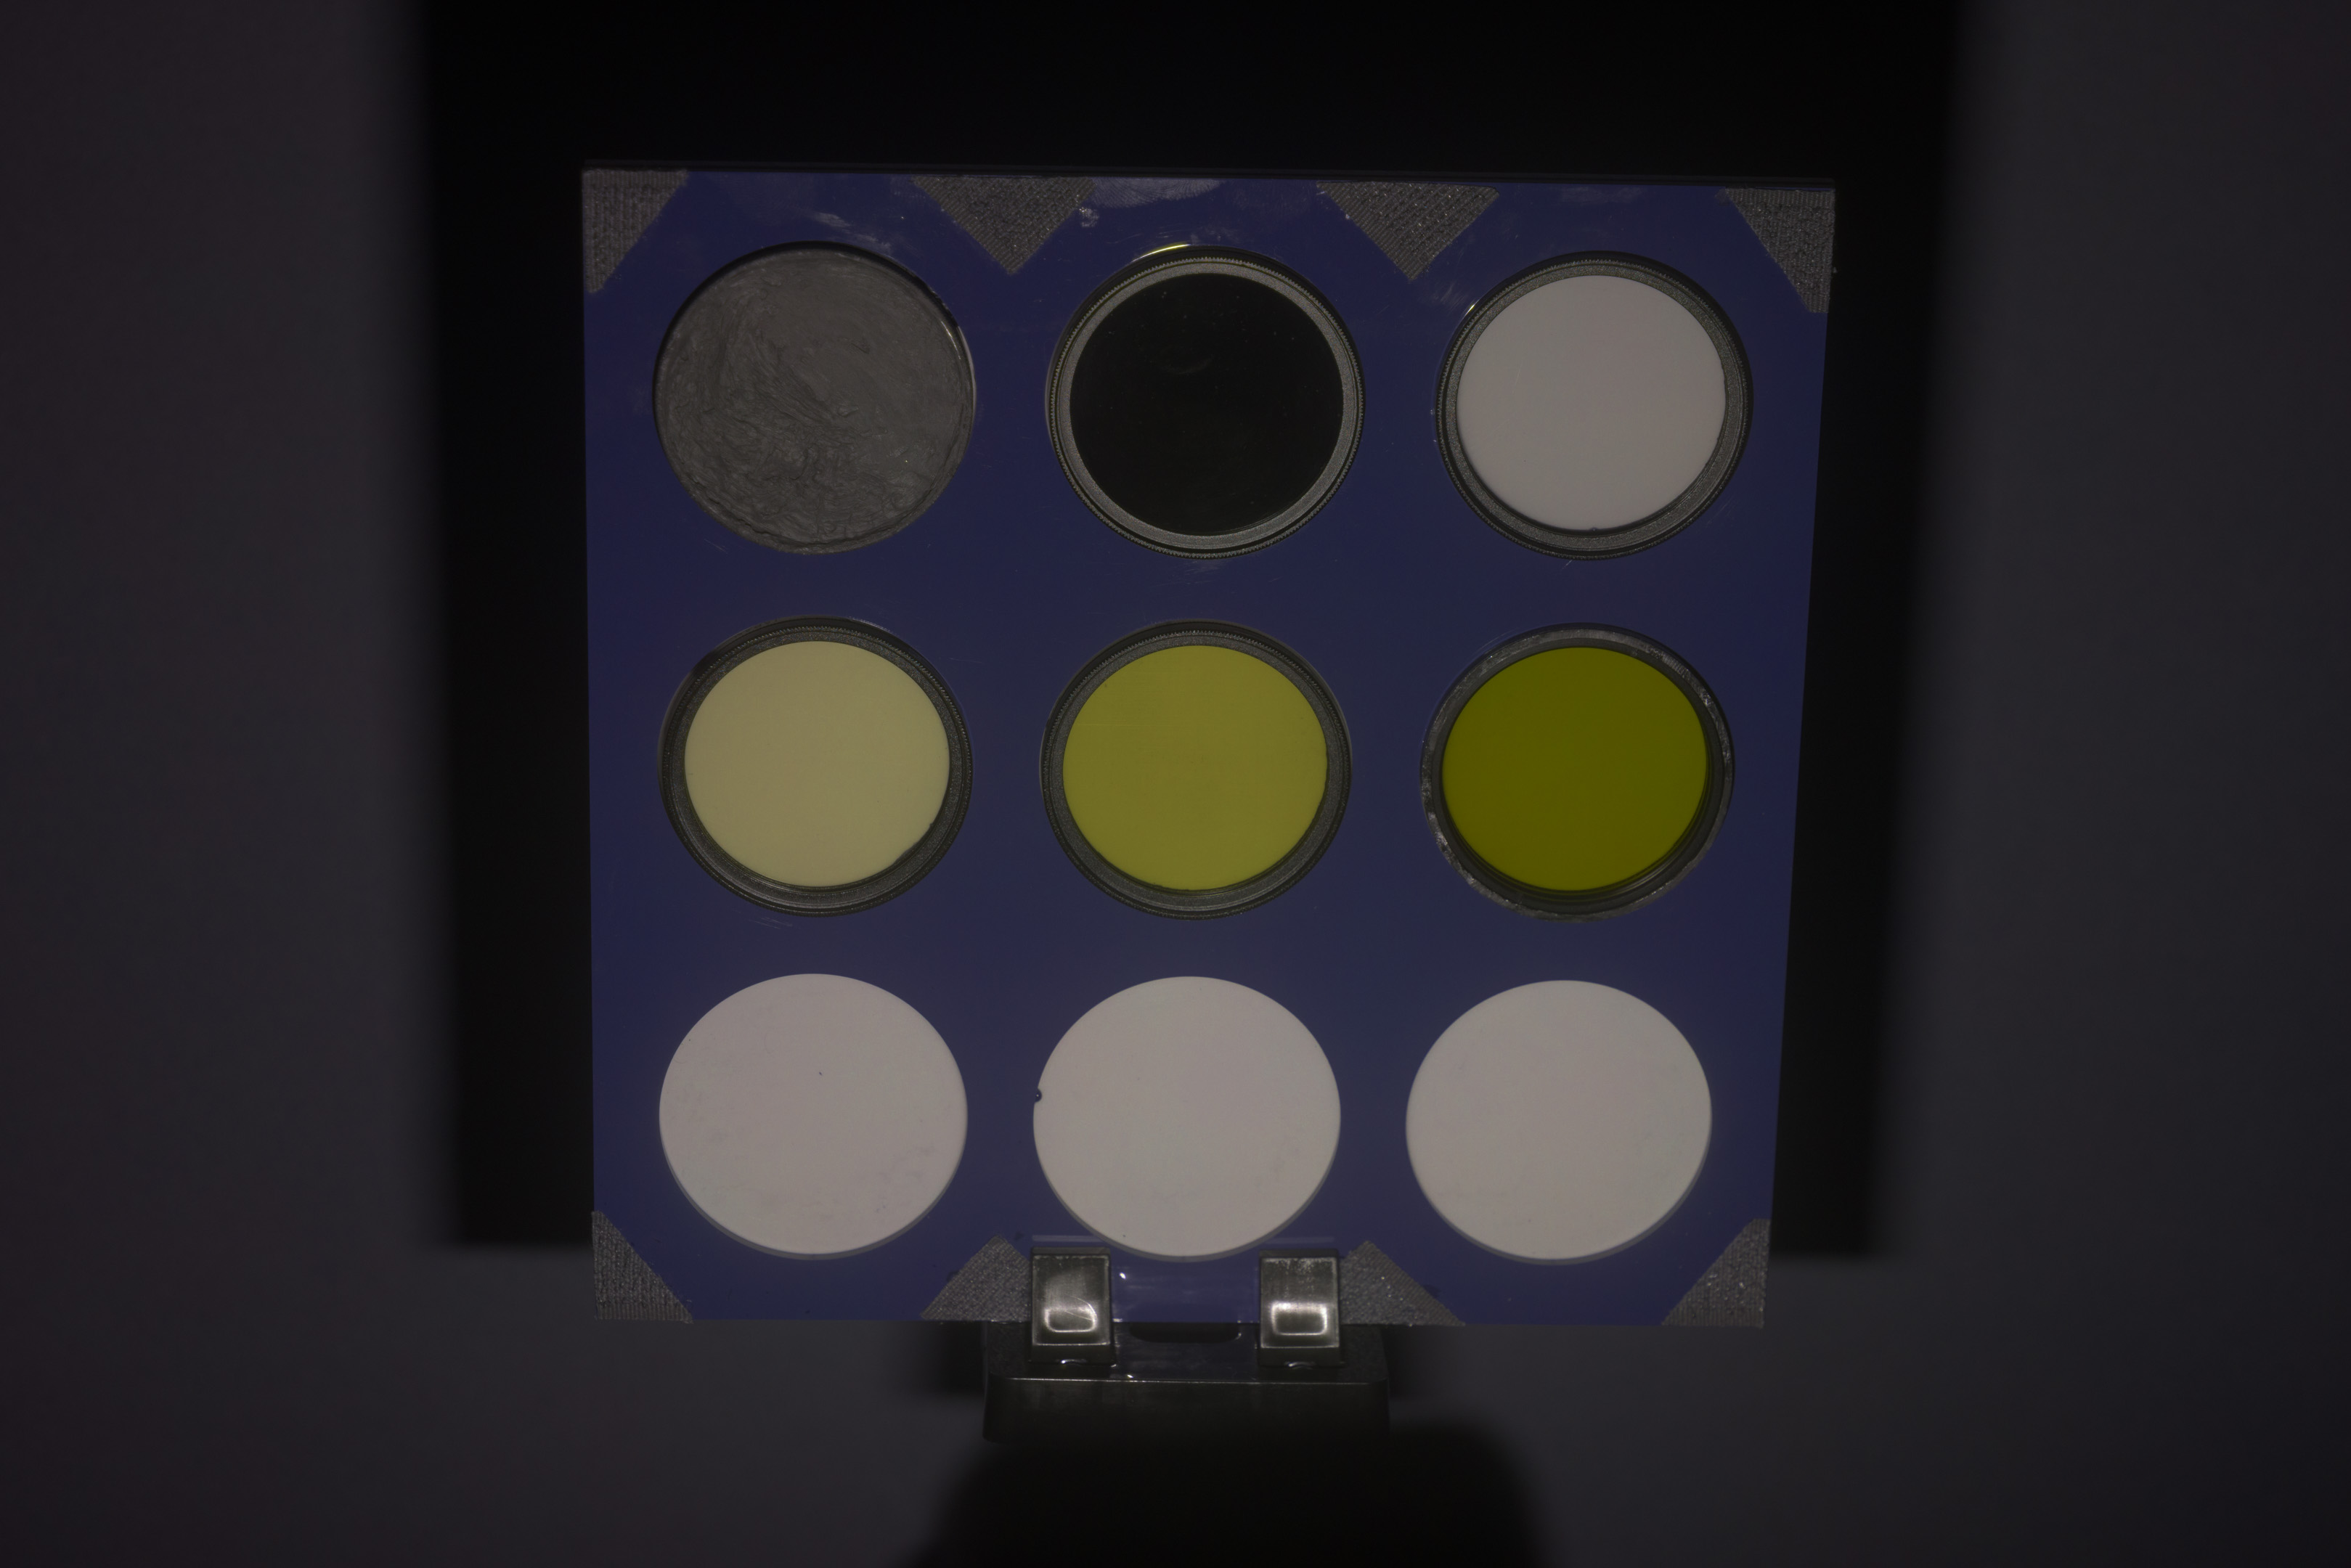
Work on the head detached from the flash. Undo the two screws on one side, the two halves of the case should then pull apart. This has the UV blocking Fresnel lens at the front, then a thicker clear glass piece behind it. The thicker glass piece only blocks a small amount of UV (less than 1 stop) so you can just leave it in place unless you have something better to replace it with.

Screws
Open head
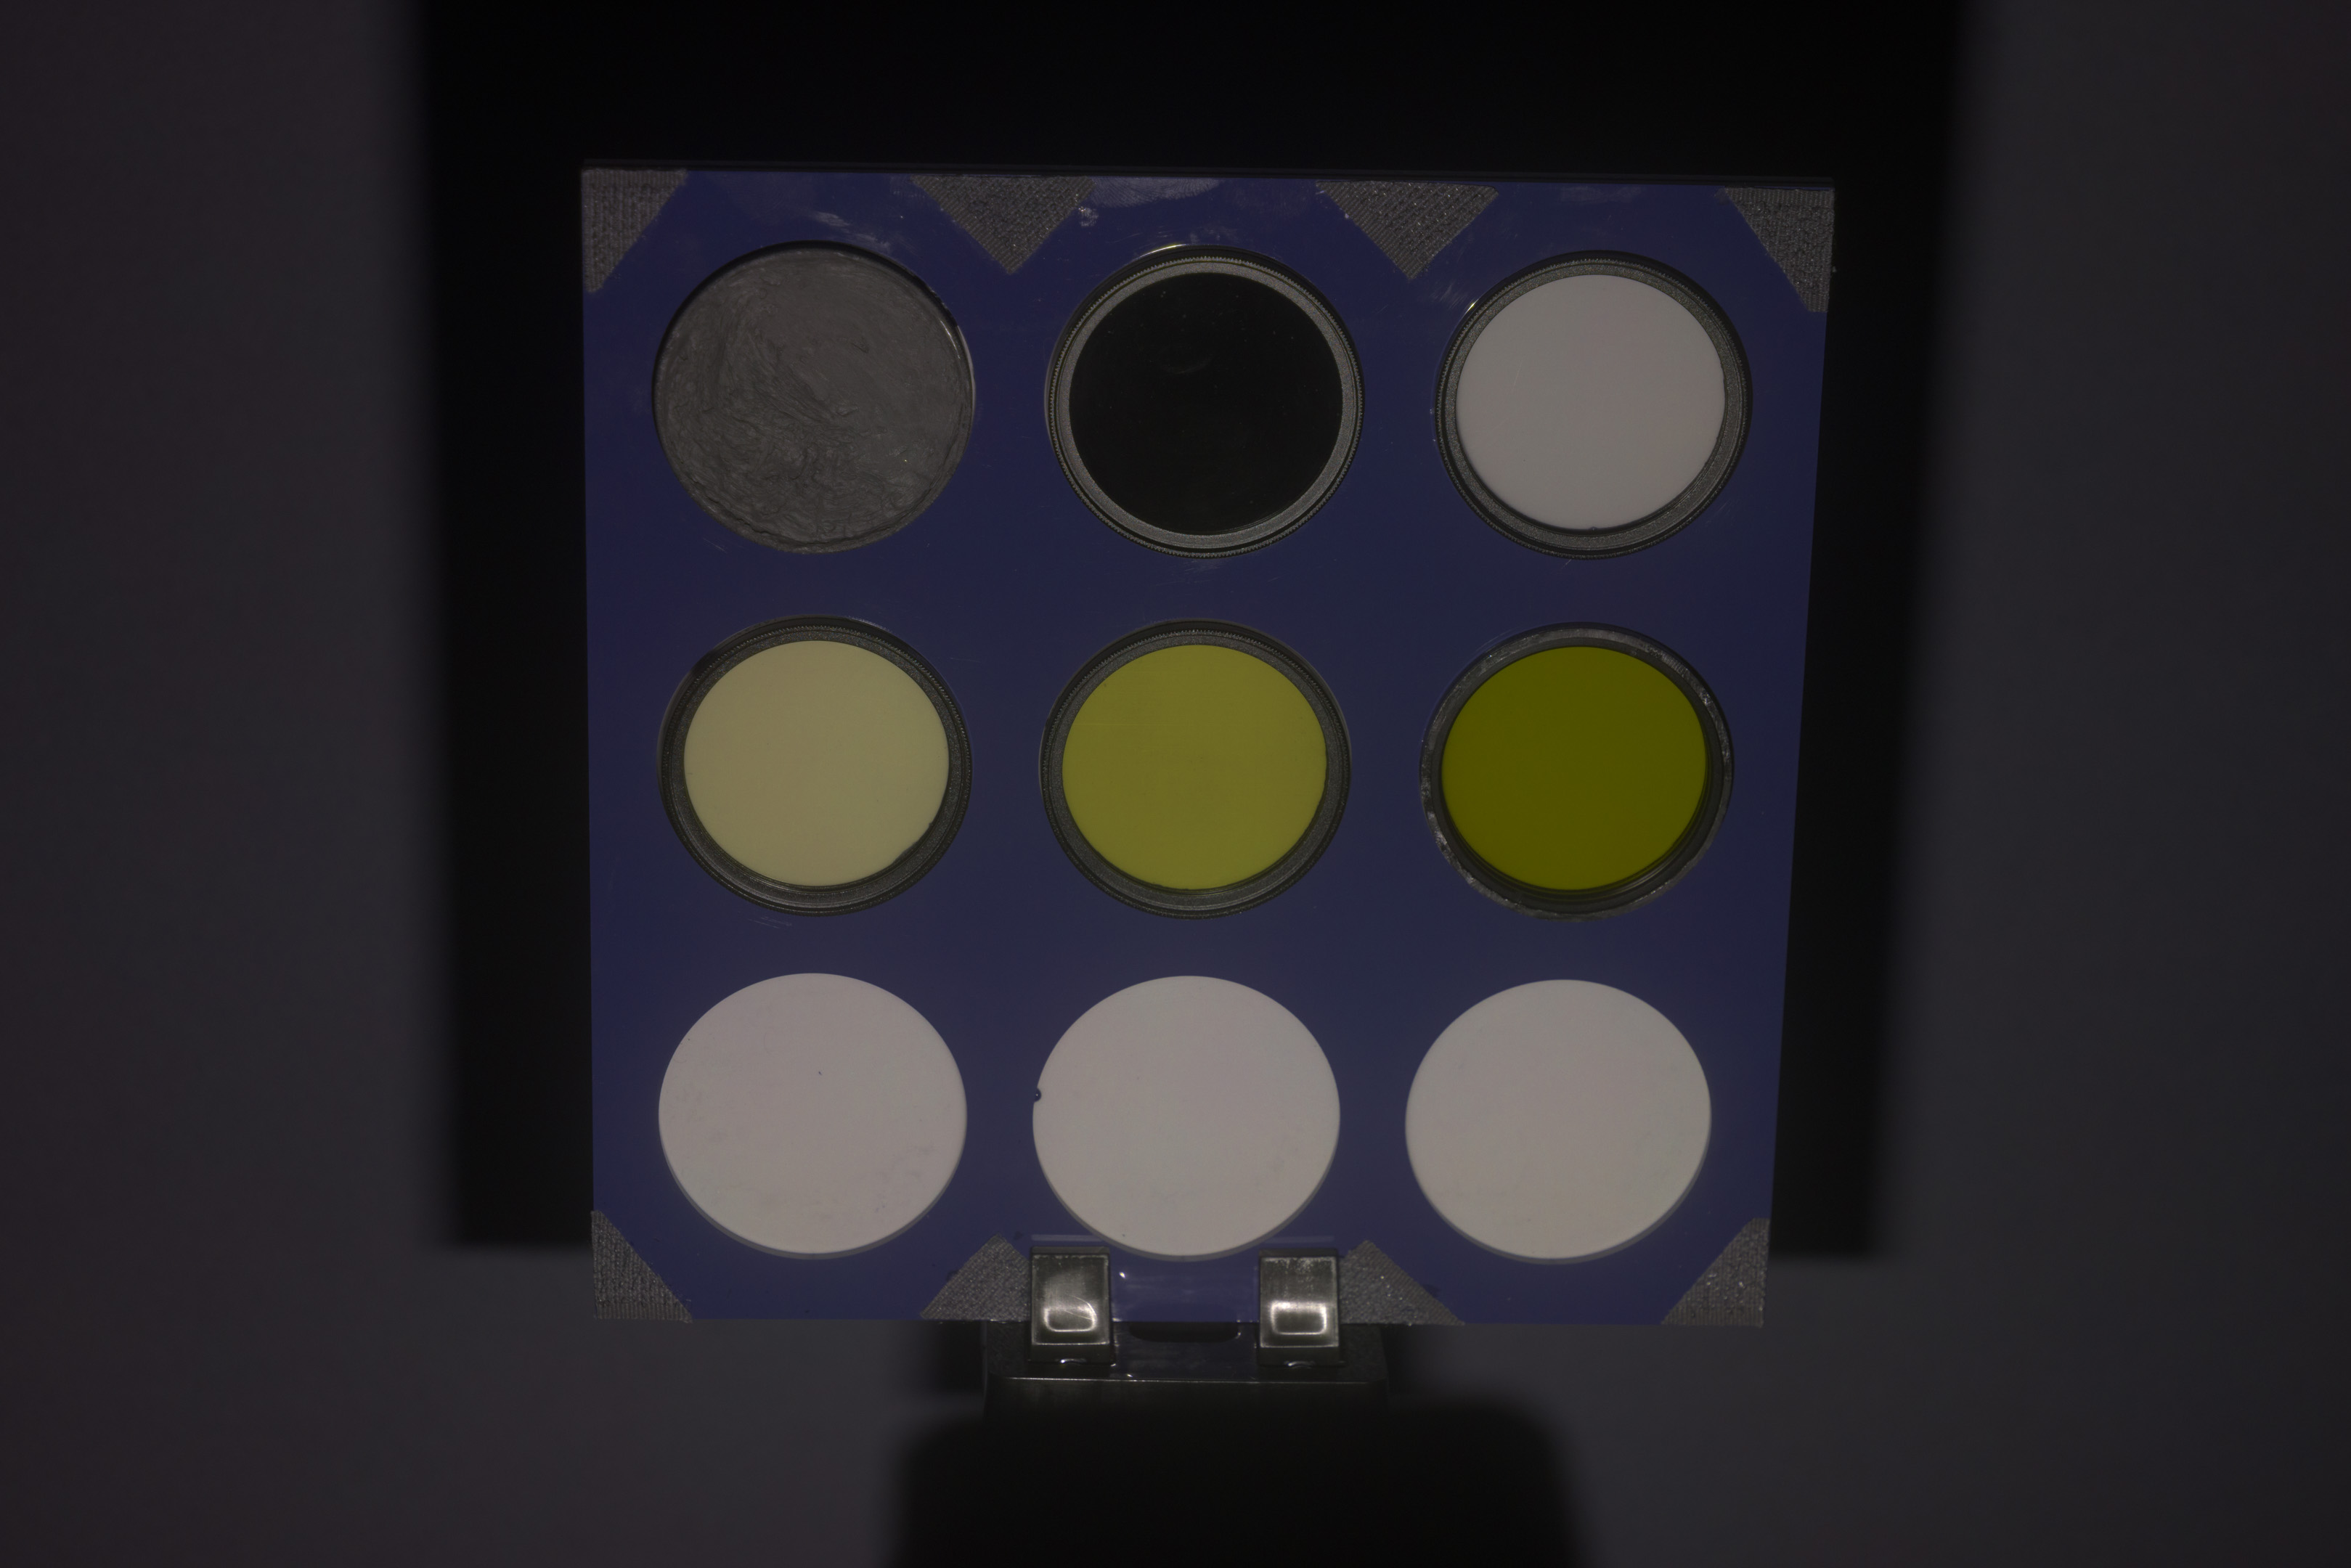
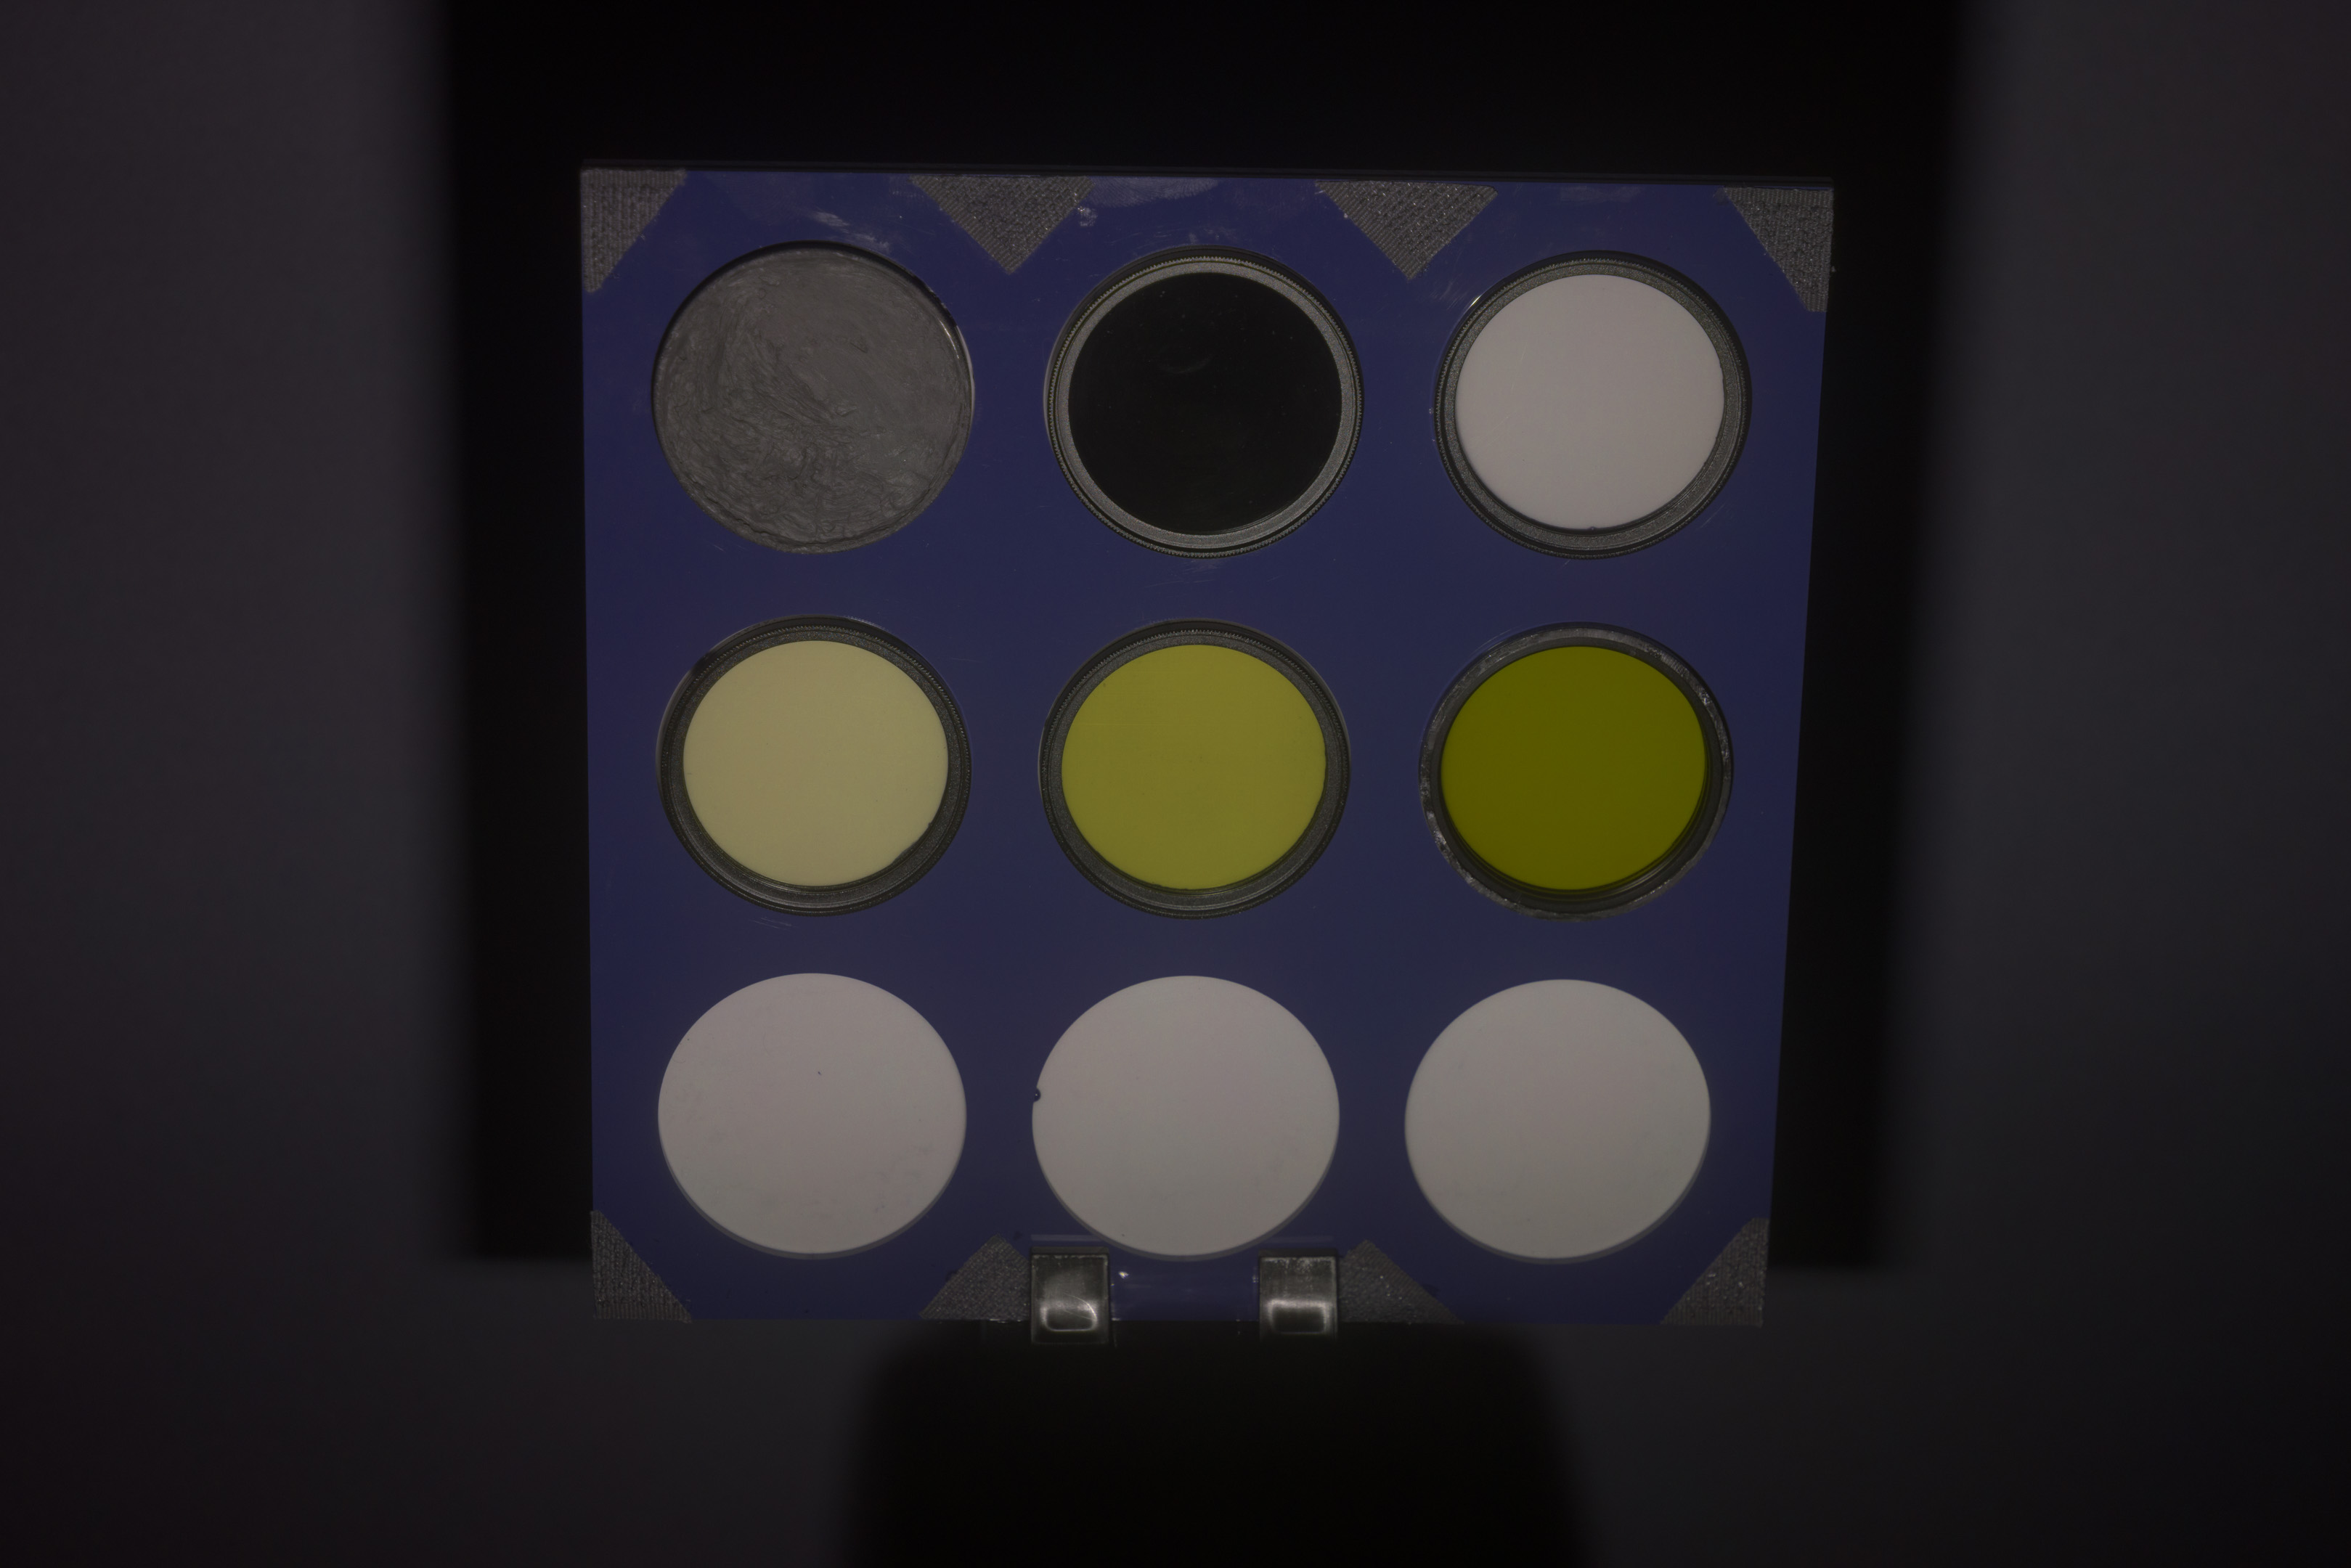
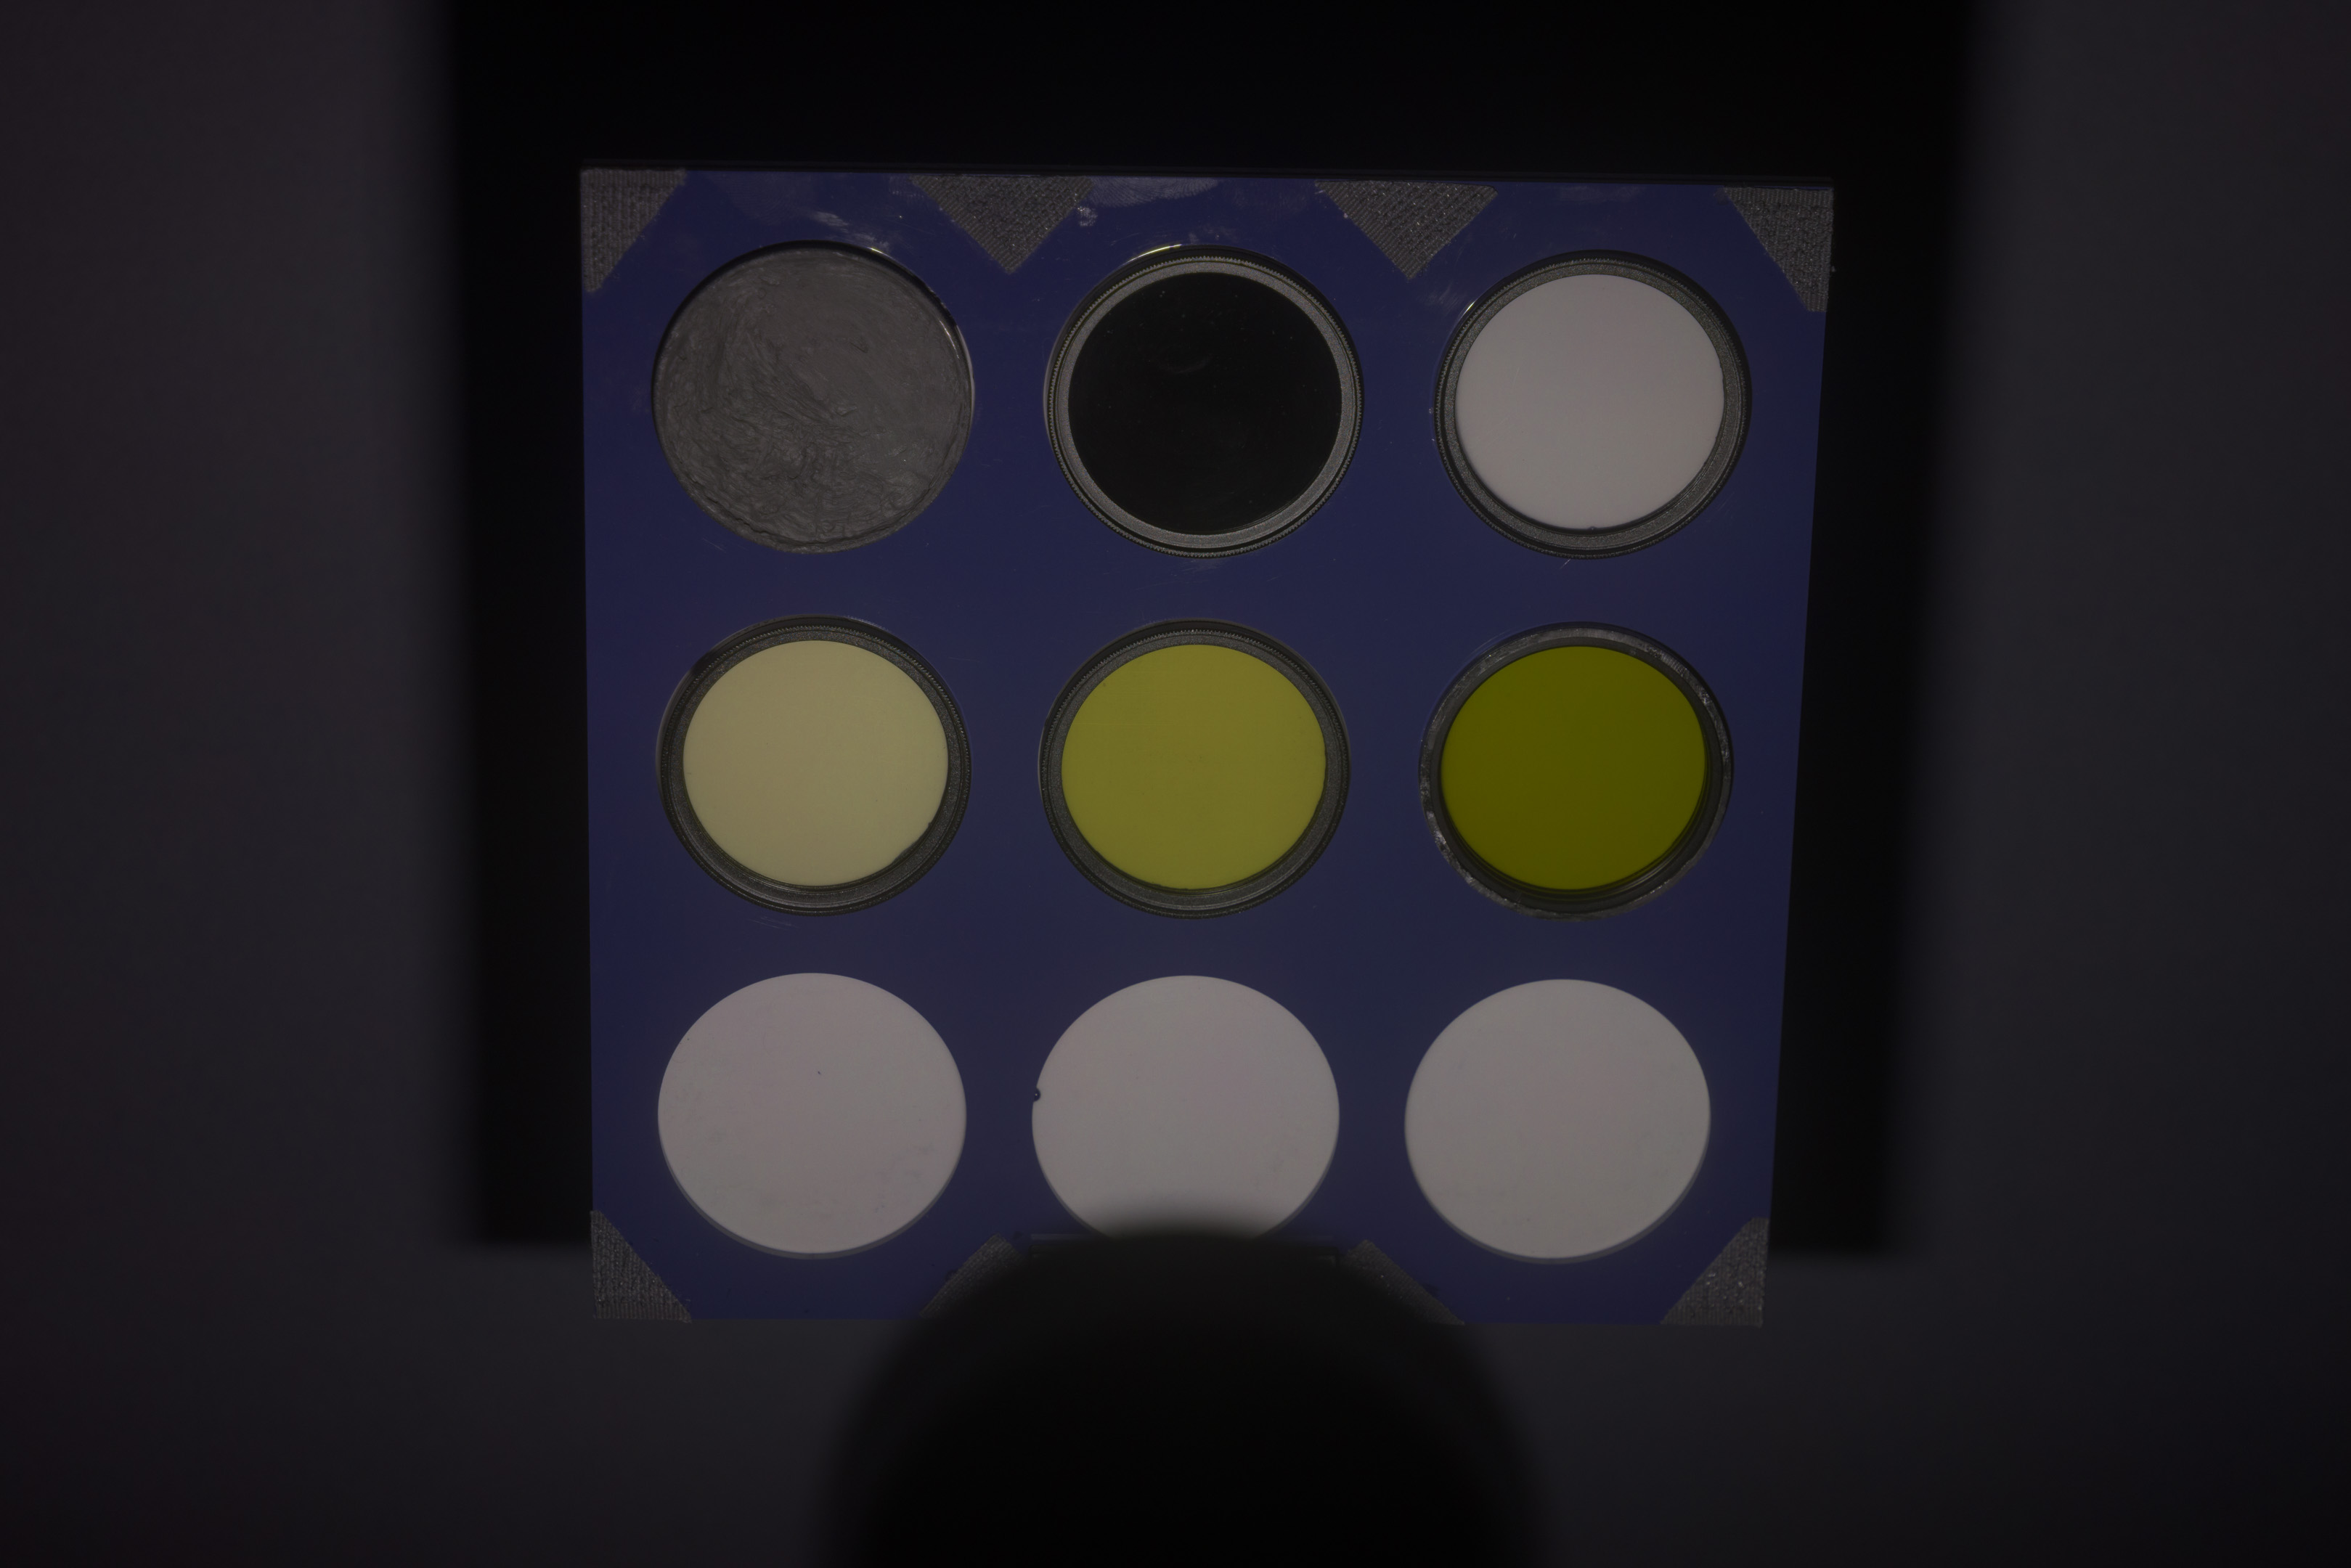
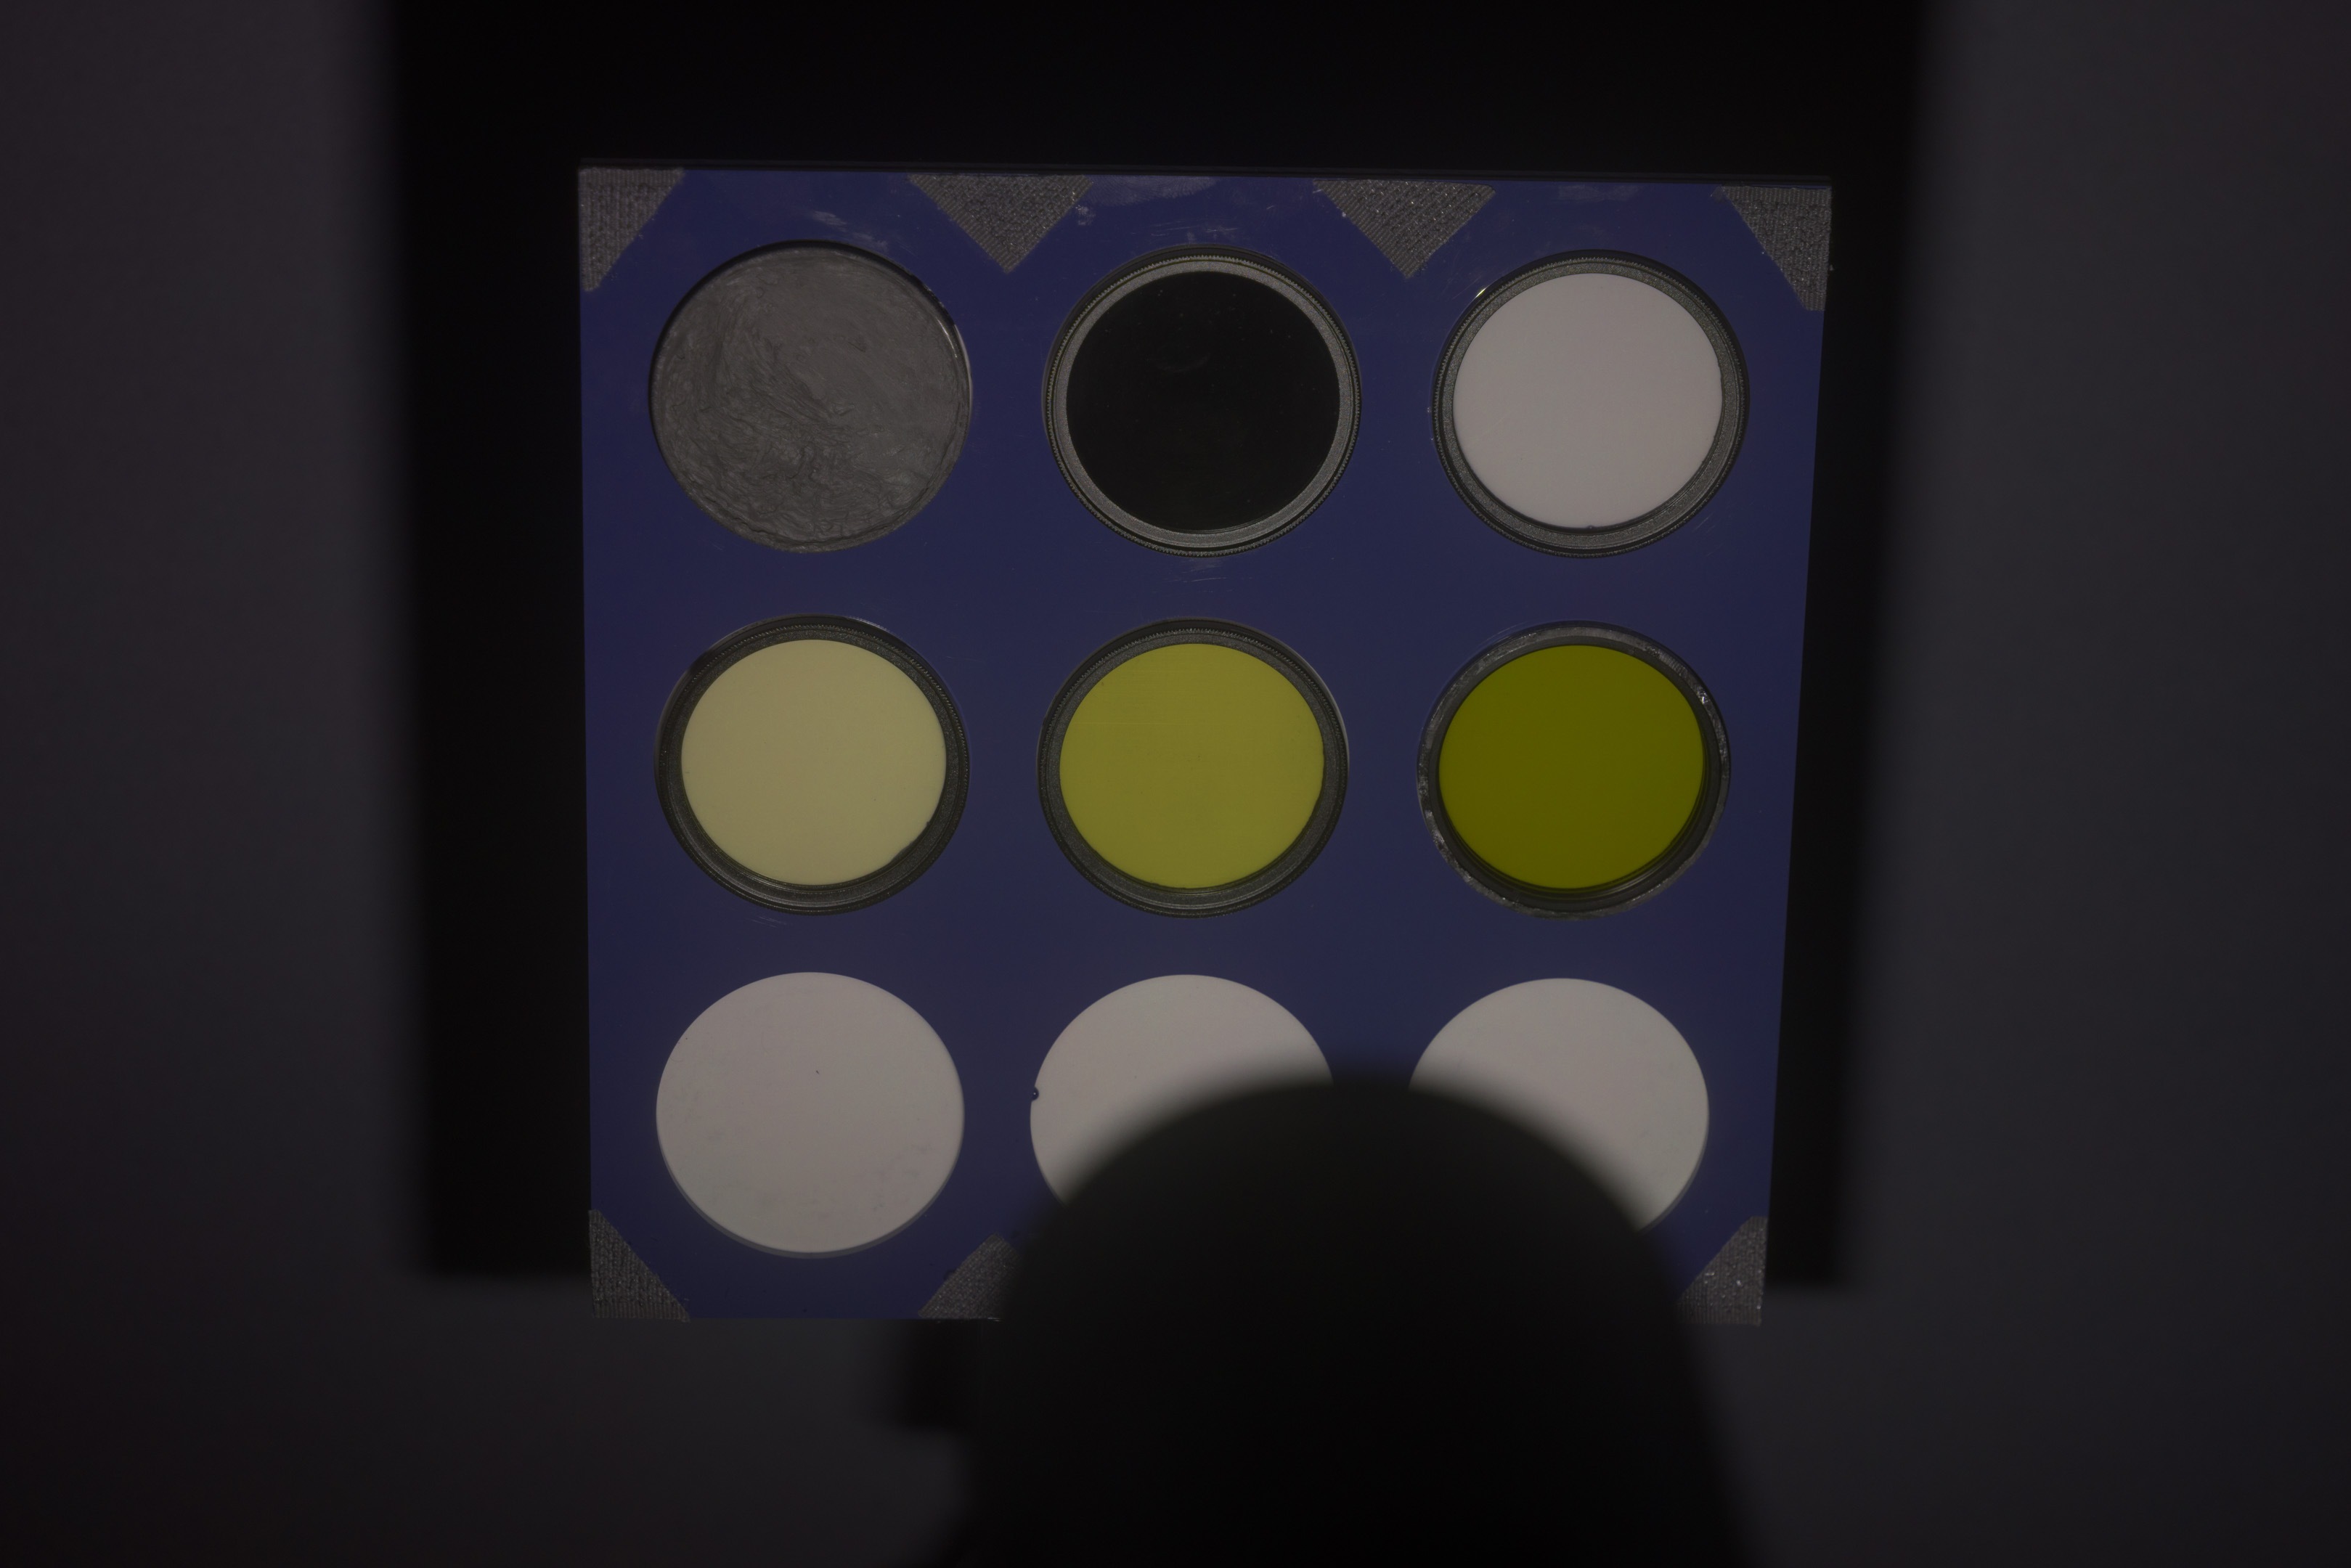
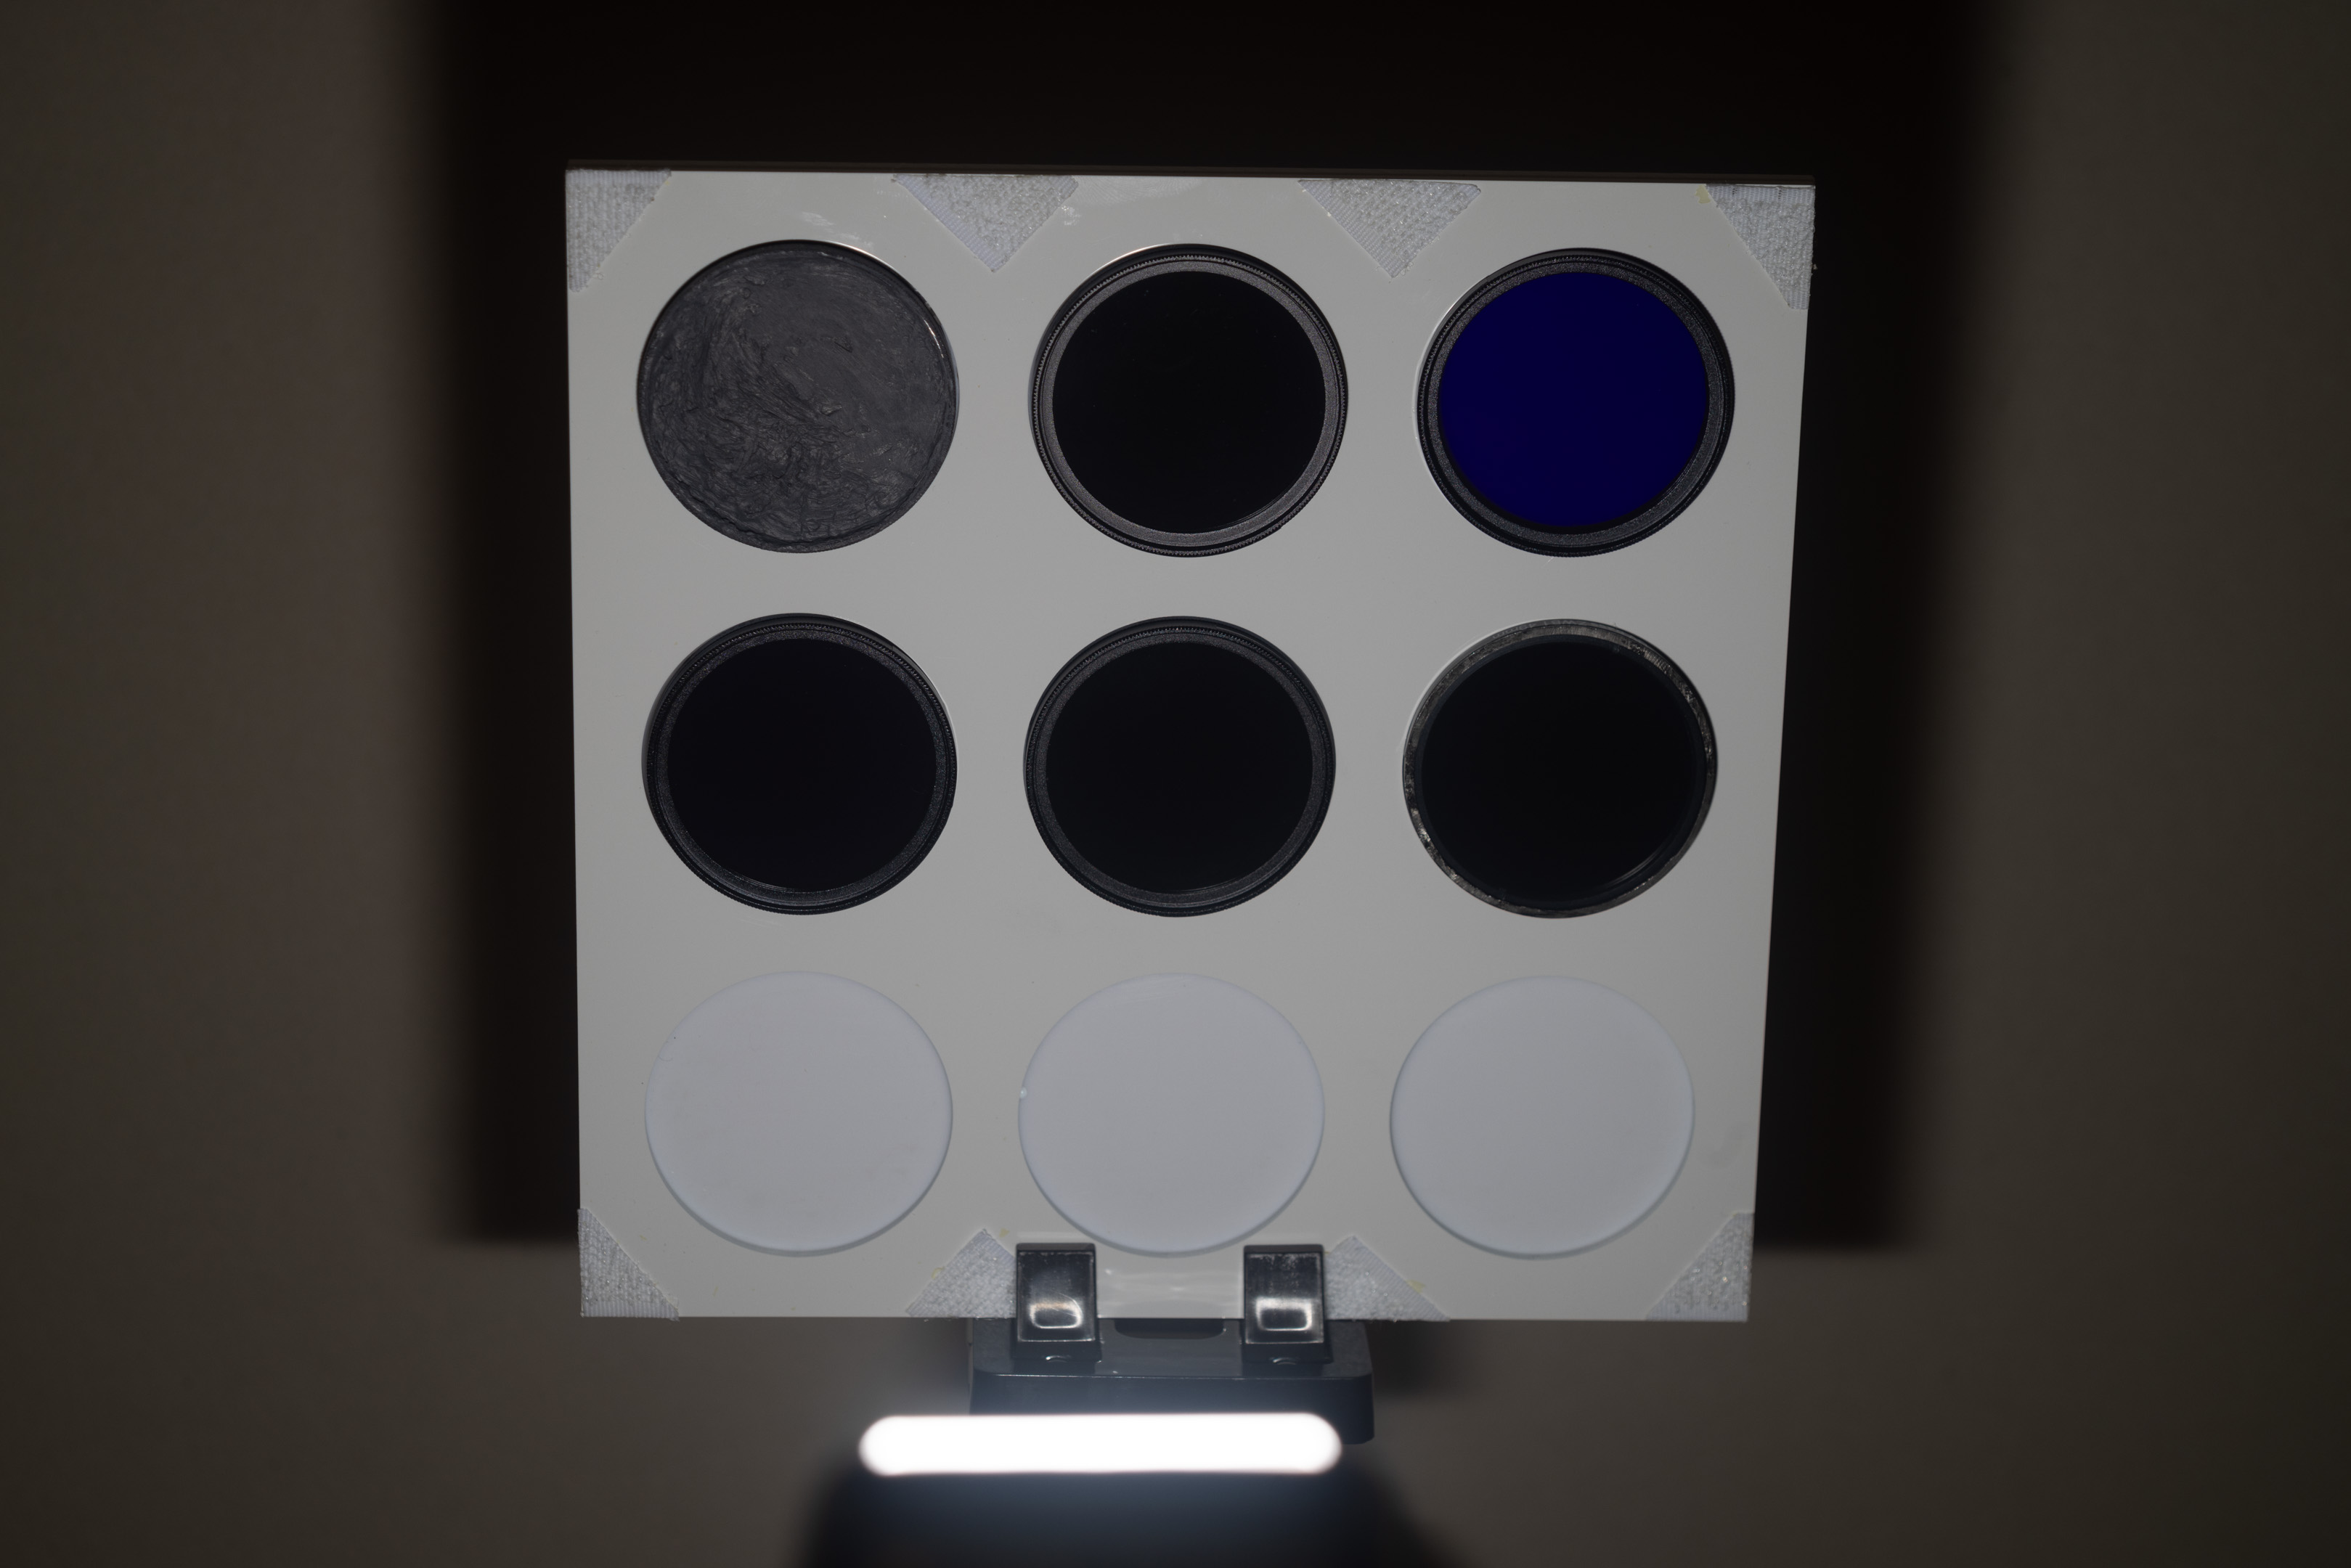
UV output after conversion
For all tests the flash was placed so the front of the flash was 36cm away from the target.
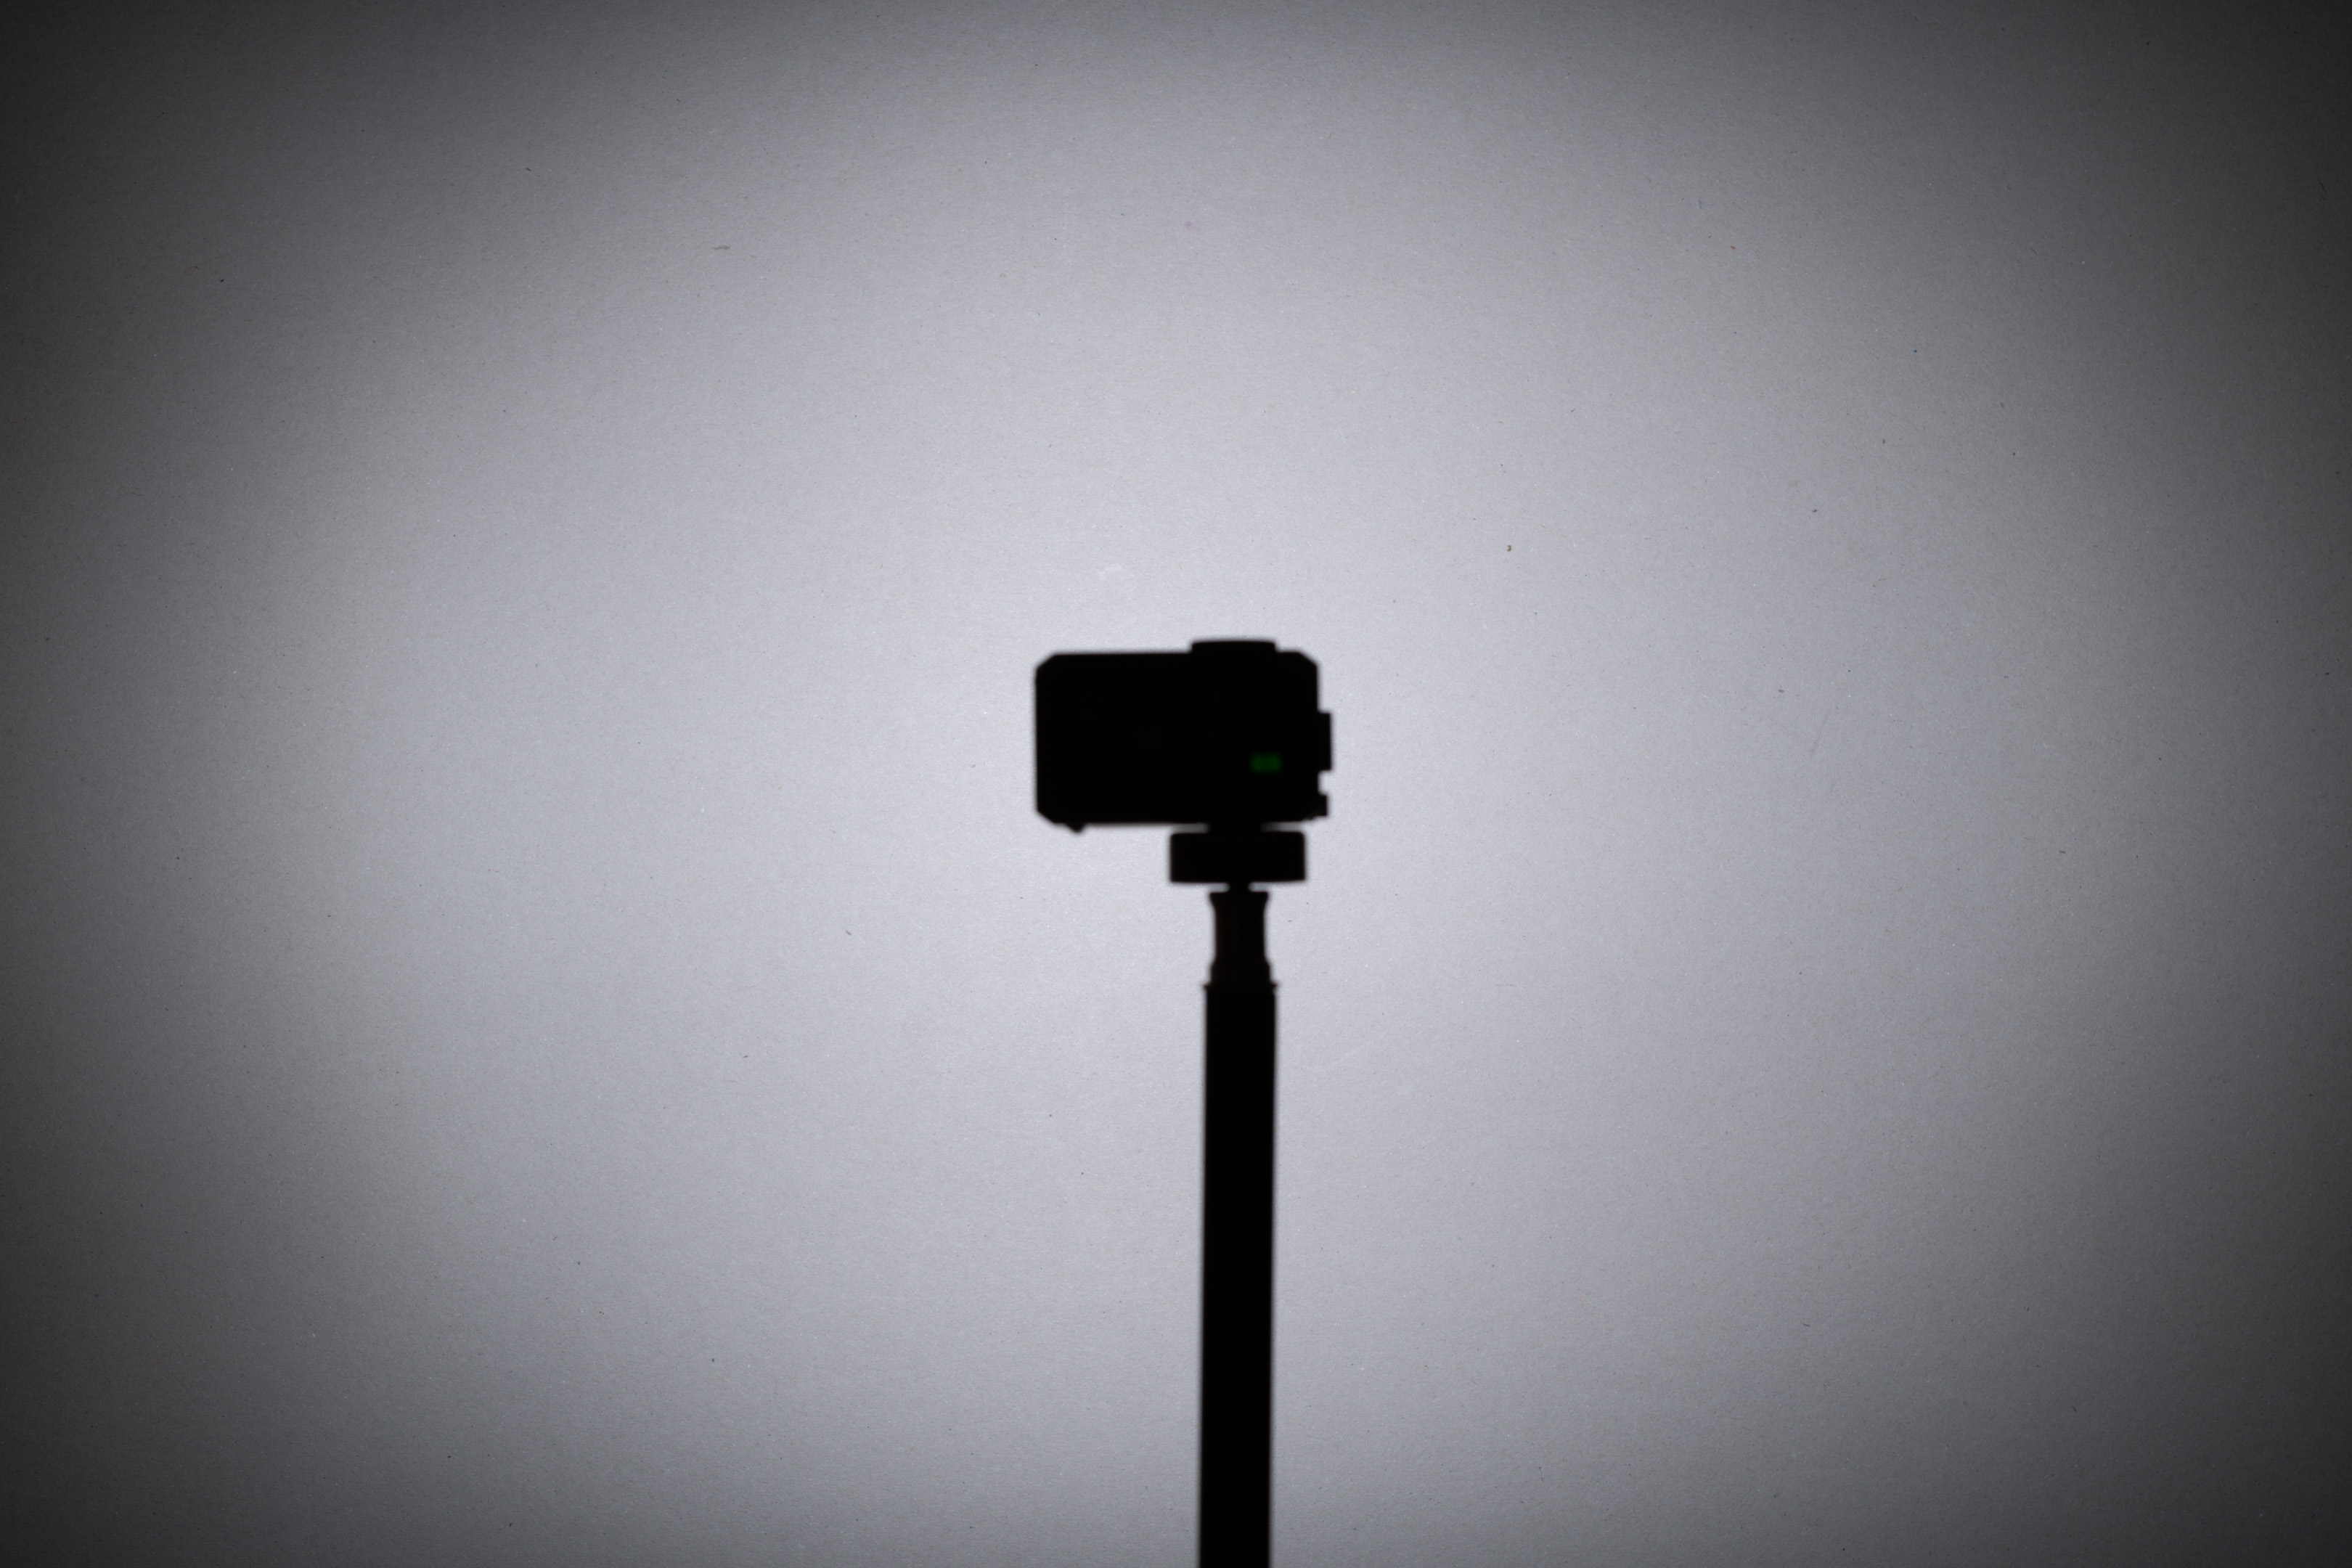
MF12
MF12, Full power, ISO 400
IT30 Pro
IT30 Pro, Full power, ISO 400
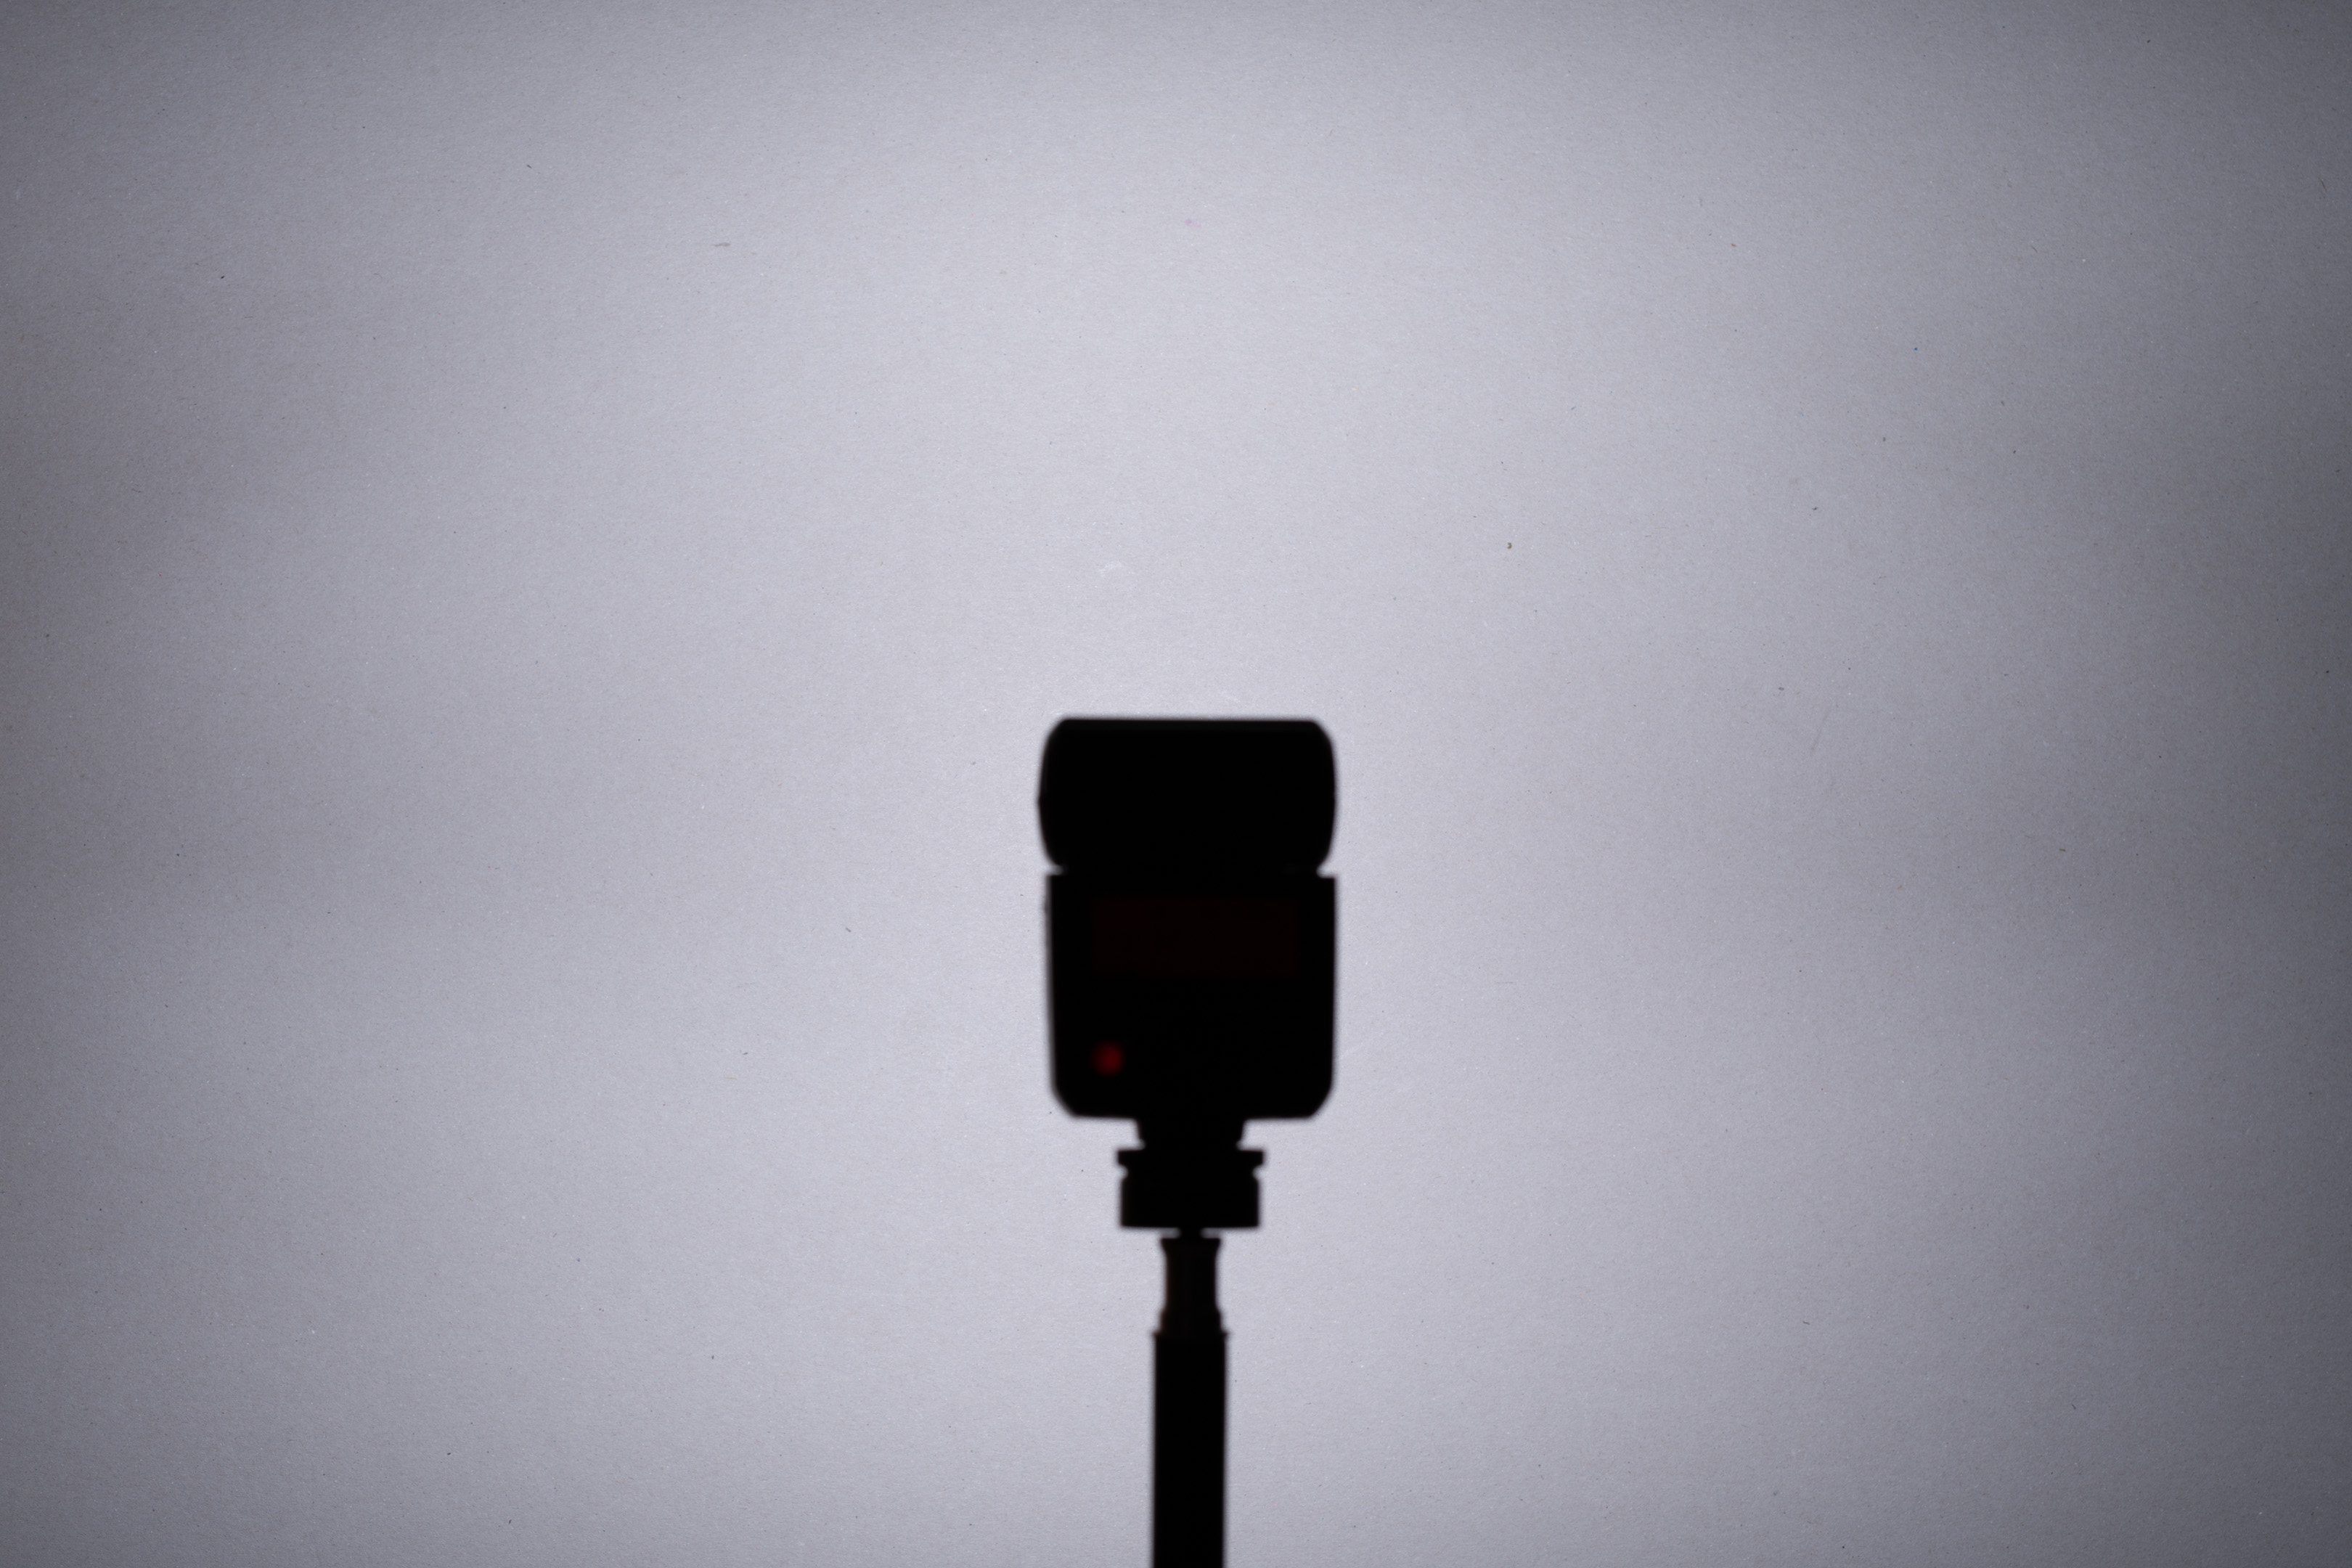
TT350
TT350, Full power, ISO 100
V480
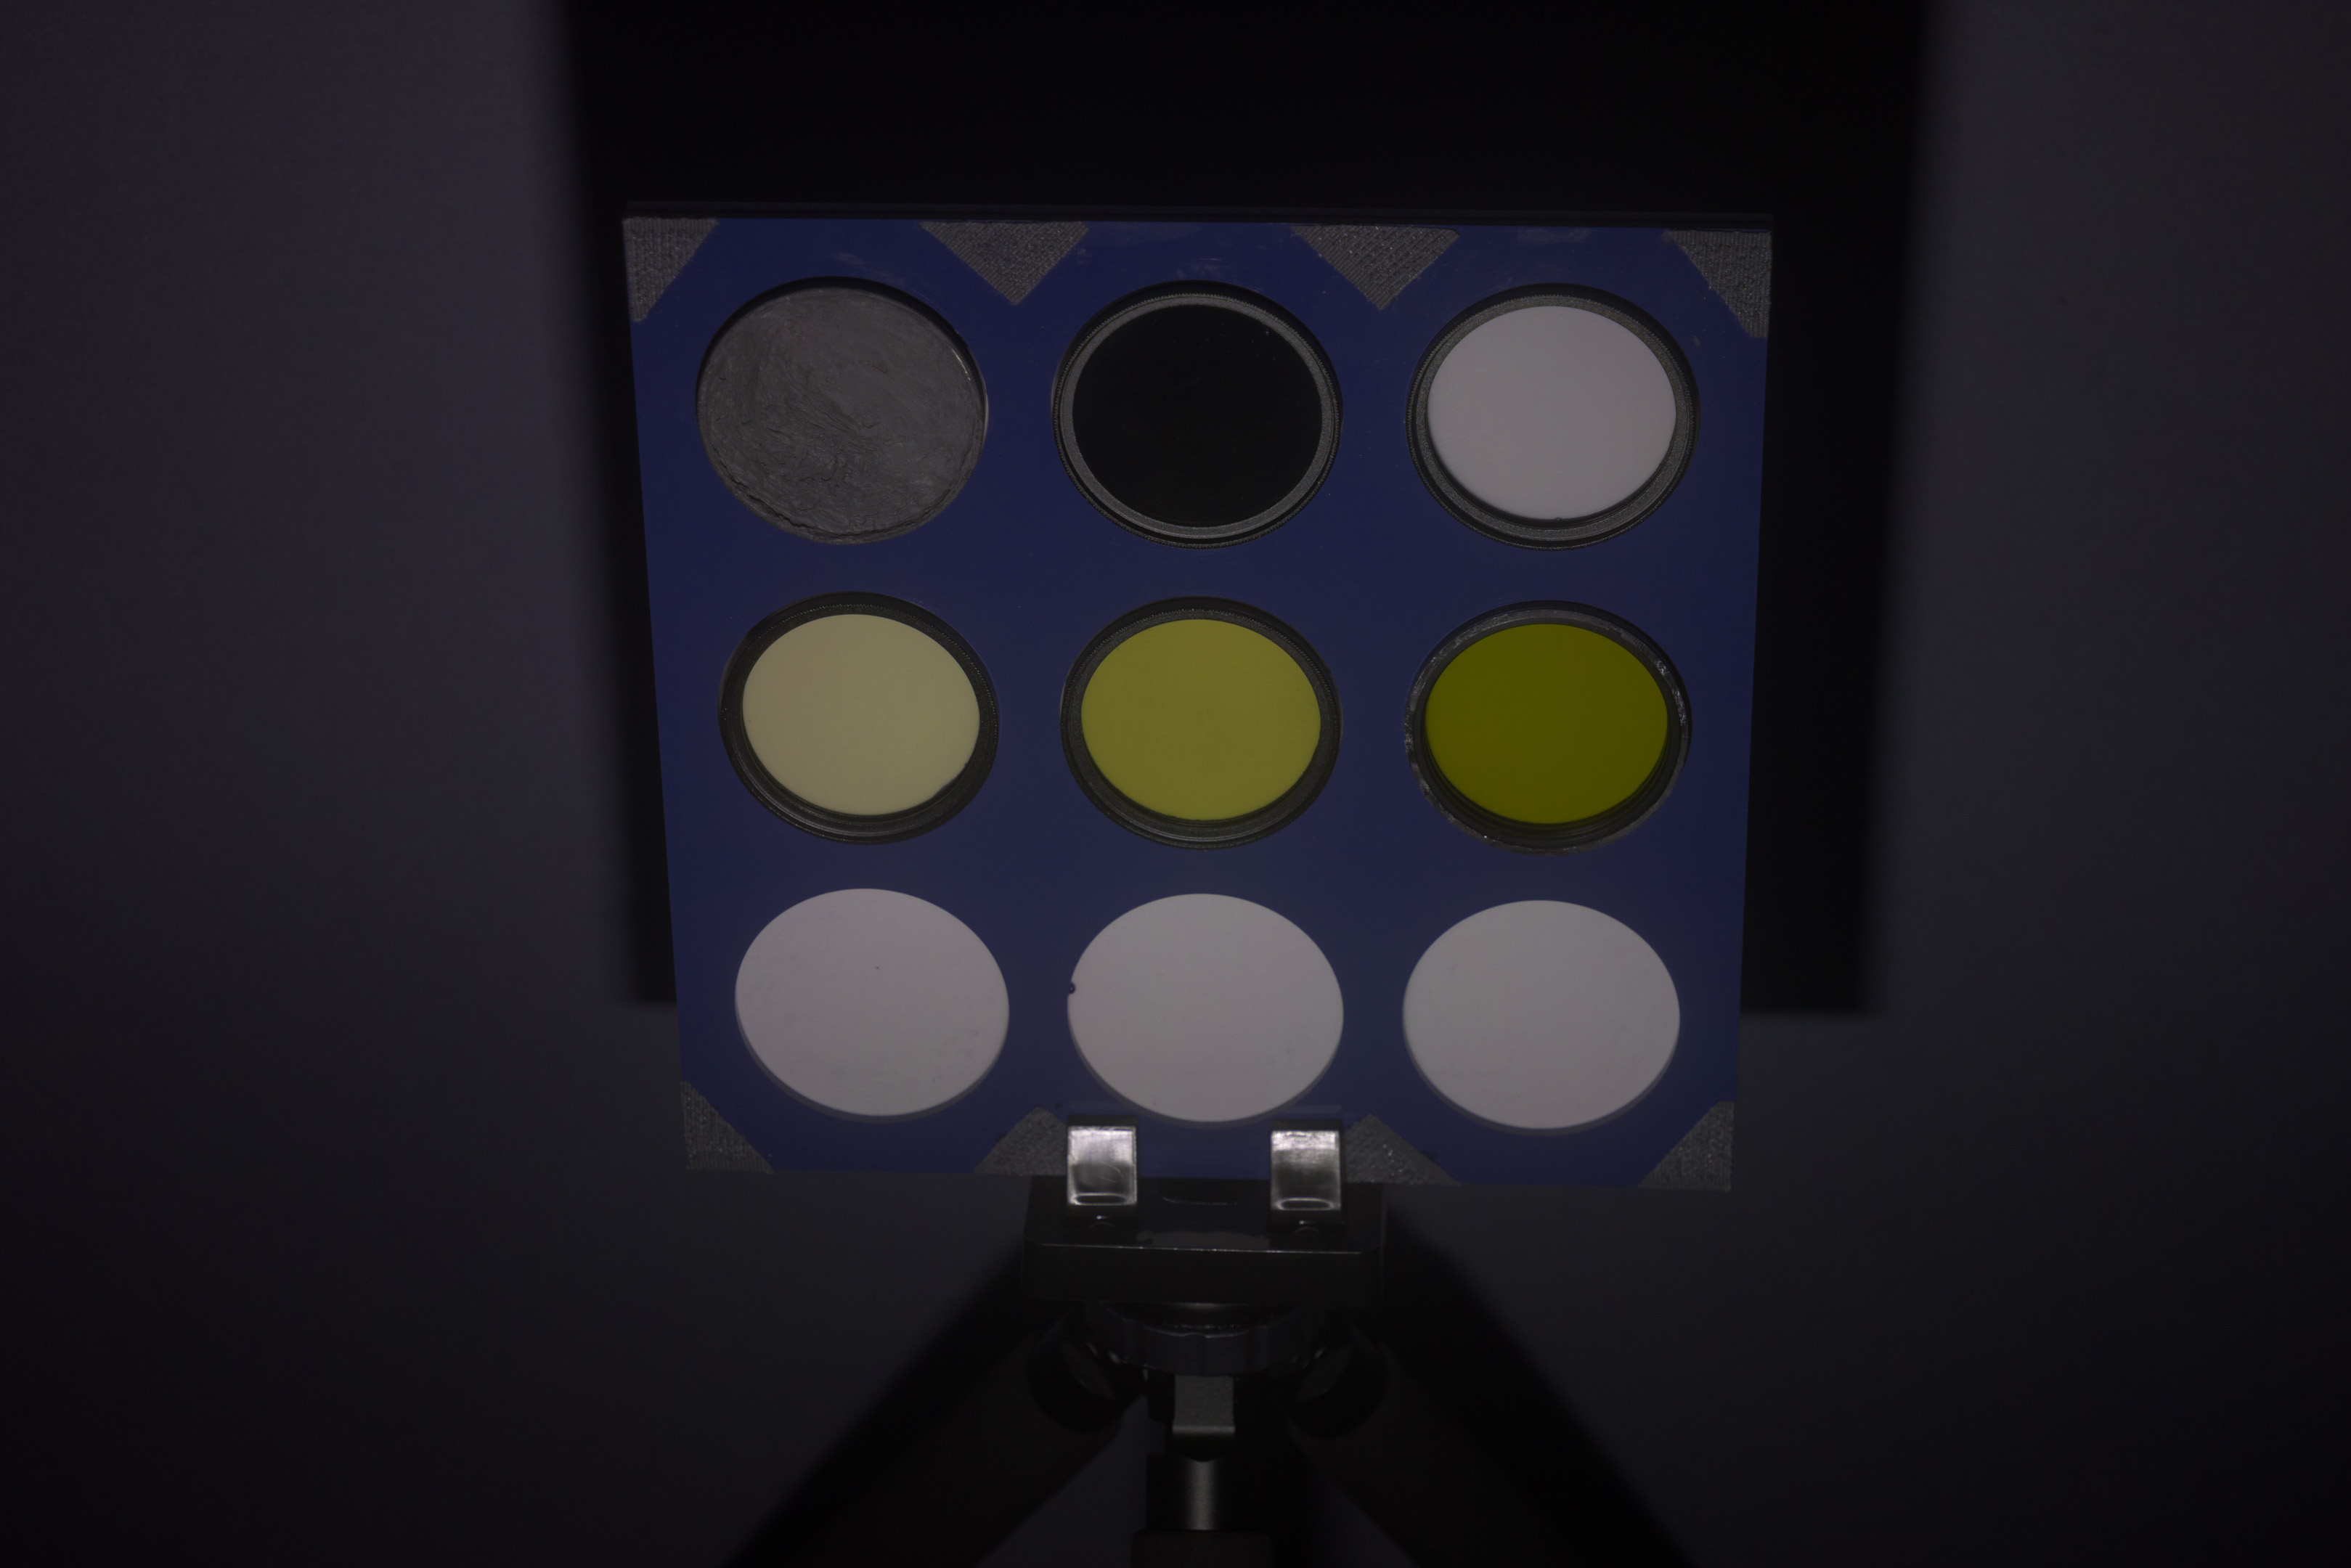
V480 (no Fresnel or front lens), Full power, ISO 100
As the V480 has two bits of plastic in front of the flash tube, I checked to see if they both block UV.

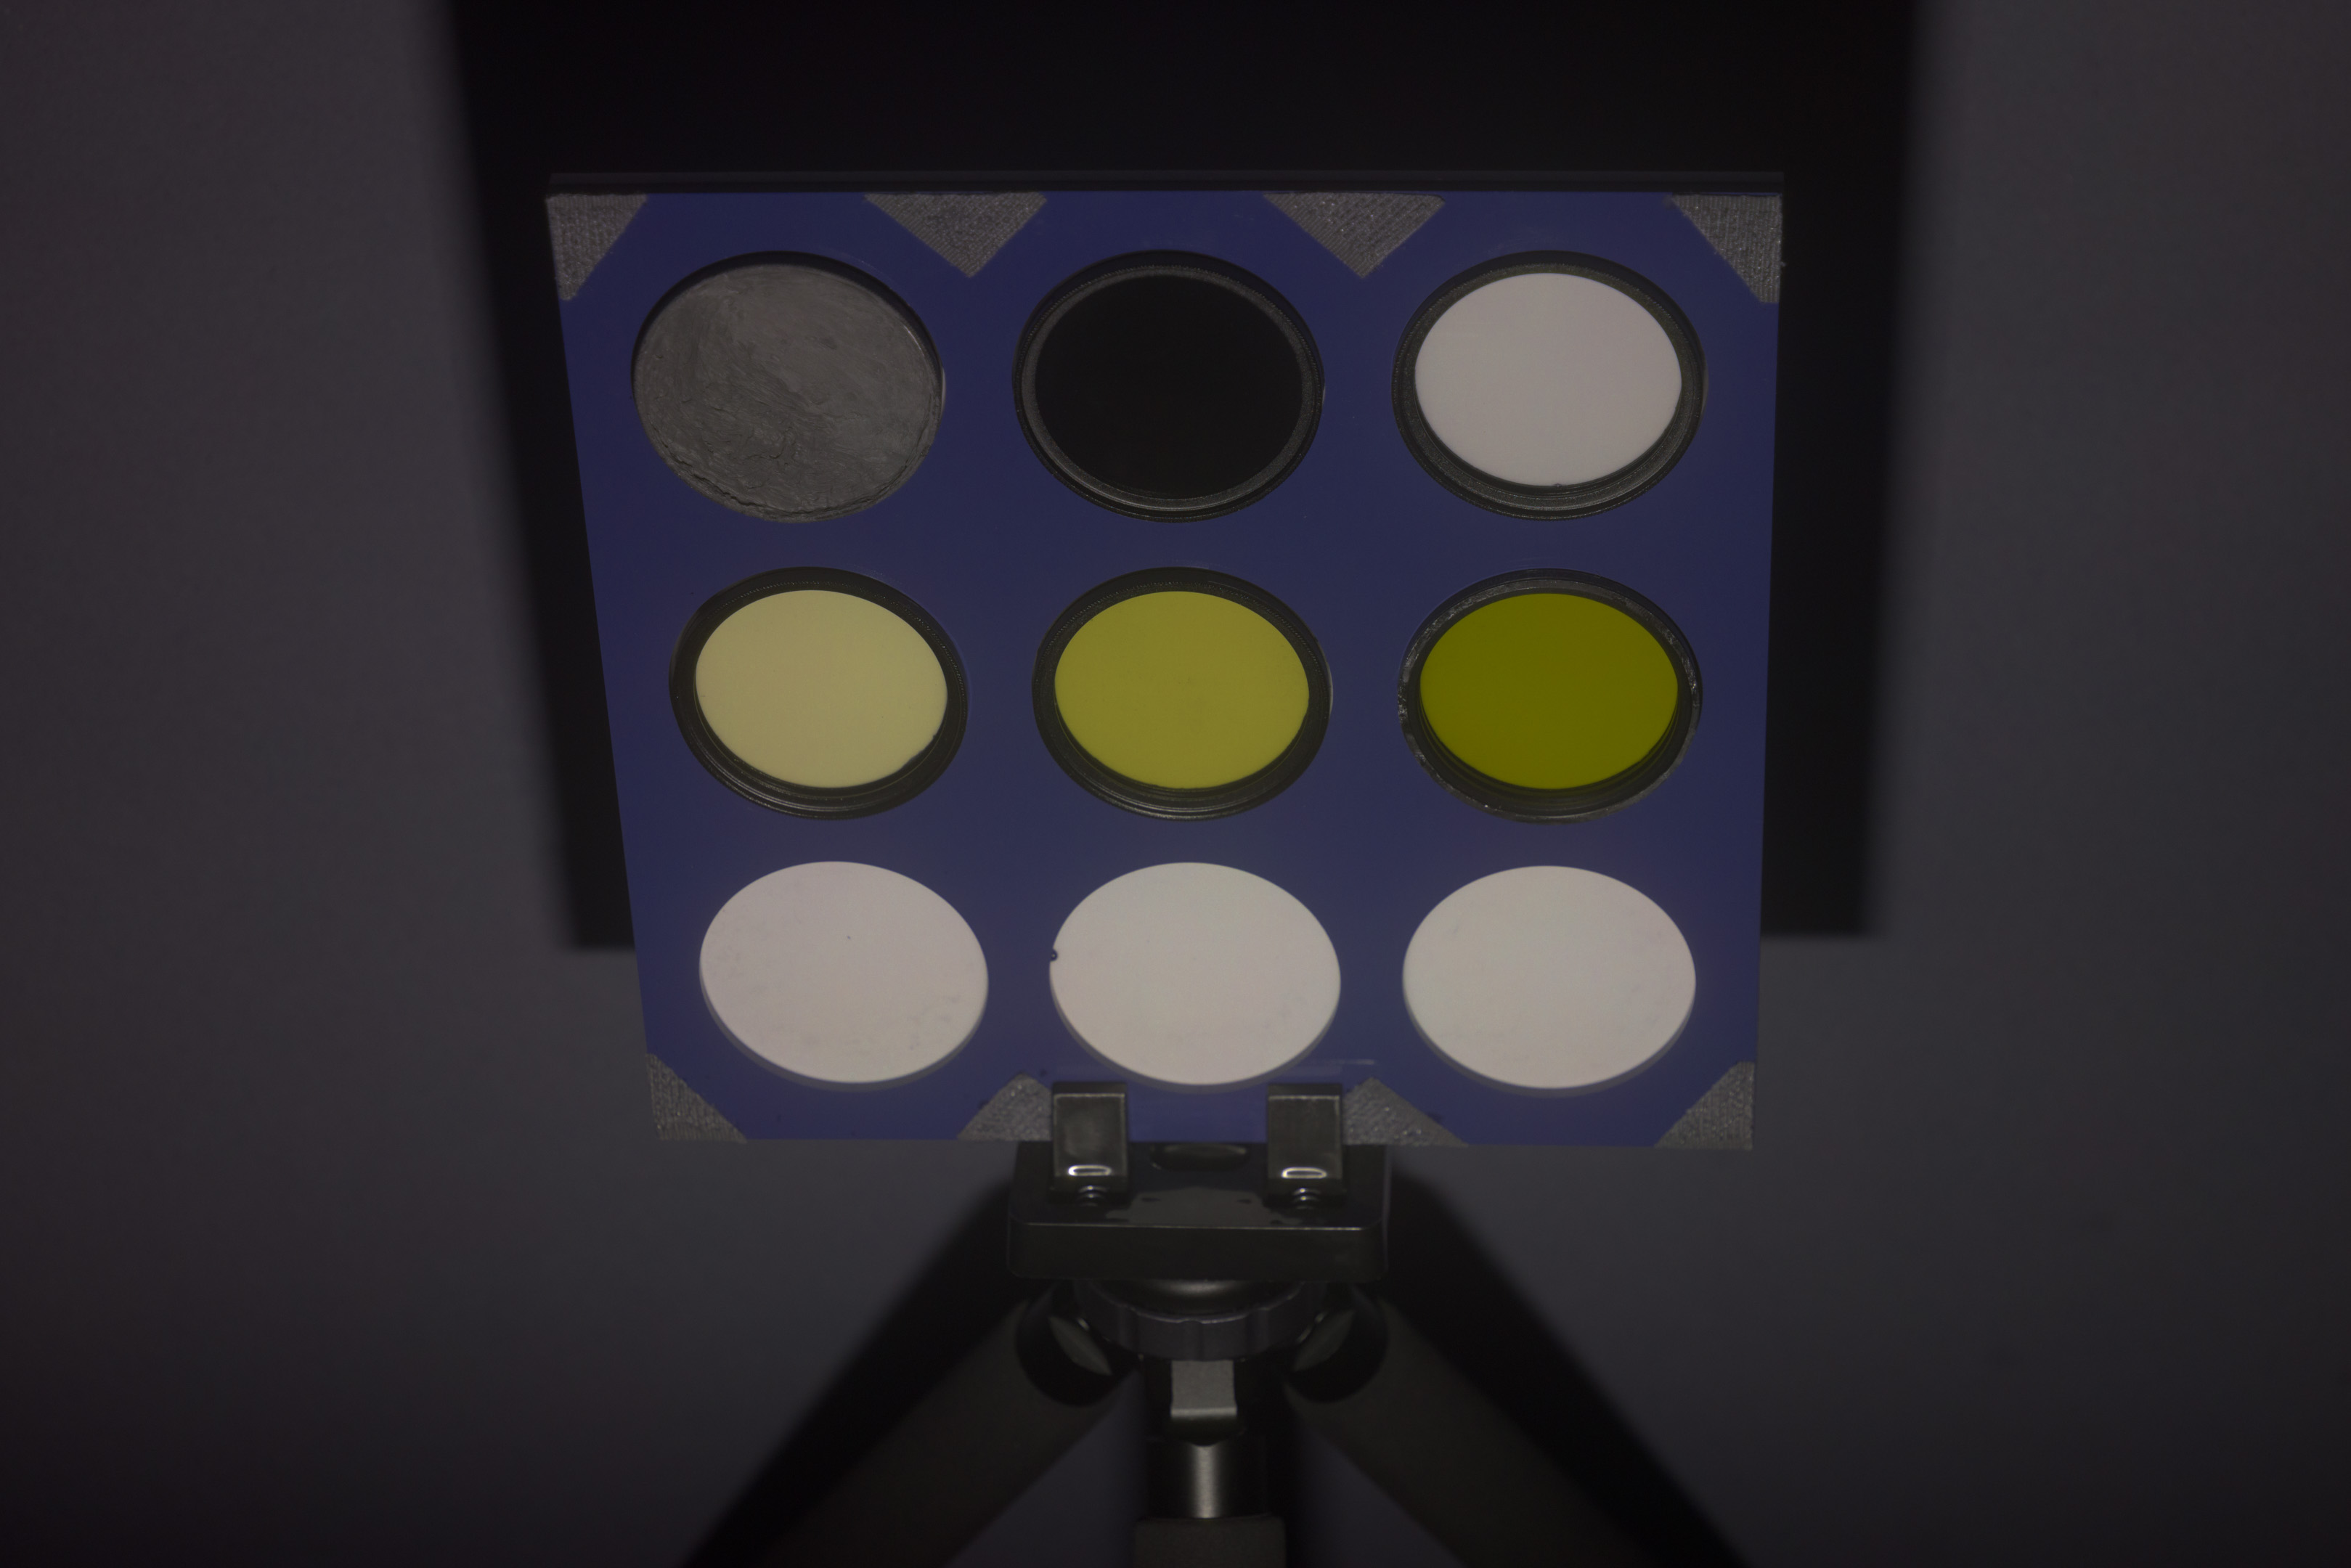
V480 with Fresnel (no front lens), Full power, ISO 100

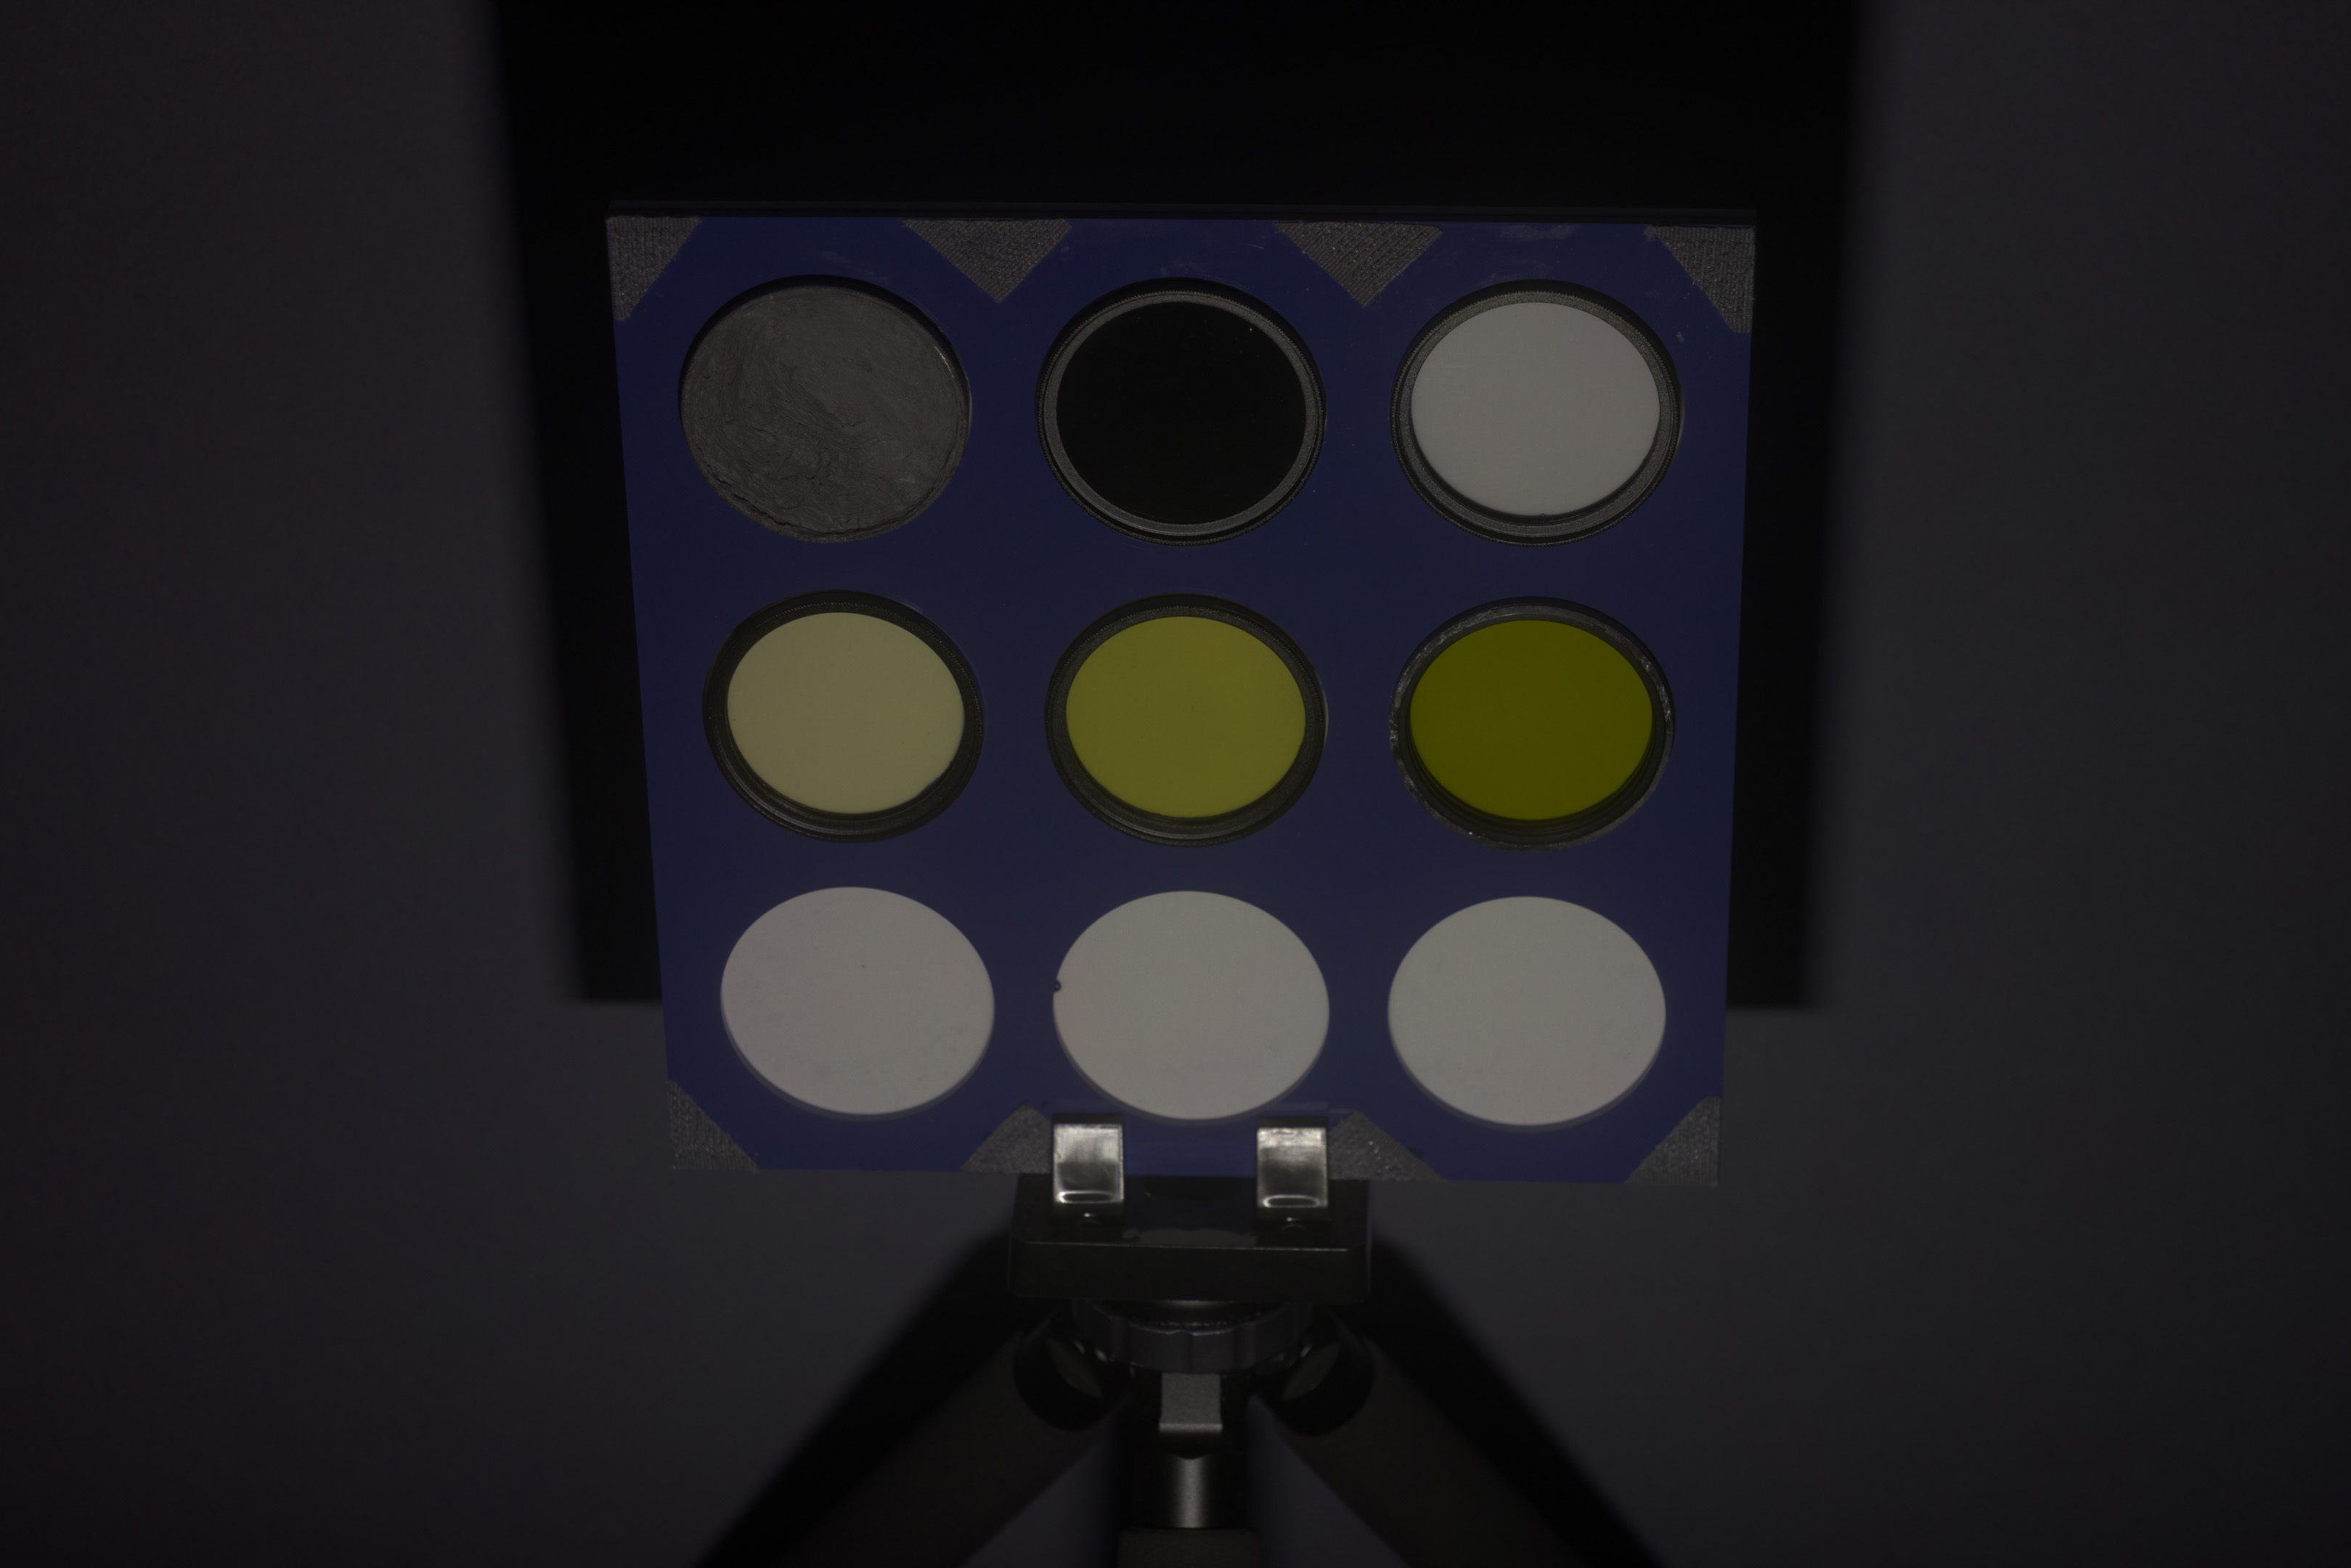
V480 with front lens (no Fresnel), Full power, ISO 100
You can see that both the Fresnel and the front piece of plastic do block UV, so both need removing to get UV output.
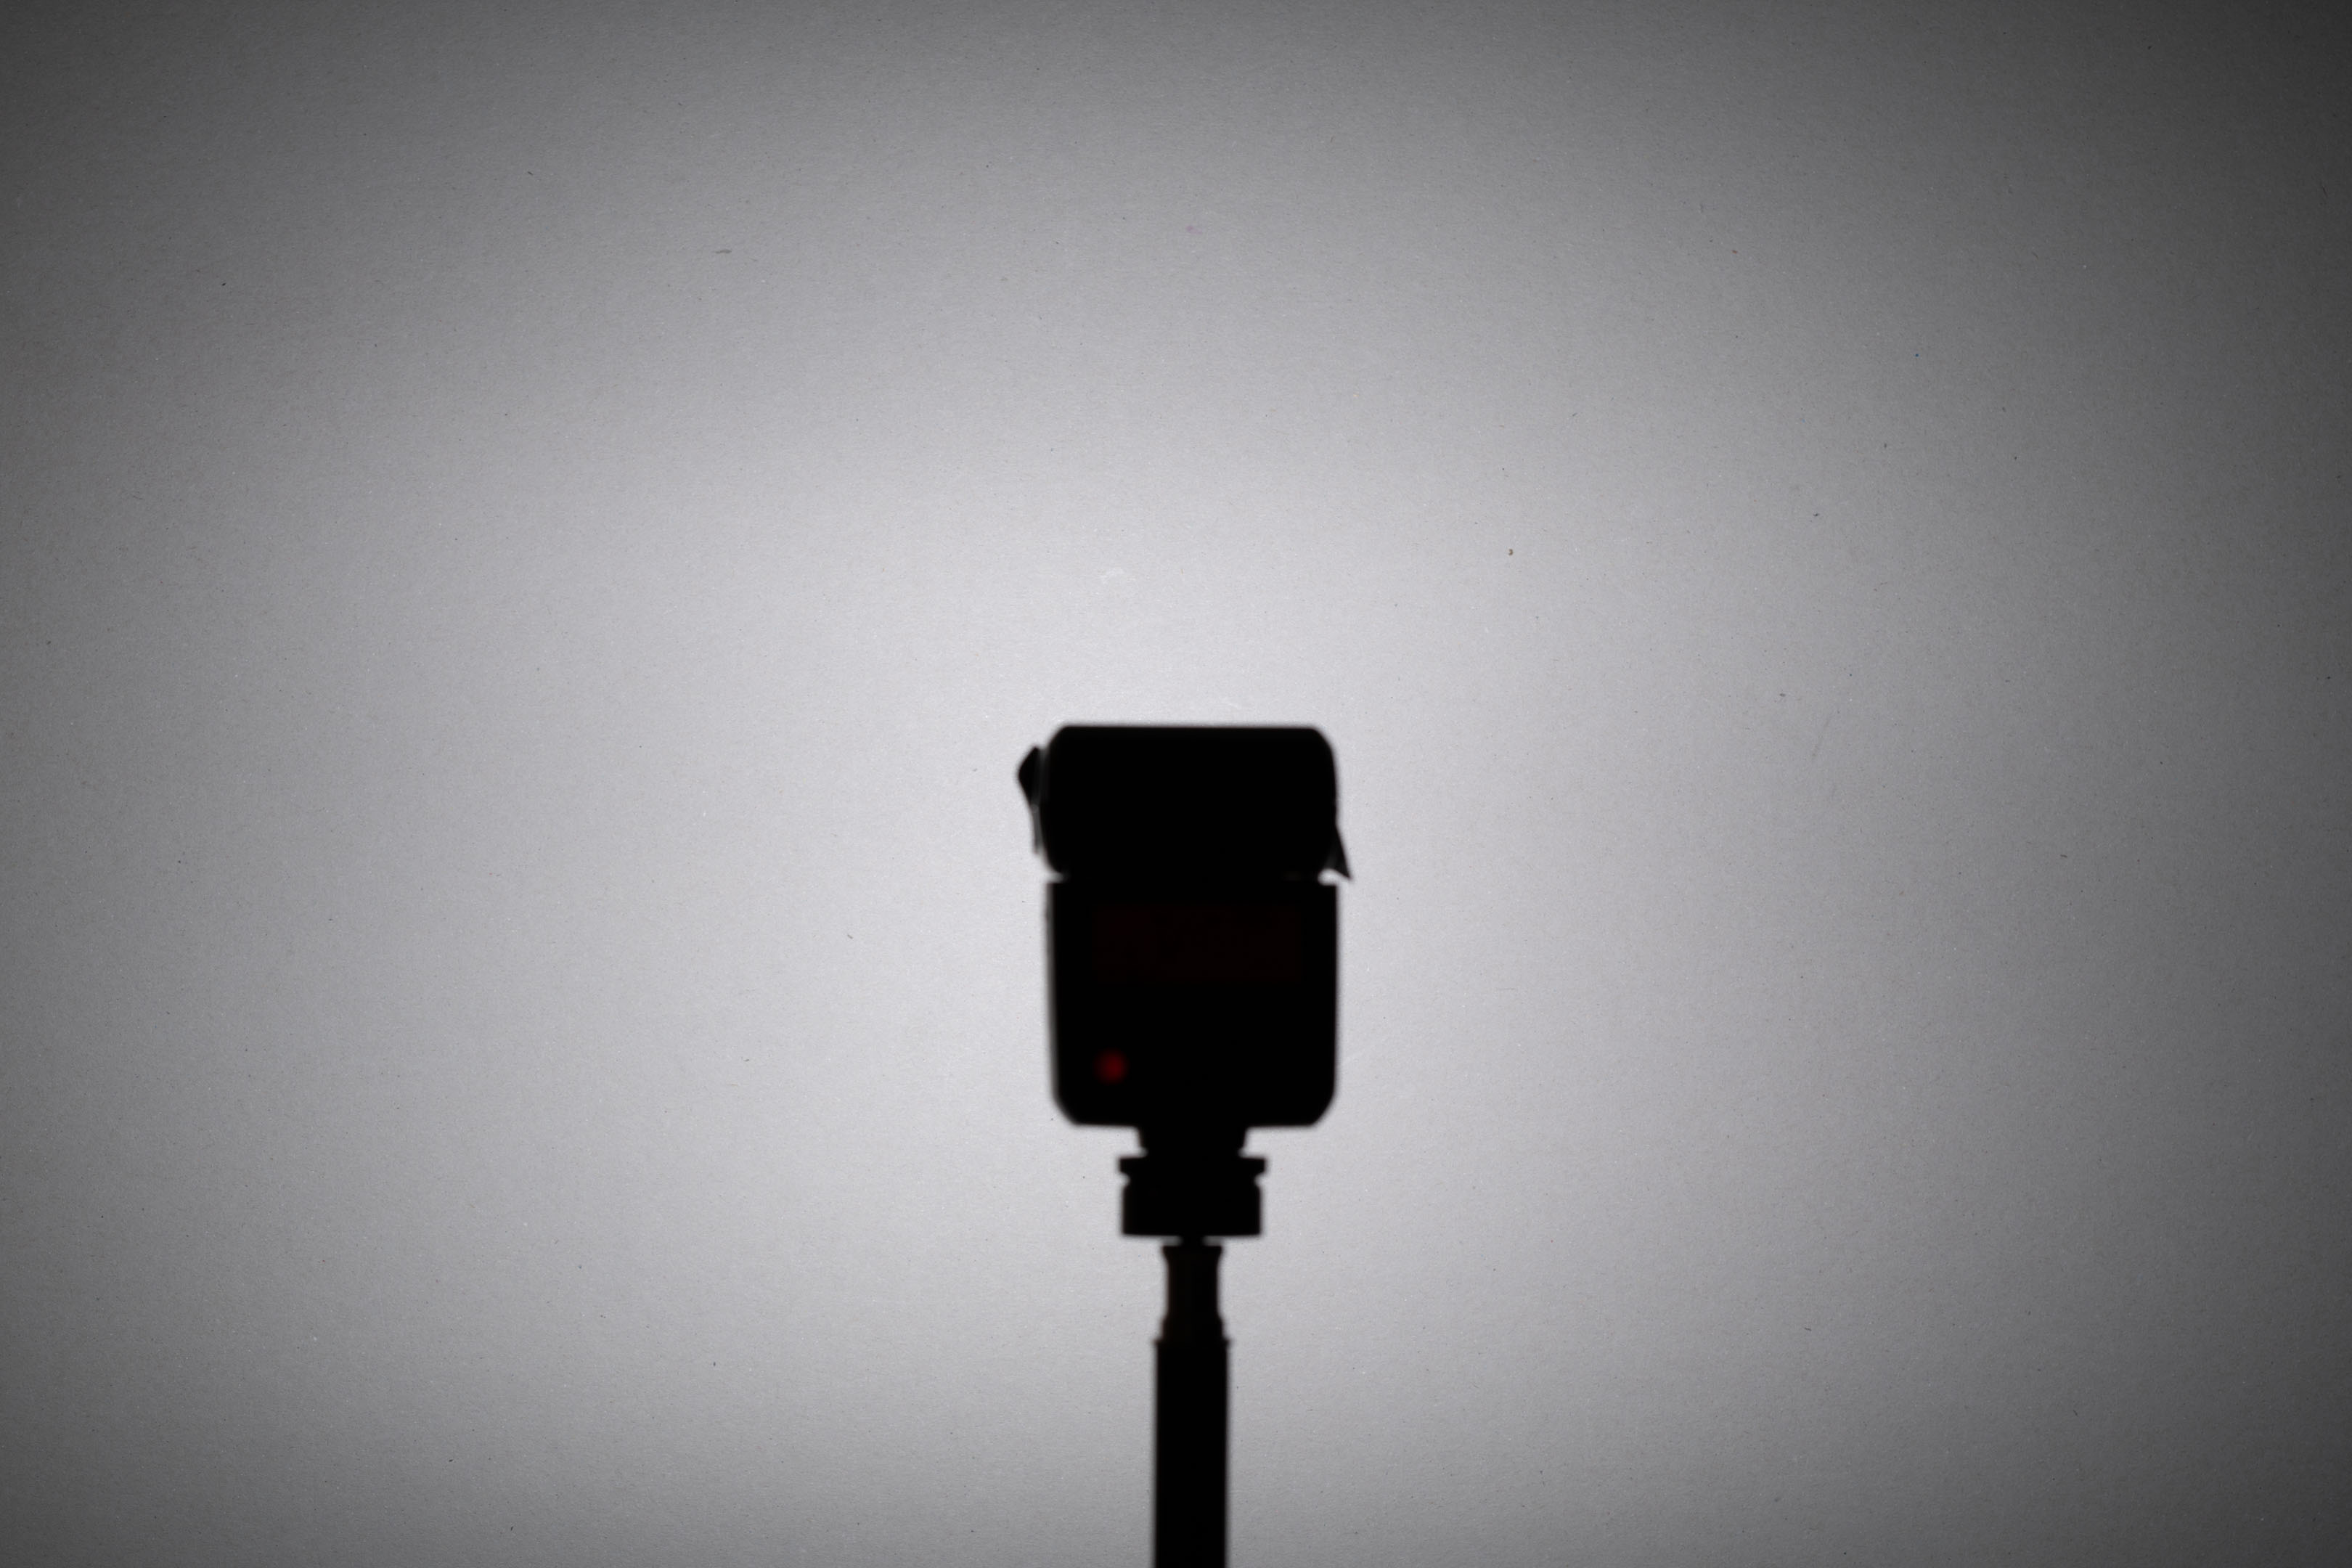
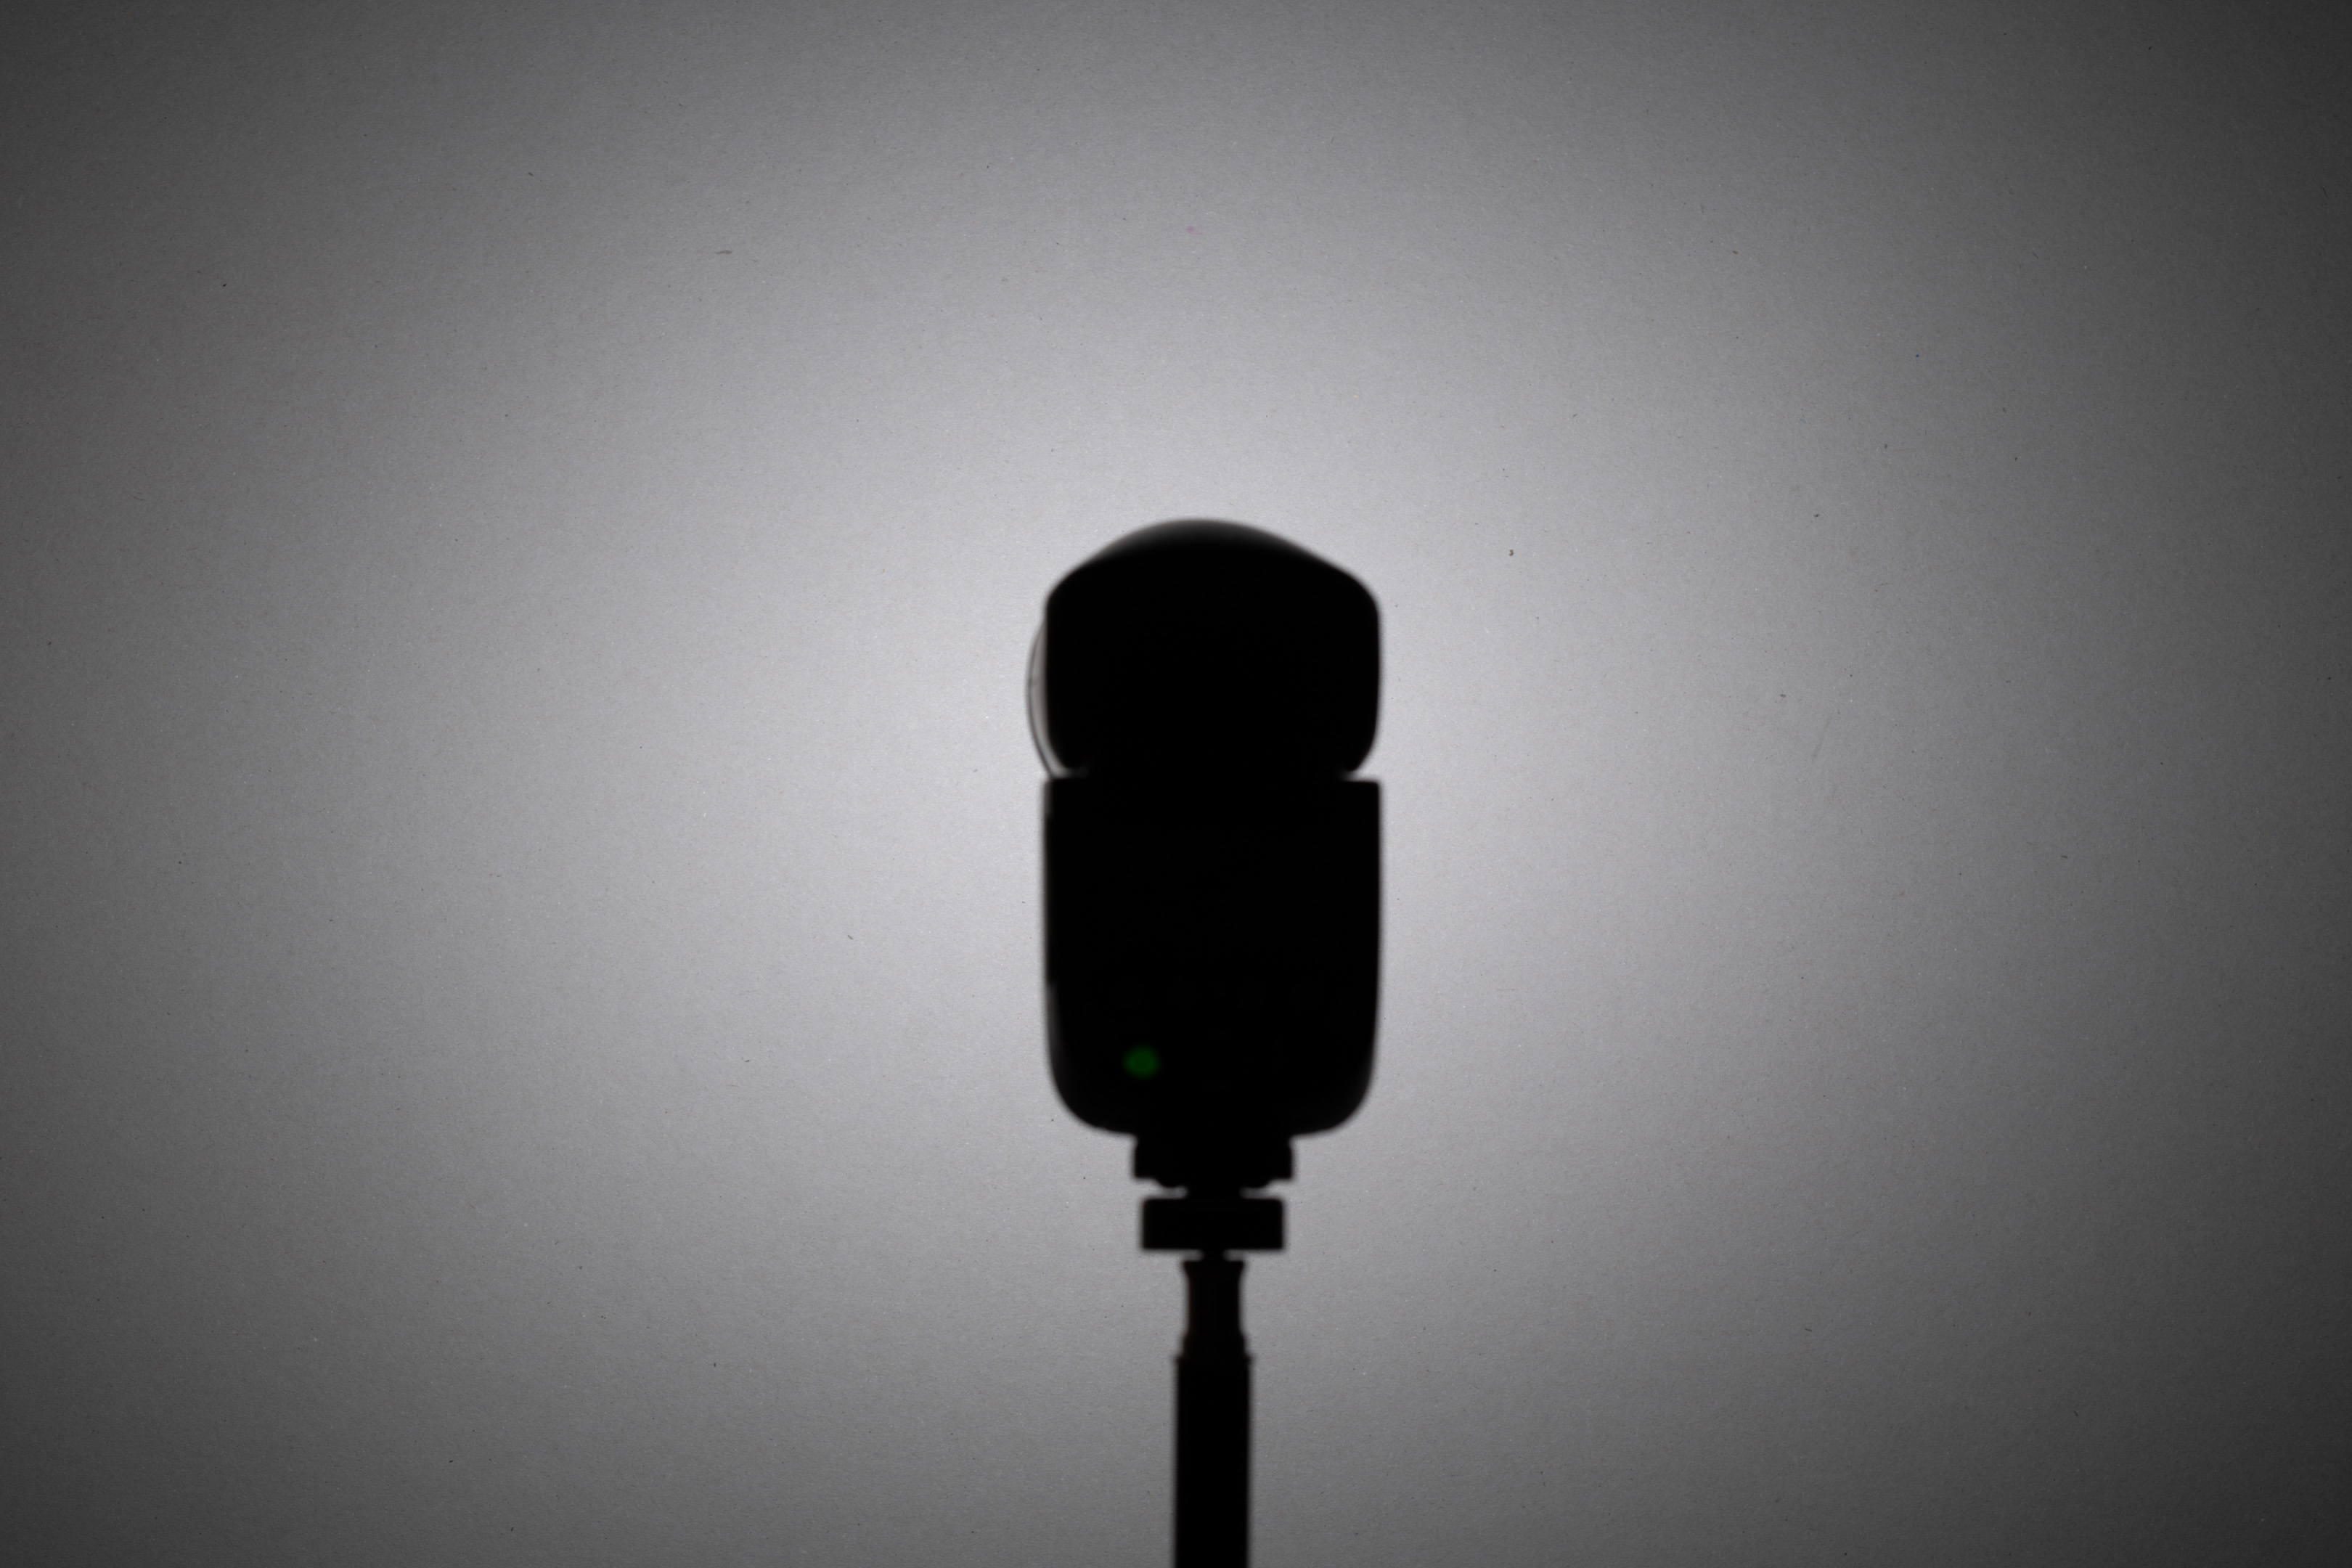
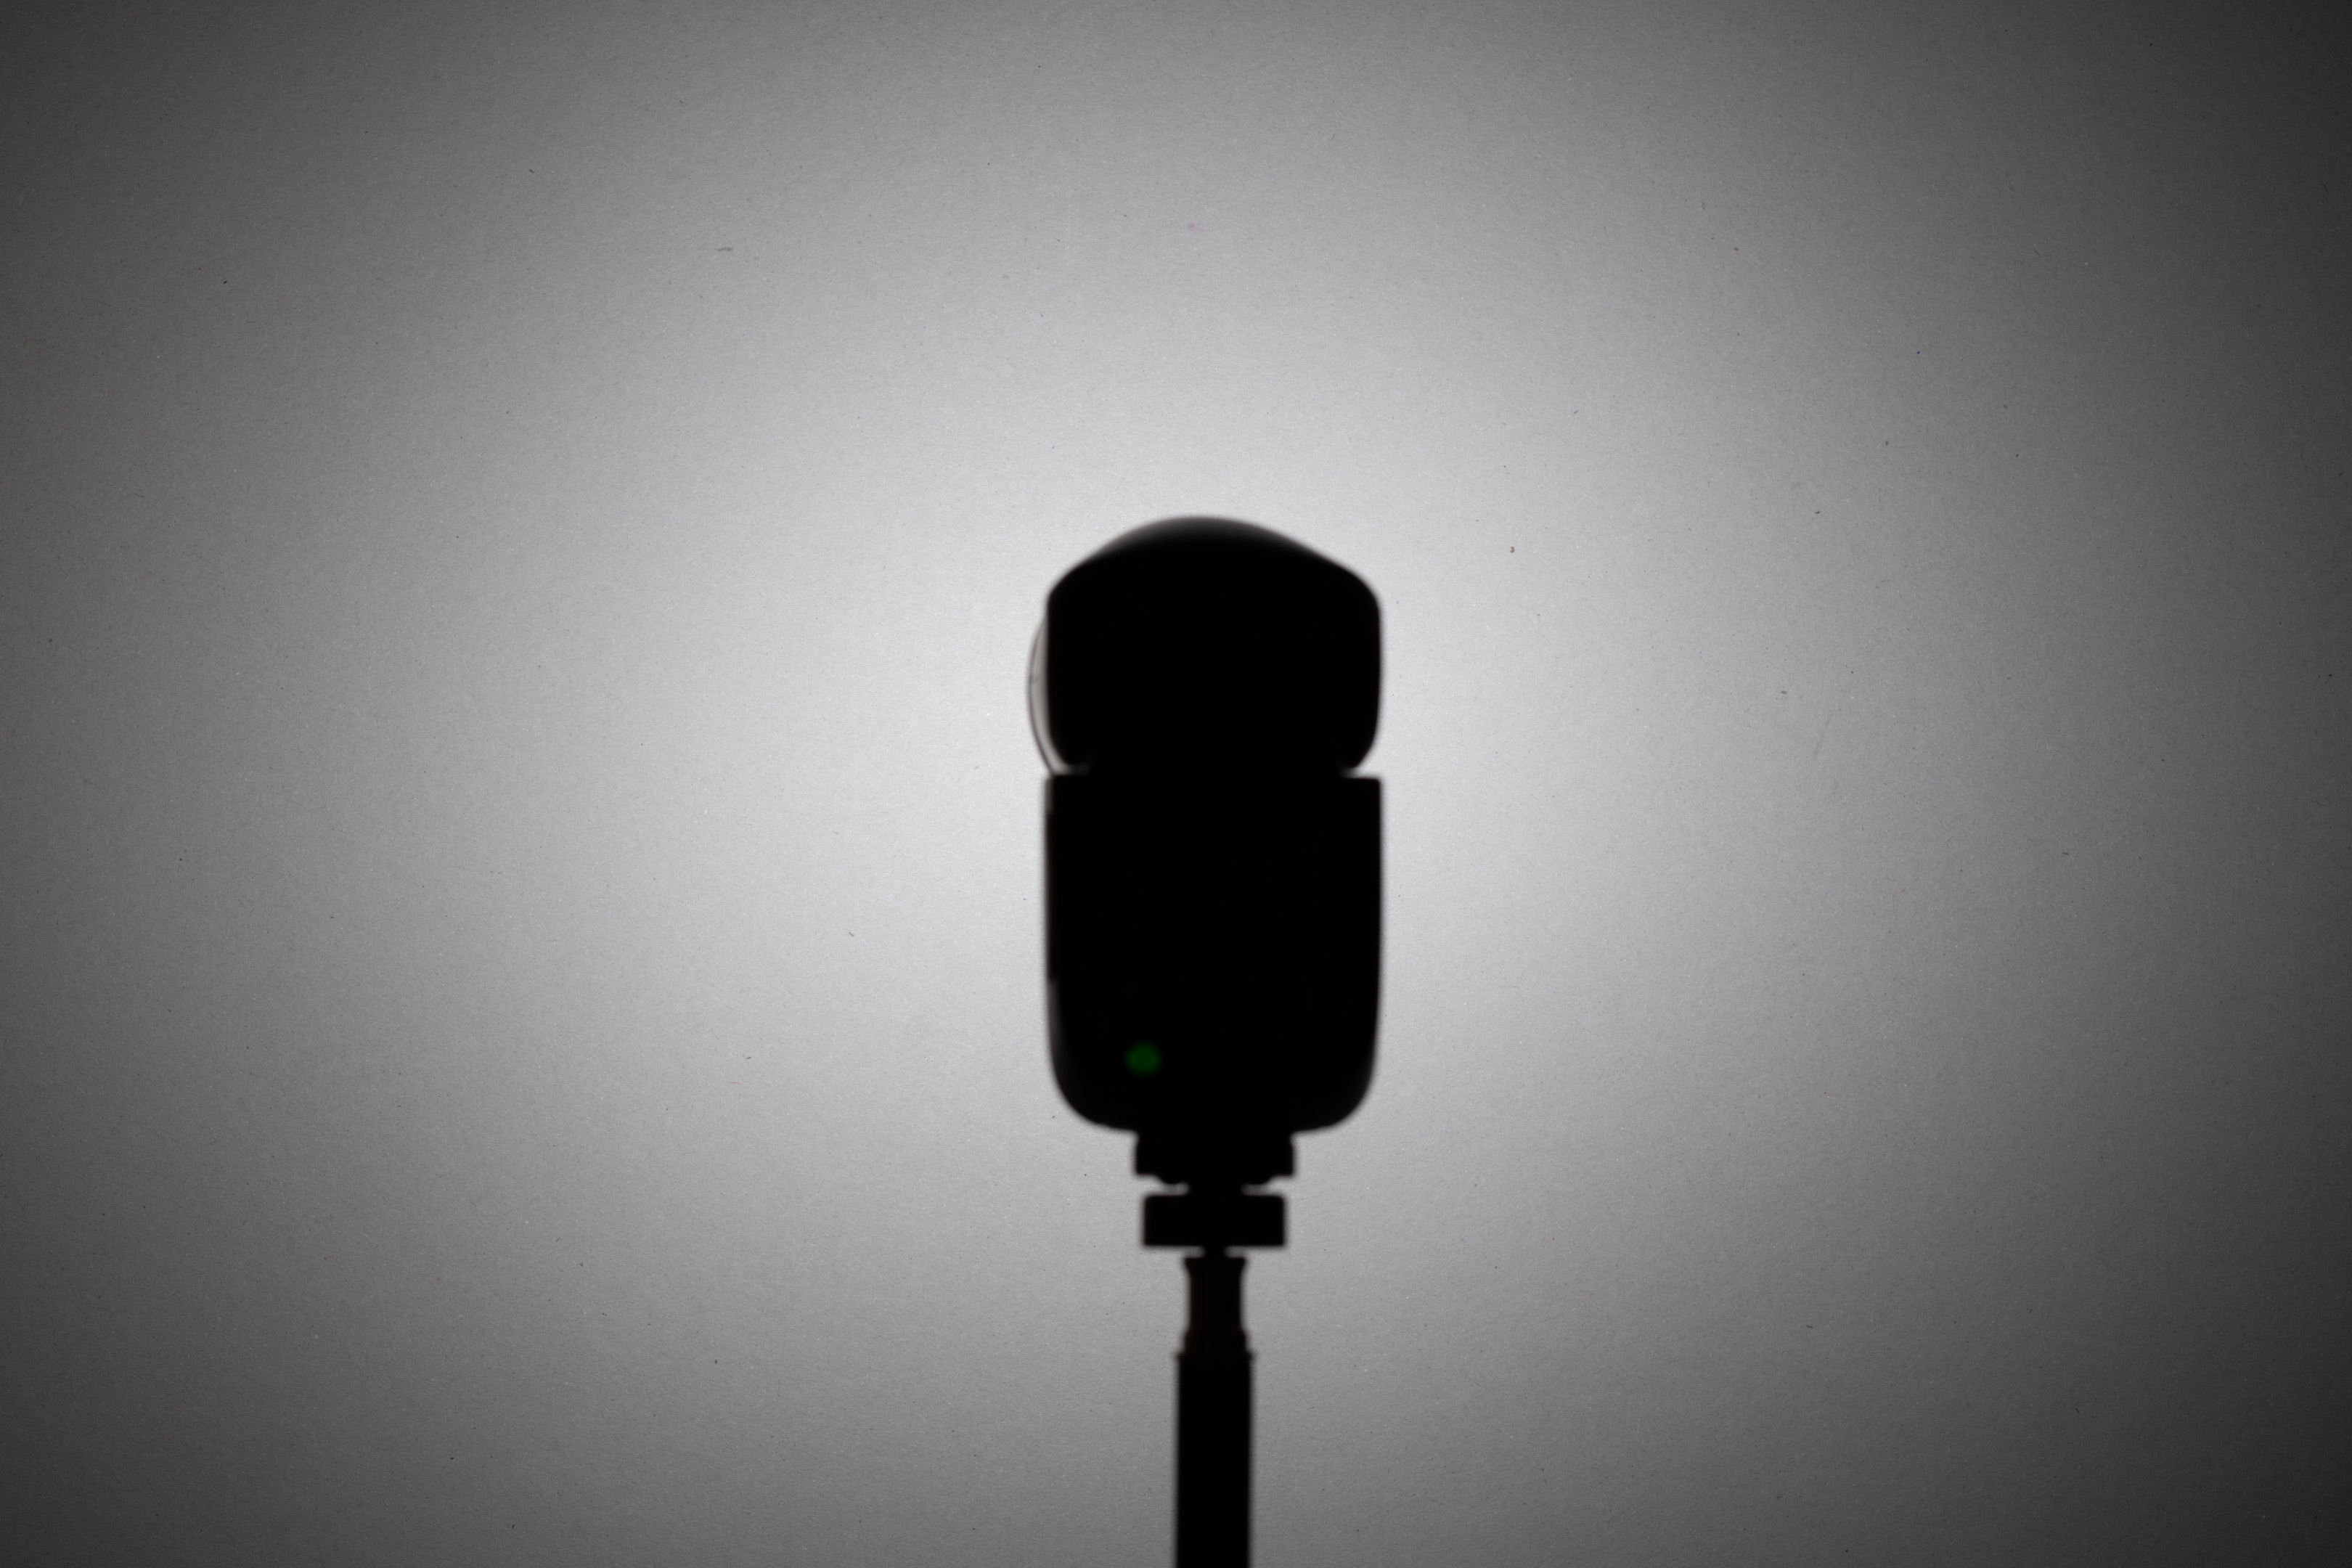
V860II
V860II (no Fresnel or front lens), 1/4 power, ISO 100

V860II with Fresnel (no front lens), 1/4 power, ISO 100

V860II with front lens (no Fresnel), 1/4 power, ISO 100
The V860II has the Fresnel and another lens in front of the flash tube as well. Both the Fresnel and the front lens block UV.
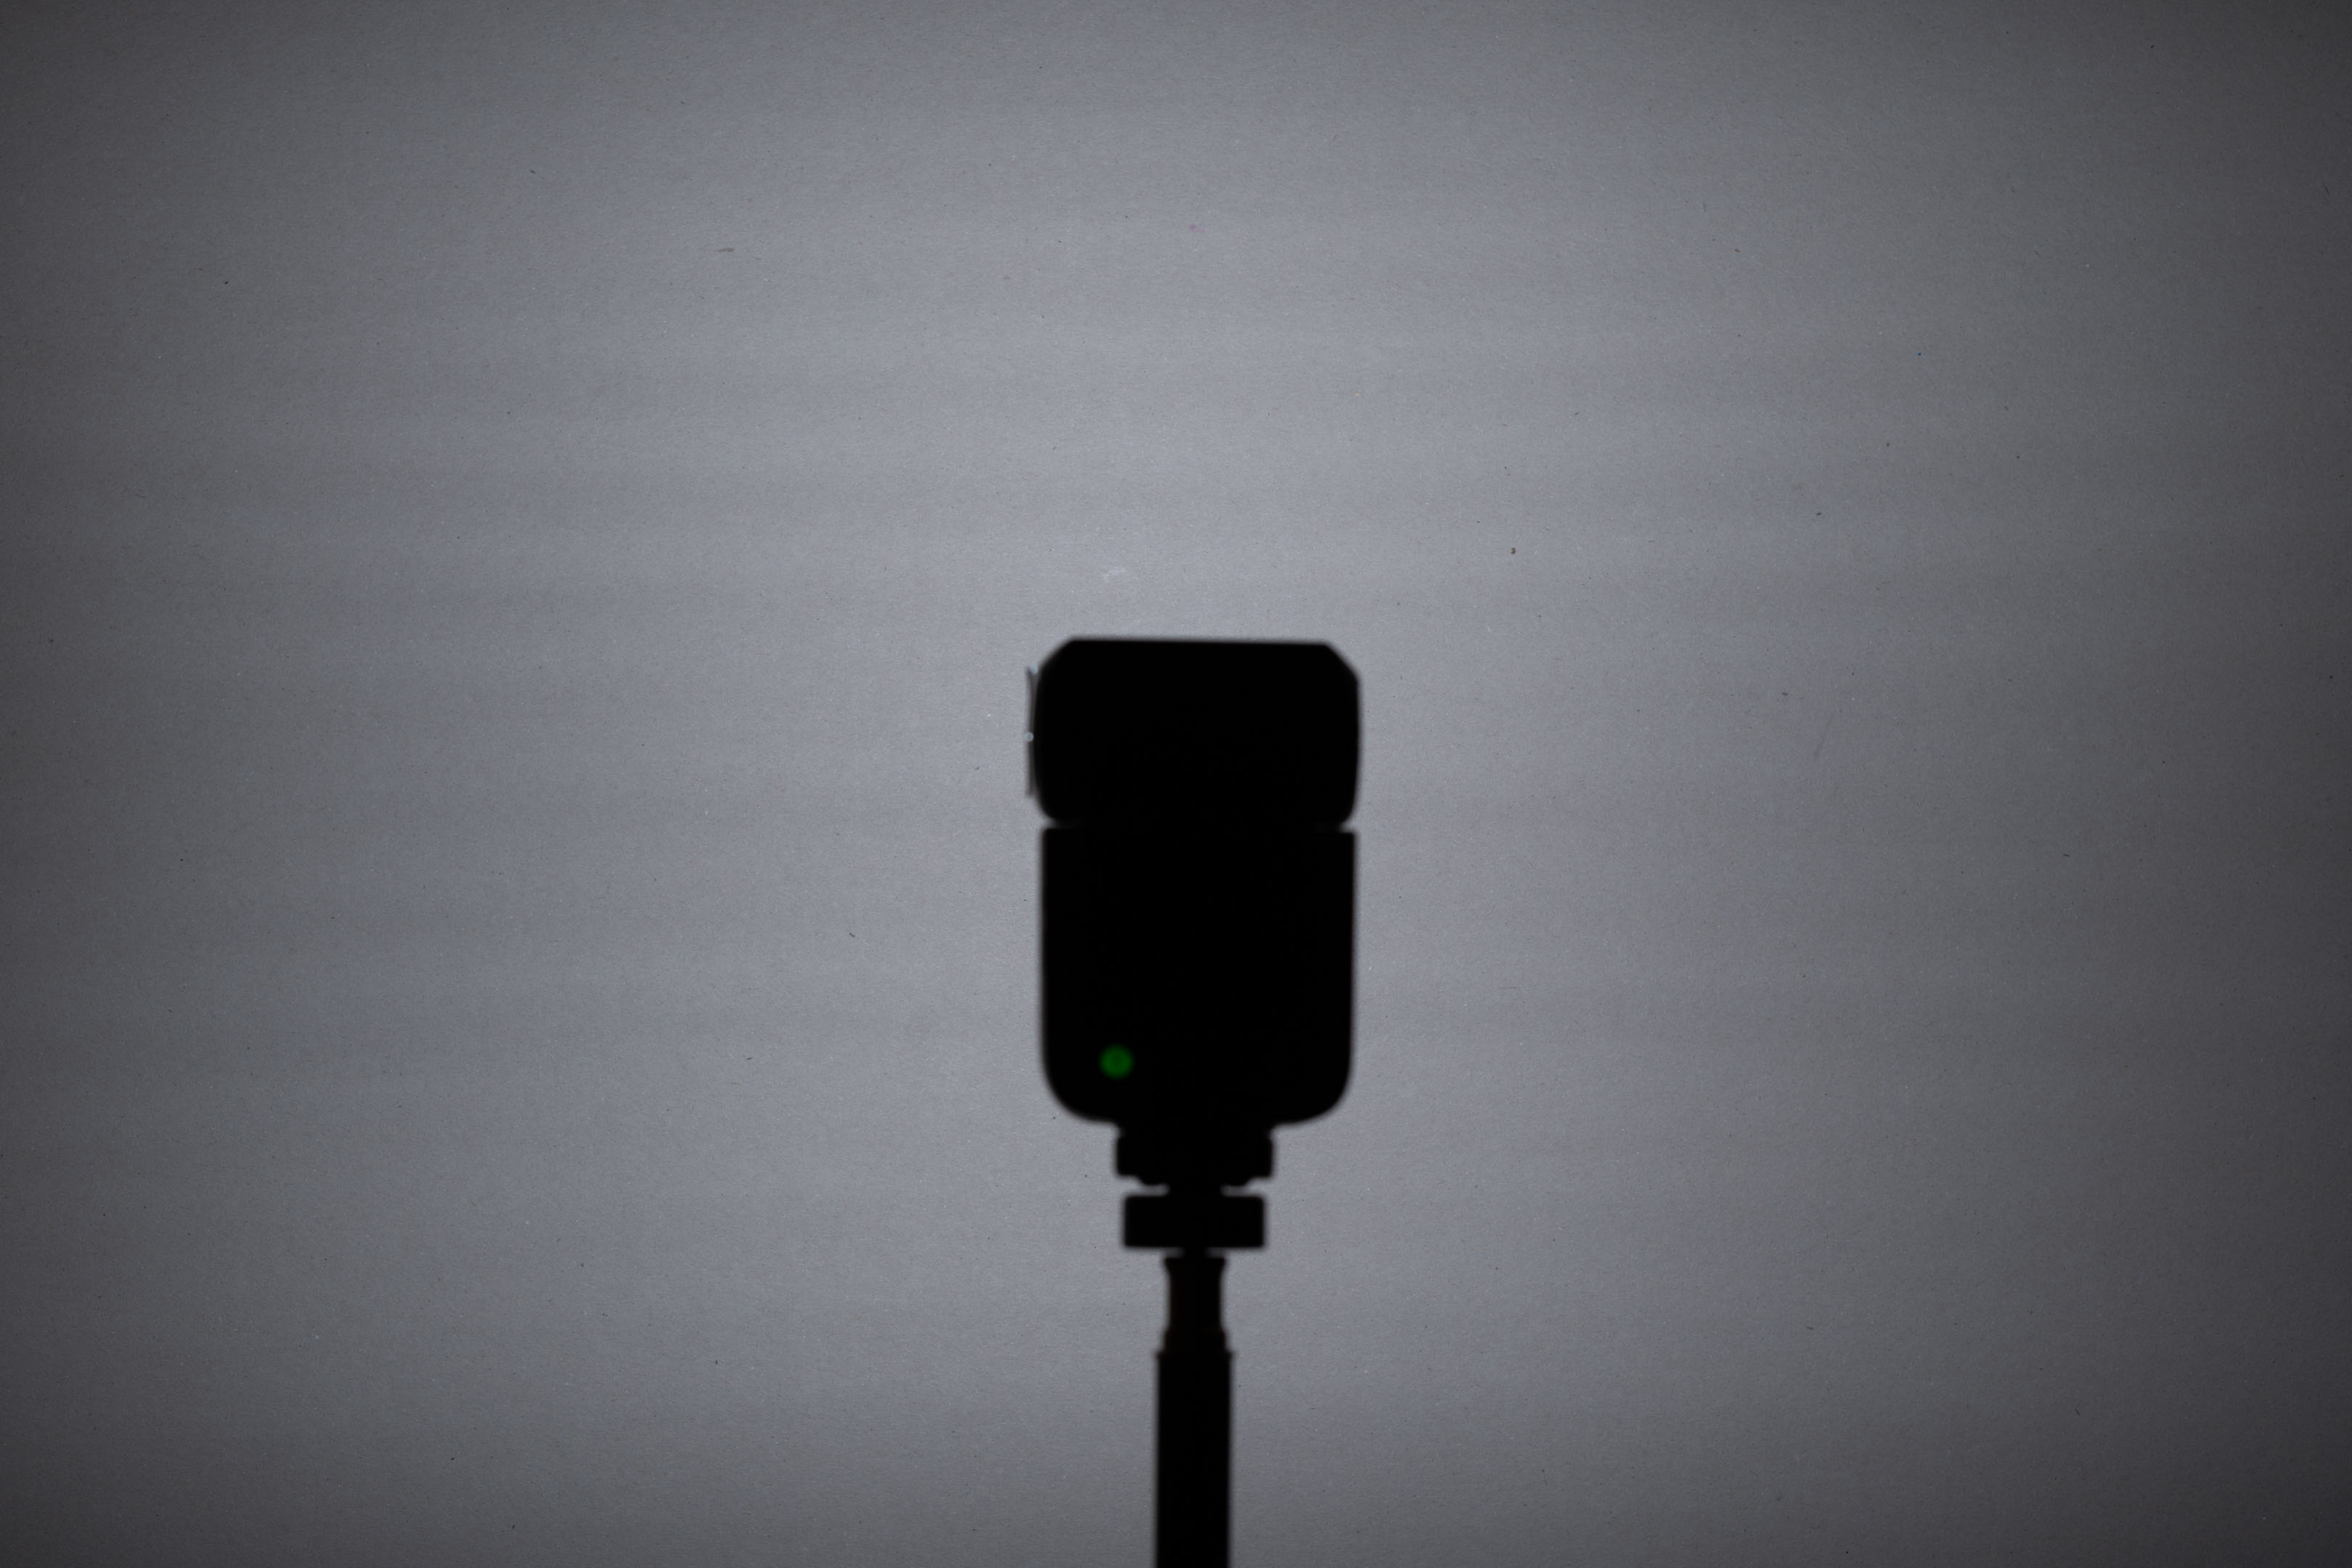
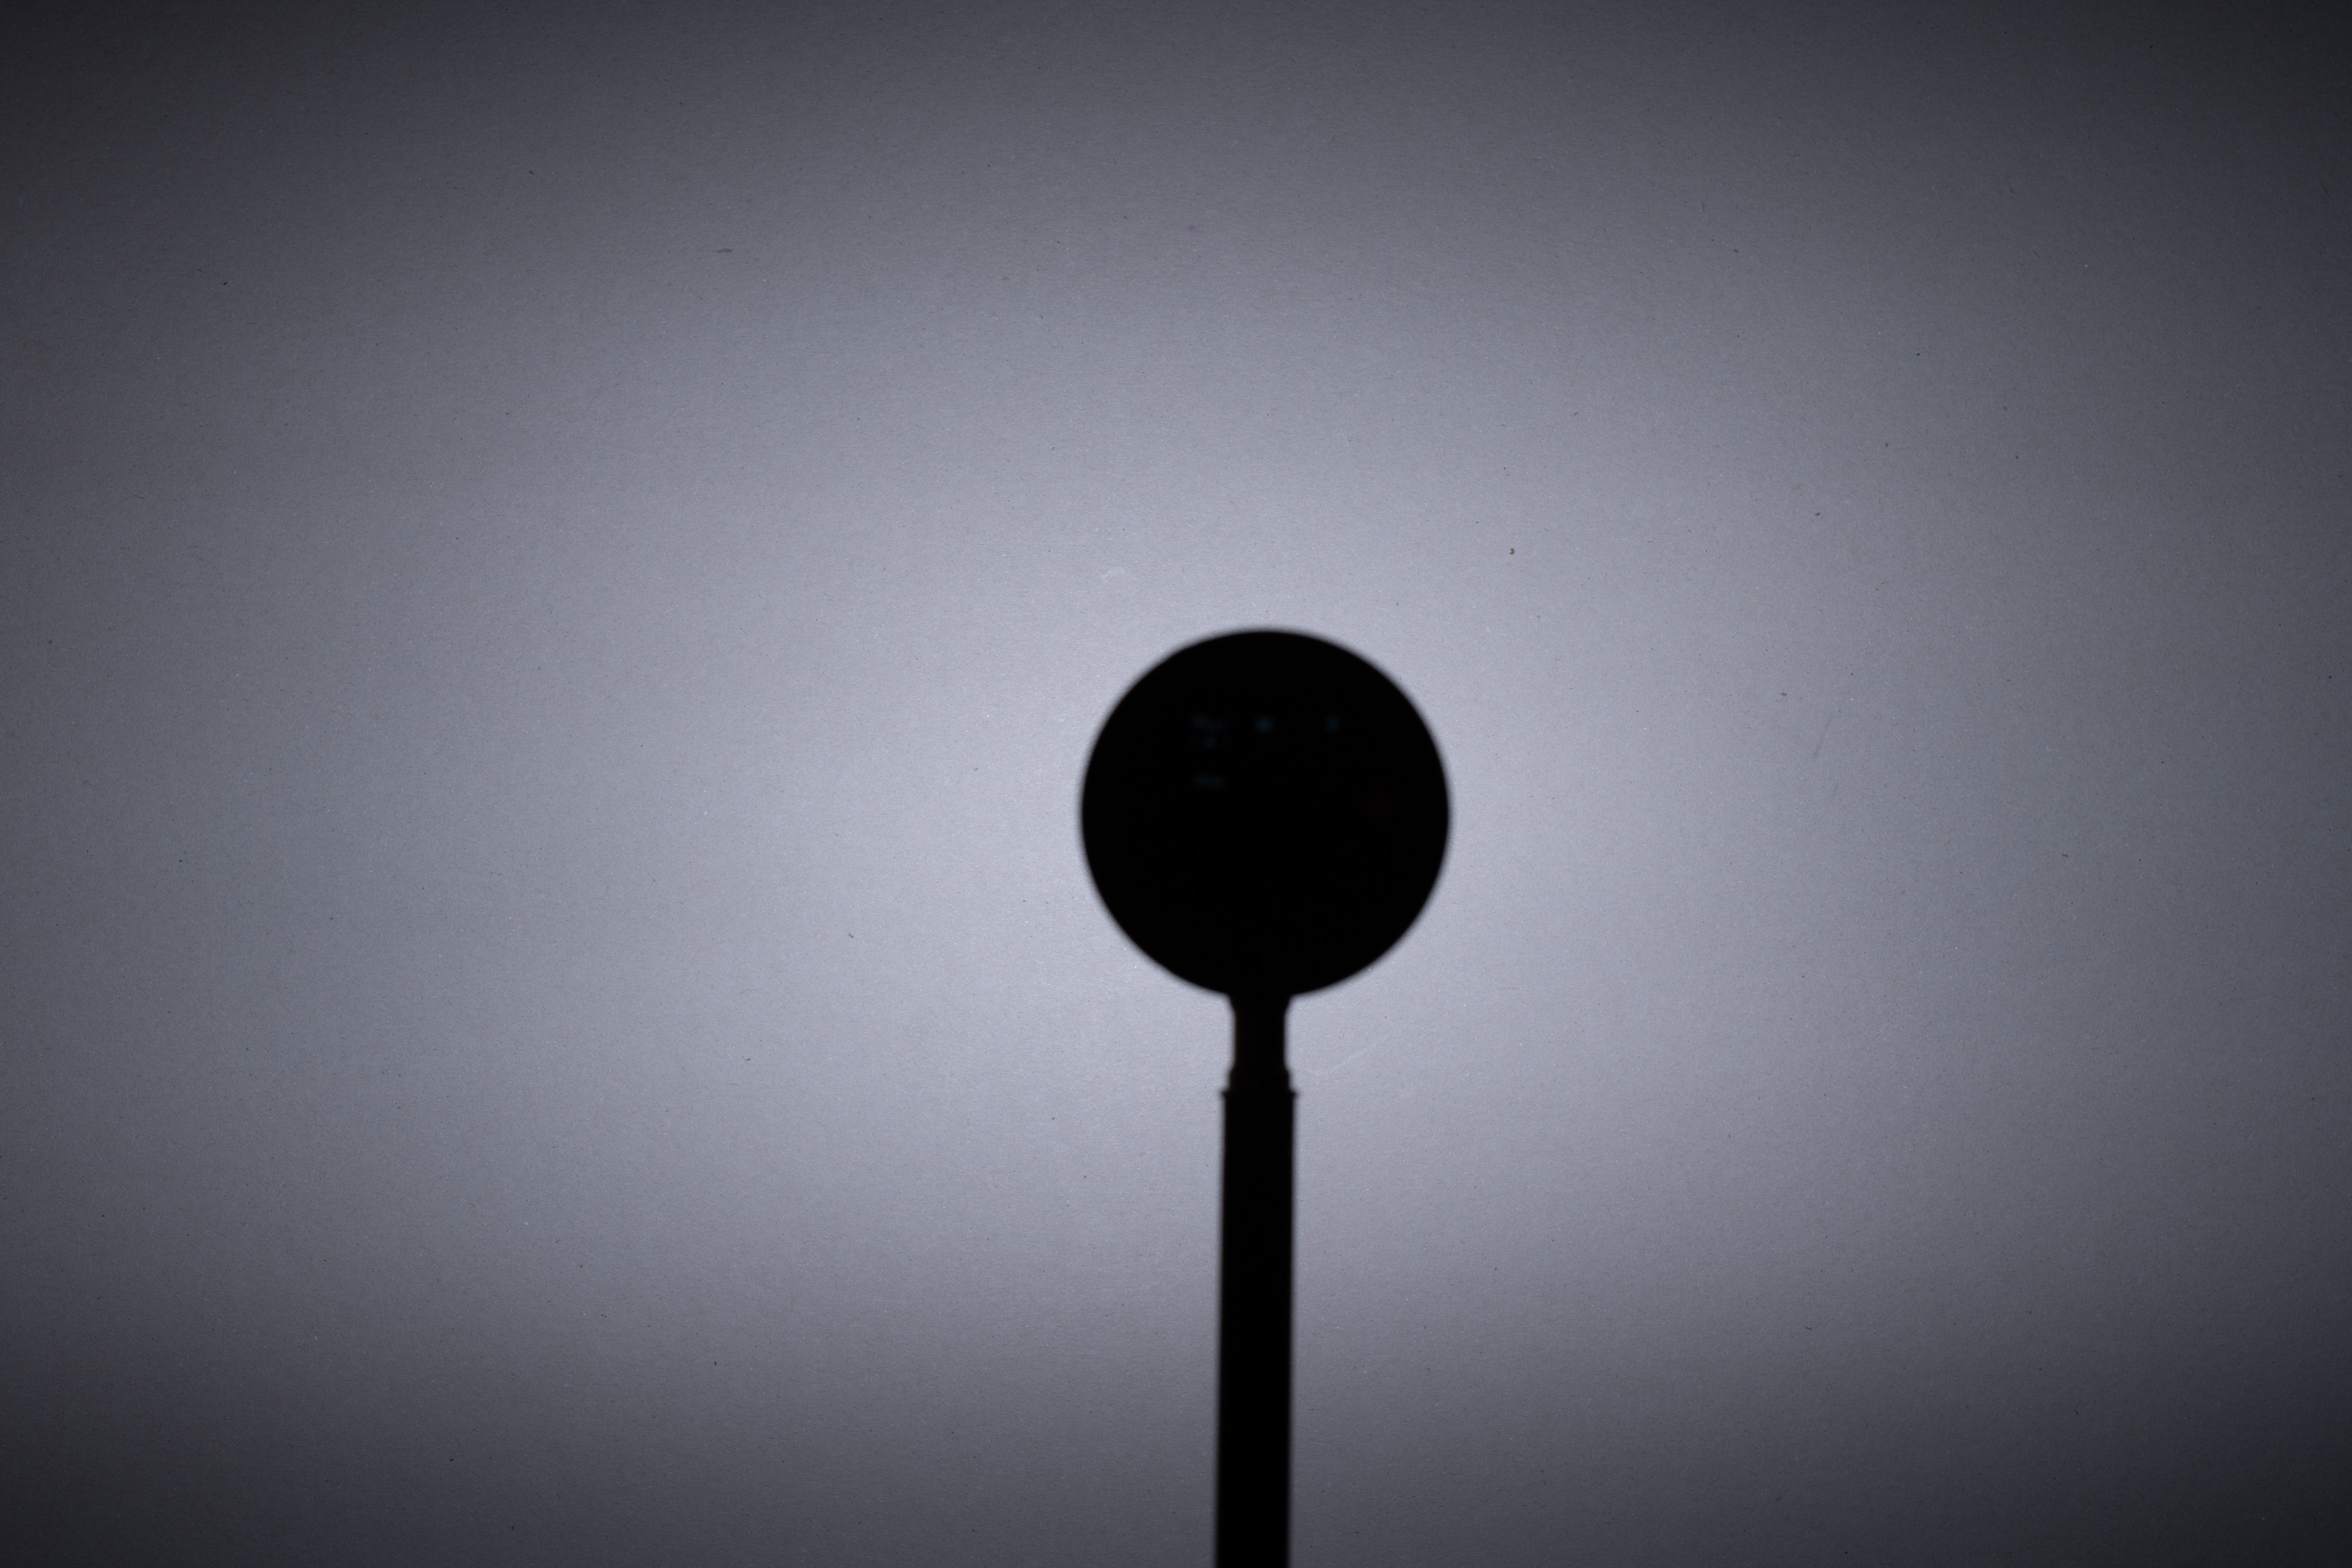
V1
V1 (no Fresnel or front lens), 1/2 power, ISO 100

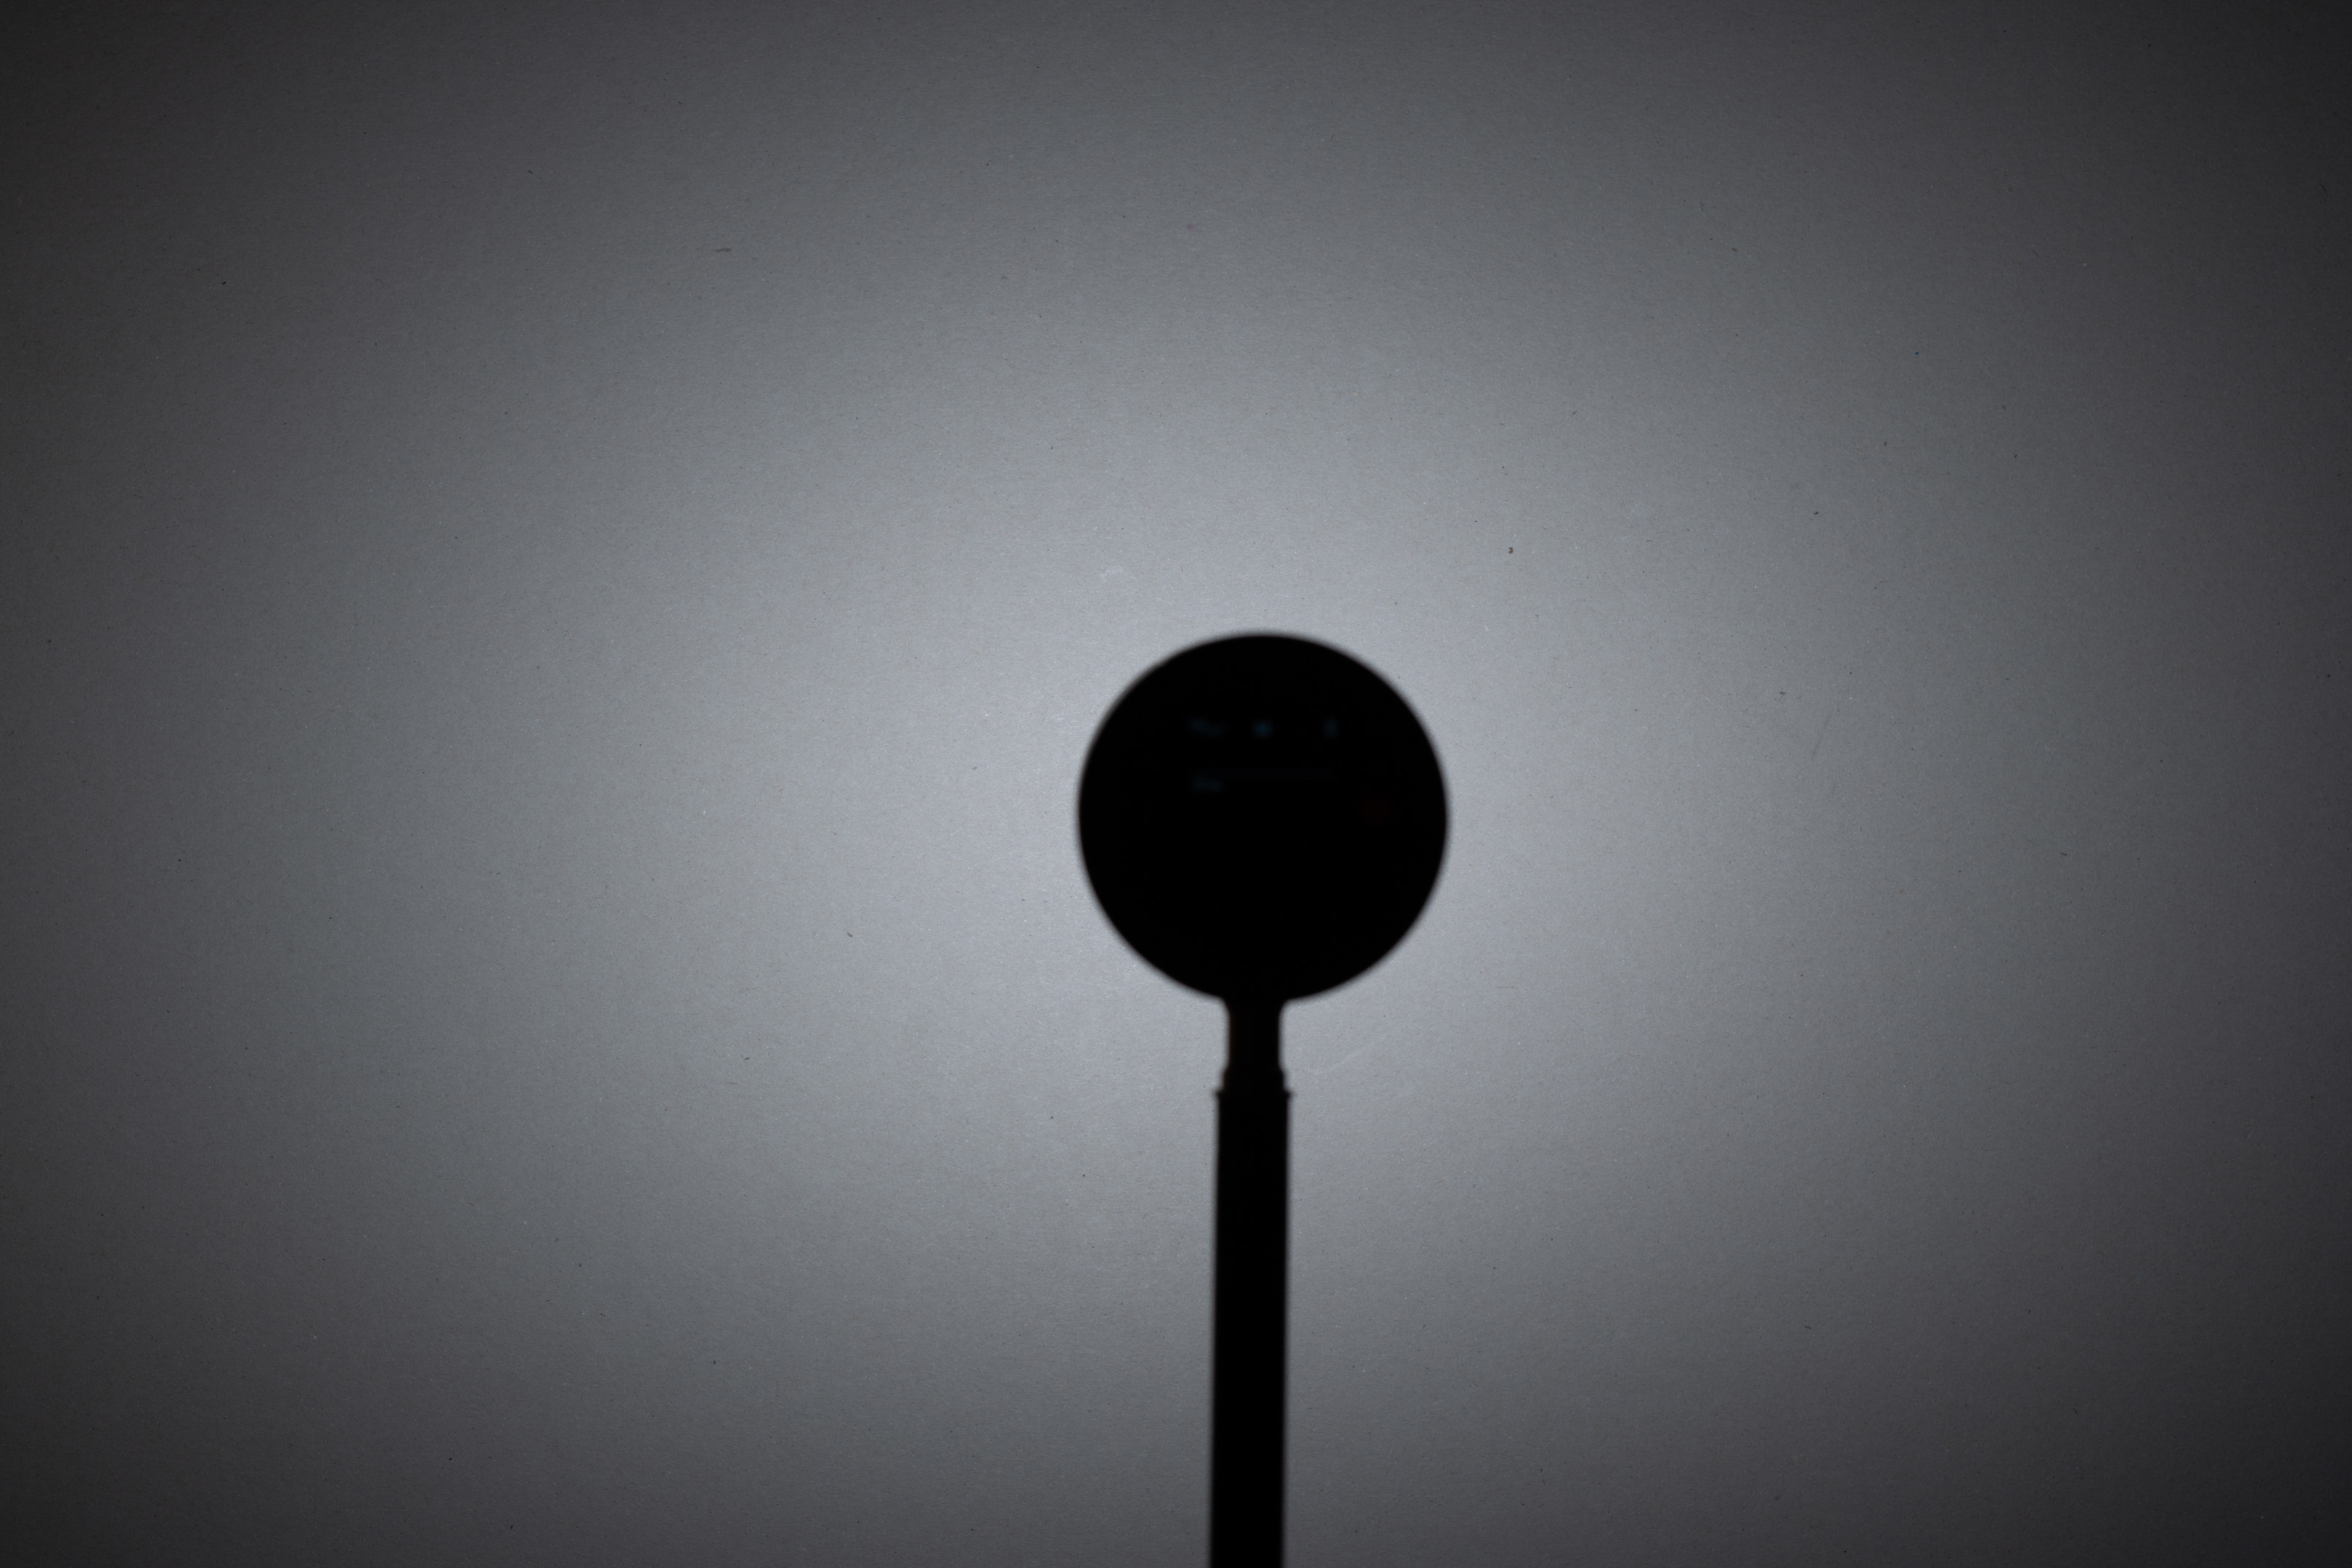
V1 with Fresnel (no front lens), 1/2 power, ISO 400

V1 with front lens (no Fresnel), 1/2 power, ISO 400
The V1 has a Fresnel and diffuser in front of the flash tube. Both the Fresnel and the front diffuser block UV.
AD100 Pro
AD100 Pro (no Fresnel or front lens), 1/2 power, ISO 100
AD100 Pro with Fresnel (no front lens), Full power, ISO 400

AD100 Pro with front lens (no Fresnel), Full power, ISO 400
The AD100 is like the V1 and both the Fresnel and diffusion layers block UV.
AD200 Pro standard head
AD200 with standard head, 1/4 power, ISO 100
AD200 Pro bulb head
AD200 Pro bulb head + AD-S2 reflector, 1/4 power ISO 100
The AD200 with bulb head we've already seen since it needs no conversion, but here it is again for reference.
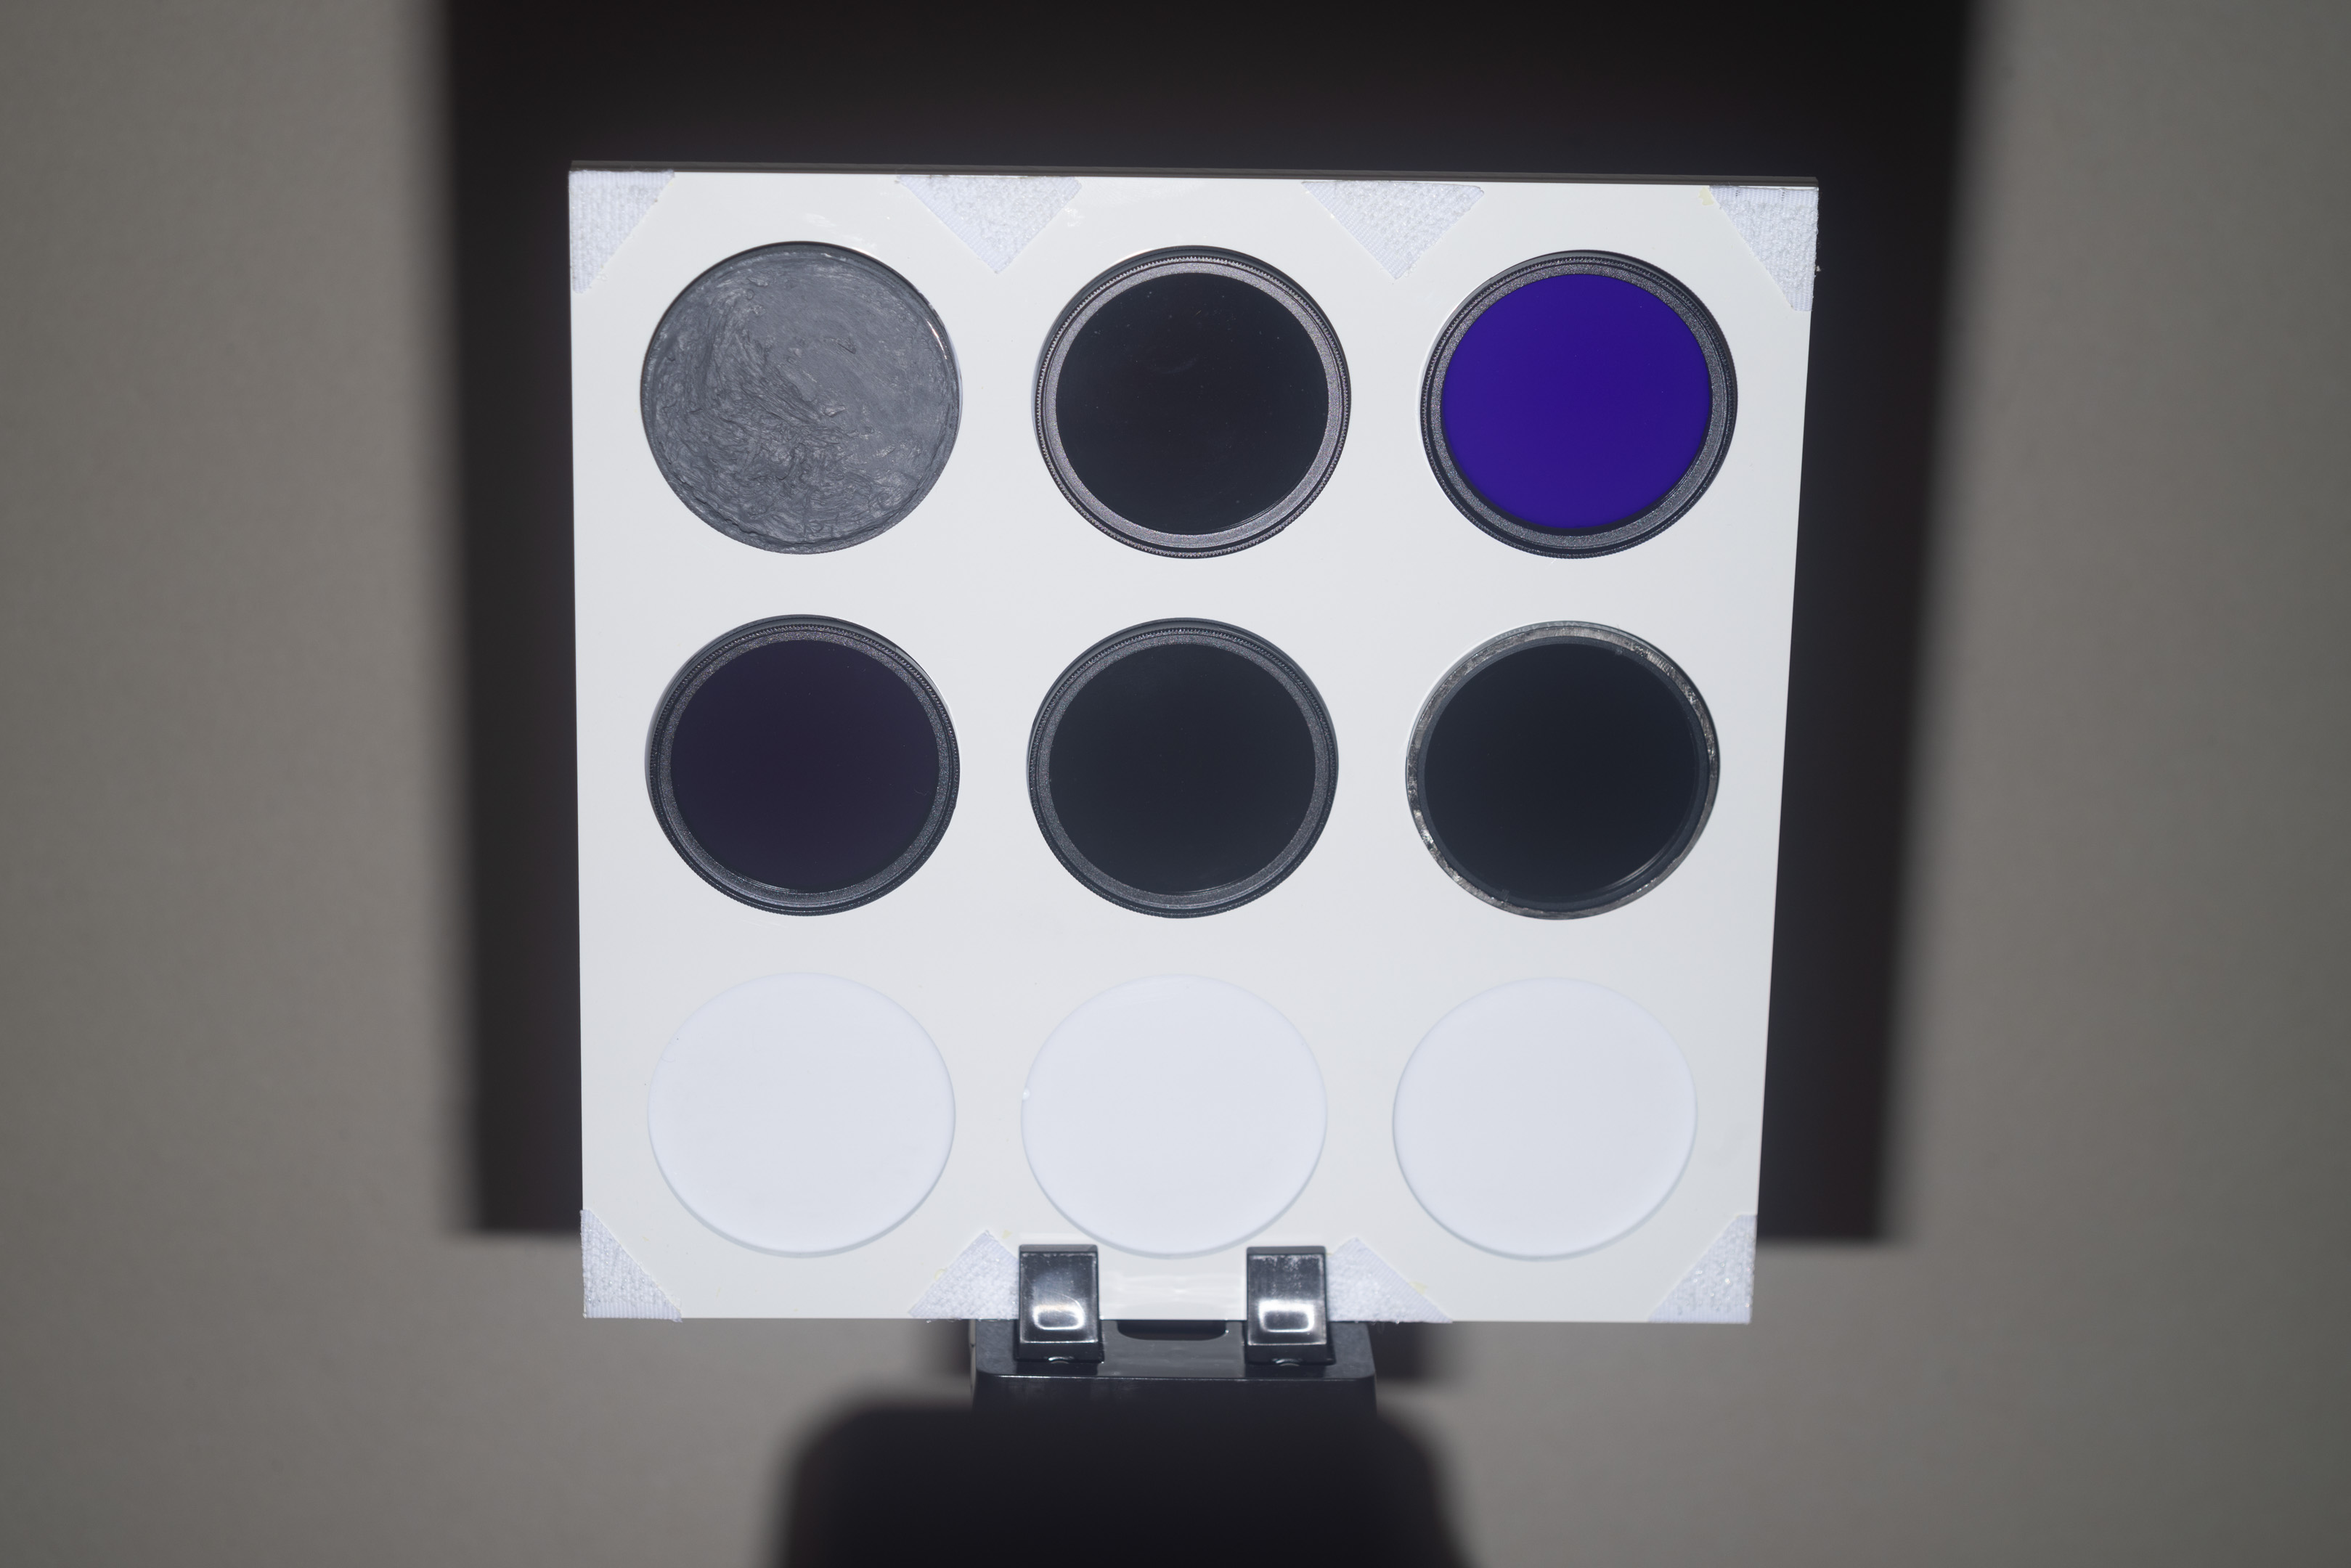
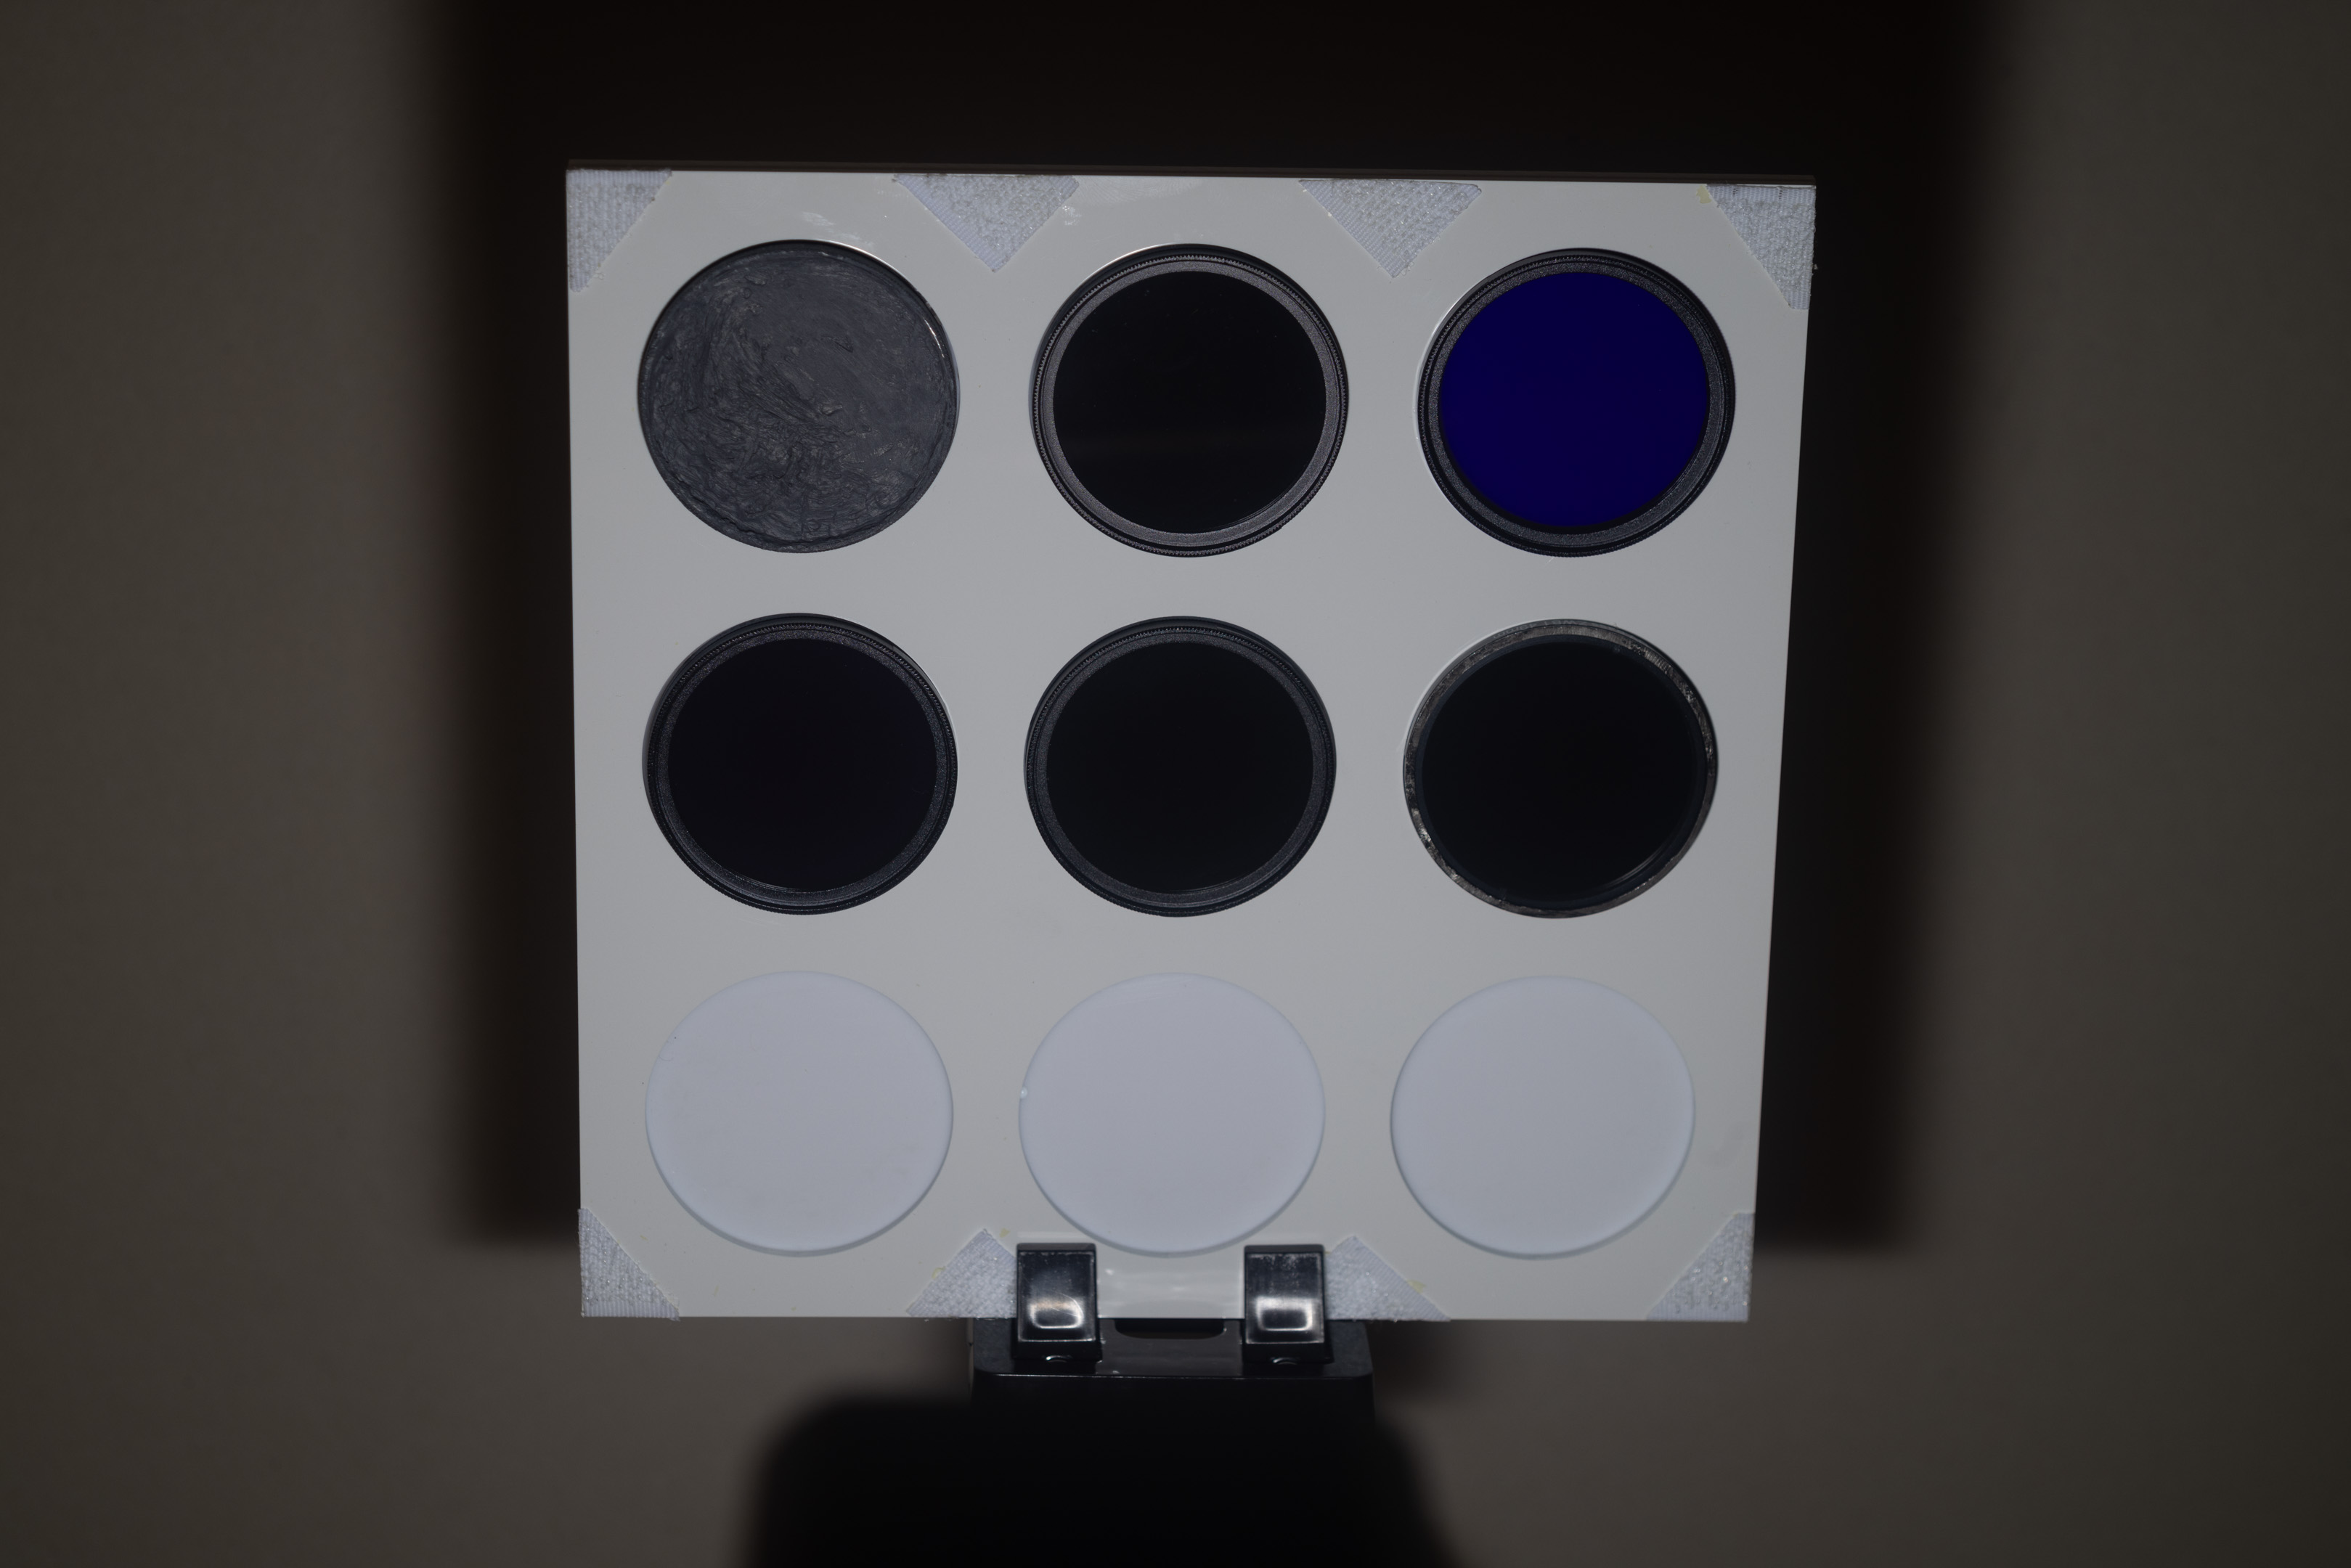
Comparing the flash power needed for equivalent exposure
Based on the previous set of test images I calculated what flash power would be needed for each flash to get a similar exposure. The images I'm showing here also have exposure compensation applied in post to try and match the exposures. It is slightly tricky because the light distribution is not exactly the same for each flash, and so some may be darker towards the top or bottom of the frame, but I have tried to match the exposures as best I can.
My generalisations on how the flashes compare to one another in terms of power are based on the results from both this test and the previous test.
MF12 (Fresnel replaced with CD case plastic), Full power, ISO 400
TT350 (no Fresnel), 1/2 power, ISO 400 -2/3EV in post
TT350 is around 1 1/3 stop brighter than MF12 and weighs 1.75x as much.
V480 (no Fresnel or front lens), 1/4+0.3 power, ISO 400, -1/3EV in post
V480 is about 1/3-1/2 stop brighter than TT350 and weighs about 1.5x as much.
V860II (no Fresnel or front lens), 1/8+0.7 power, ISO 400, -1/2EV in post
V860II is about 2/3-1 stop brighter than V480 and weighs about 1.4x as much.
V1 (no Fresnel or front diffuser), 1/8+0.7 power, ISO 400, -1EV in post
V1 is about 2/3 stop brighter than the V860II and weighs about the same.
AD100 Pro (no Fresnel or front diffuser), 1/8+0.3 power, ISO 400, -1/2EV in post
AD100 Pro is about the same brightness as V1 and weighs about the same.
AD200 Pro bulb head with AD-S2 reflector dish, 1/16 +0.7 power, ISO 400, -1/2EV in post
AD200 Pro bulb + AD-S2 is about 1/2 stop brighter than AD100 / V1 and weighs about 1.9x as much.
AD200 Pro standard head (no Fresnel and front glass replaced with sunbed acrylic), 1/32+1/3 power, ISO 400
AD200 standard head is about 1 - 1 1/3 stop brighter than the bulb head and weighs about 0.9x as much.
IT30 Pro (no Fresnel), Full power, ISO 400, -0.5EV in post
The IT30 Pro I did not test with the other flashes, but I would say it is about 1/3 stop better than the MF12, and it weighs about 20% less.
So it seems that in general the increase in light output surpasses the increase in weight as you move up the models. The TT350 is over twice as bright as the MF12, but does not weigh twice as much. And the AD200 with the standard head is about three times as bright as the TT350 but does not weigh as much as the eight TT350s you'd need for equivalent brightness.
Wide-angle diffuser
Some of the flashes have pull-out wide-angle diffusers as part of their design. I tested these in UV to see if they blocked UV. These were all tested with the front of the flash 36 cm from the target.
IT30 Pro
IT30 Pro, Normal, Full power, ISO 400

IT30 Pro, Wide, Full power, ISO 400
Switching the IT30 Pro from normal to wide mode appears to block UV.
TT350
TT350, Normal, Full power, ISO 400
TT350, Wide, Full power, ISO 400
The TT350 loses about 1 2/3 stop in UV with the wide-angle diffuser pulled down.
V480
V480, Normal, 1/2 power, ISO 400
V480, Wide, 1/2 power, ISO 400
The V480 loses about 1.8 stops in UV with the wide-angle diffuser.
V860II
V860II, Normal, 1/4 power, ISO 400

V860II, Wide, 1/4 power, ISO 400
The V860II loses about 1 stop in UV with the wide-angle diffuser.
And then to compare with how much light we lose with the wide-angle diffusers in visible light:
TT350

TT350, Normal, 1/64 power, ISO 100
TT350, Wide, 1/64 power, ISO 100
The TT350 loses about 1 1/3 stop in visible light with the wide-angle diffuser.
V480
V480, Normal, 1/64 power, ISO 100
V480, Wide, 1/64 power, ISO 100
The V480 also loses about 1 1/3 stop in vis with the wide-angle diffuser.
V860II

V860II, Normal, 1/128 power, ISO 100
V860II, Wide, 1/128 power, ISO 100
The V860II loses about 2/3 of a stop in visible light with the wide-angle diffuser down.
So you lose about 1/3 - 1/2 stops more in UV than you do in Vis when making use of the wide-angle diffuser. (Other than the IT30 Pro where the wide-angle diffuser blocks UV).
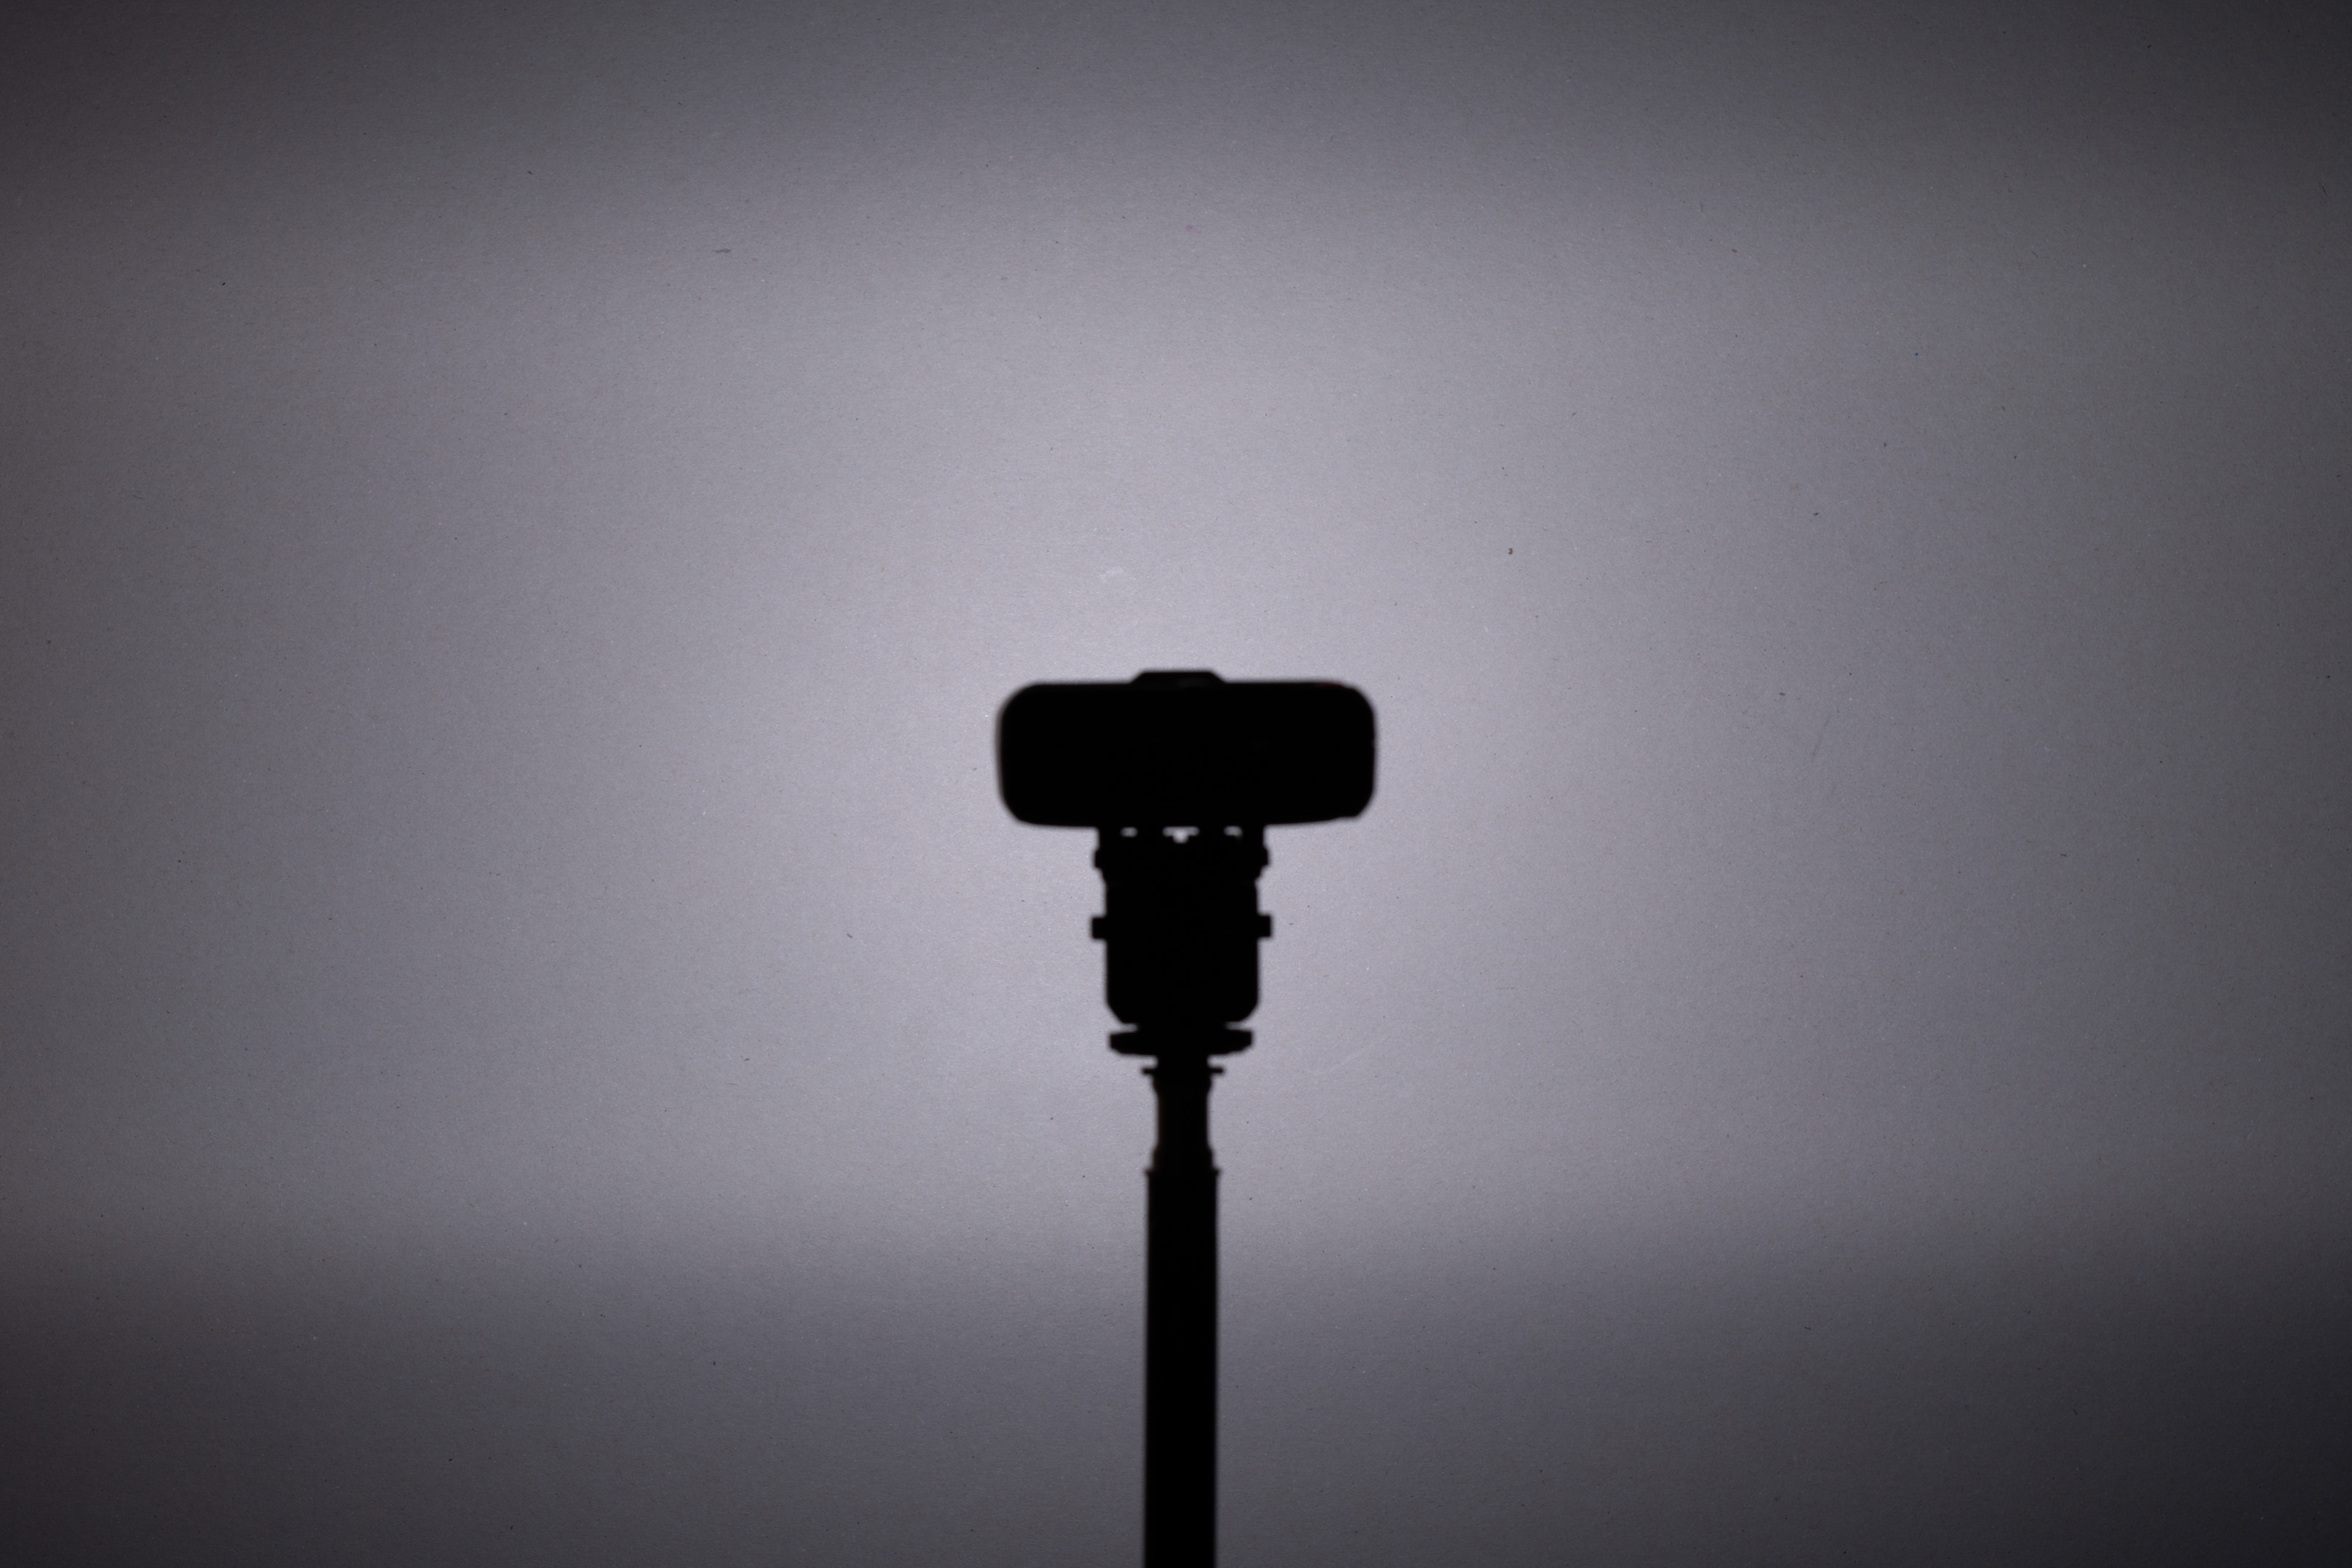
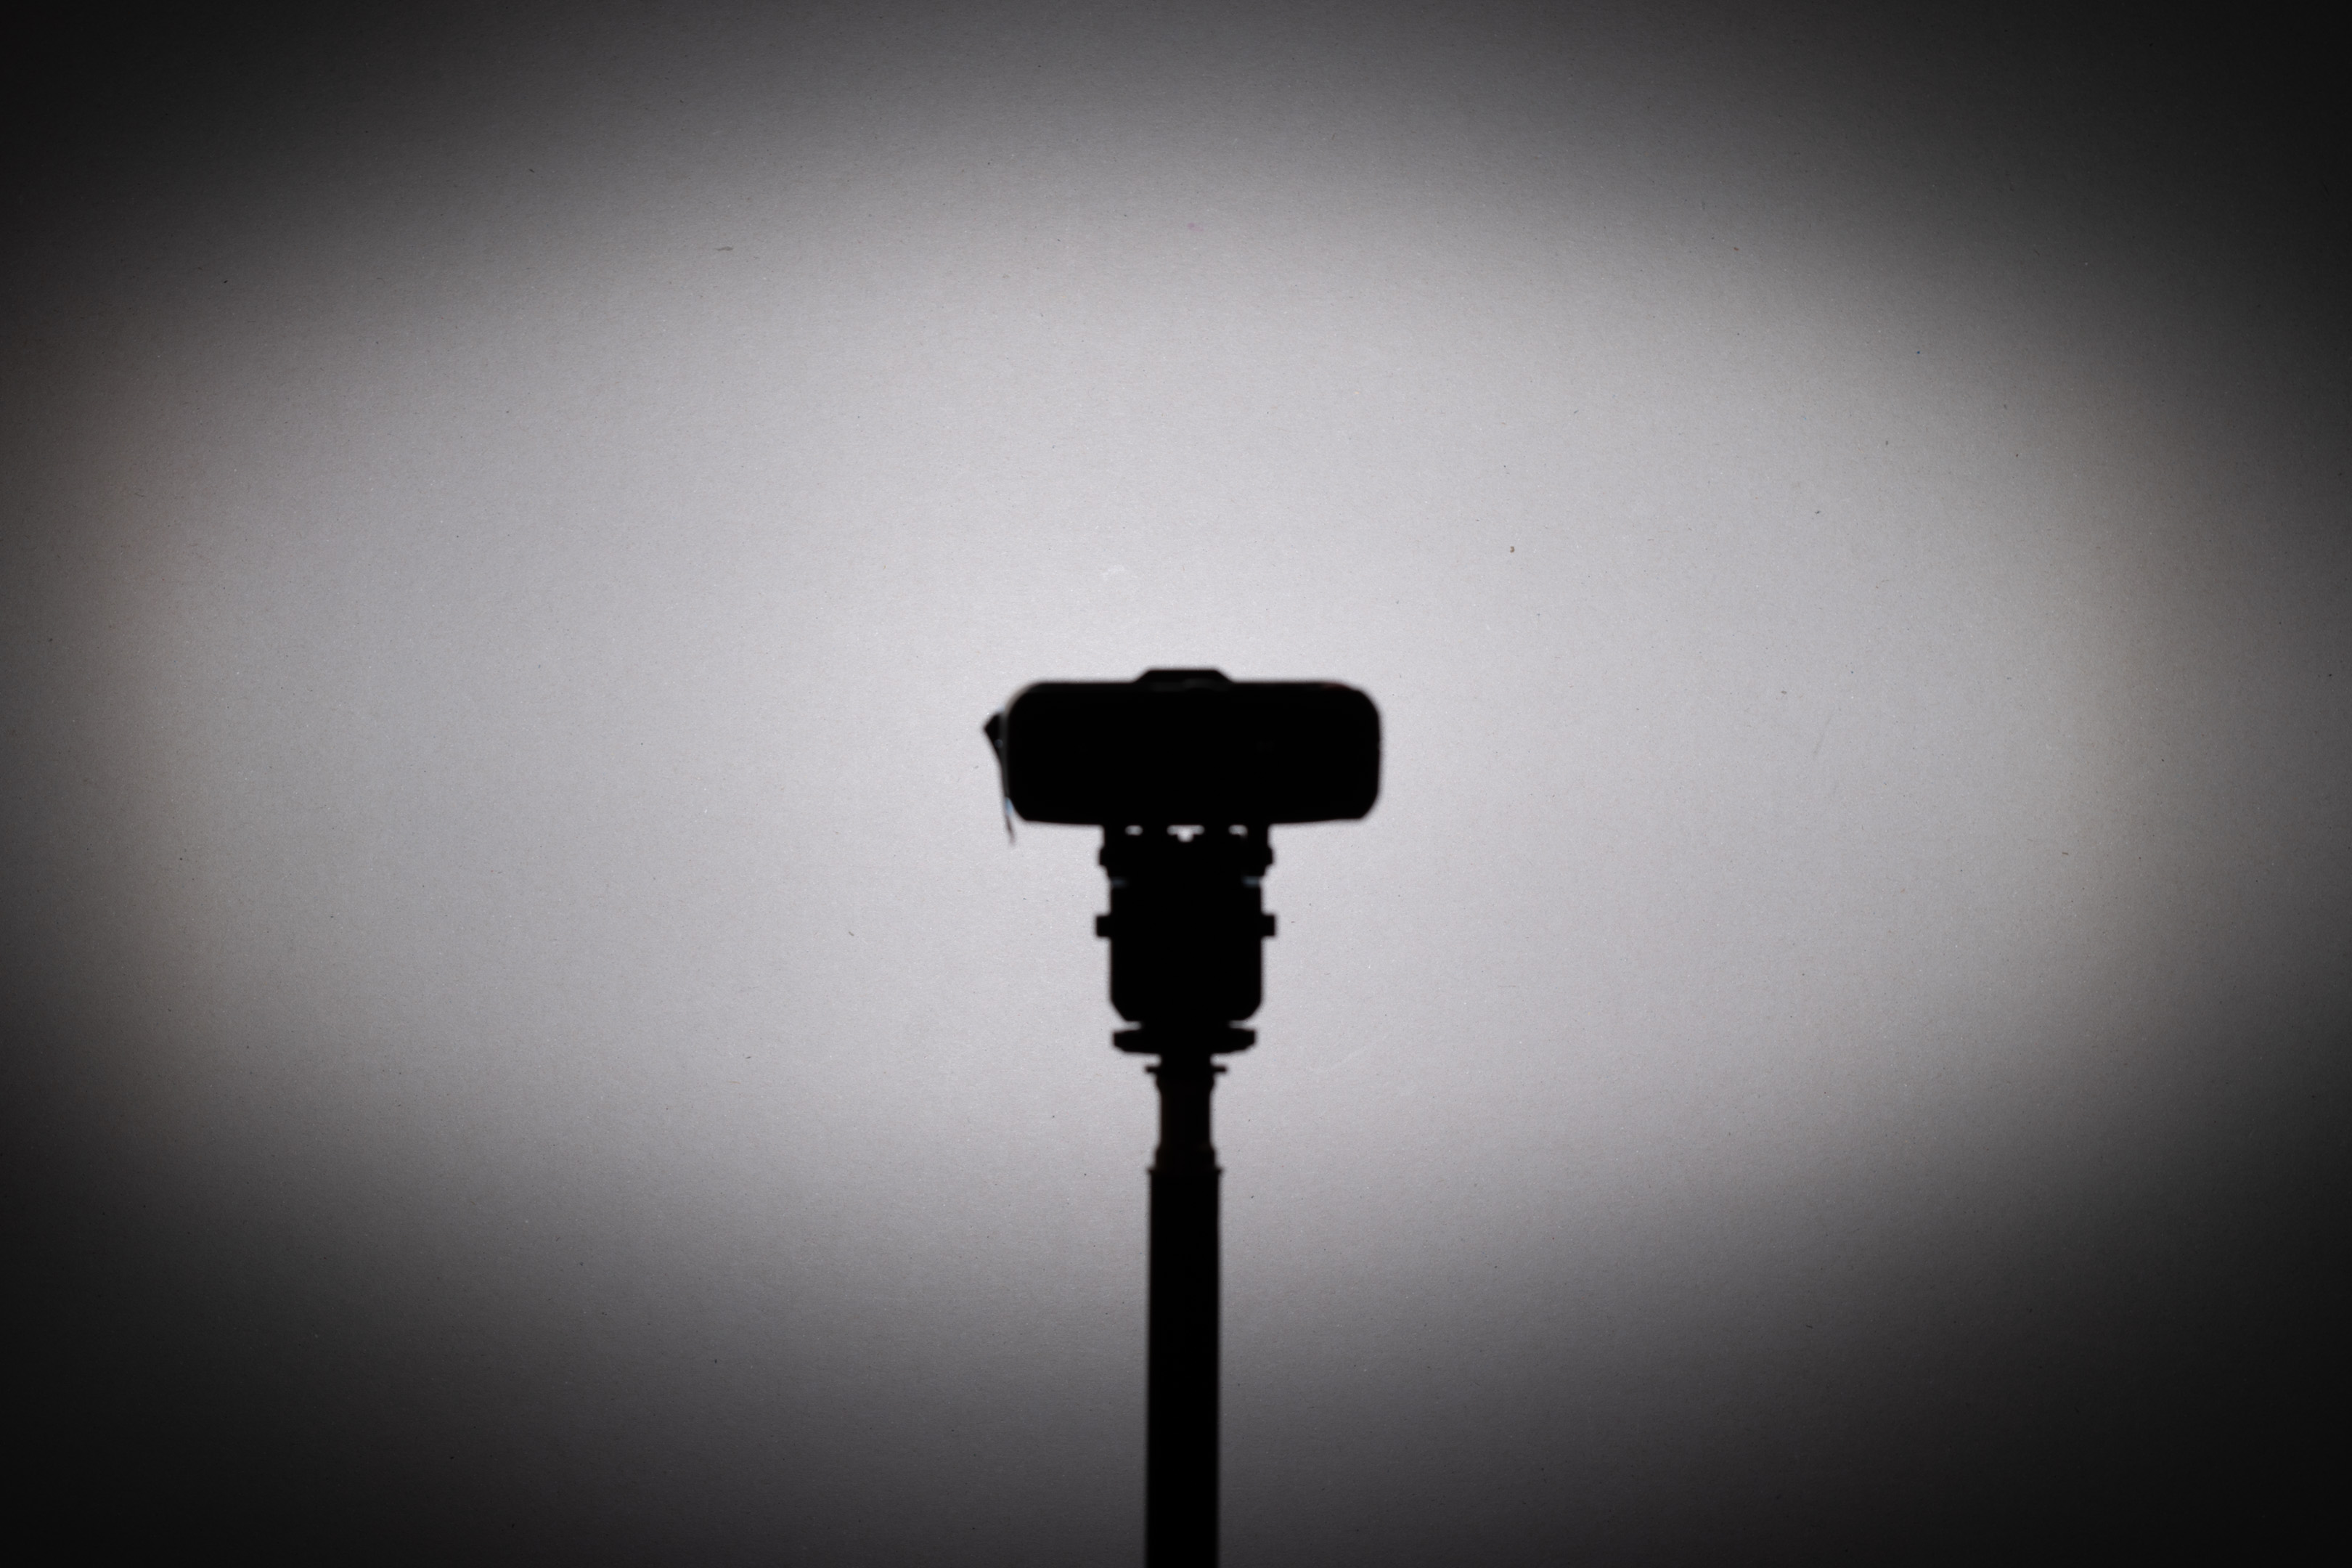
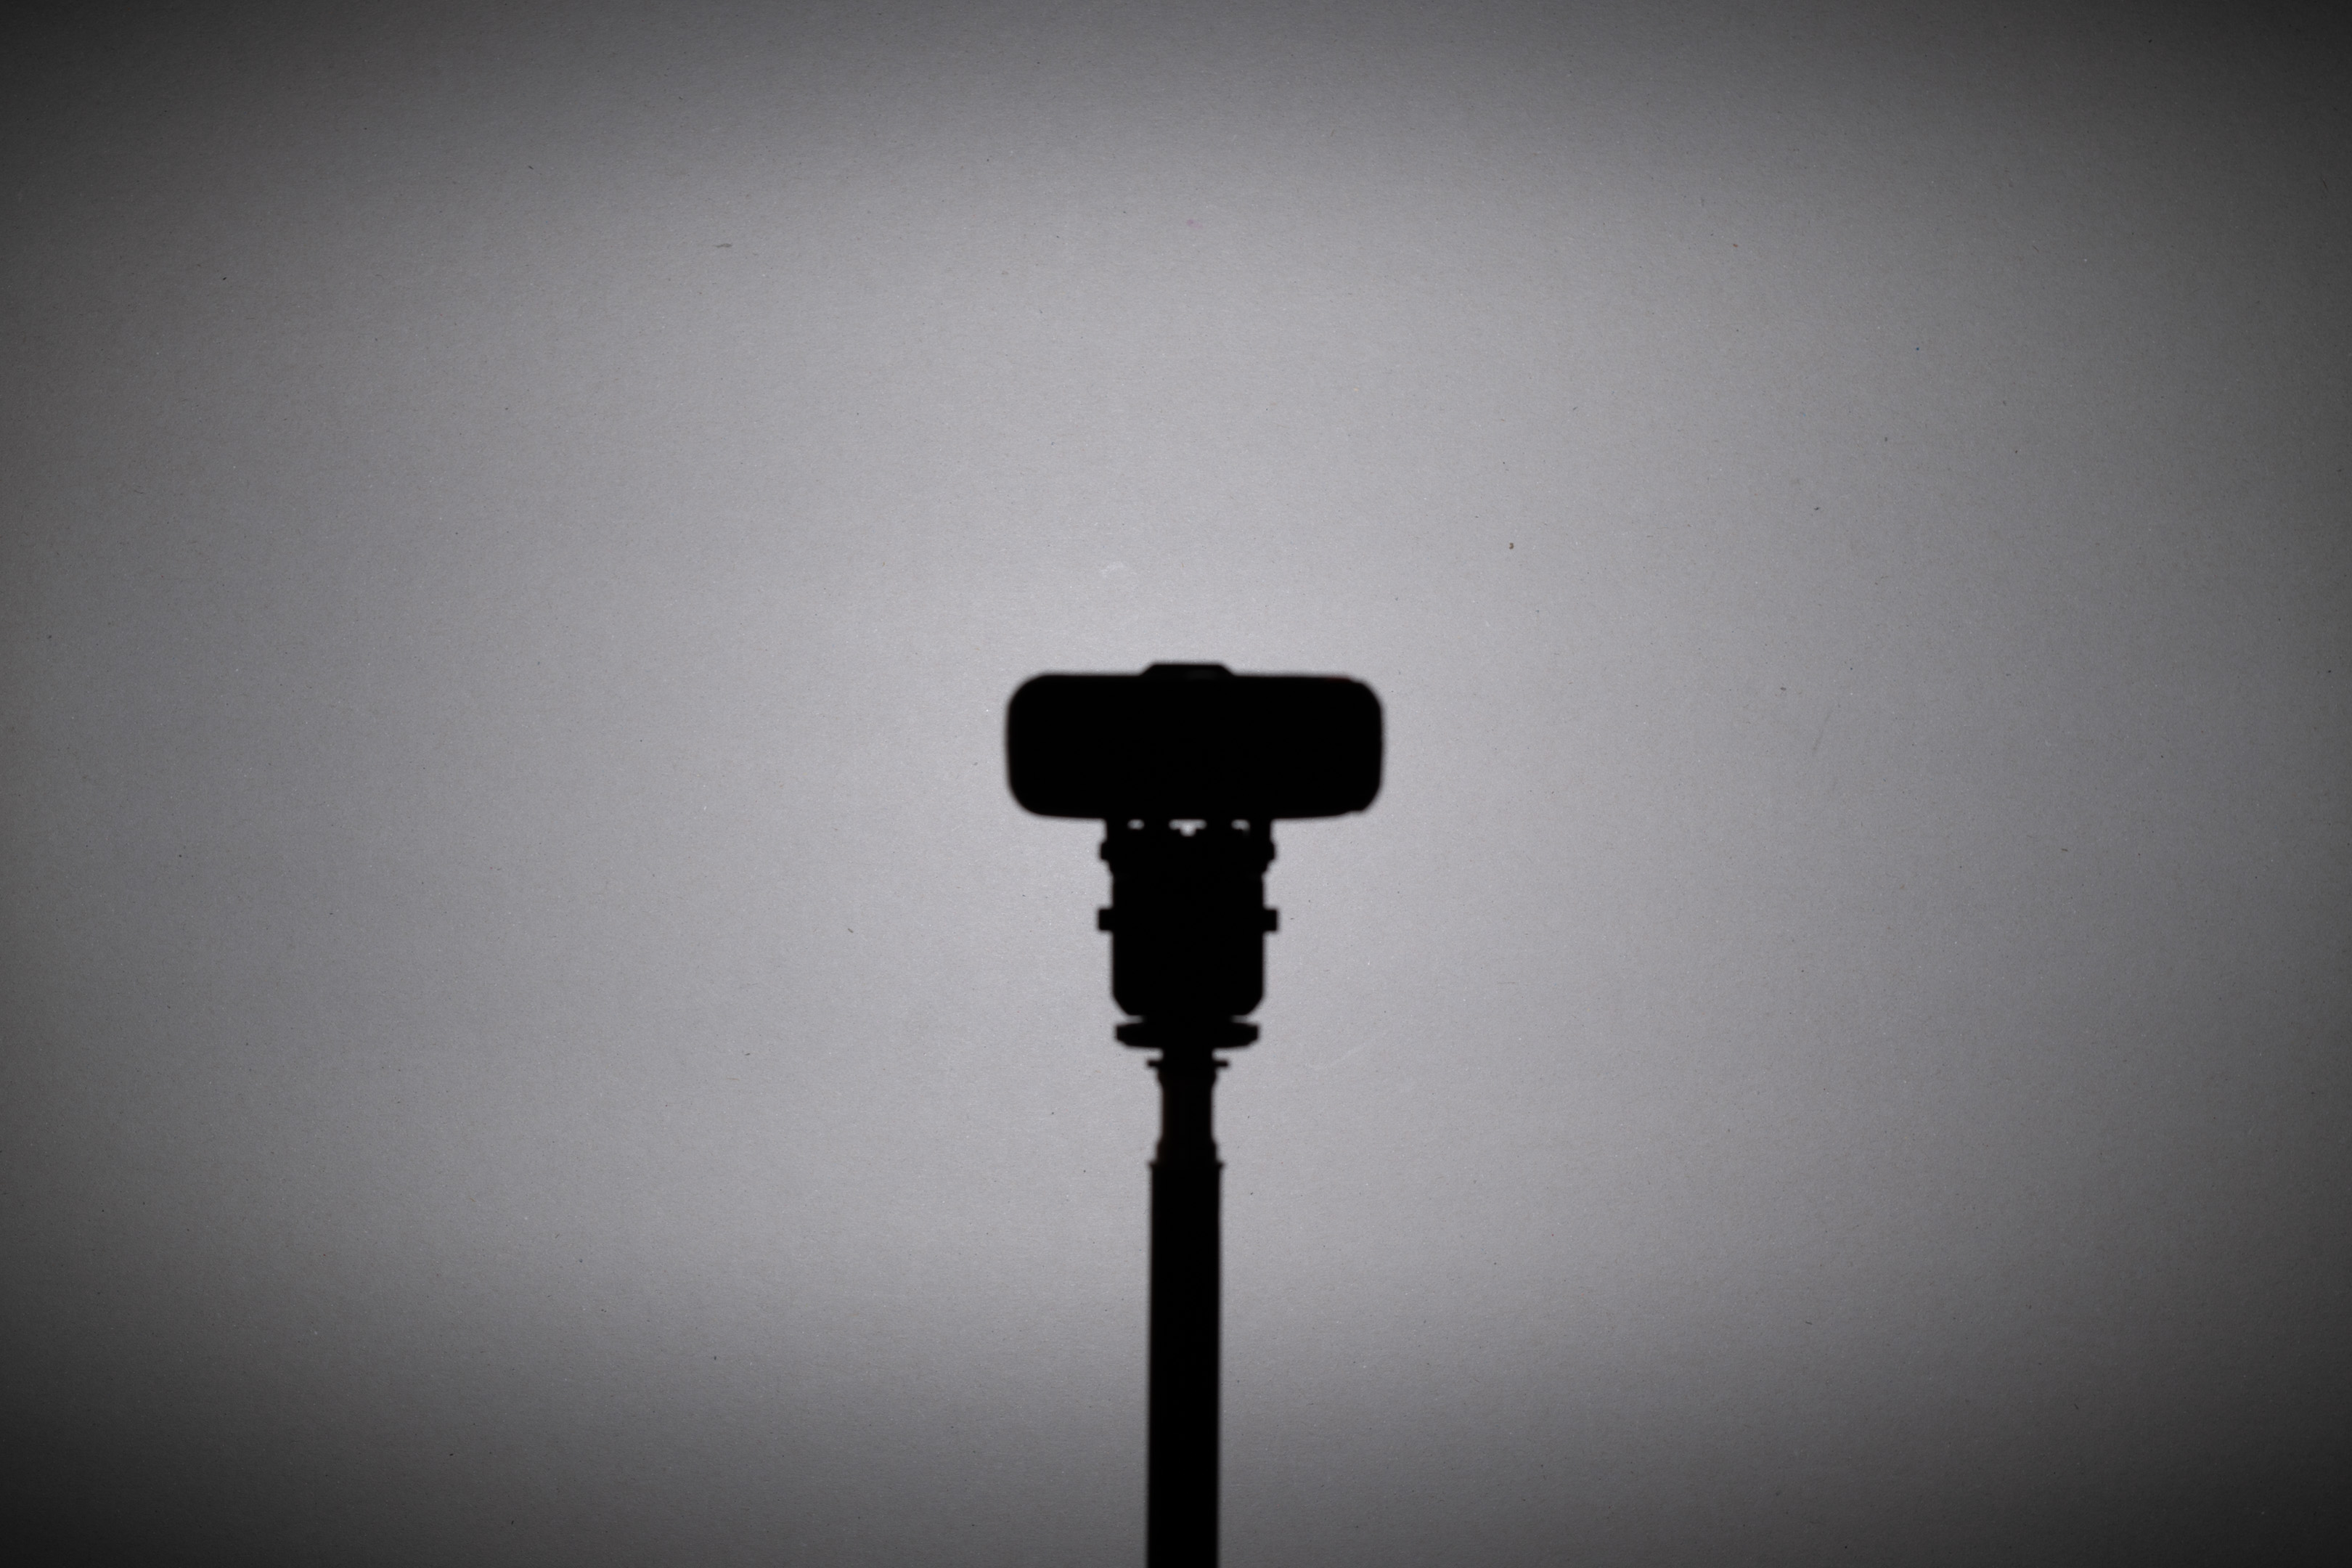
Light spread
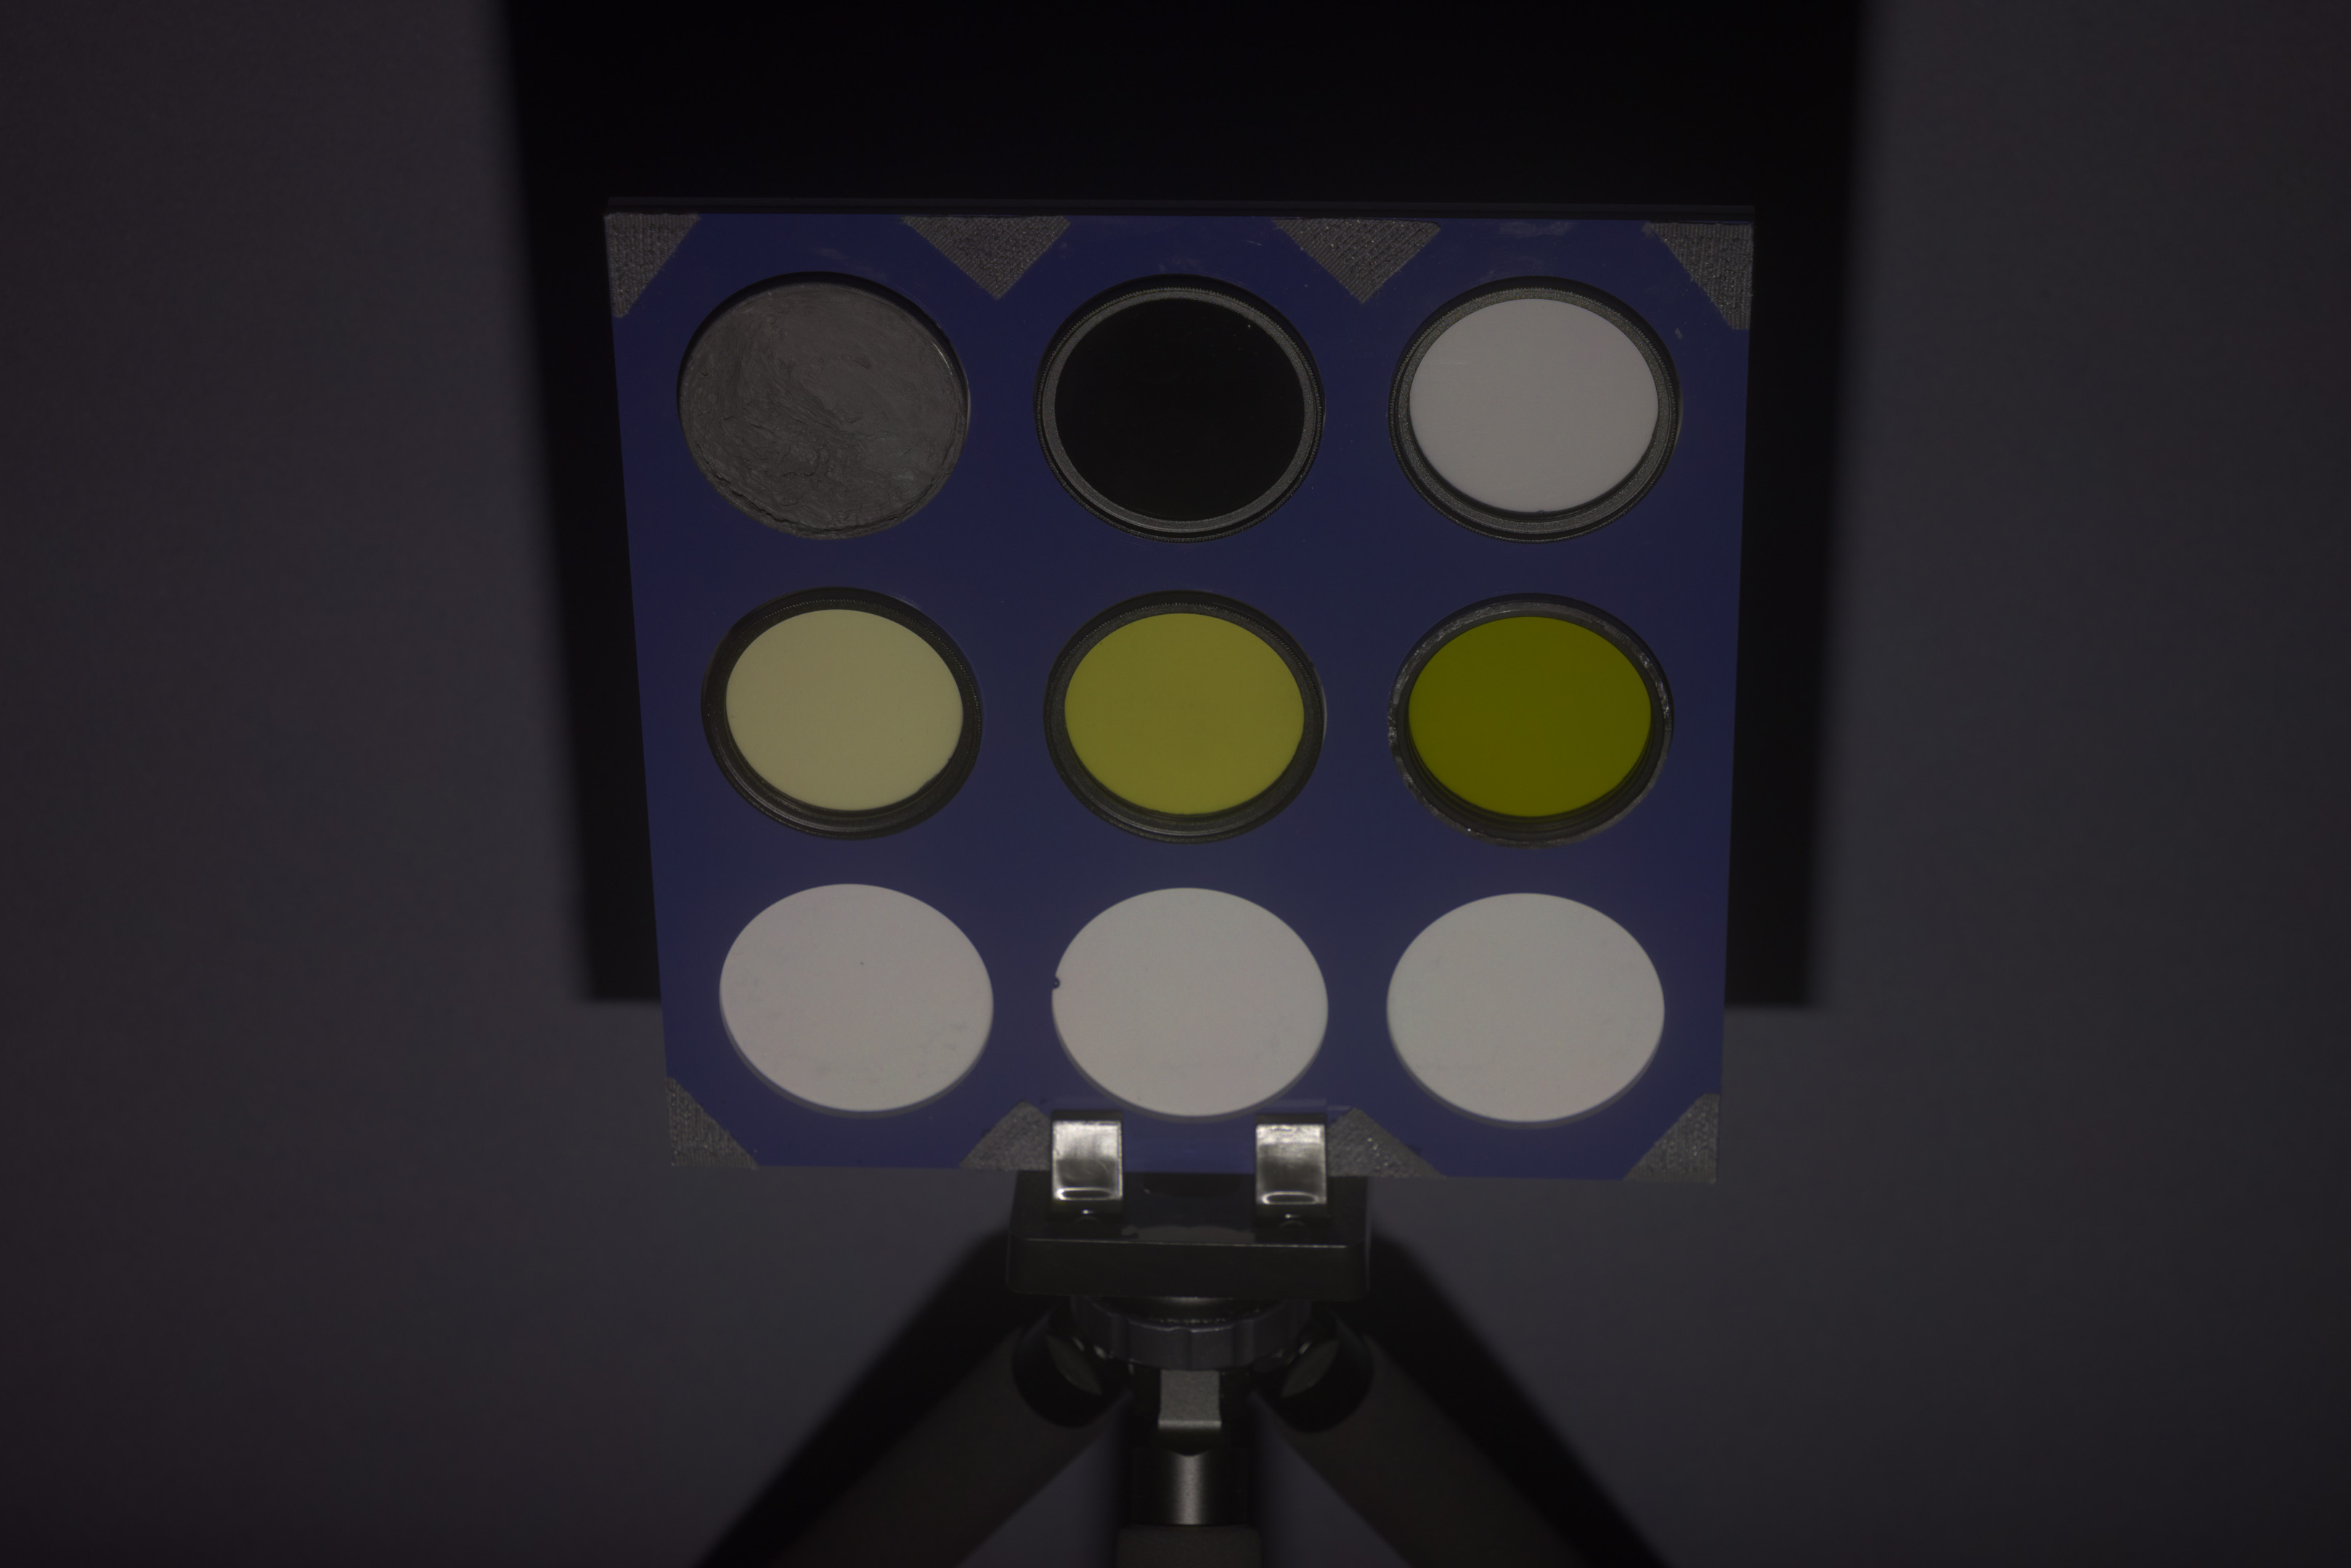
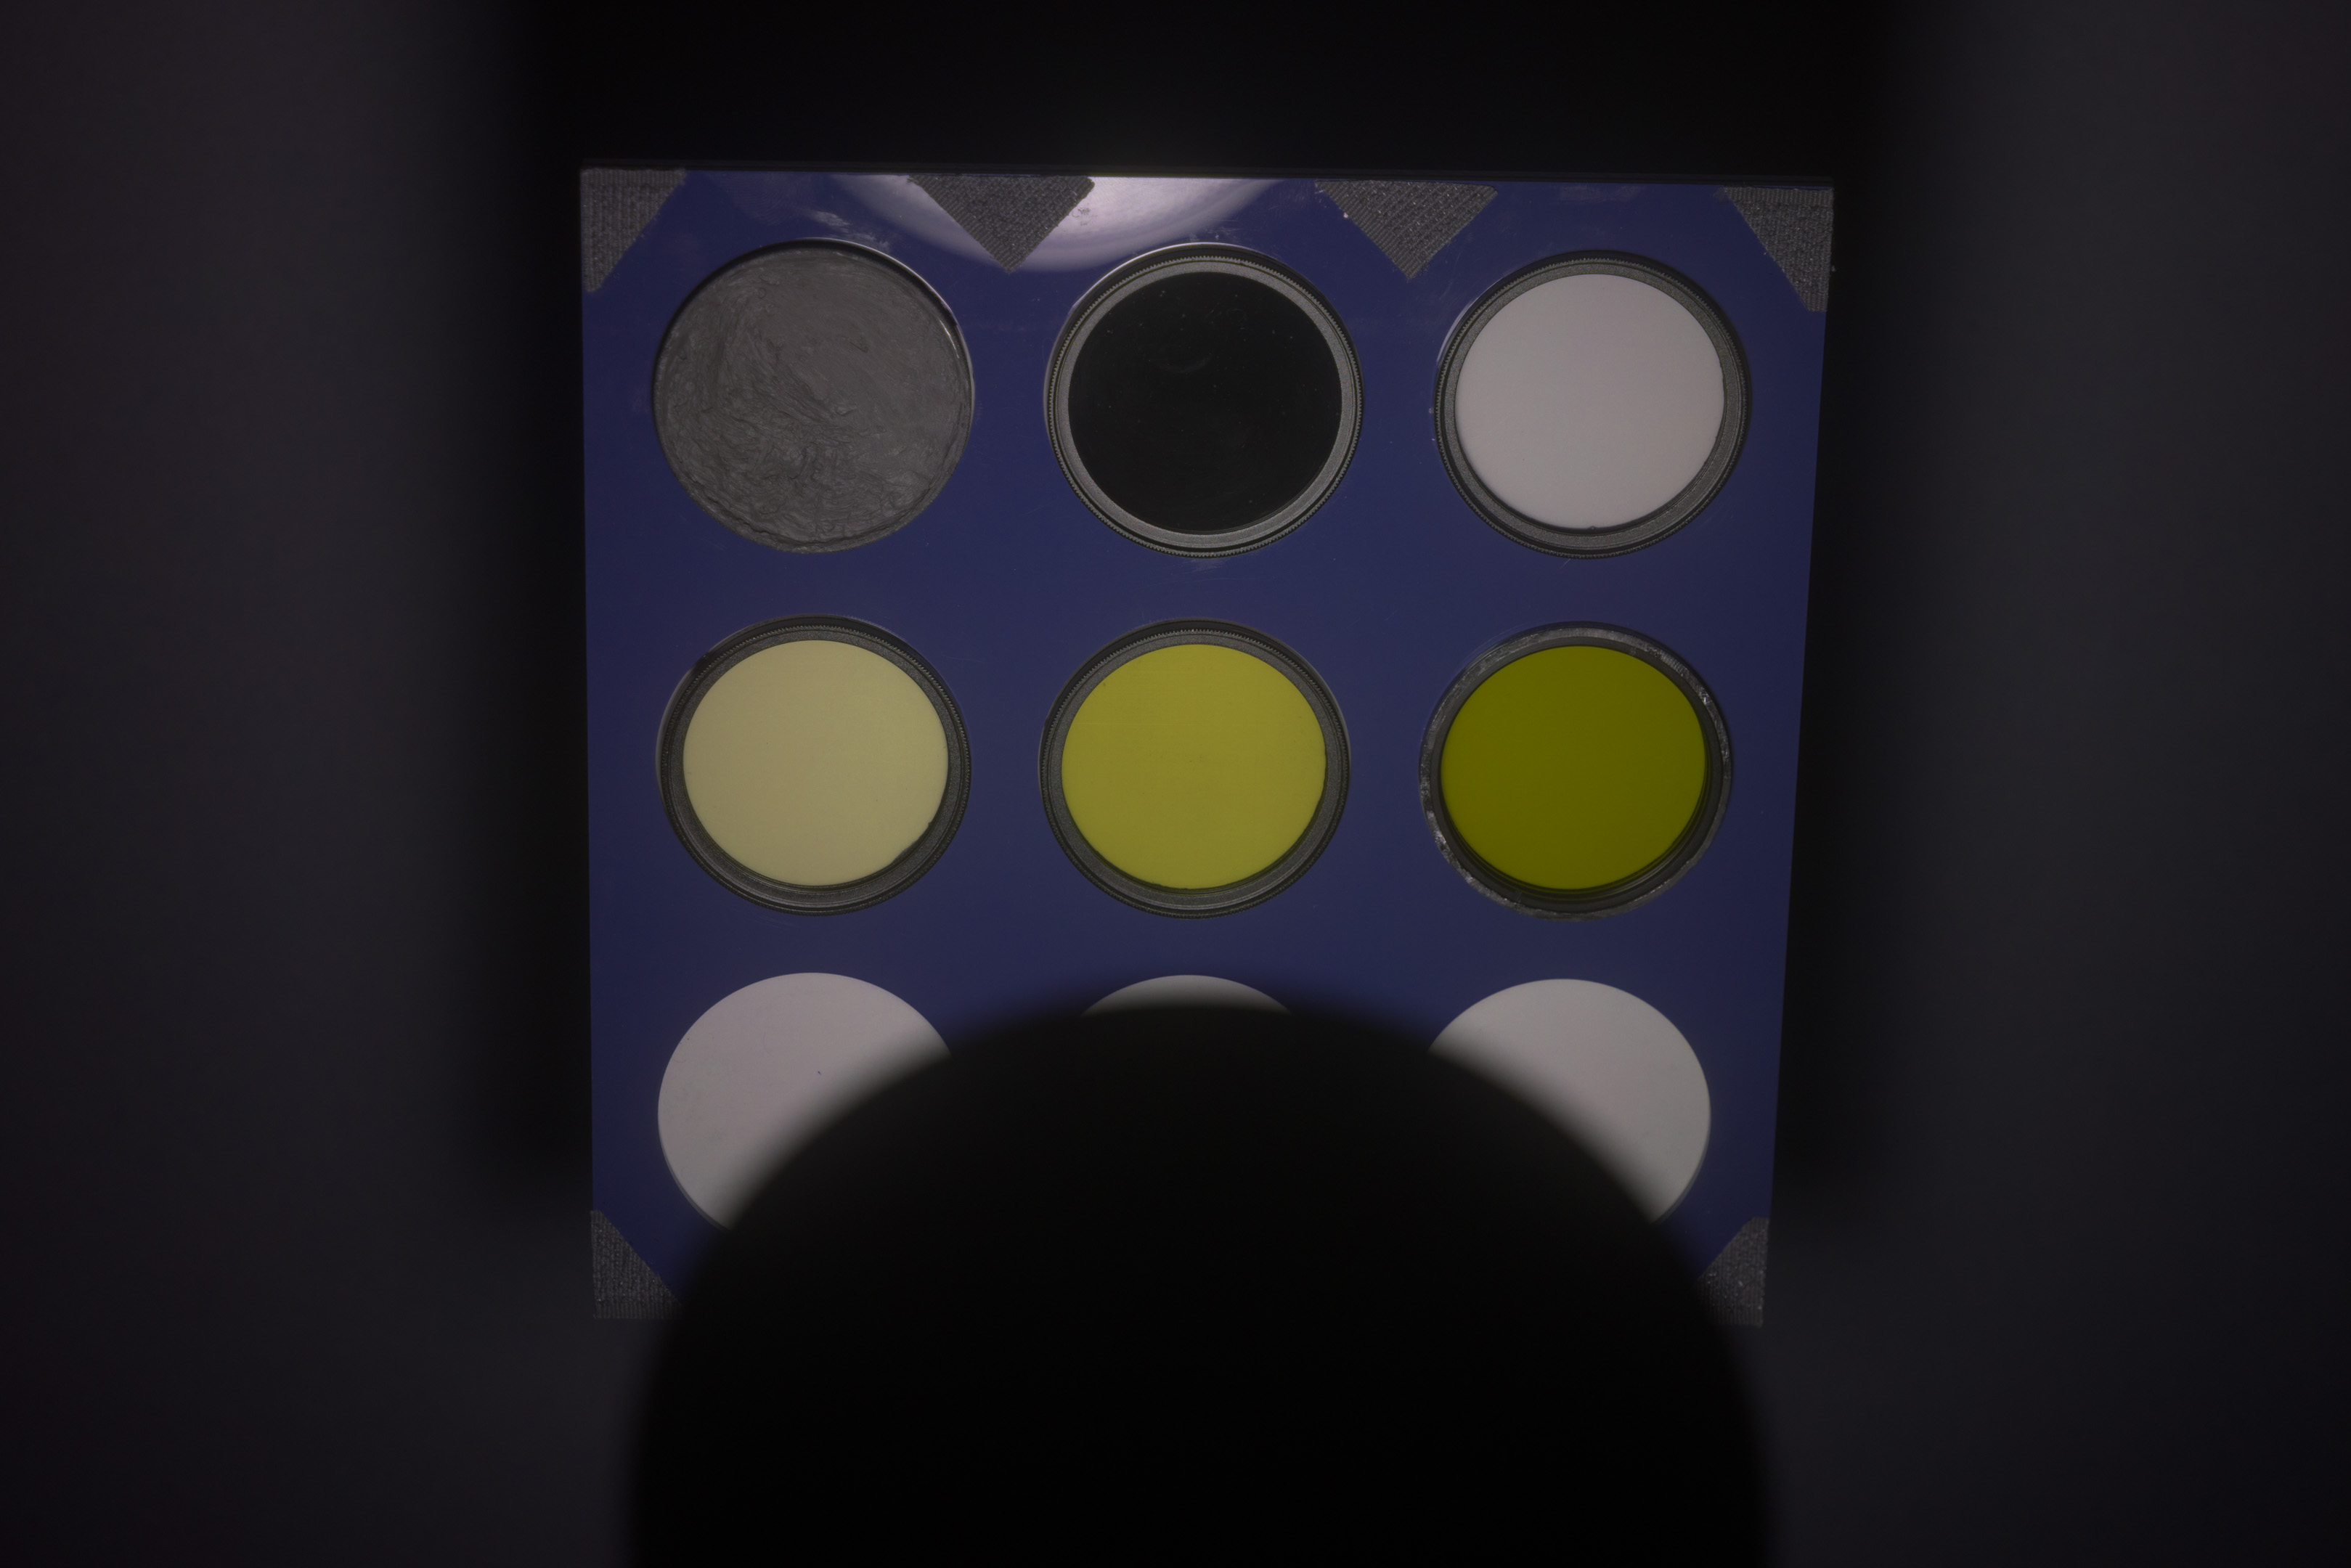
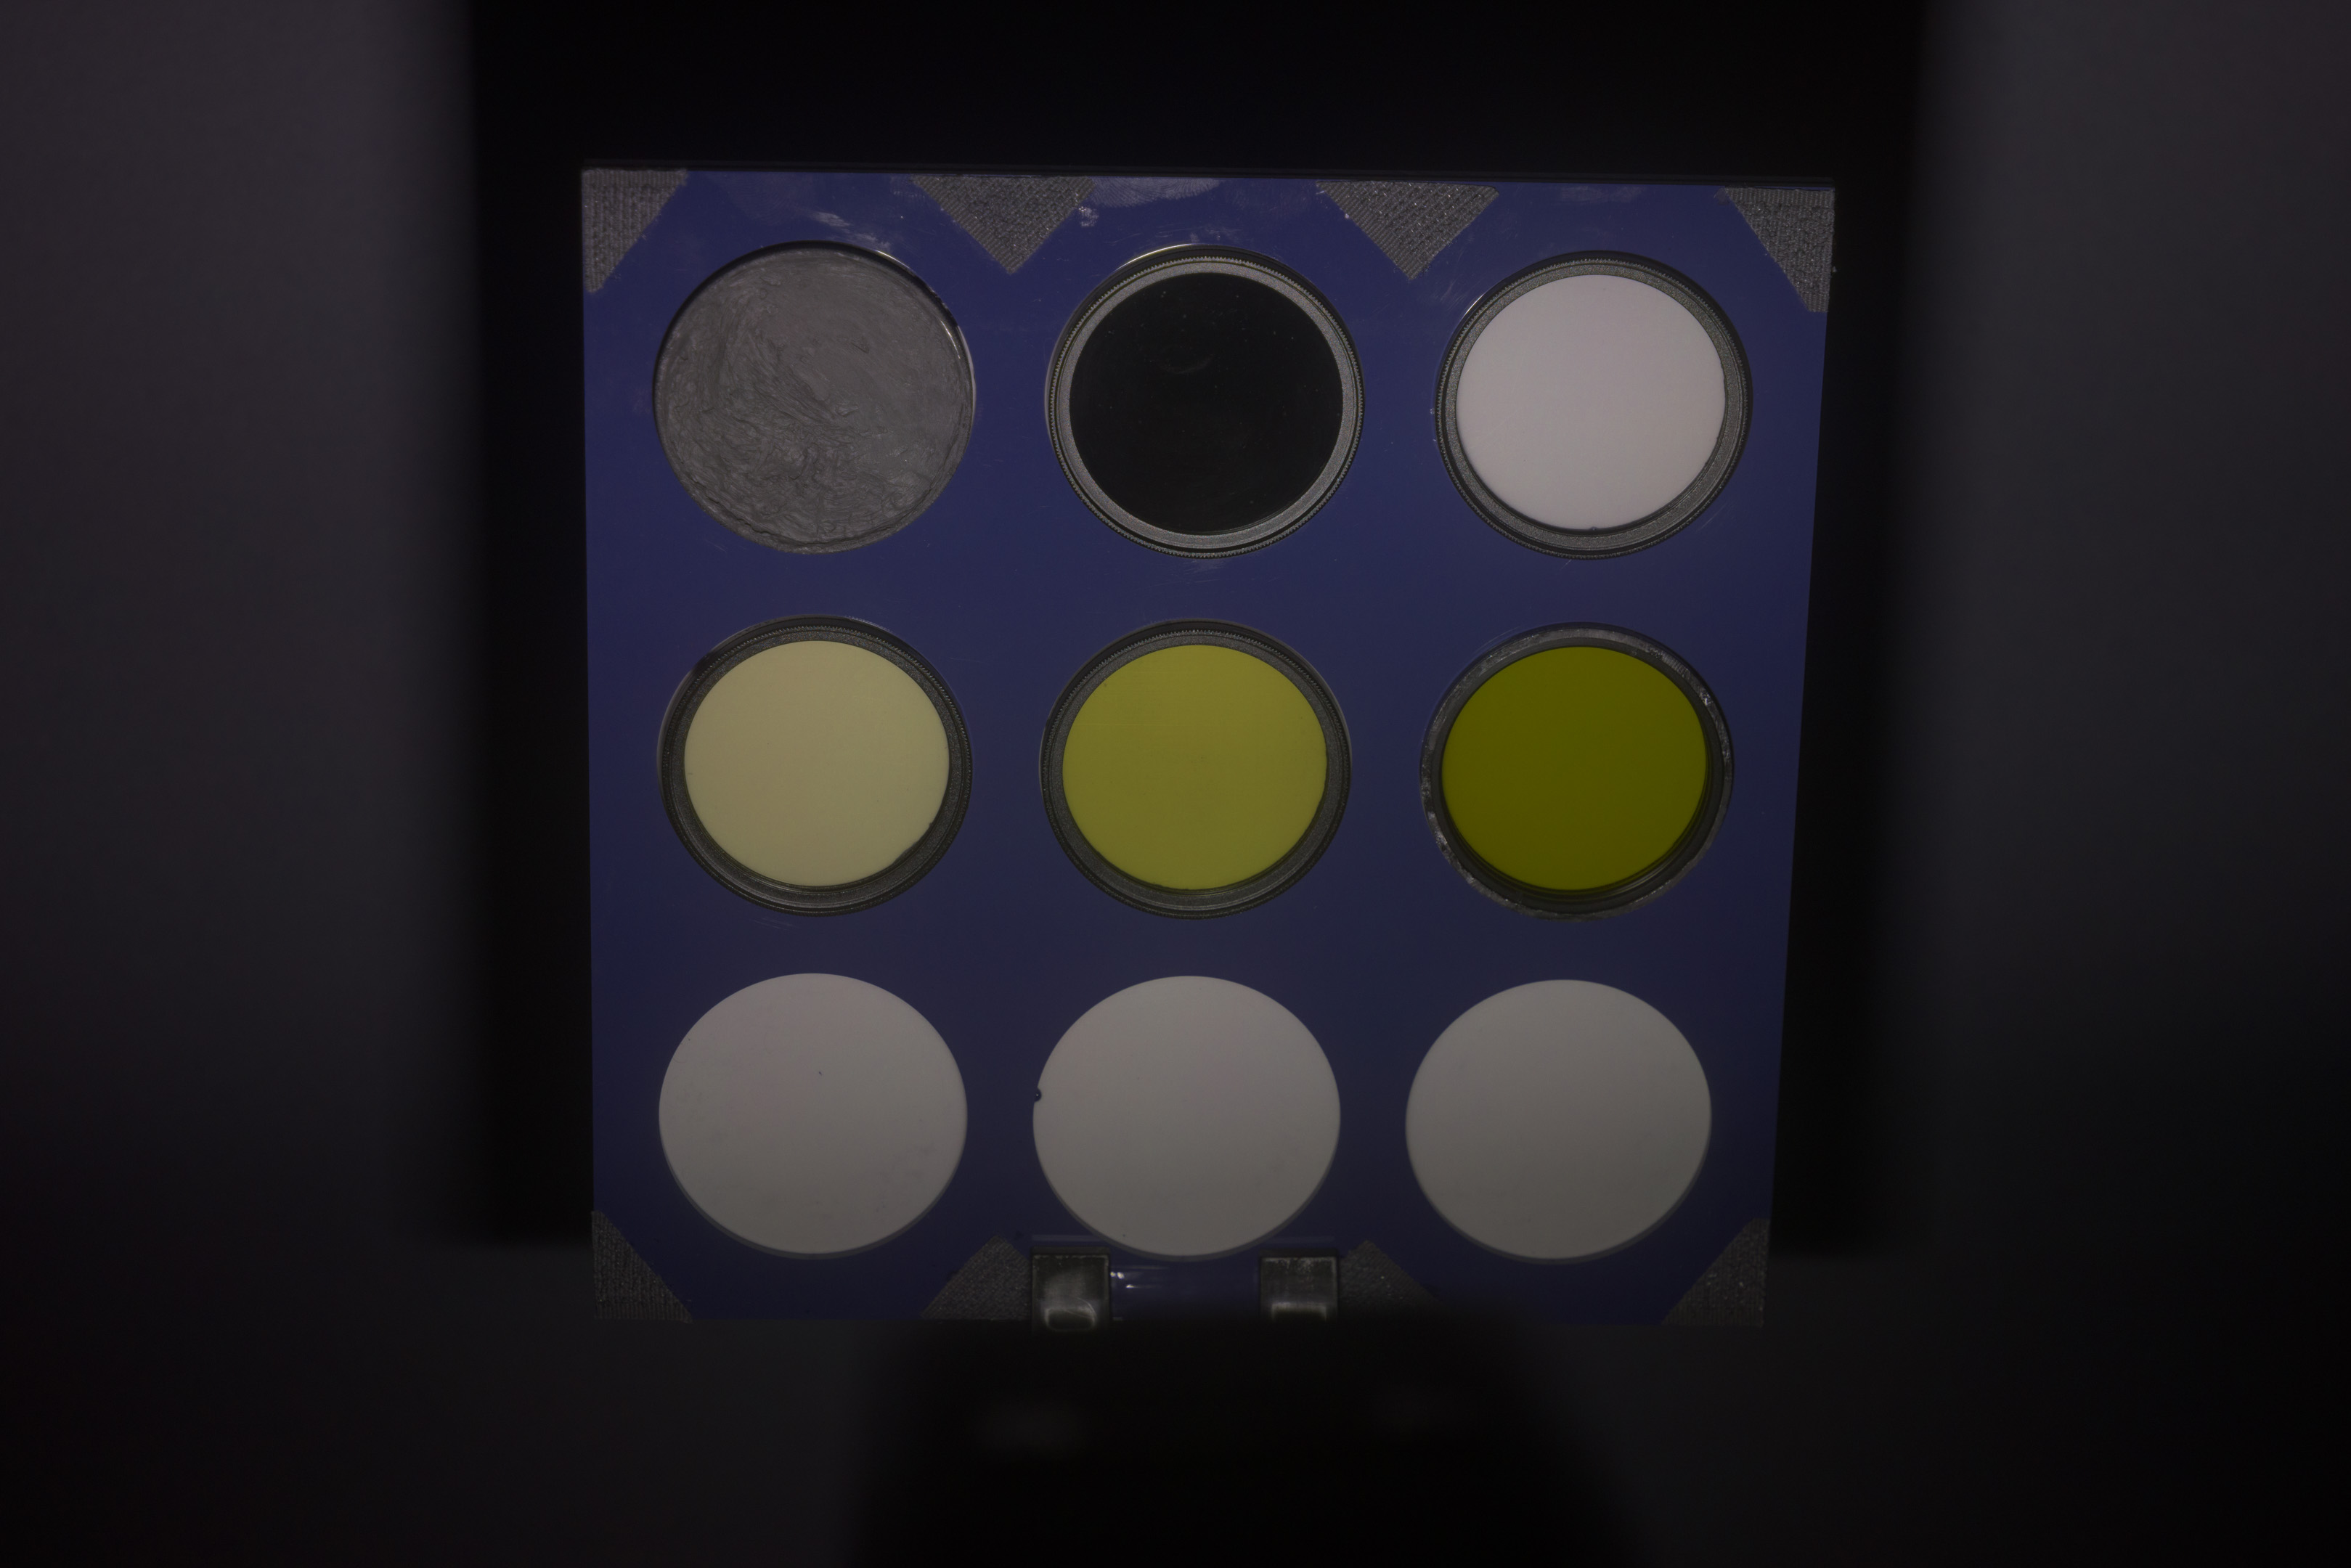
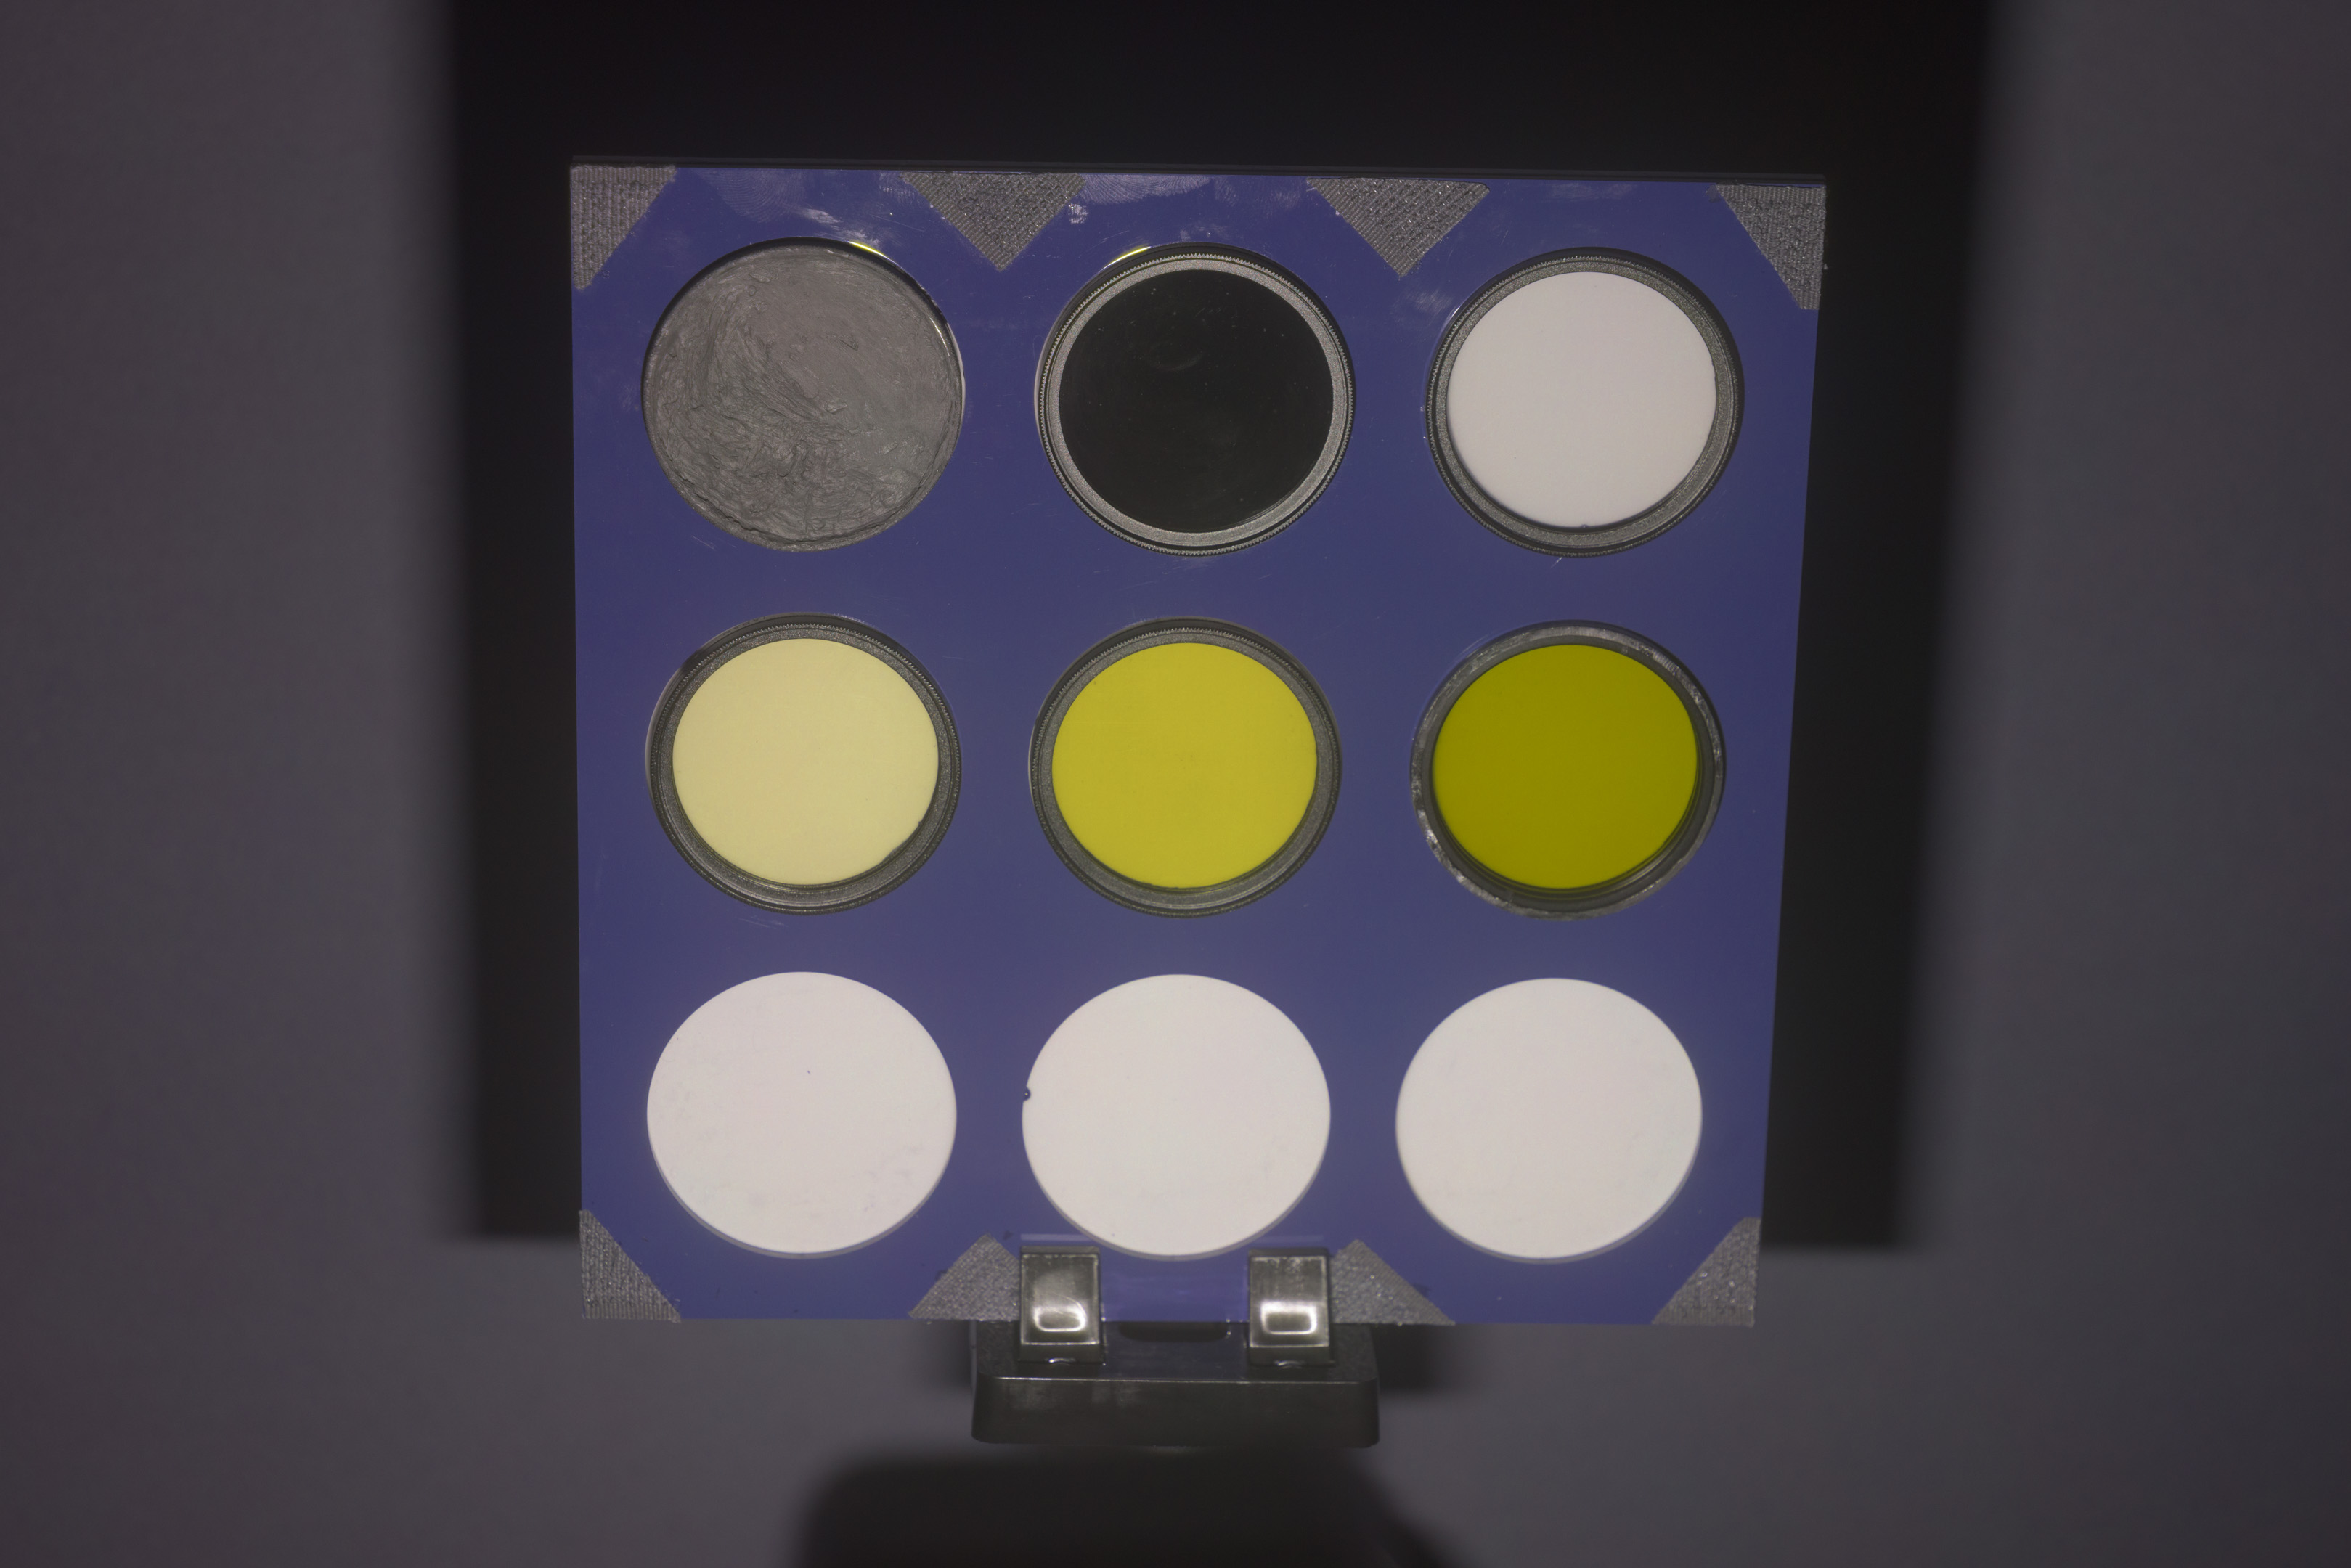
Now let's look at the light distribution for each flash in visible light. Ideally I would have also done this test before modifying the flashes, but I didn't think of it at the time. So instead I placed the Fresnel / front lens in front of the converted flash to see how it changed the light distribution. These were all taken with the front of the flash 36cm away from the background, which was a large grey piece of card.
MF12
MF12 (no Fresnel), 1/16 power
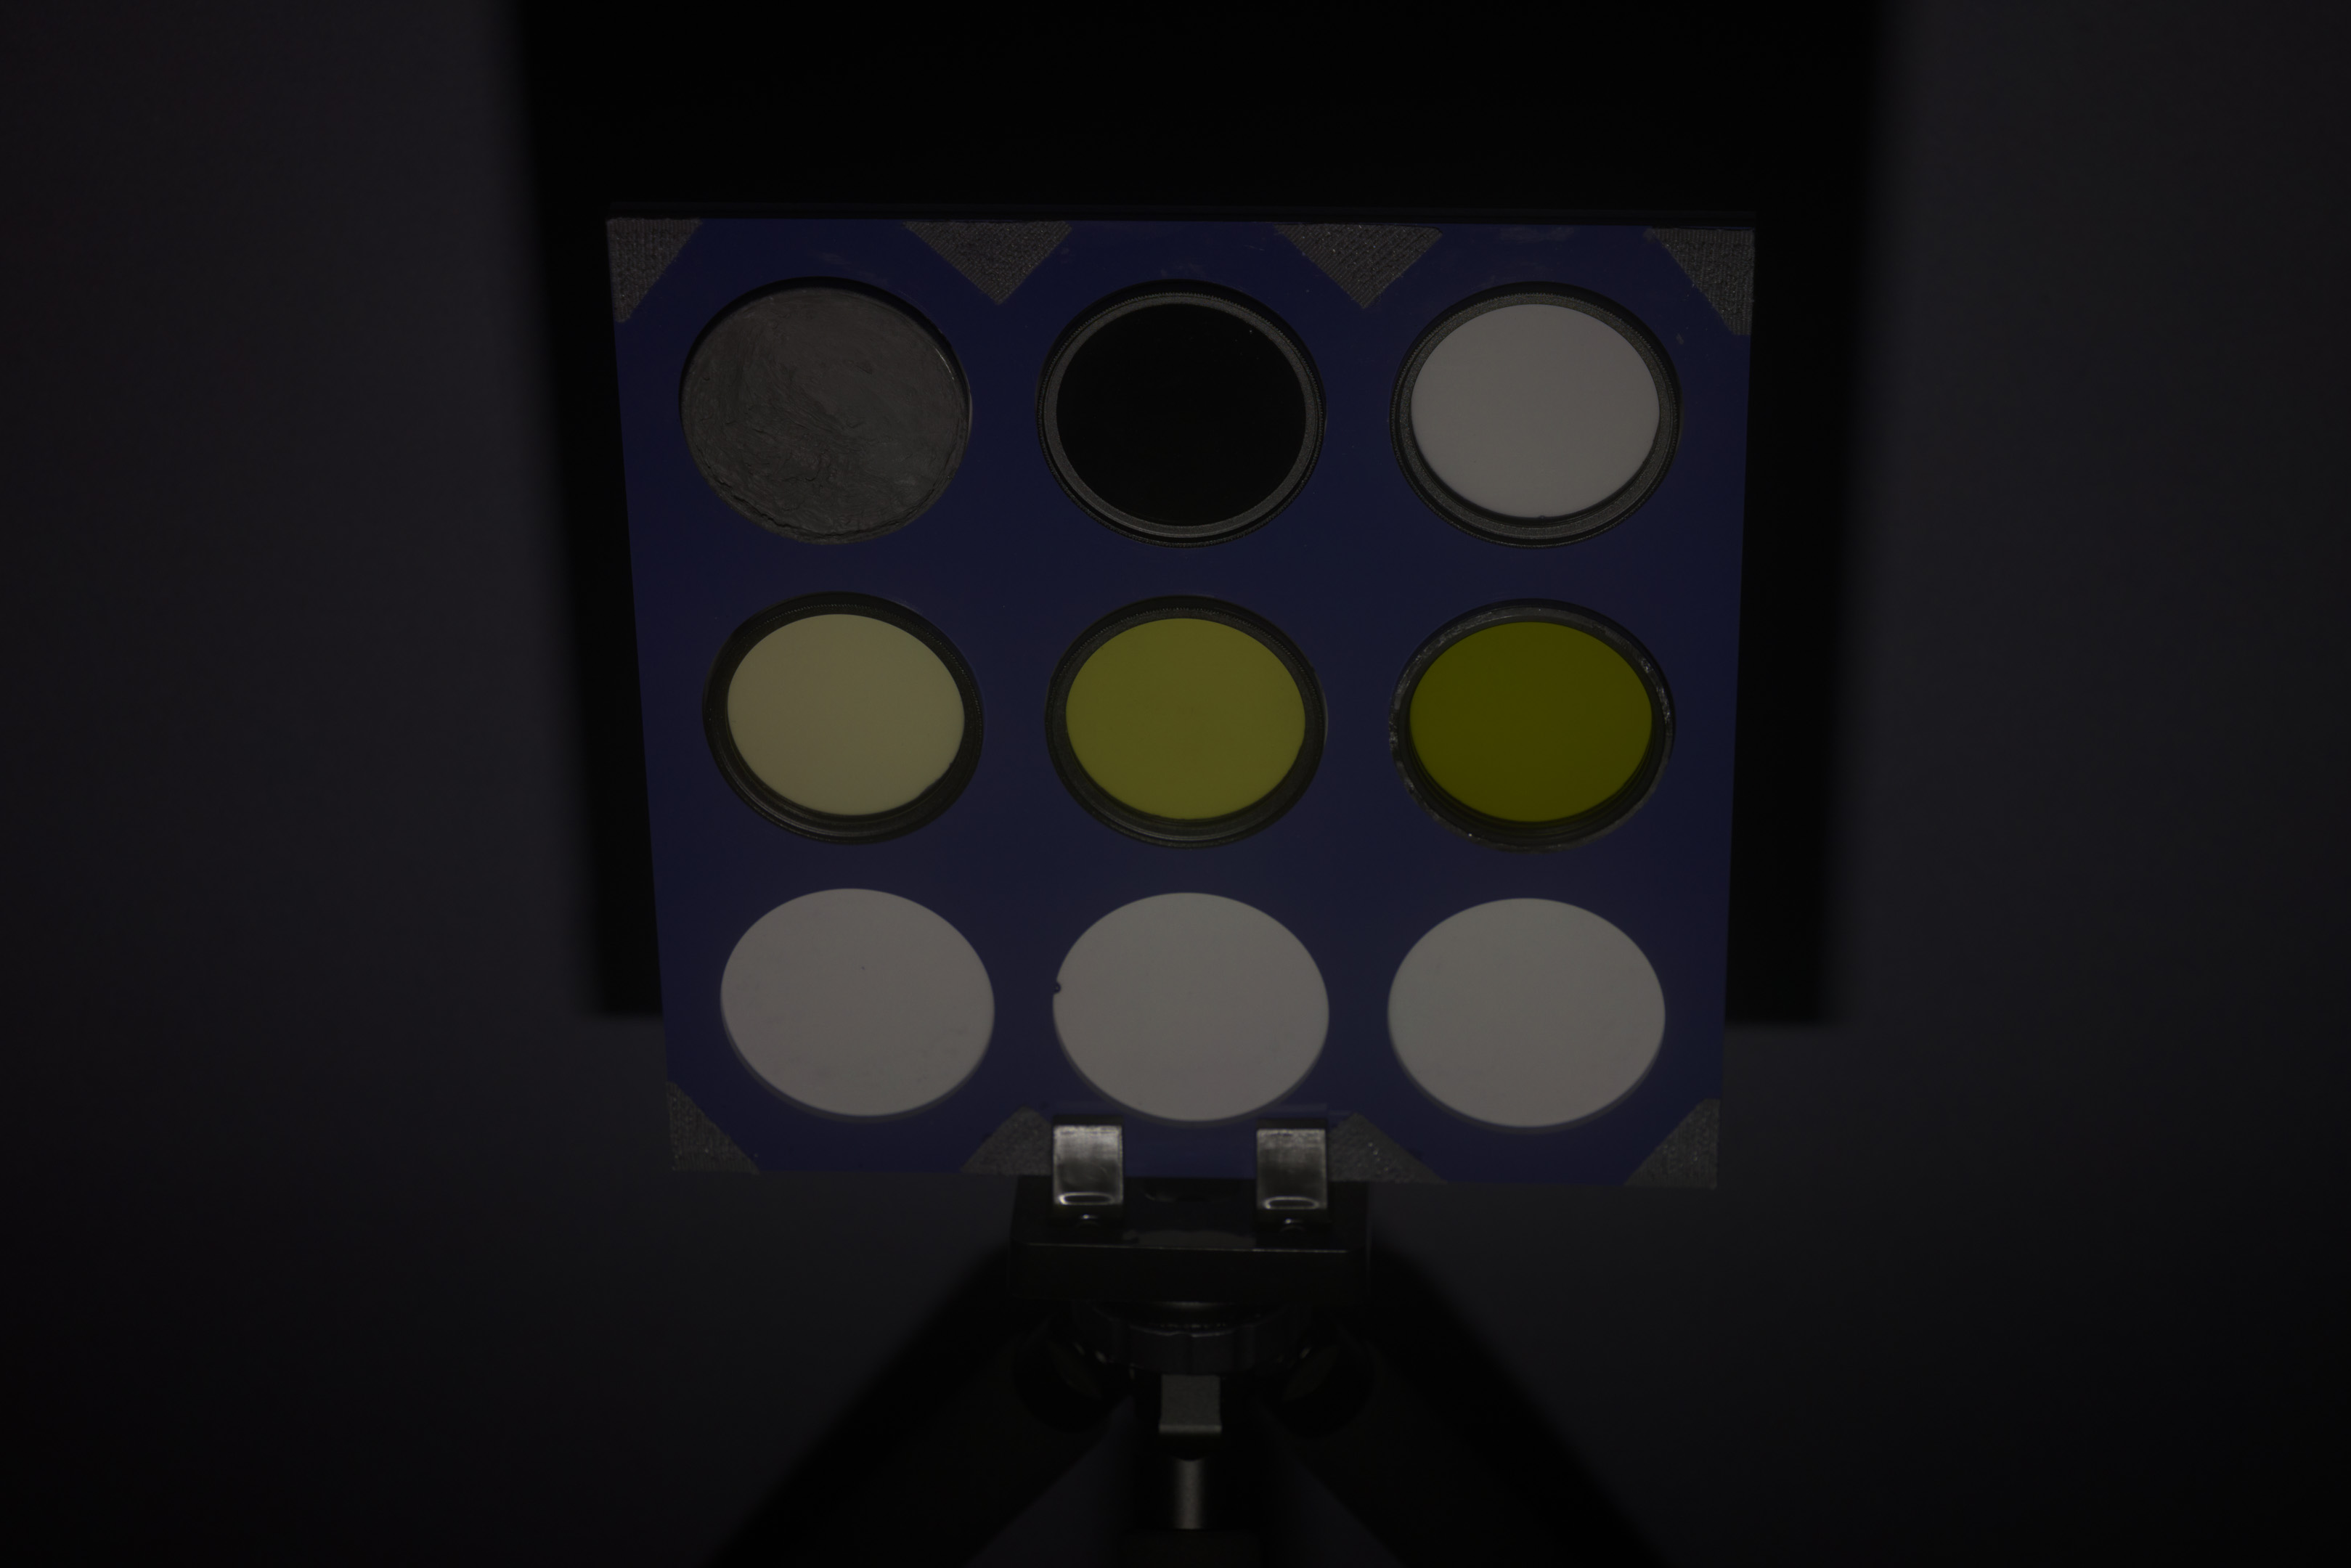
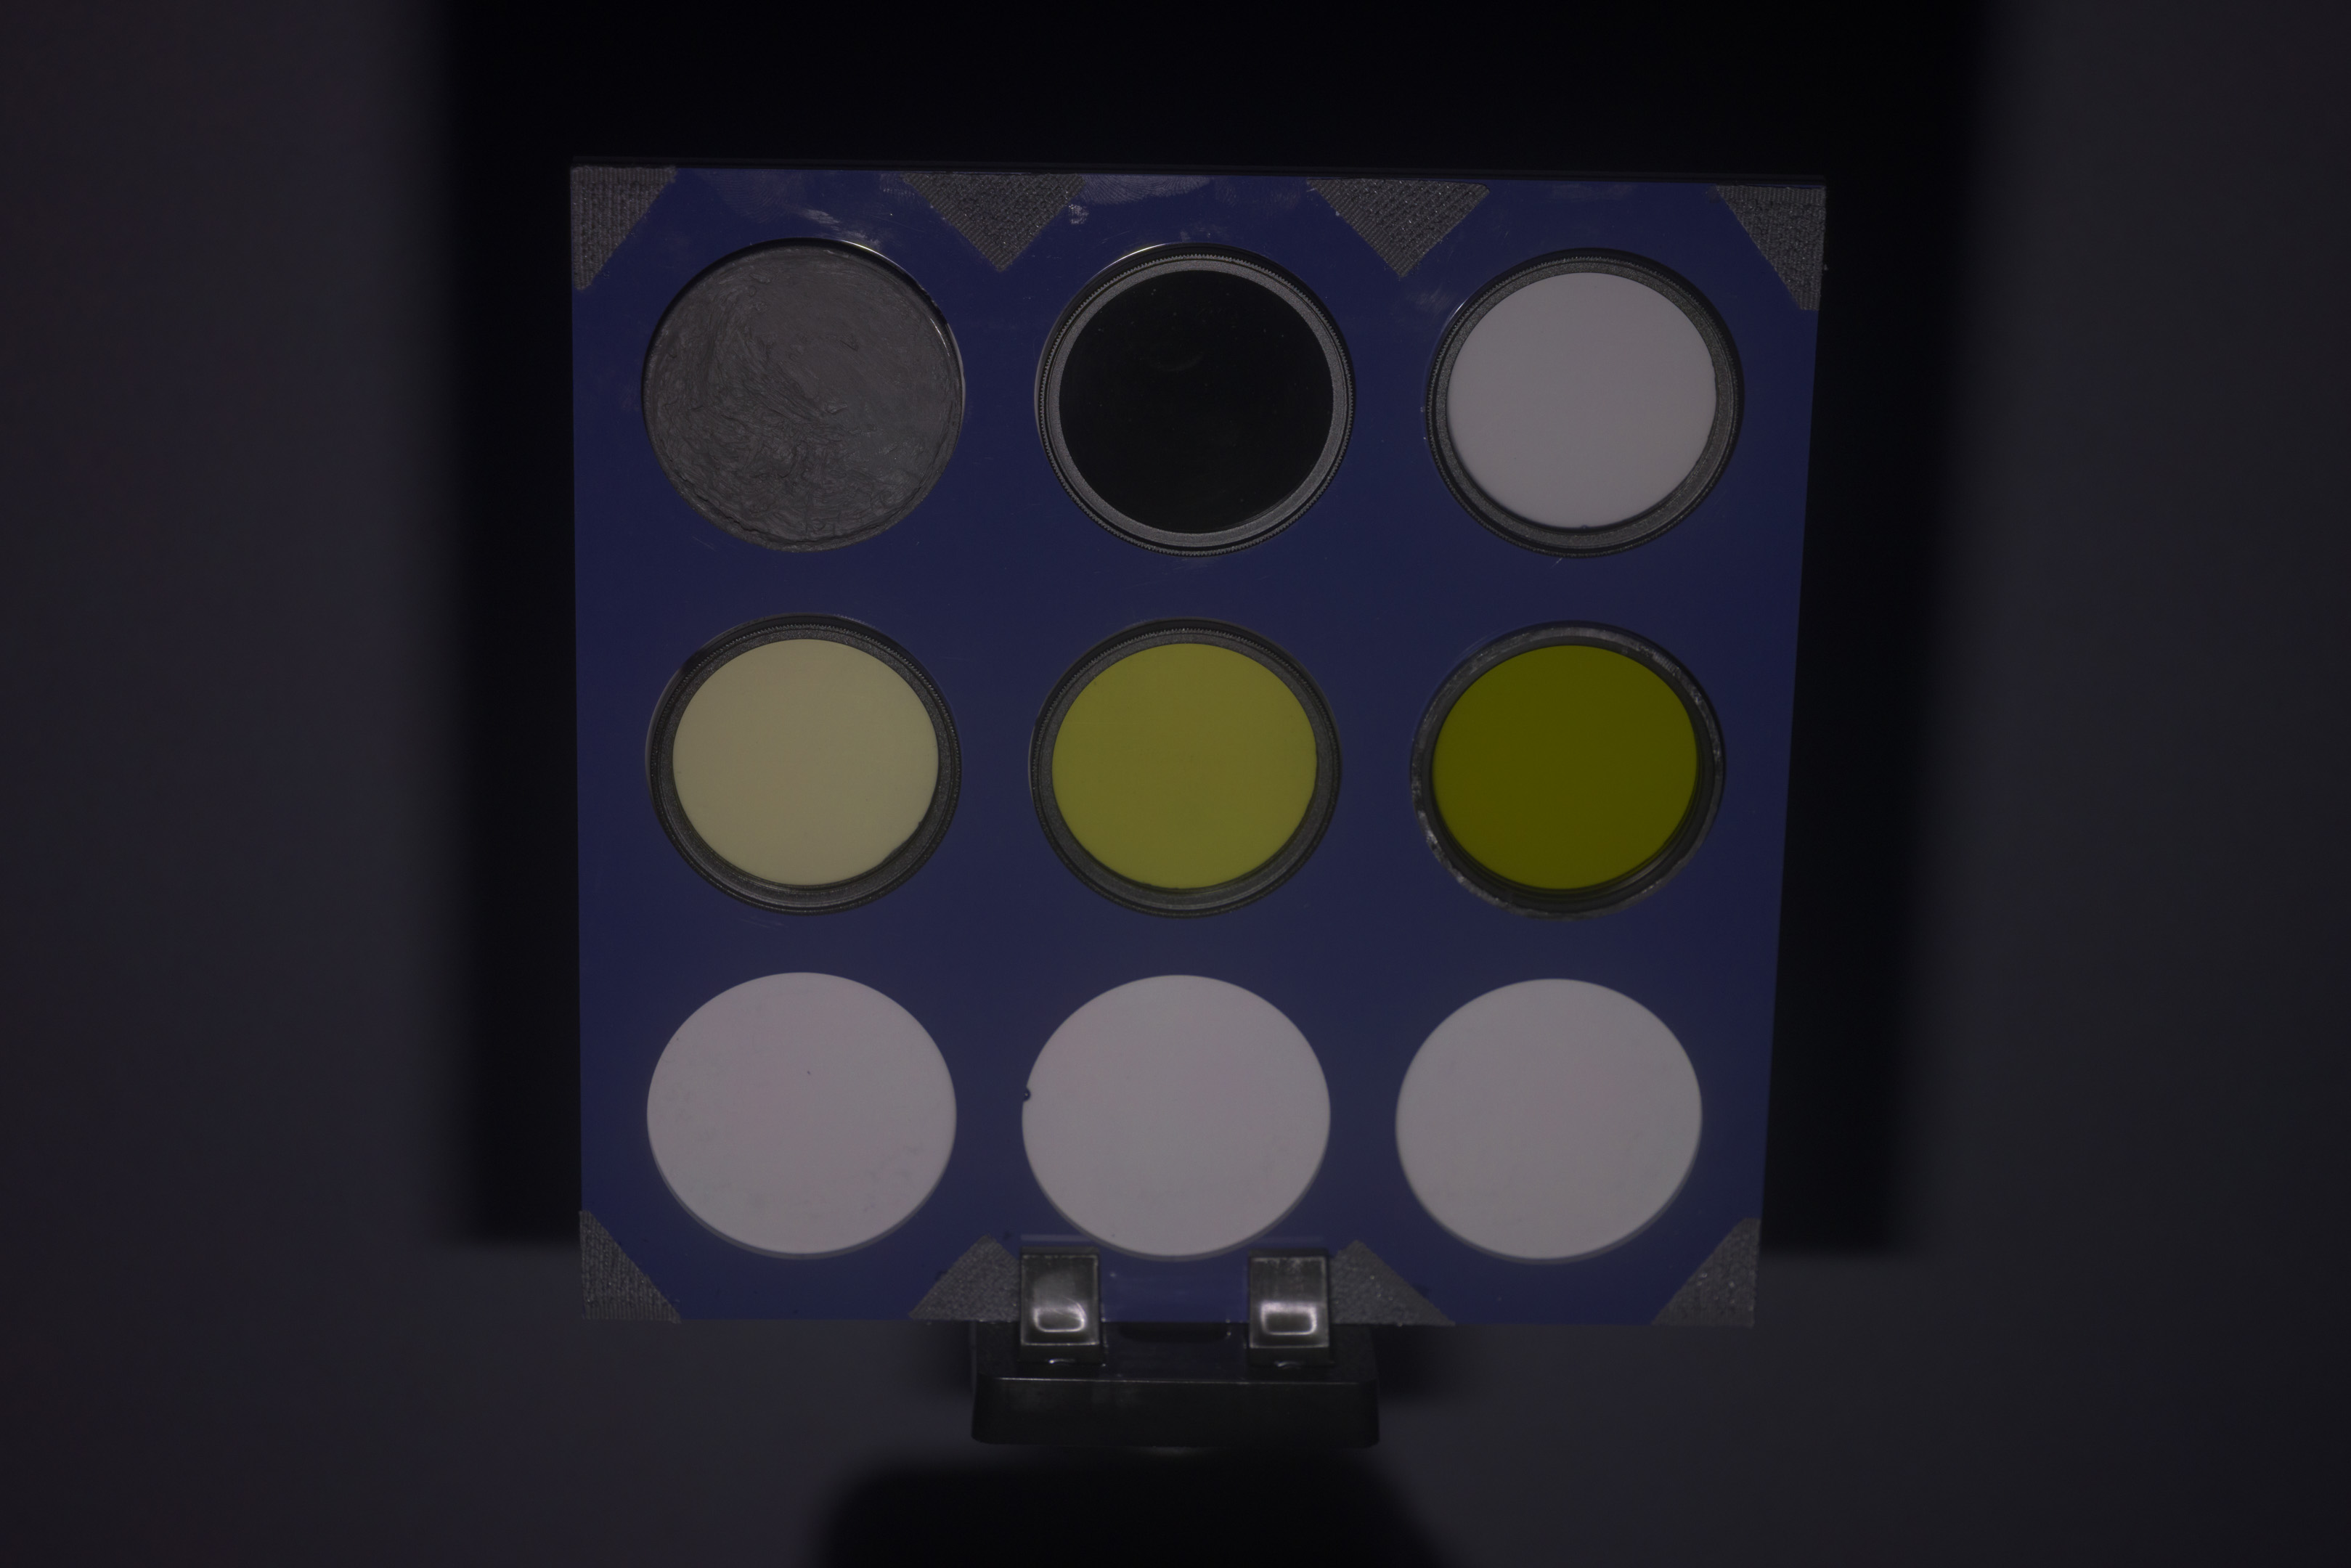
MF12 with Fresnel, 1/16 power
When we compare the two we see that removing the Fresnel has quite a large effect on the light spread. Without the Fresnel the spread is much larger, and in my opinion, less pleasing. Having said that, unless you are photographing a plain background, you are unlikely to actually see the light spread.
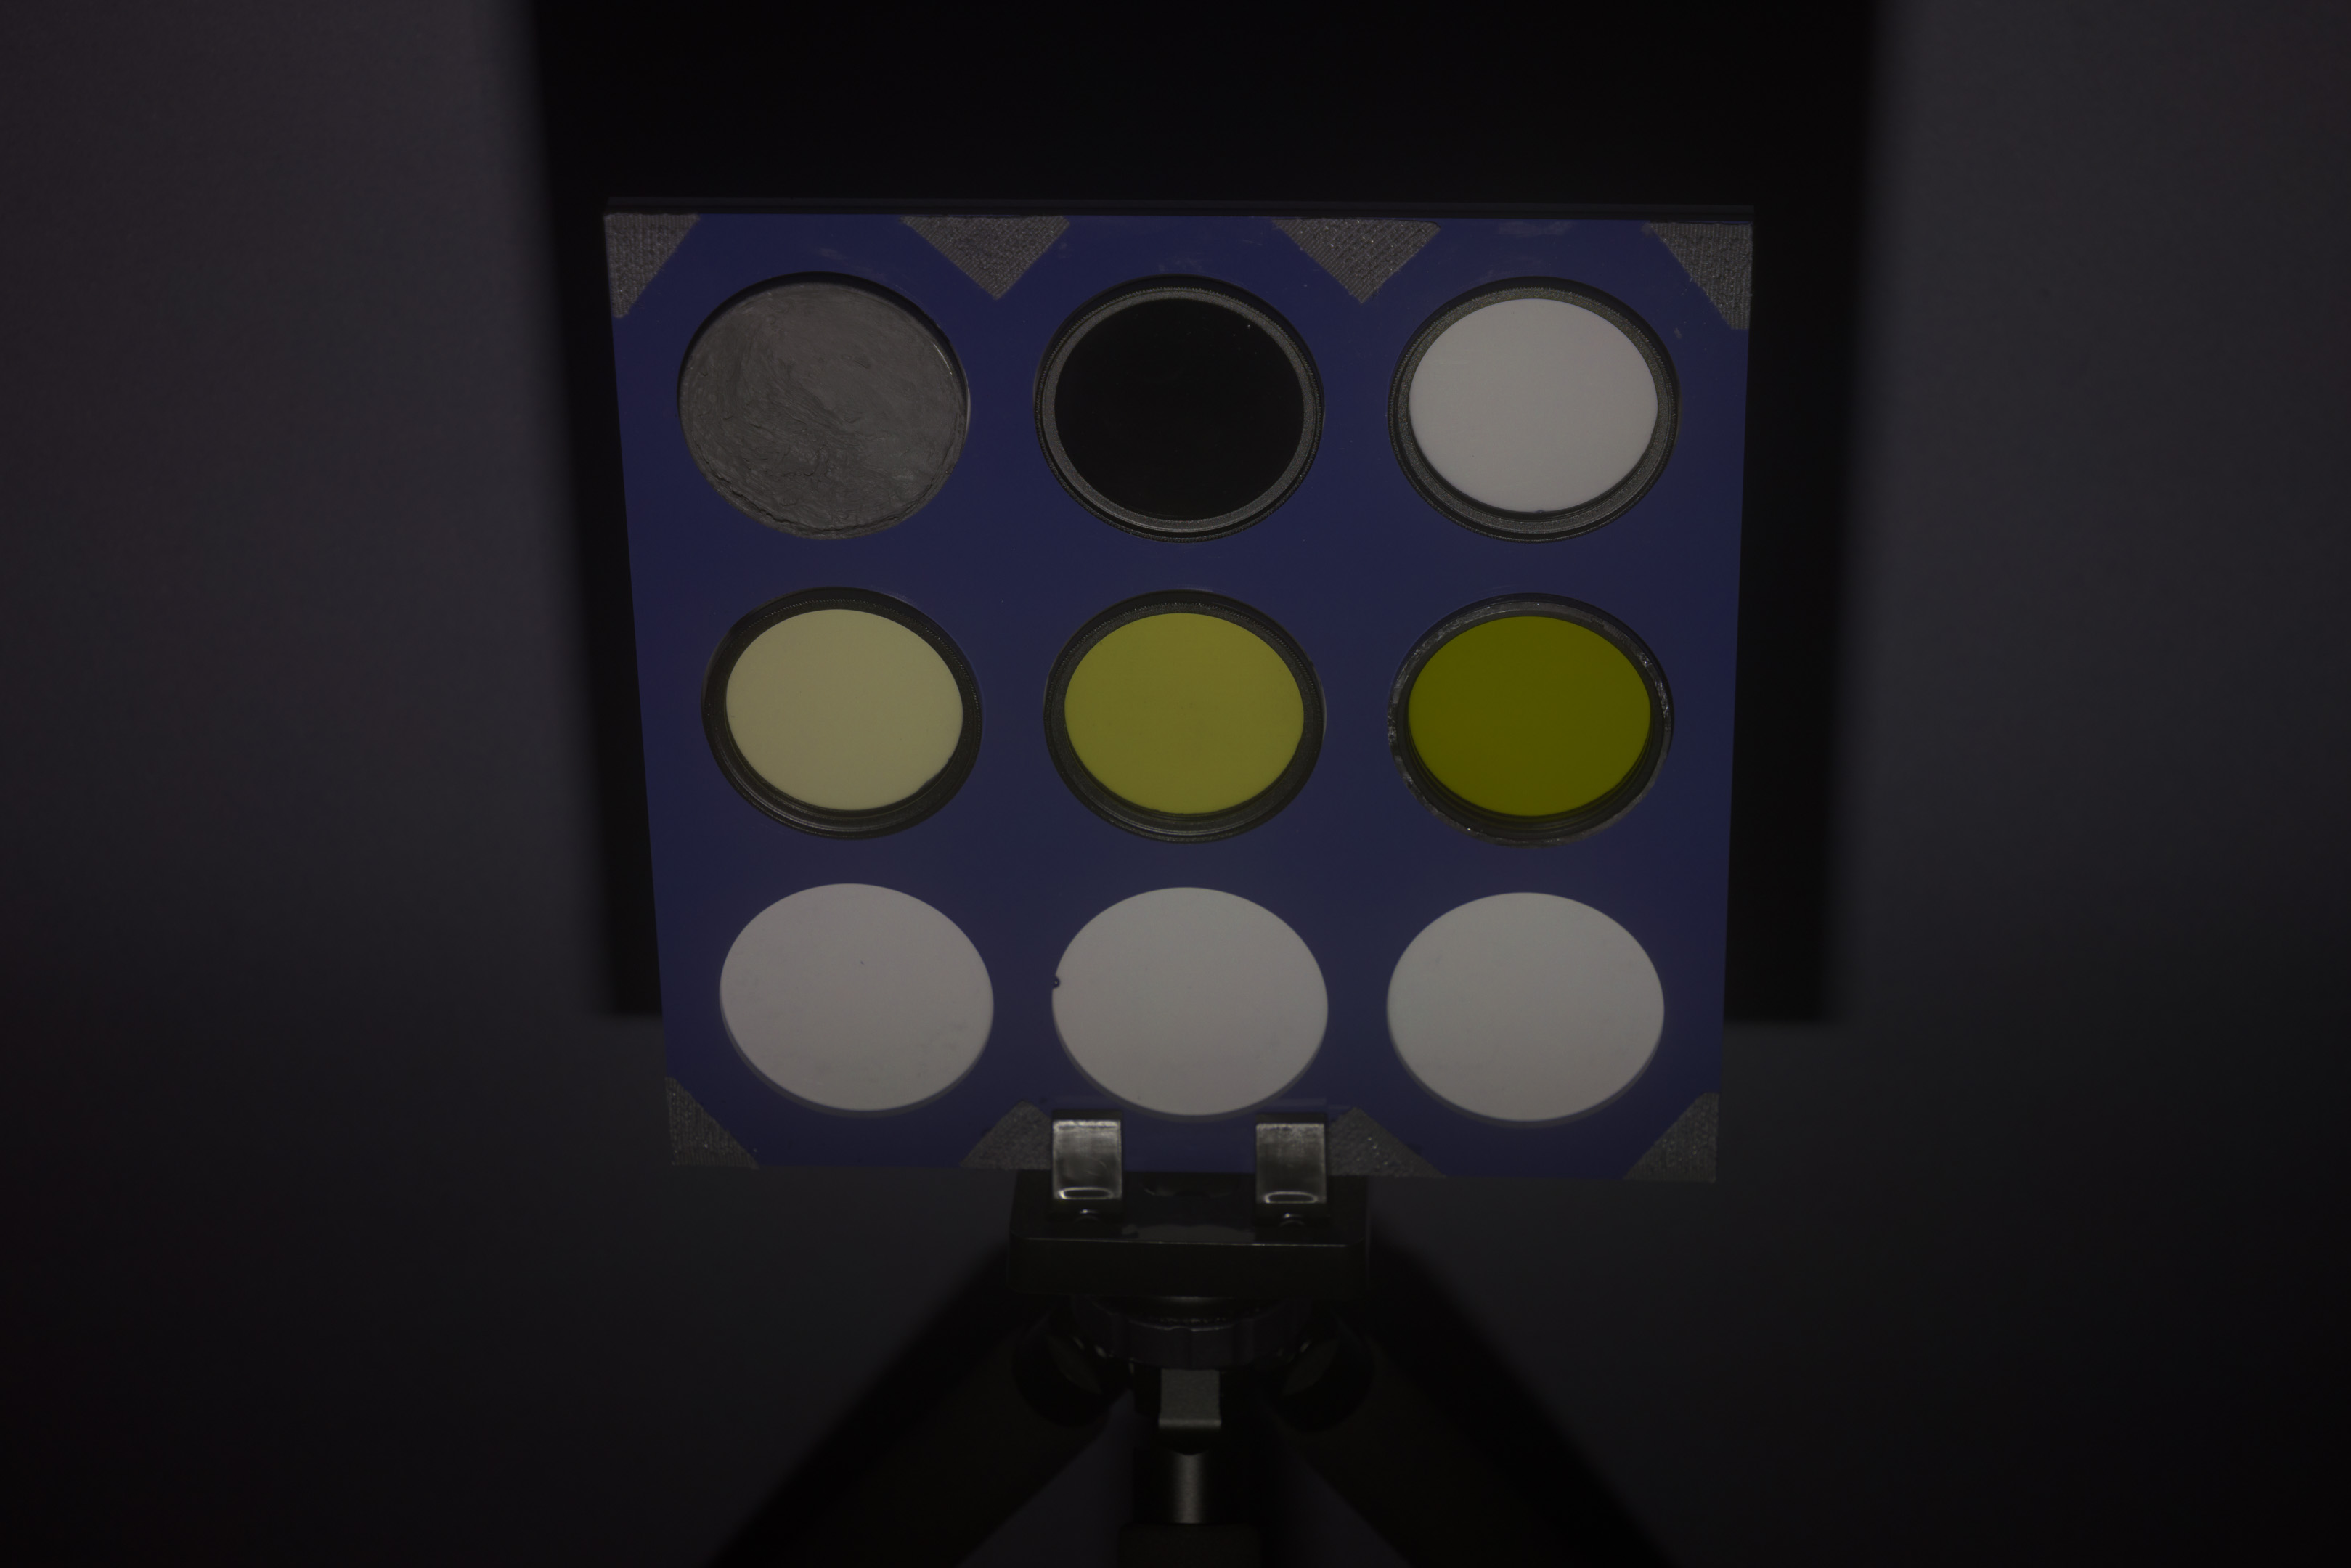
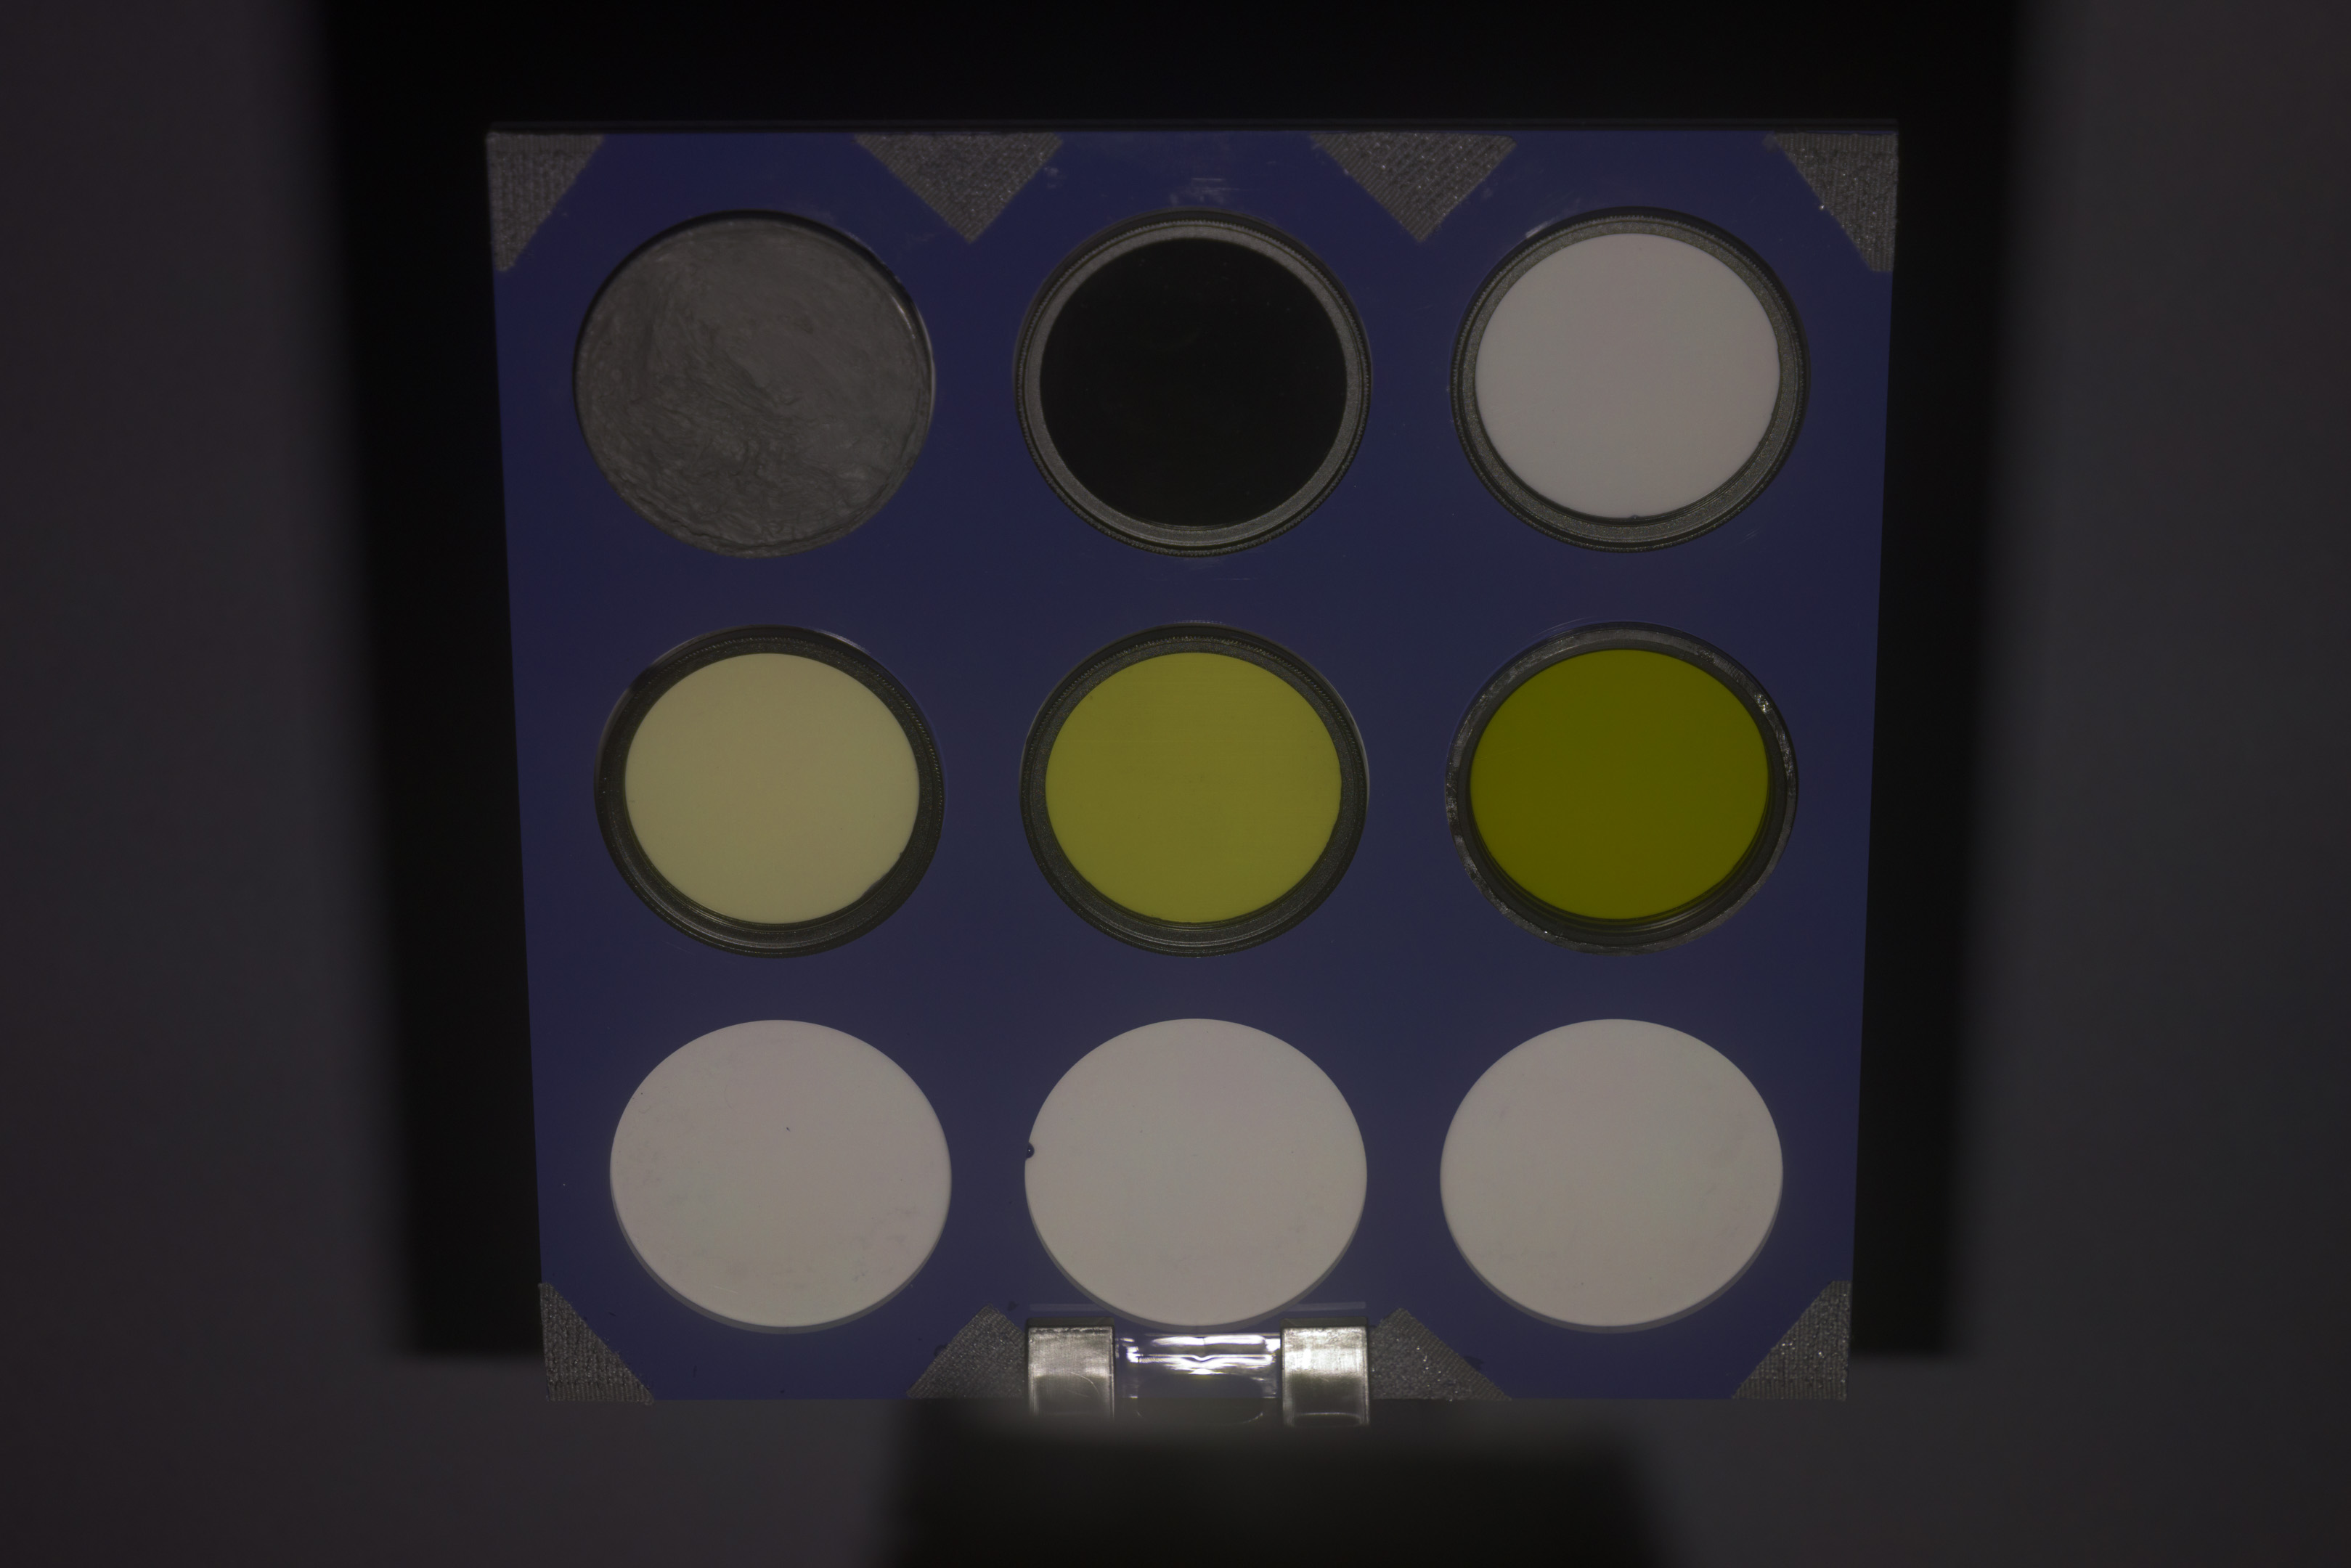
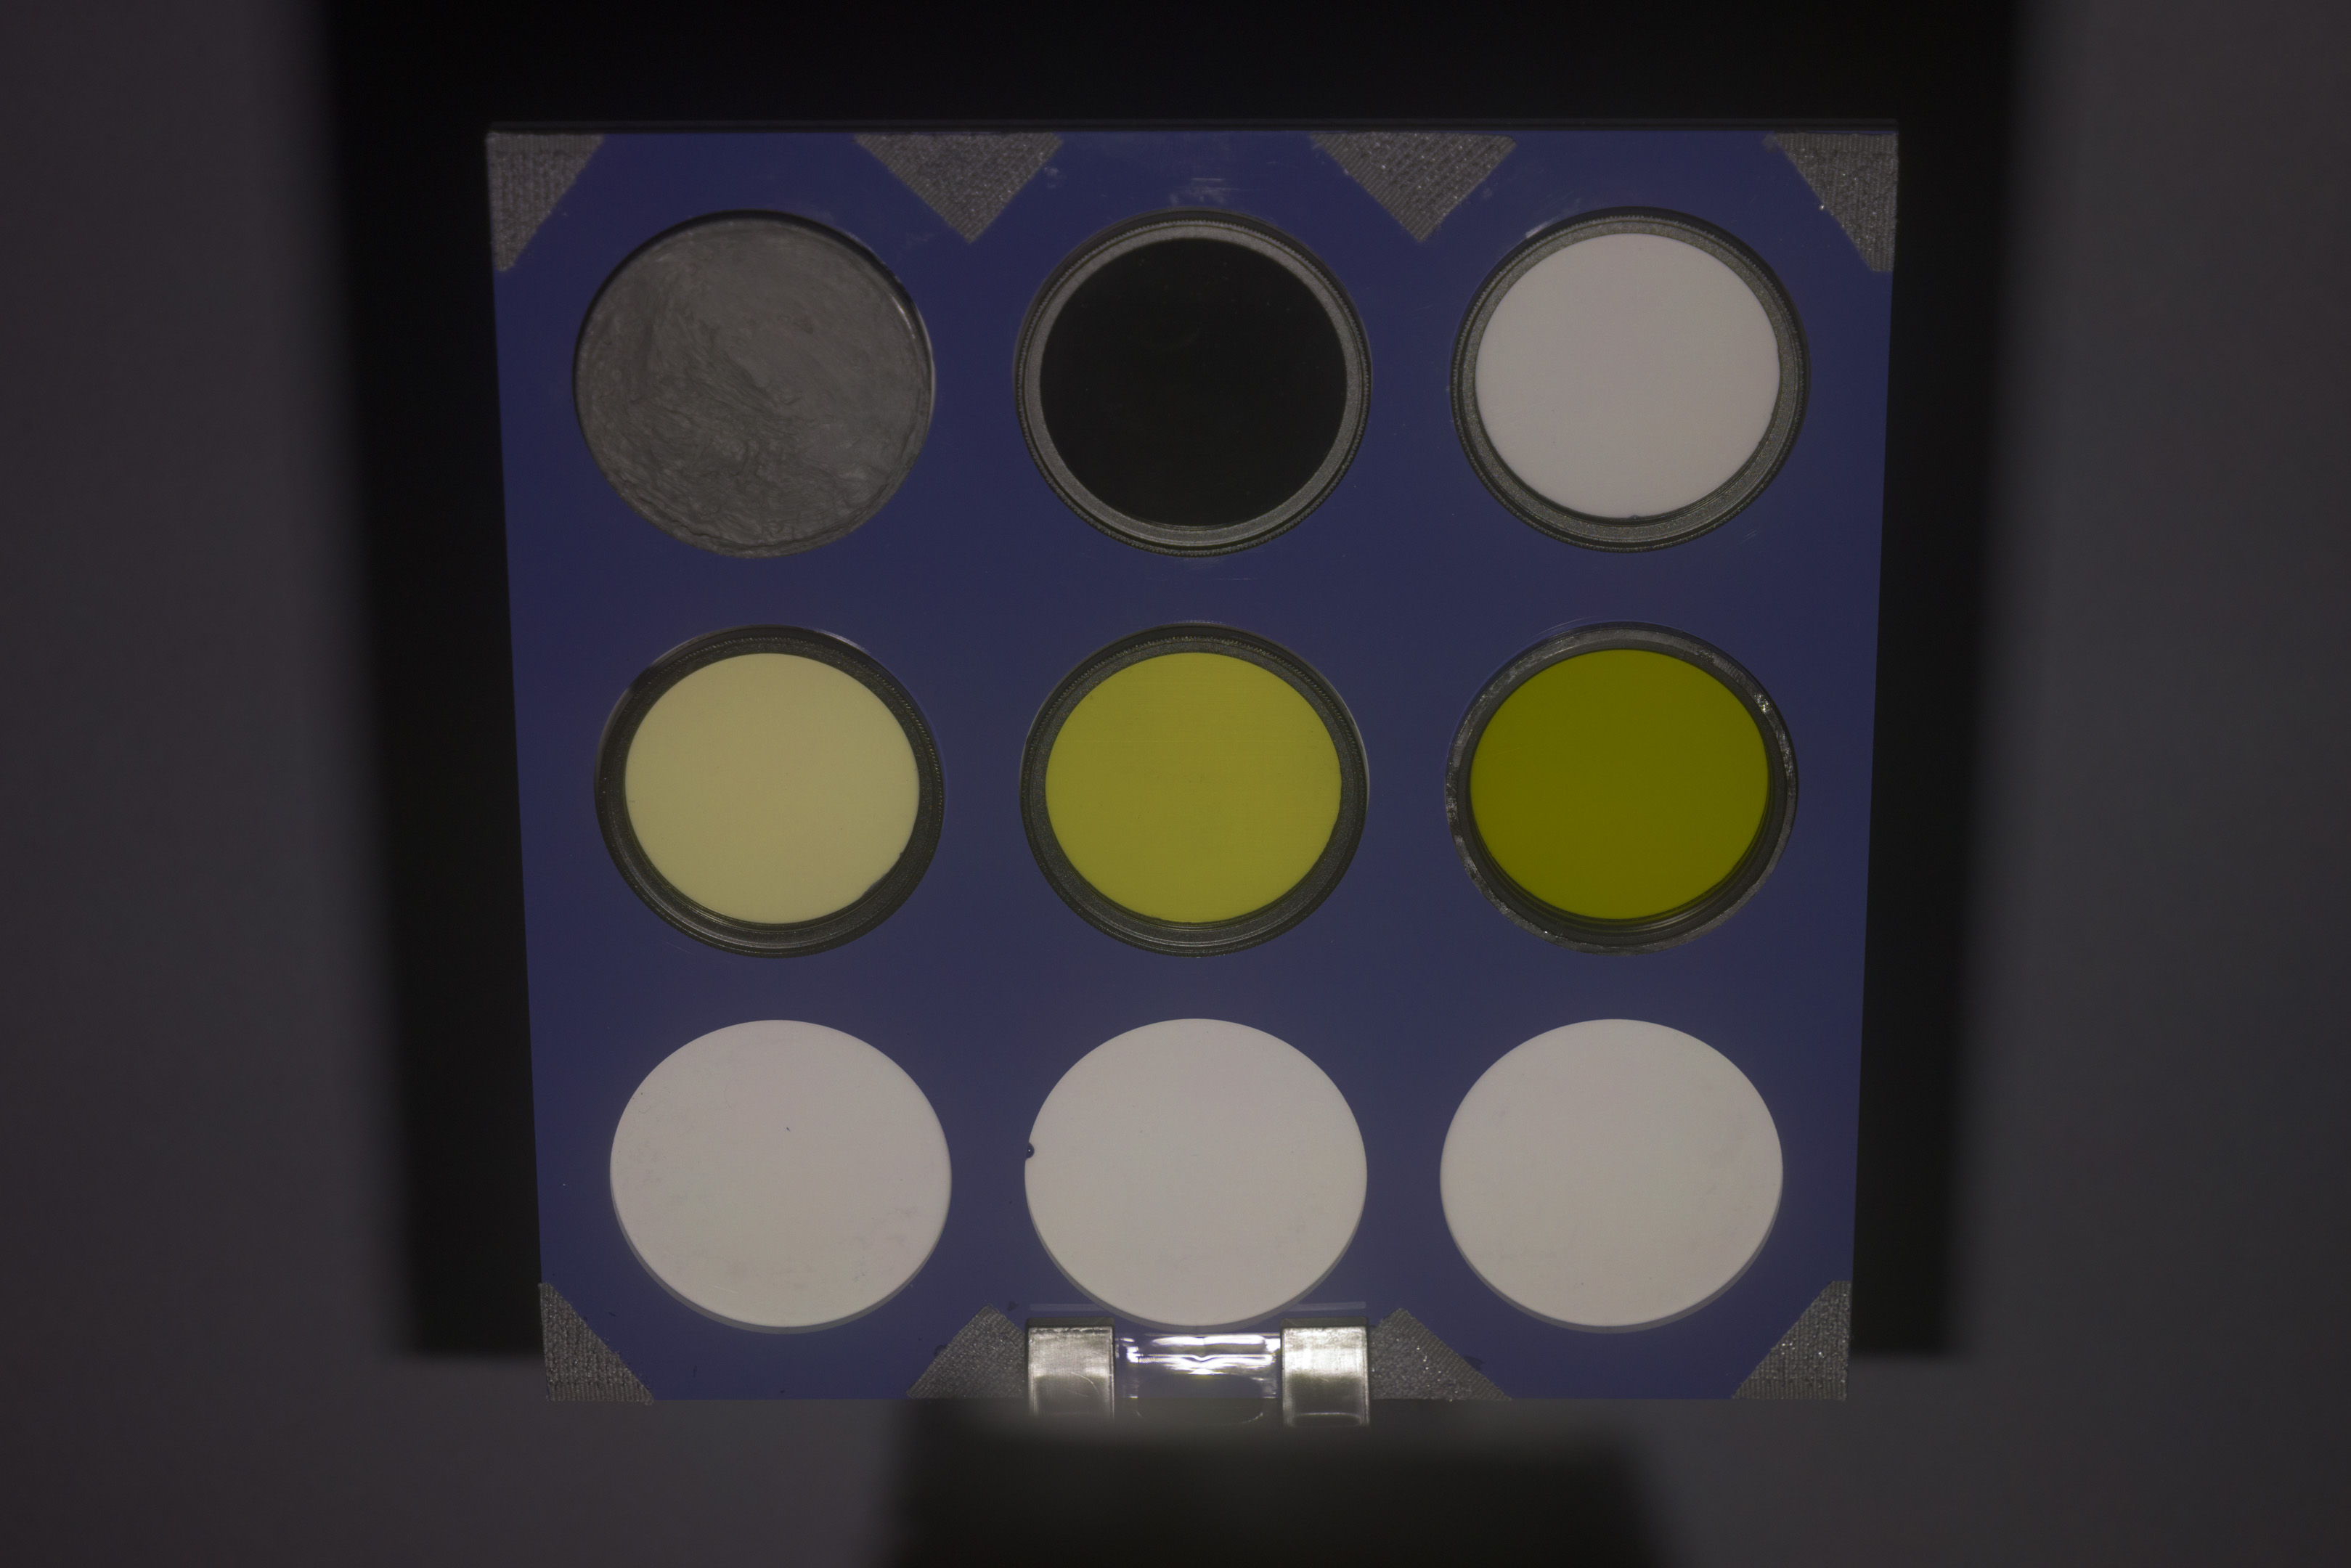
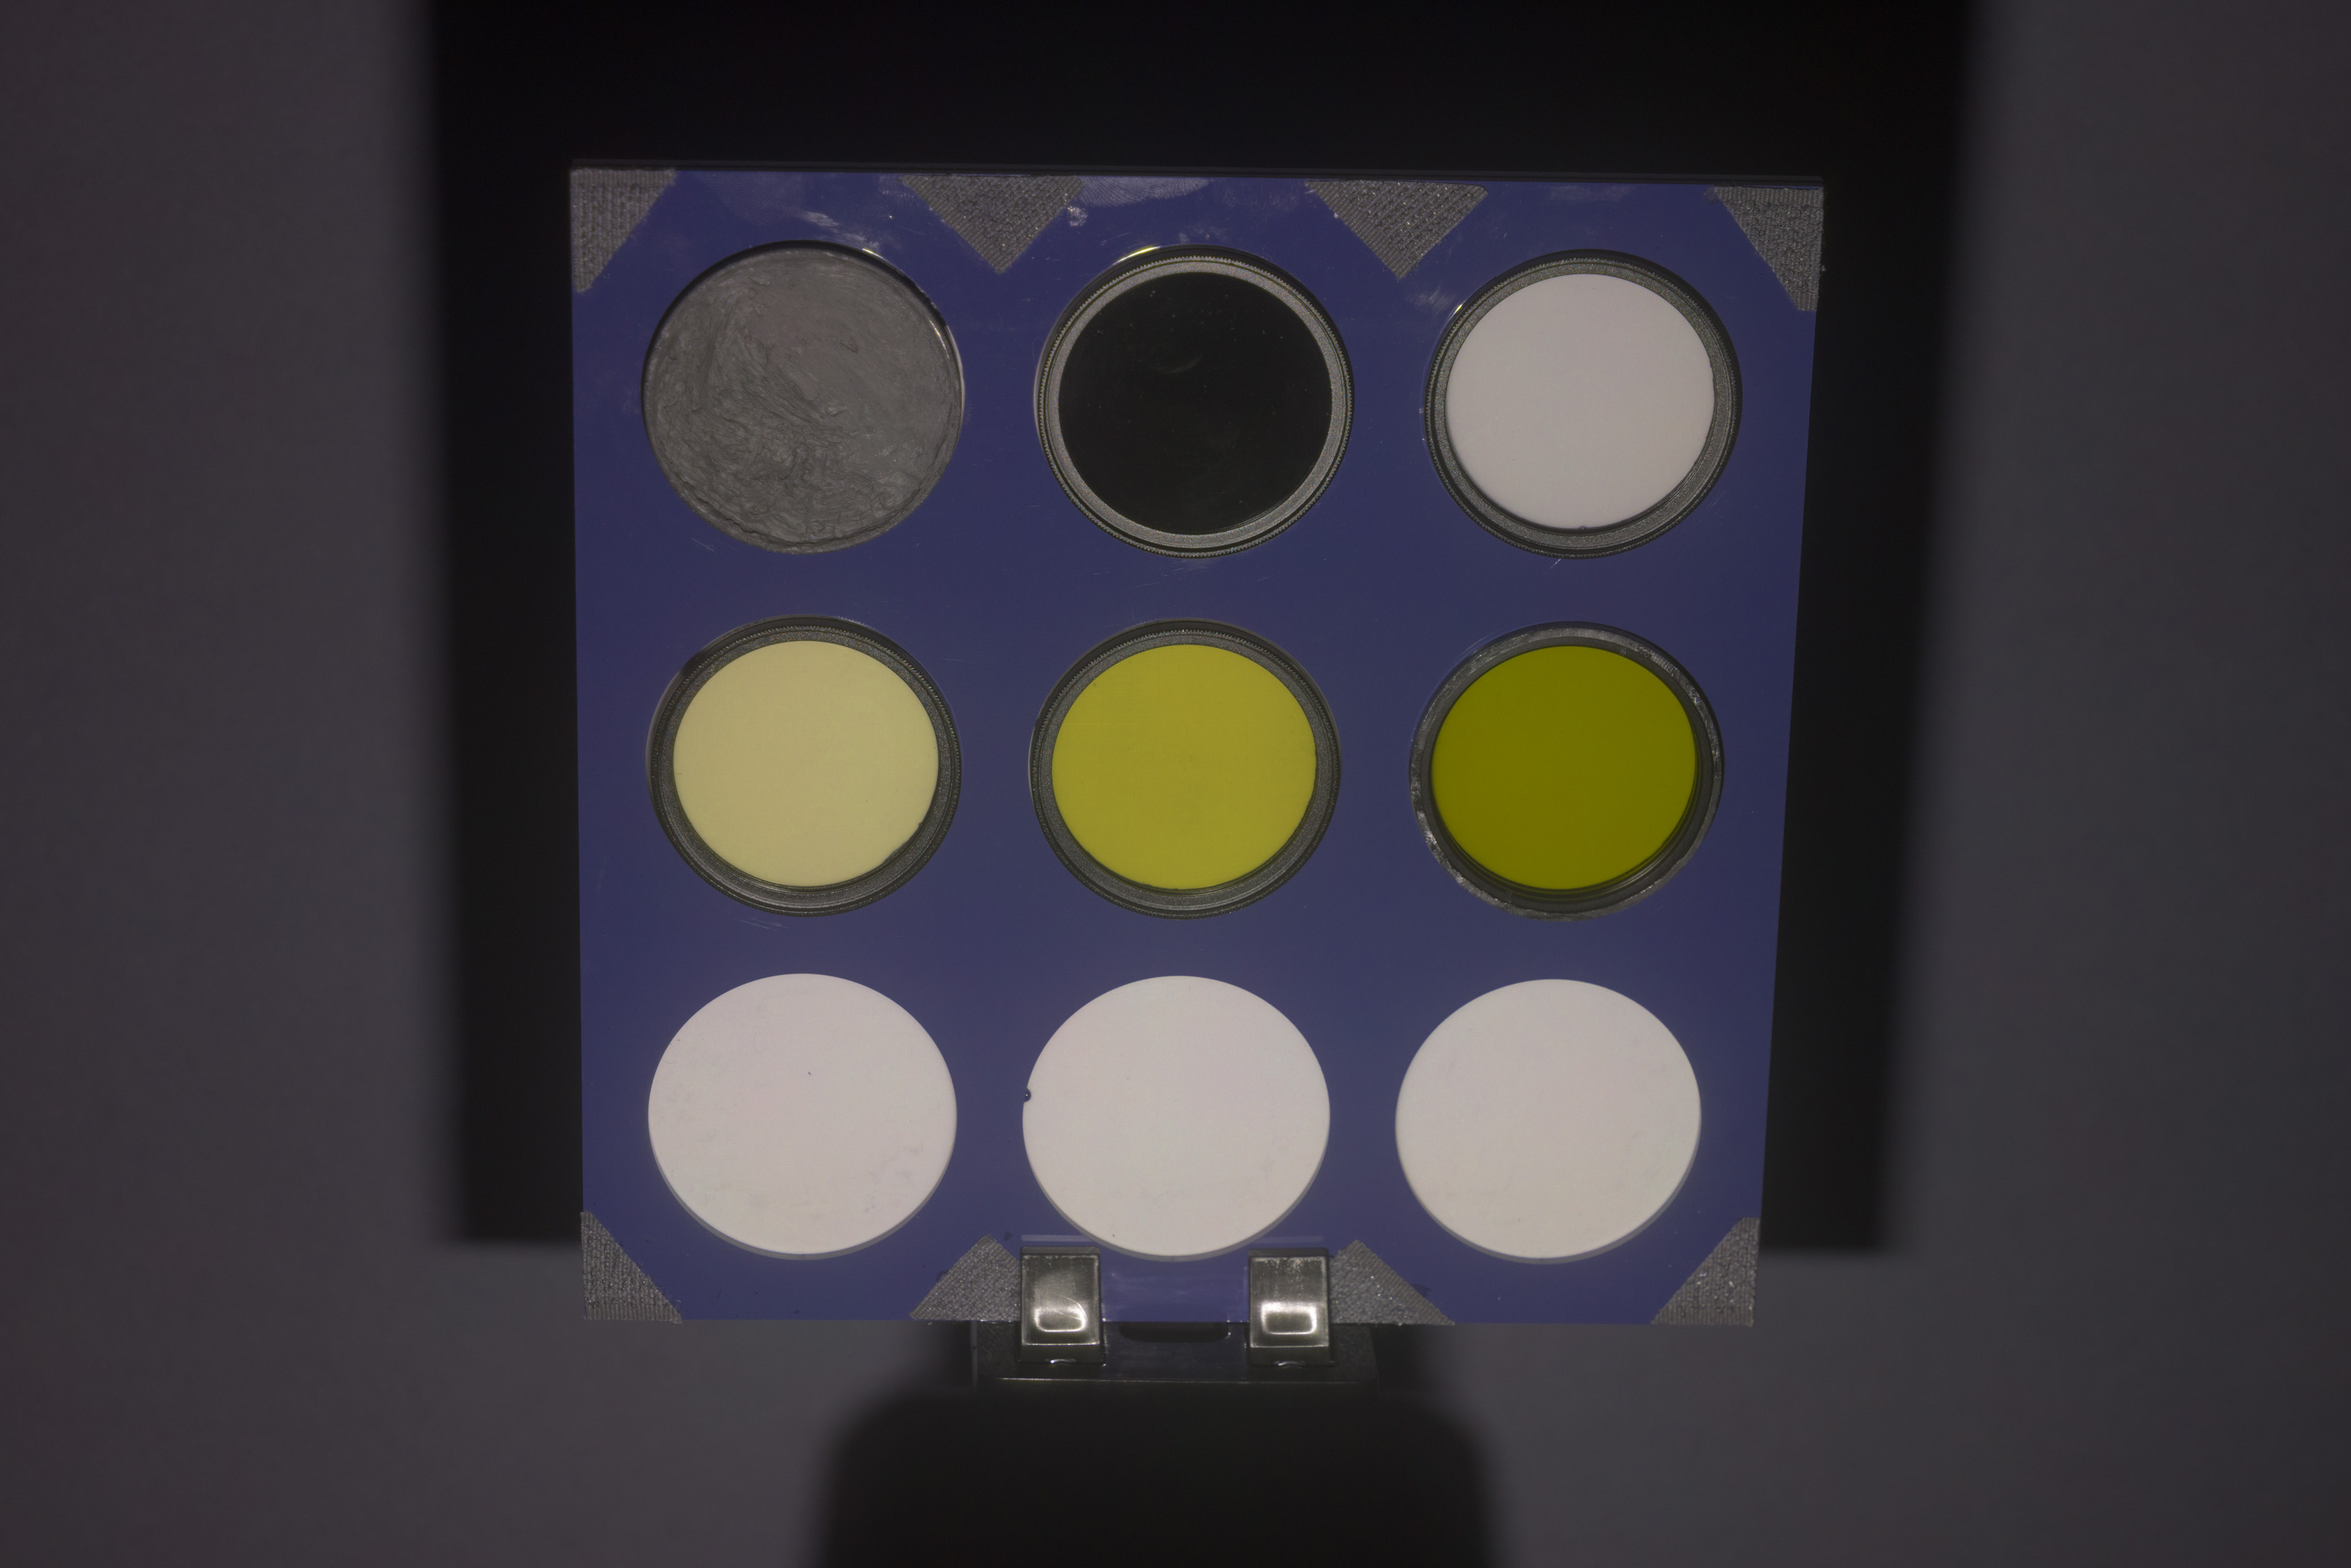
With the MF12 I have an unmodified that I could also test with:
MF12 unmodified, 1/16 power
We can see from this that positioning the Fresnel in front of a converted flash gives a tighter light spread than unmodified. This is similar to the way zoom works in flashes, moving the flash tube further back from the Fresnel the longer the zoom is set.
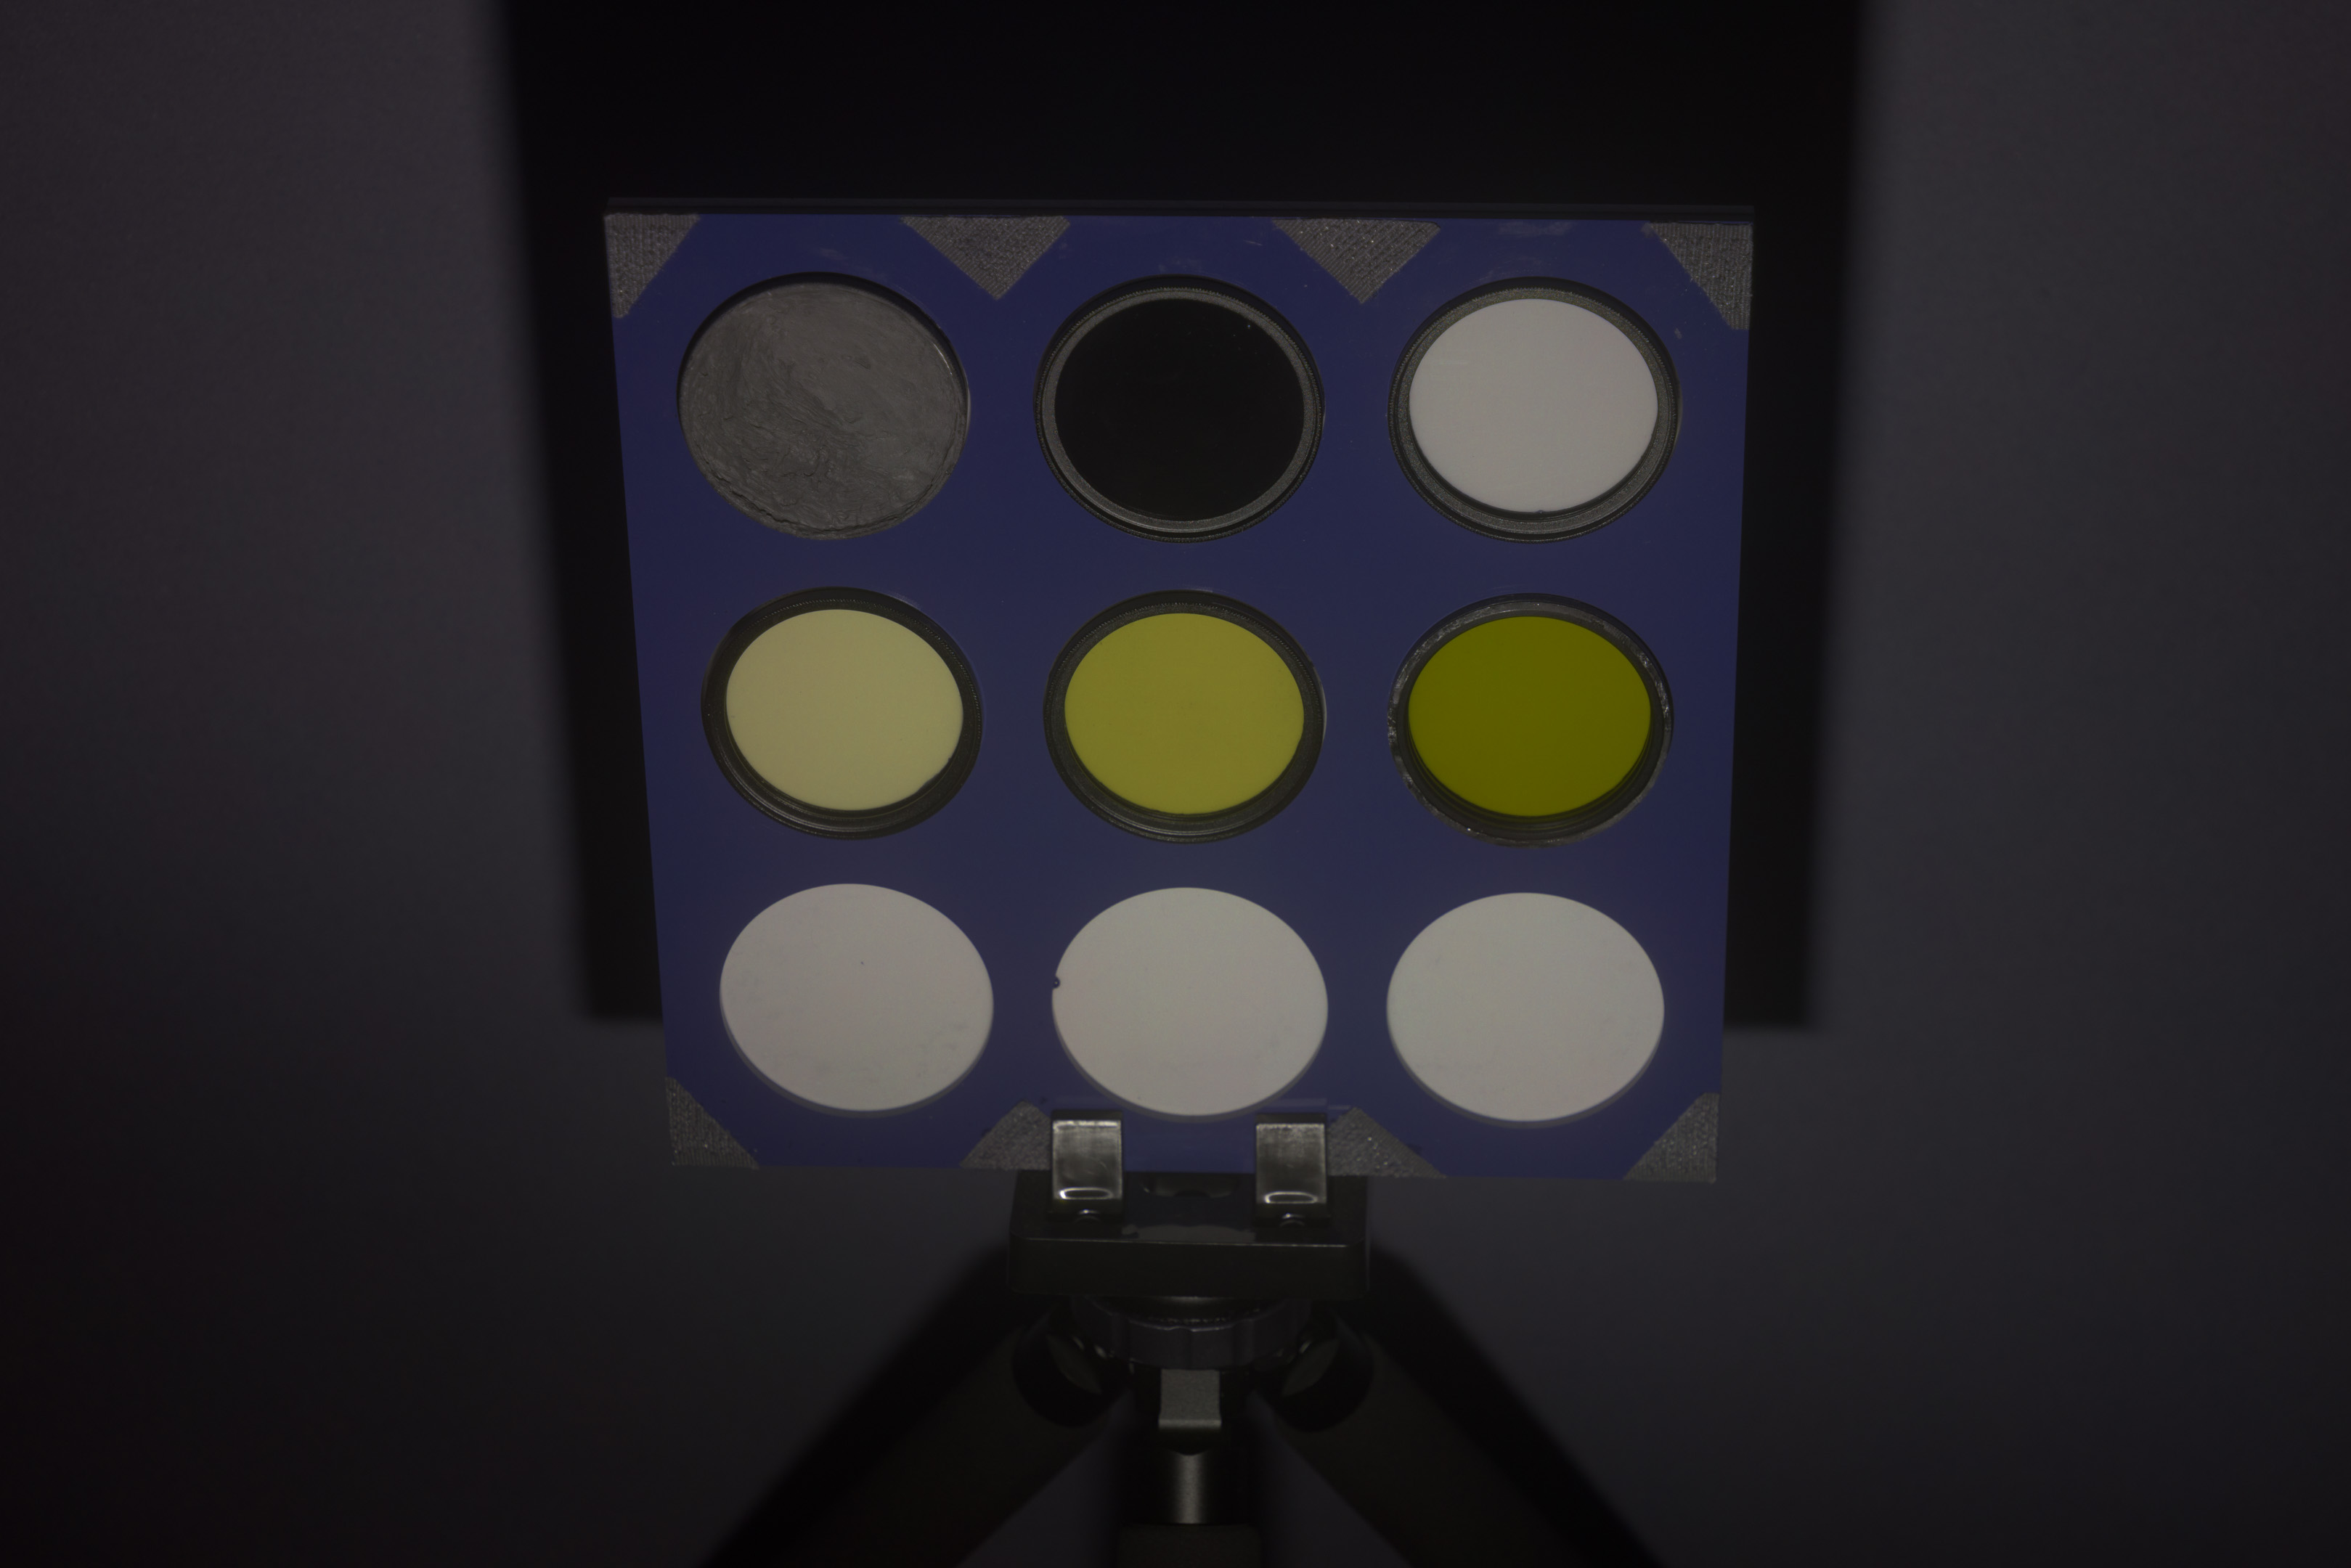
IT30 Pro

IT30 Pro (no Fresnel), 1/16 power
The modified IT30 Pro in normal mode has a slightly darker stripe across the centre and horizontal lines are visible, though not strongly.

IT30 Pro with Fresnel, 1/16 power
With the fresnel added back in front, the centre is slightly brighter, while the corners are much darker. I would say that overall we are losing light. But there are no weird patterns like we see with the bare tube.
IT30 Pro unmodified, 1/16 power
Unmodified, the spread of light is slightly wider than placing the fresnel back in front of the modified version.
TT350
TT350 (no Fresnel), 1/32 power
With the converted TT350 we don't see any weird pattern and there is a pretty even spread of light.

TT350 with Fresnel, 1/32 power
When we add the Fresnel back the light is concentrated more, as you'd expect.
TT350 with reversed Fresnel, 1/32 power
I also tried putting the Fresnel on backwards, possibly this is doing the opposite and expanding the light but to me it just looks like its reducing the light.
V480

V480 (no Fresnel), 1/64 power
With nothing in front of the flash tube the V480 light spread looks fine.

V480 with Fresnel, 1/64 power
With just the Fresnel manually positioned in front, the light is much more concentrated and the spread looks a bit odd.
V480 with front lens, 1/64 power
With just the front piece manually positioned in front, the light spread seems similar to the bare bulb but we see some lines in the output.
V480 with Fresnel and front lens, 1/64 power
With both the Fresnel and front piece manually positioned in front, the light spread is concentrated, but softer than just the Fresnel by itself.
V860II
V860II (no Fresnel), 1/64 power
With no glass on the V860II we see a rectangular portion across the centre of the image from left to right is brighter, while the top and bottom are darker.
V860II with Fresnel, 1/64 power
If we add the Fresnel in front we get more concentrated light output in a more oval pattern.
V860II with front lens, 1/64 power
If we put only the front piece in front we get a similar result to bare.
V860II with Fresnel and front lens, 1/64 power
With both the Fresnel and front piece in front we get a more concentrated spot.
V1

V1 (no Fresnel), 1/64 power
The V1 with the front pieces removed gives a light pattern similar to the V860II. I wouldn't be surprised if they are basically the same flash but the V1 with a circular Fresnel and diffusion layer.
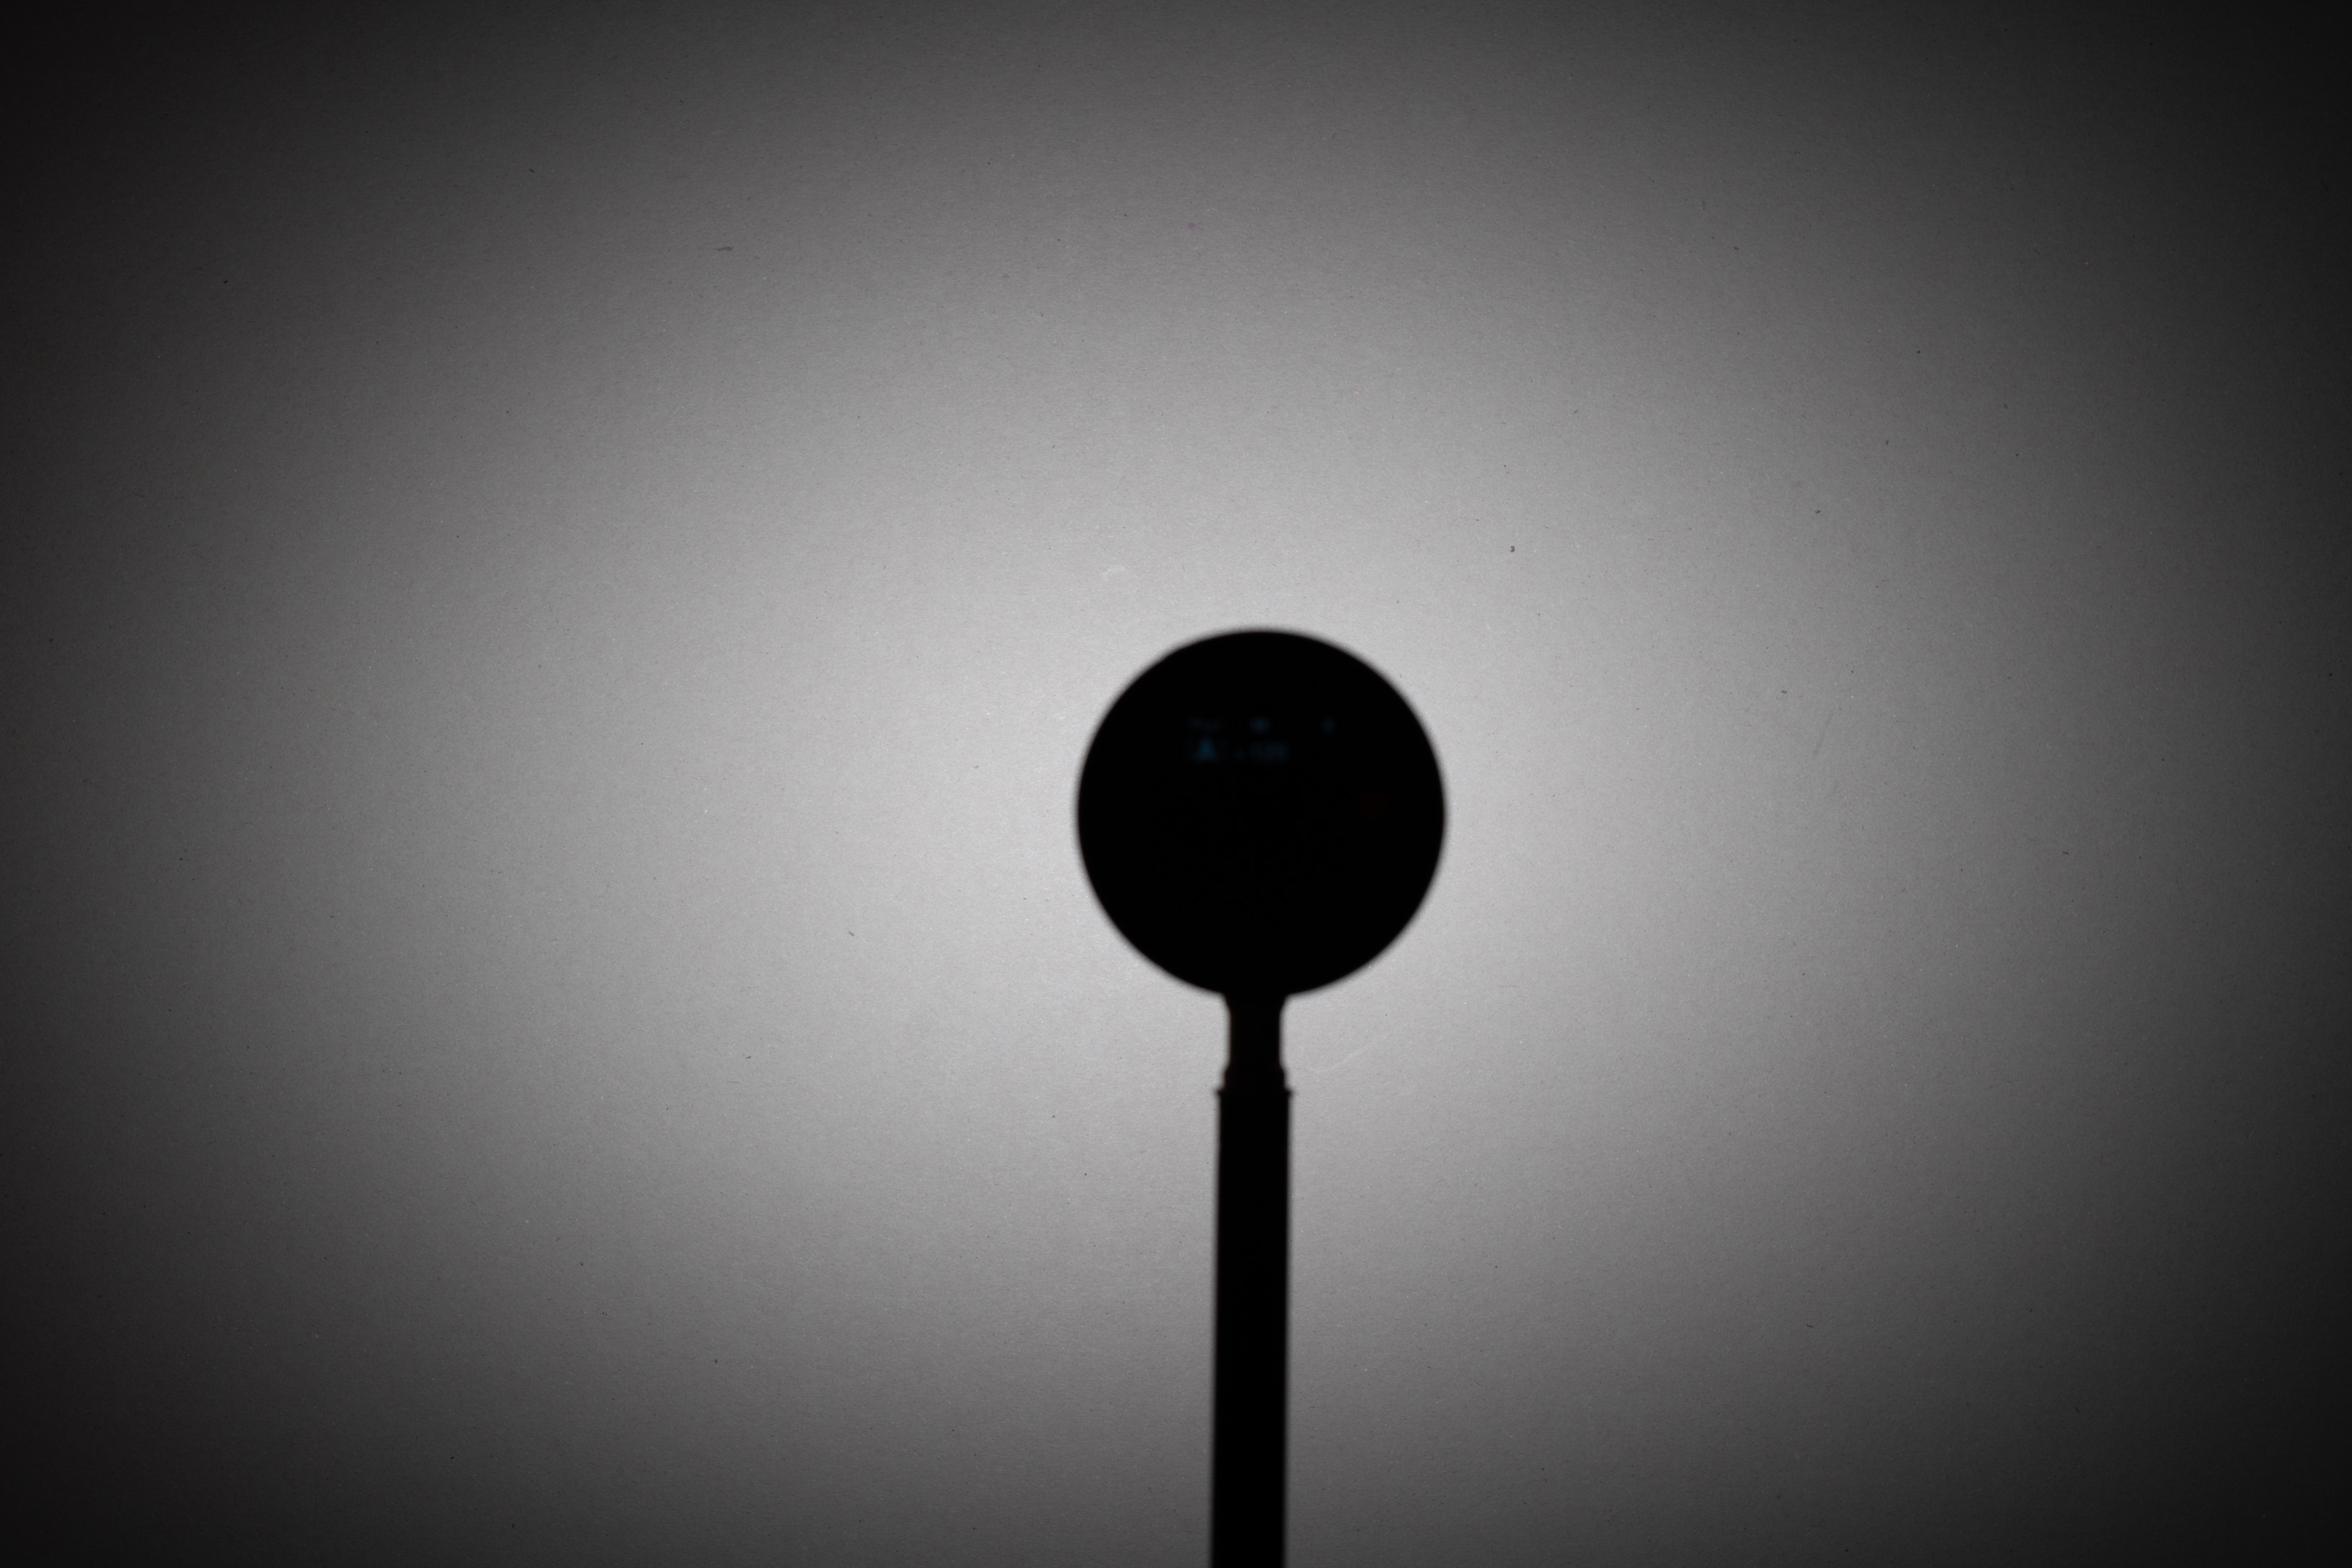
V1 with Fresnel, 1/64 power
If we add the Fresnel in front we get more of an oval pattern and the light is more concentrated.
V1 with front lens, 1/64 power
If we have the front diffusion only and no Fresnel, we get a very soft light pattern.
V1 with Fresnel and front lens, 1/64 power
With both the Fresnel and diffusion layers in front we get a soft round light pattern with a bright centre.
AD100 Pro
AD100 Pro (no Fresnel), 1/128 power
The AD100 Pro with the front pieces removed gives quite a soft pattern that is oval in shape.

AD100 Pro with Fresnel, 1/128 power
If we add the Fresnel in front, the light becomes more concentrated.
AD100 Pro with front lens, 1/128 power
With the diffuson only in front we get a soft circular light, and less intense than when bare.
AD100 Pro with Fresnel and front lens, 1/128 power
With both the Fresnel and diffusion layers in front we get a slightly squished circle pattern that is soft with a bright centre.
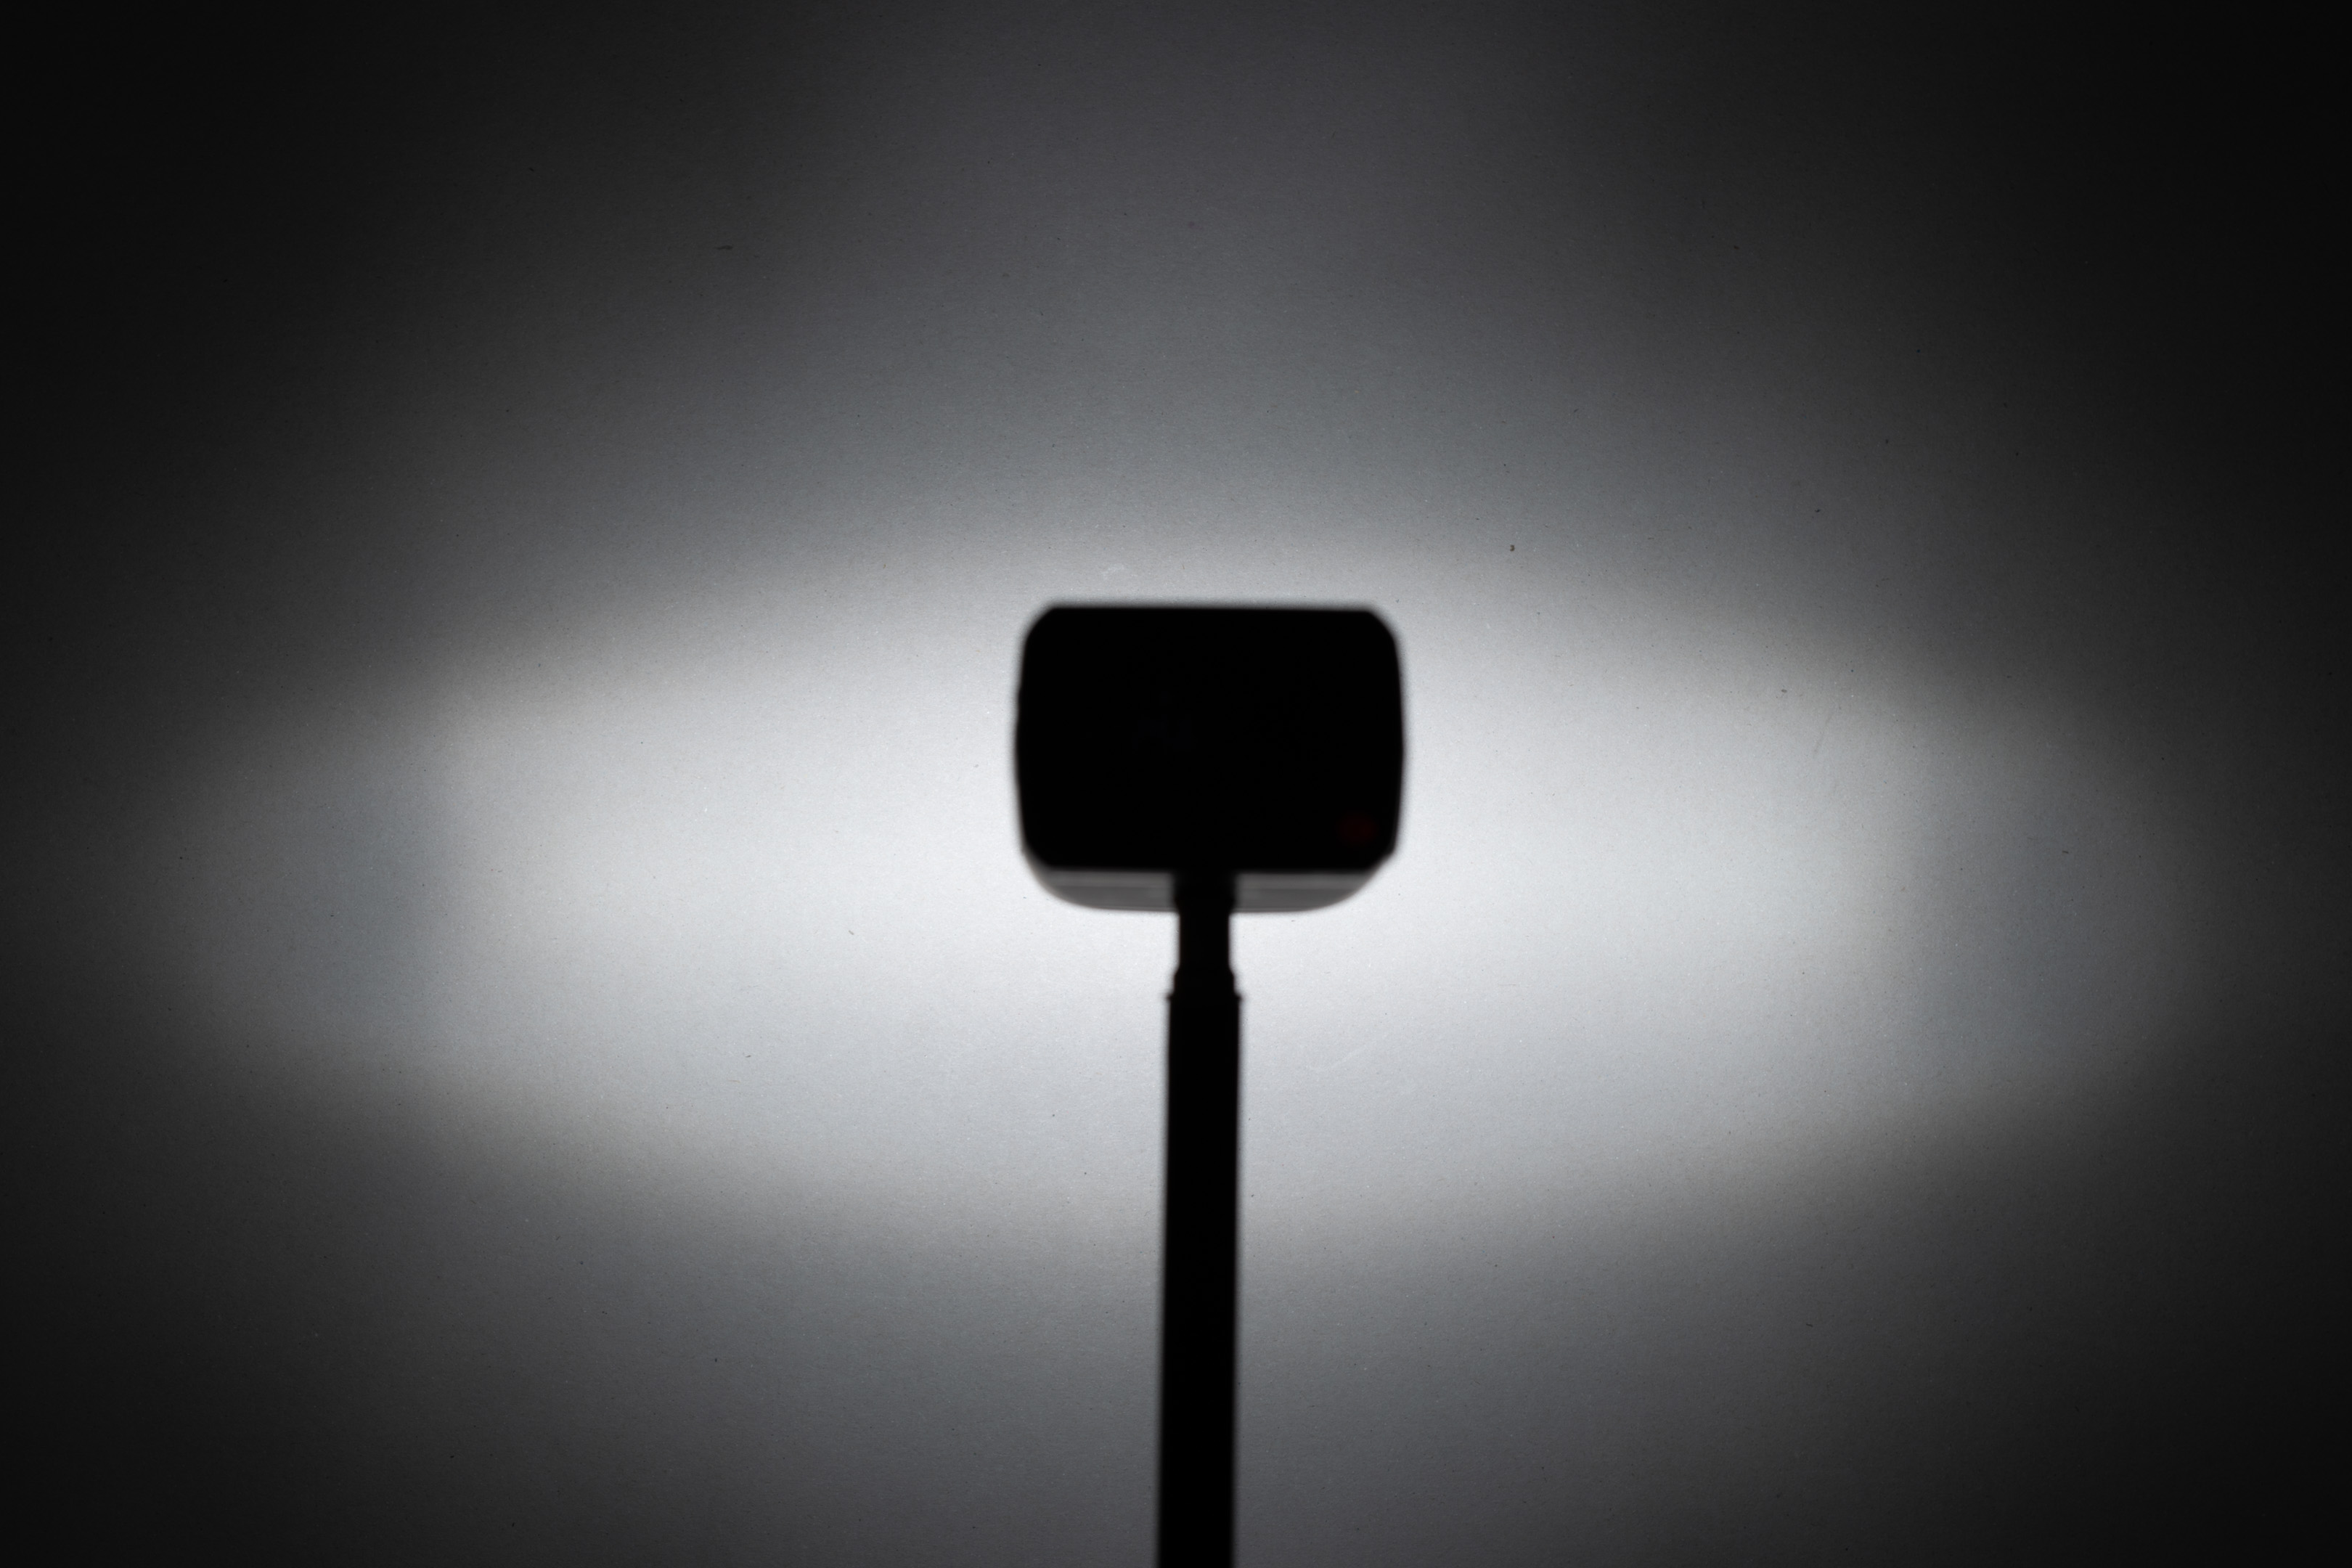
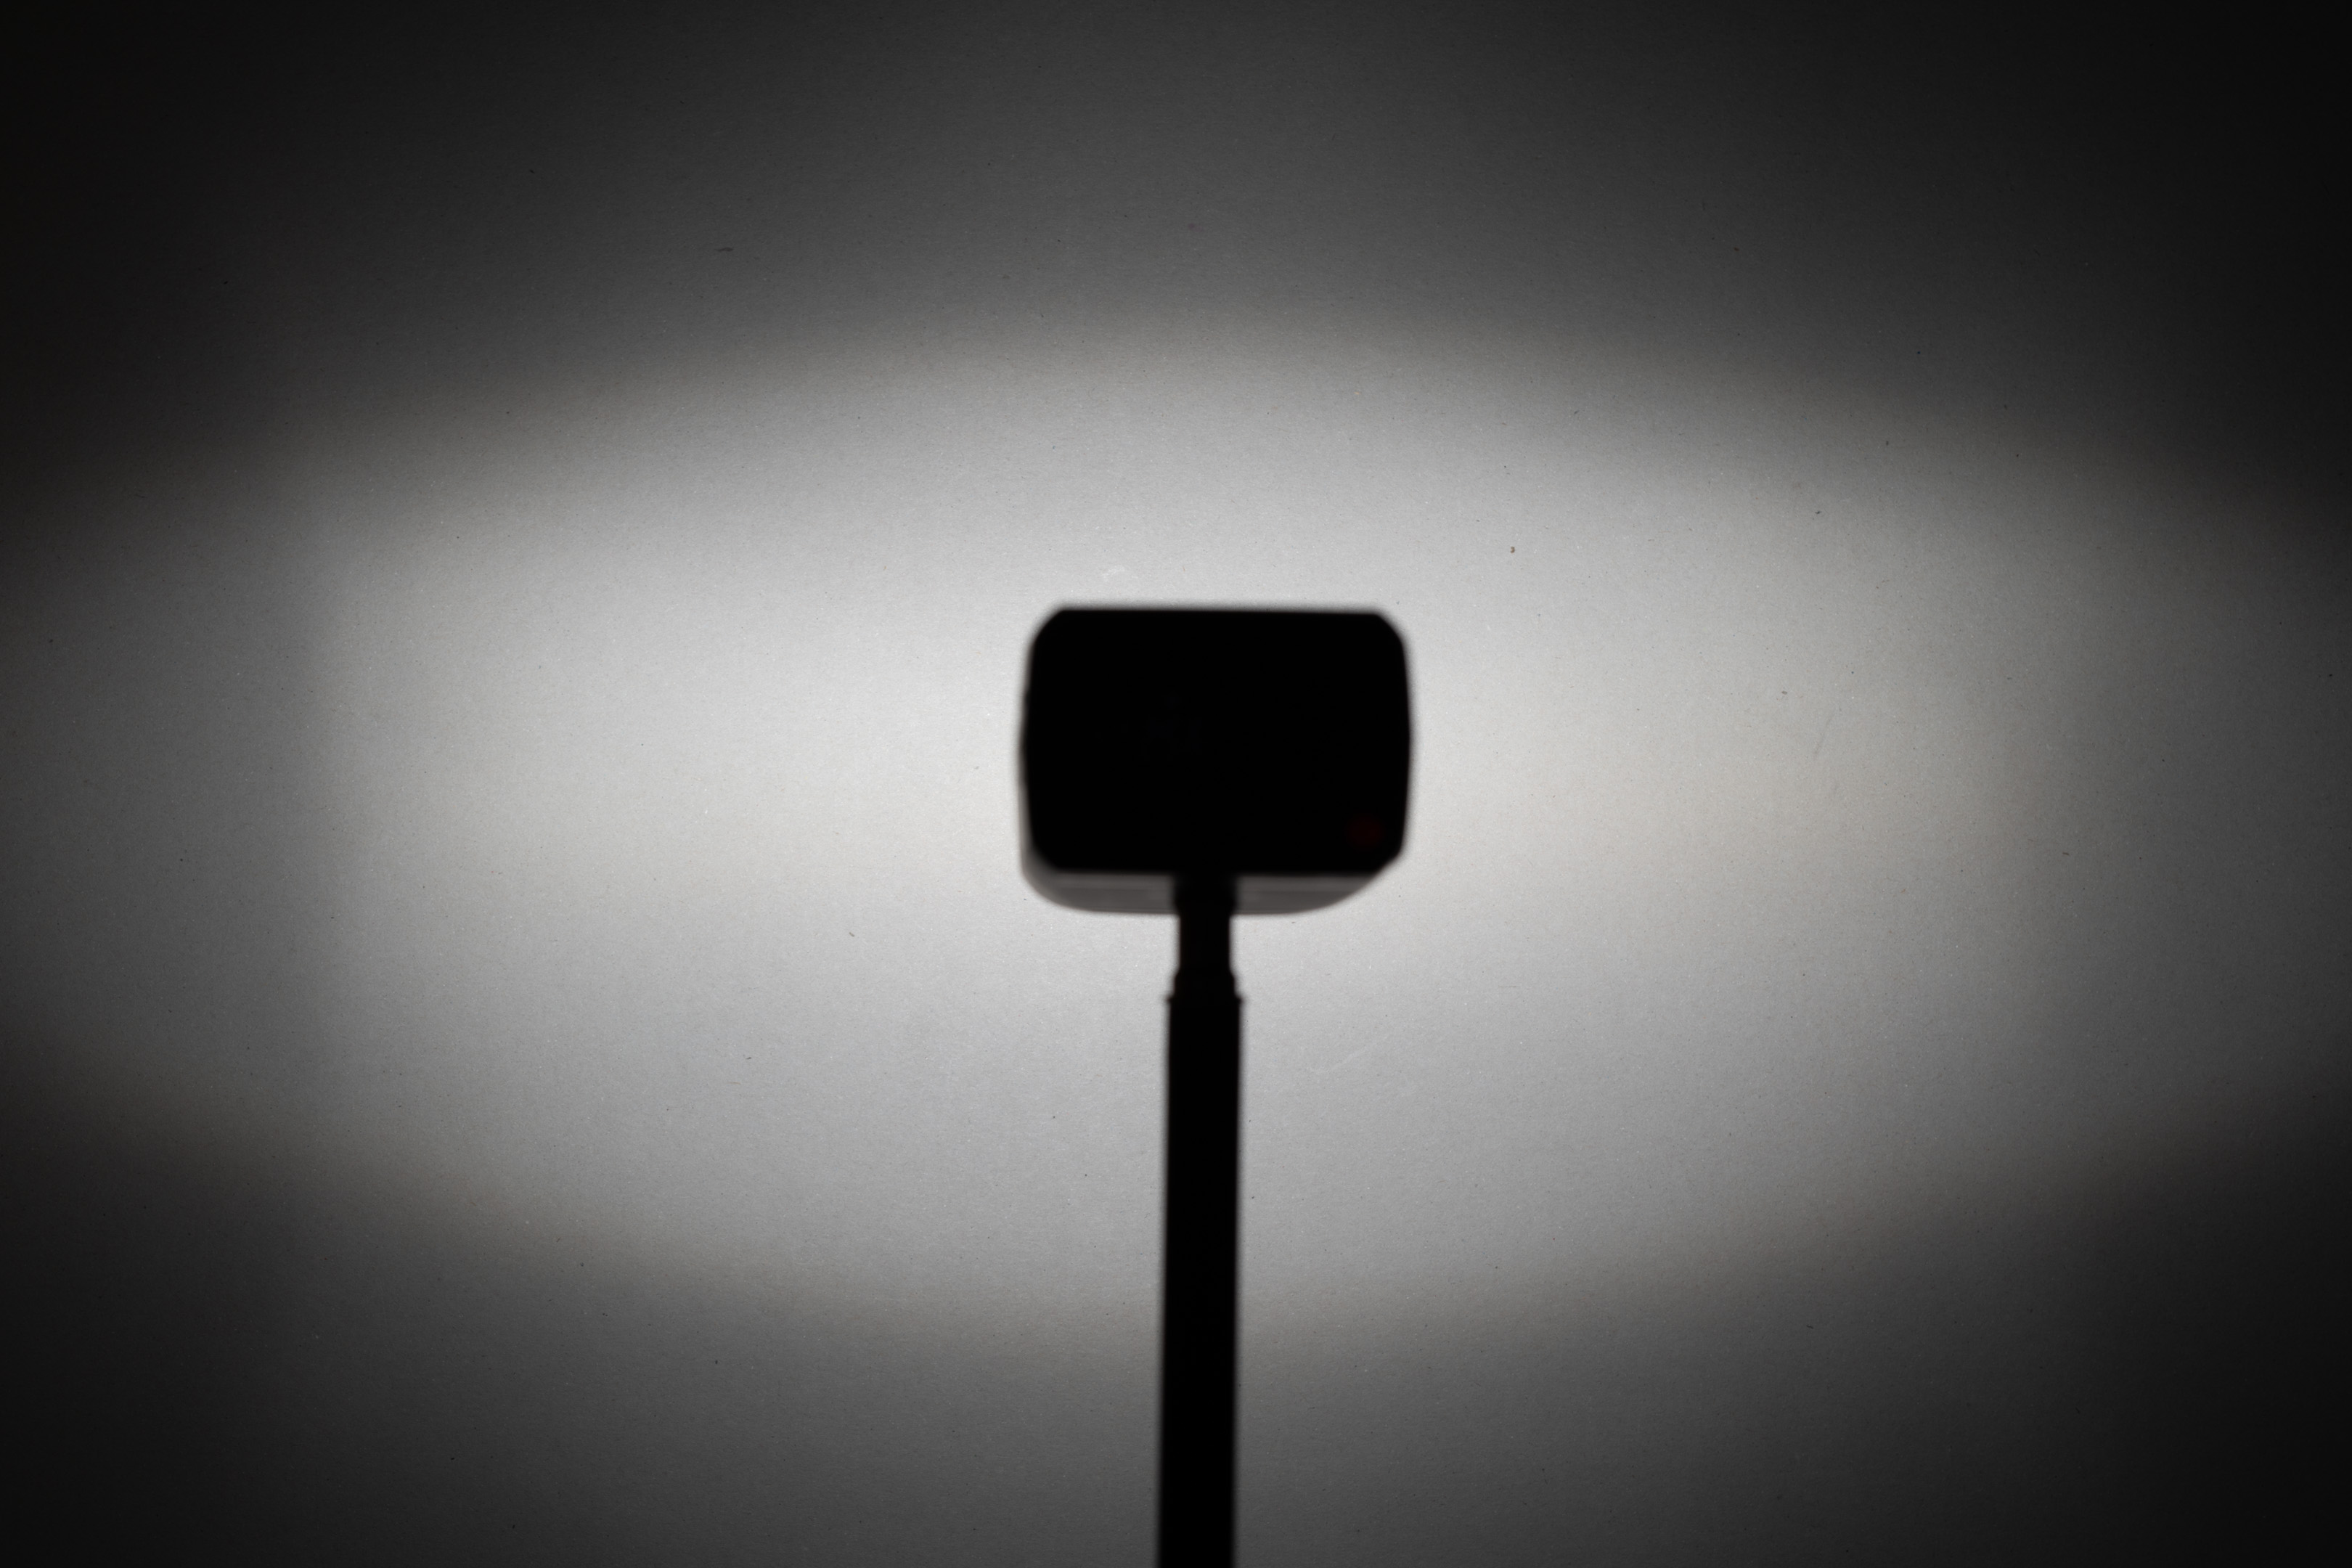
AD200 Pro with standard head

AD200 Pro with standard head (no Fresnel), 1/256 power
The AD200 Pro with the standard head and protective glass left in place but Fresnel removed has somewhat of a cross shape.
AD200 Pro with standard head with Fresnel, 1/256 power
If we stick the Fresnel in front we get a much more concentrated pattern.
AD200 Pro with standard head unmodified, 1/256 power
And here is an unmodified AD200 standard head for comparsion, which you can see is similar but not as concentrated.
AD200 Pro with bulb head and AD-S2 reflector dish
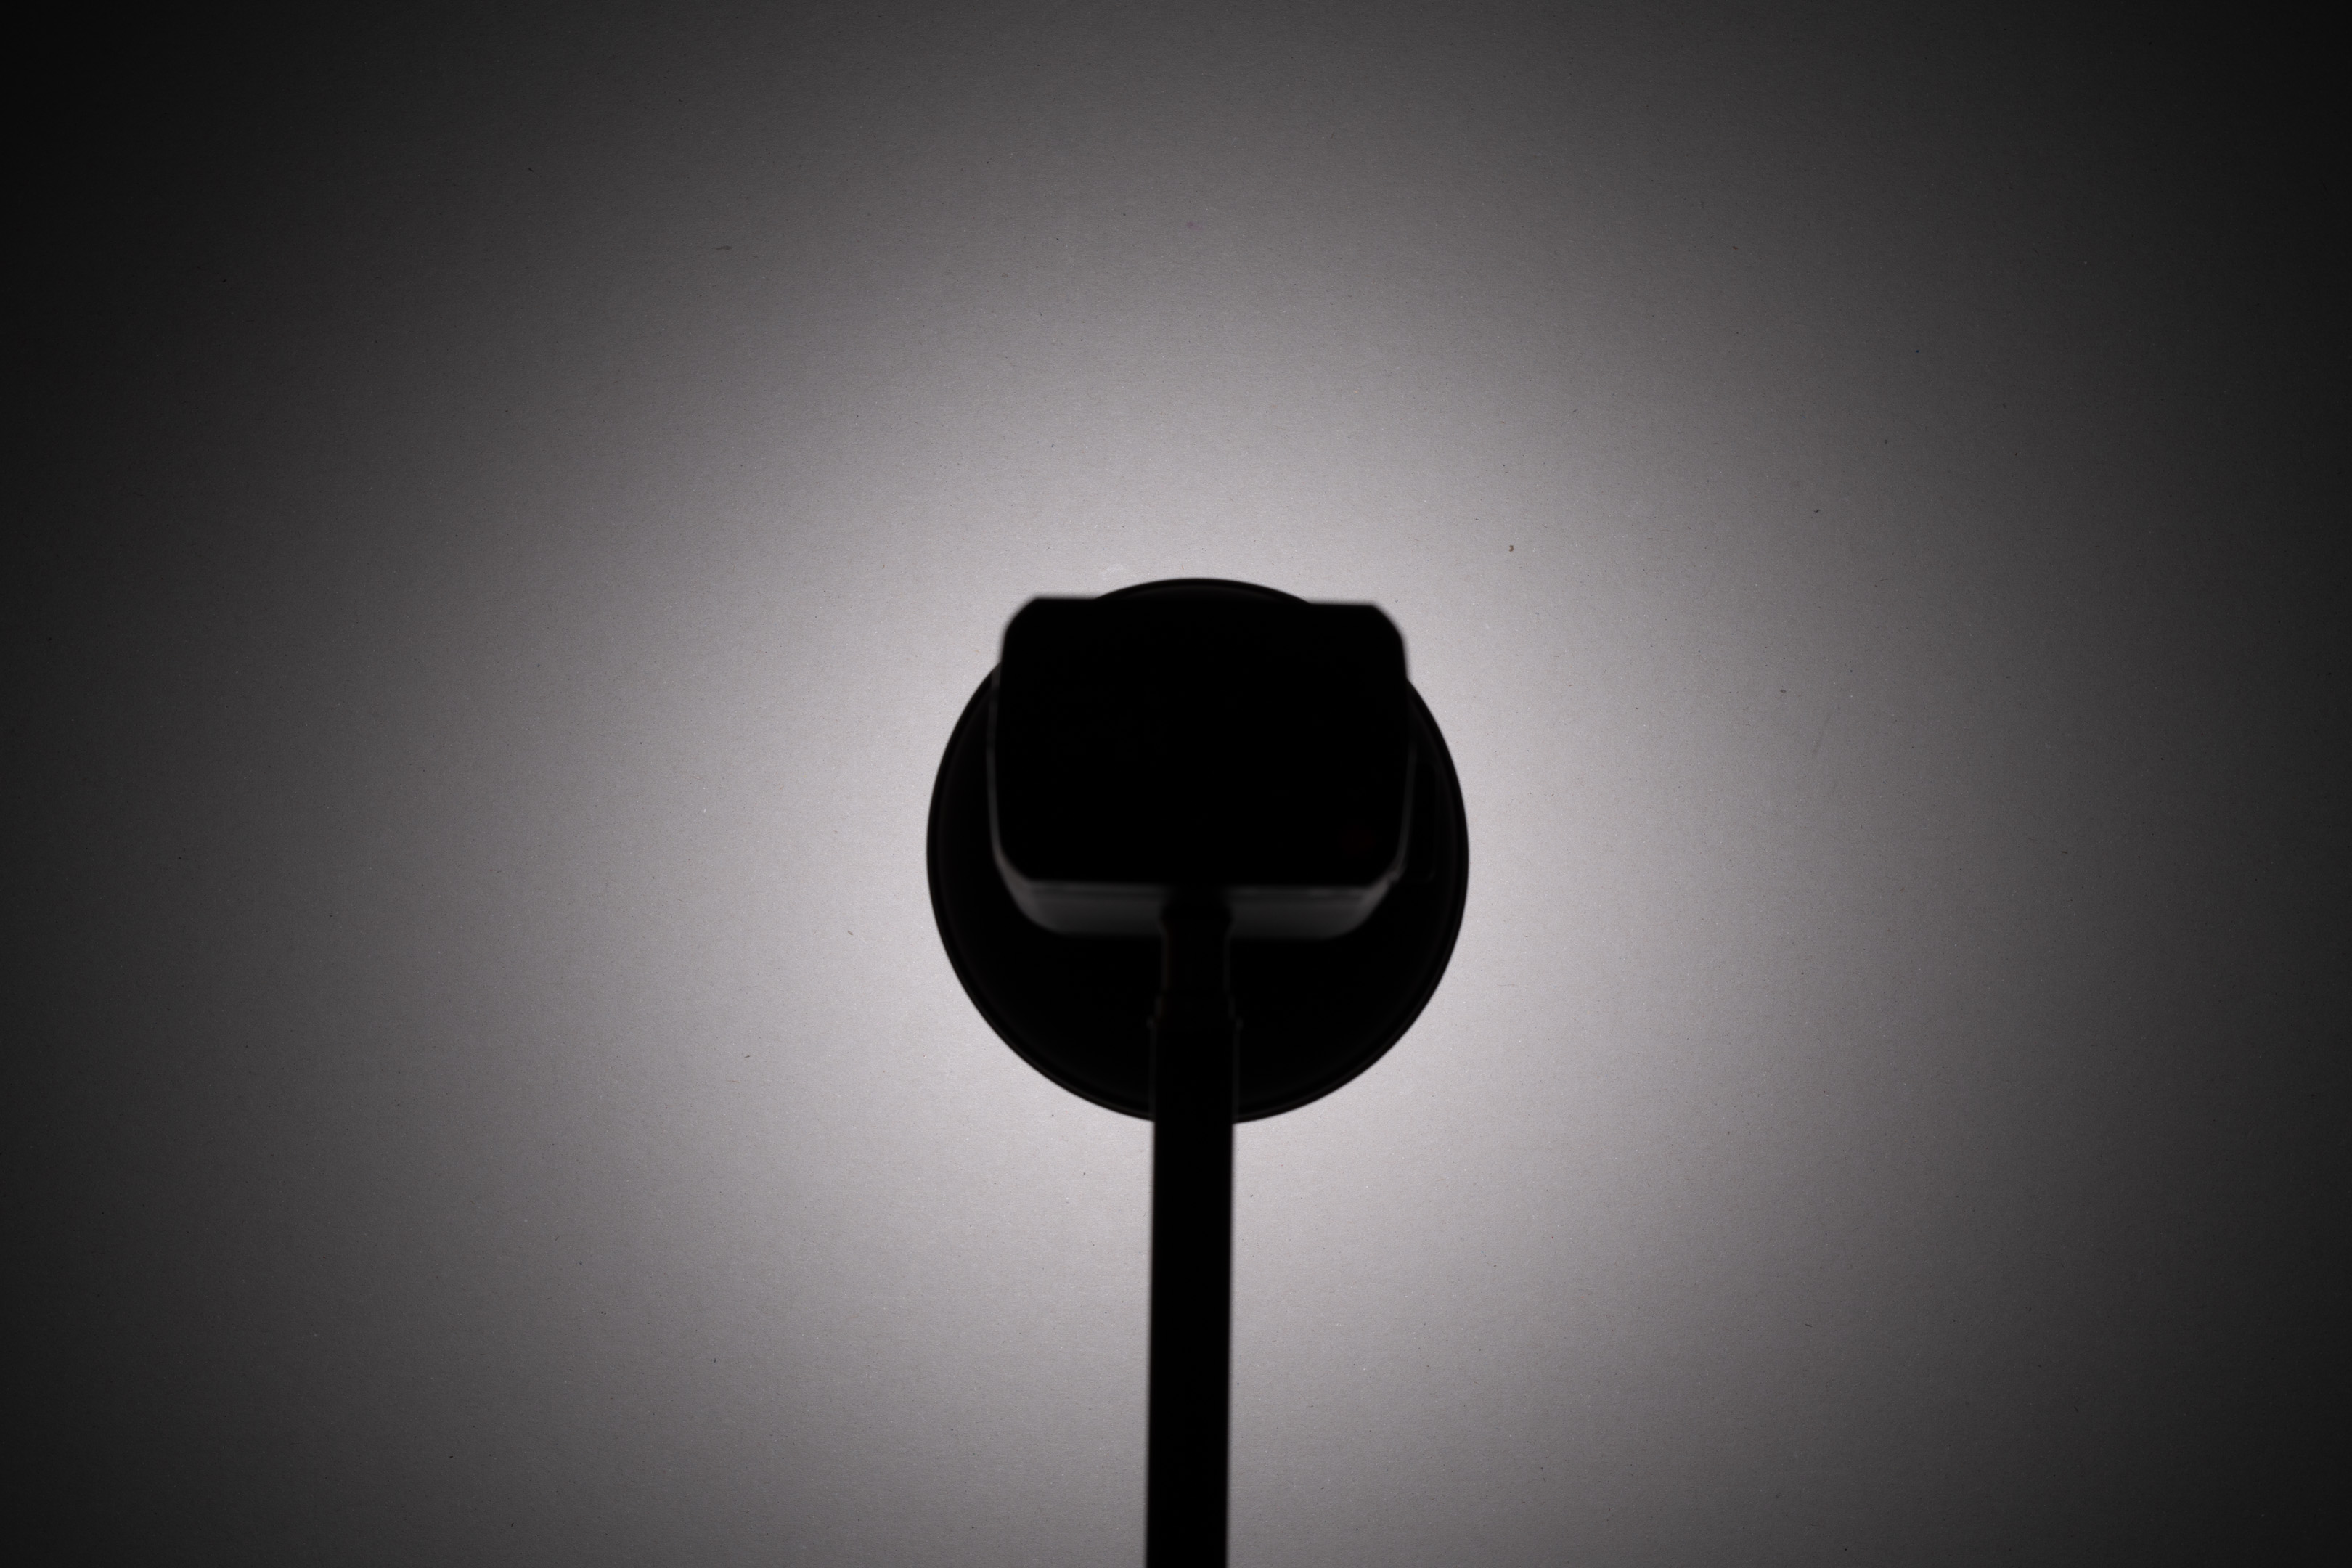
AD200 Pro with bulb head and AD-S2 reflector dish unmodified, 1/64 power
The unmodified AD200 Pro bulb head with AD-S2 reflector dish gives a nice round circular result.
So what we can see from these tests is that removing the pieces from the front of the flash does have an effect on the light output. The light is spread much wider, and so will be less intense than an unmodified flash used at the same distance and settings. We can put the original plastic back on the front of the flash, and this will actually result in more focused light than an unmodified flash due to the greater distance between the Fresnel and the flash tube.
I don't think you would want to use a flash with the original front lens loosely taped to the front of it. But conceivably you could 3D print a holder for the original lens and then tape that to the flash or design it in some way that allows it to attach securely.
Conclusion
Any of the standard flashgun style Godox flashes seem to be fine for converting for UV photography. The larger, heavier, and more expensive you go, the more UV light output you'll get. None of them give a large amount of UV output, but even the smaller ones should be okay if you can position it fairly close to your subject and use a higher ISO.
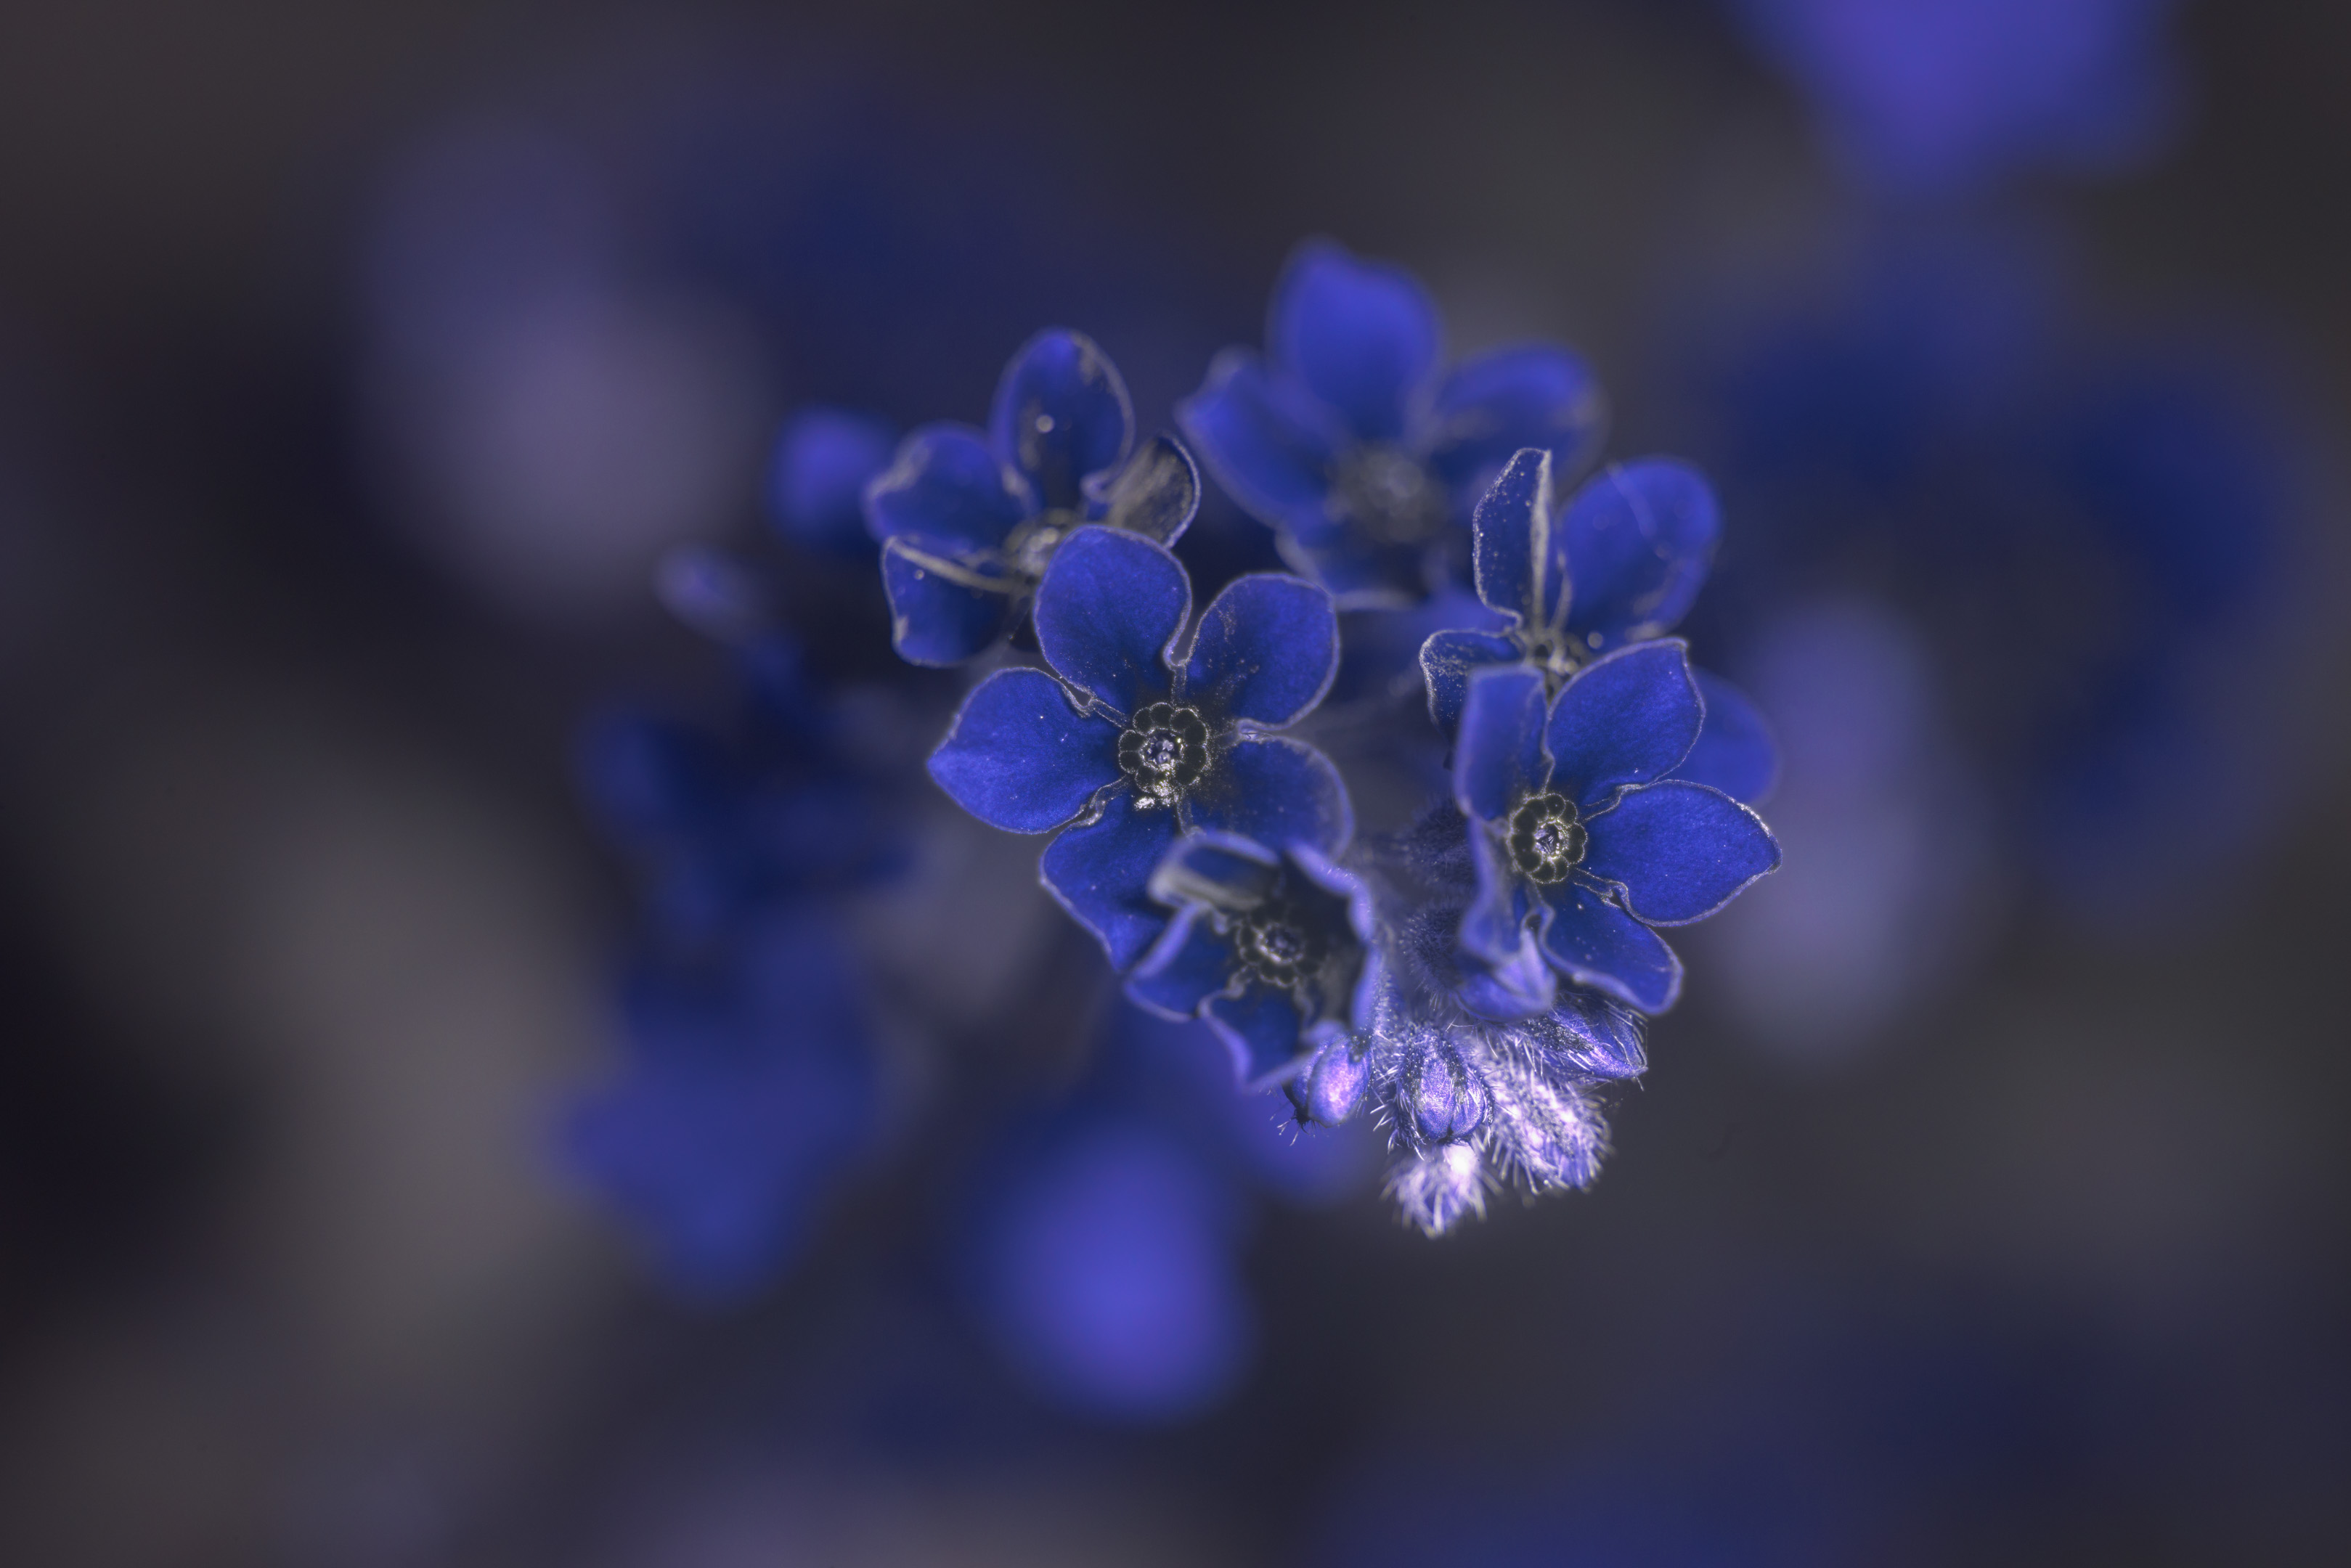
Forget-me-not flowers - AD200 with standard head, 1/2 power, ISO 400
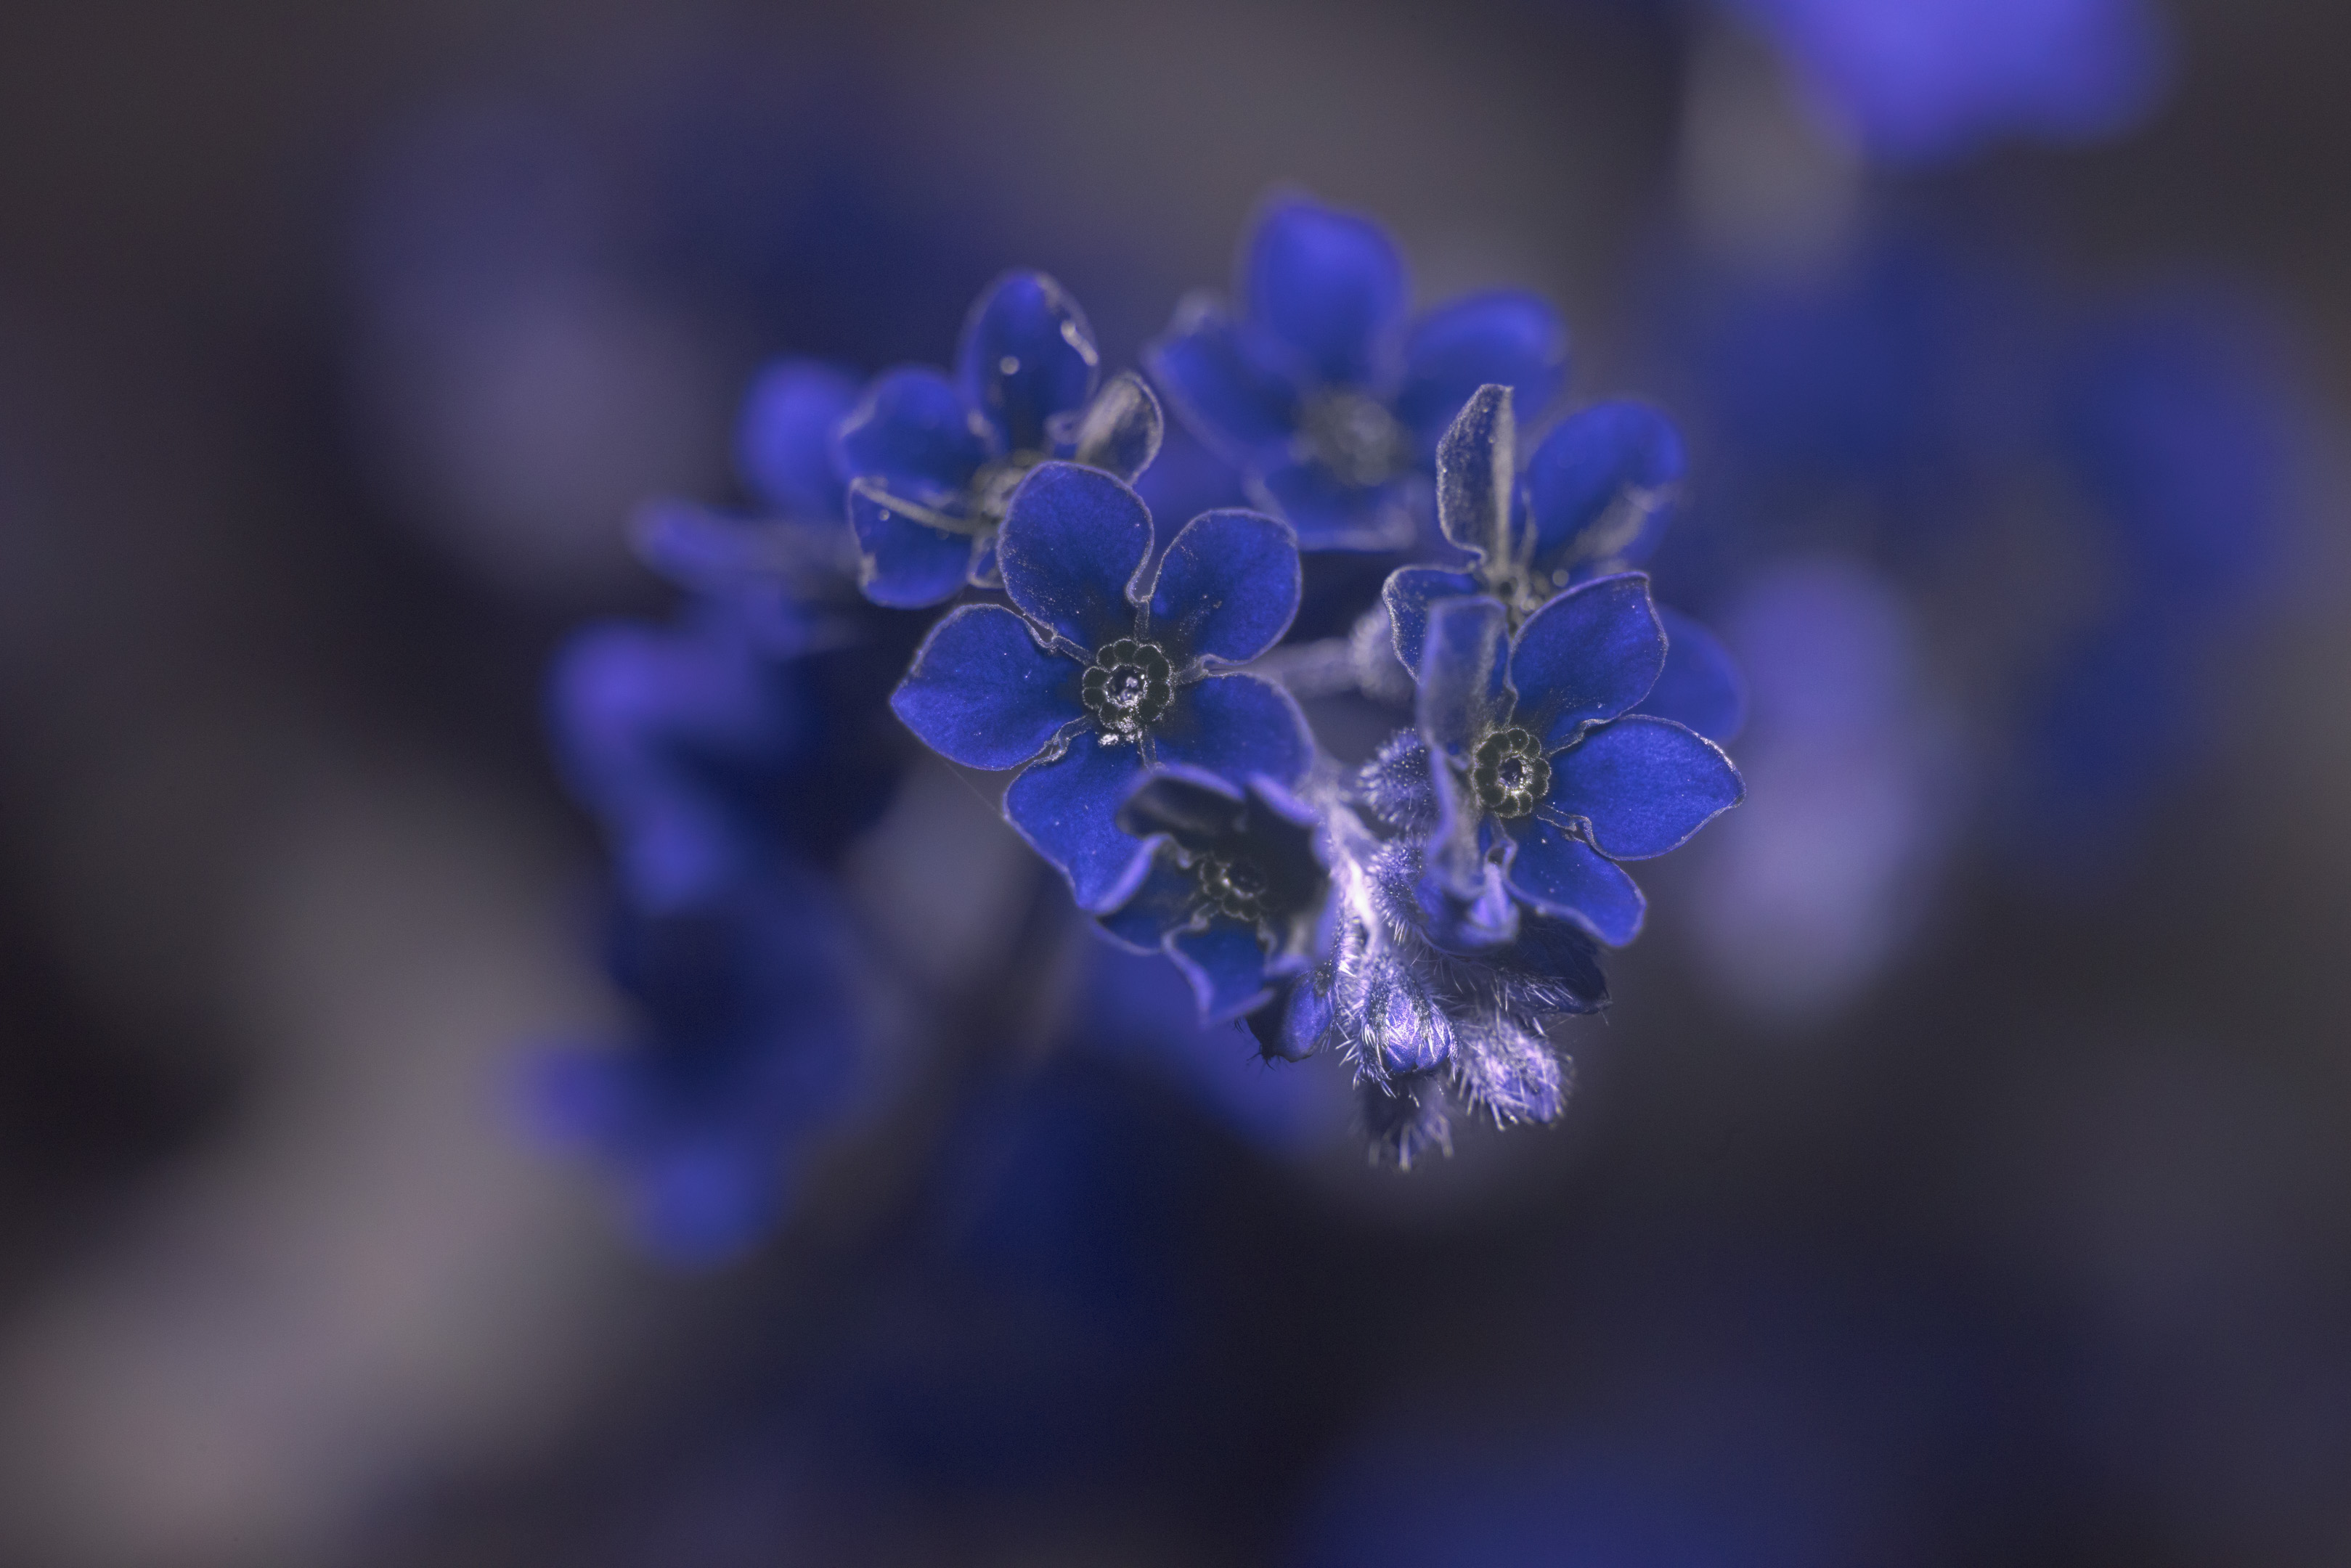
Forget-me-not flowers - MF12, Full power, ISO 3200
Modifying the flash does affect the light output / spread. But either you can just treat the flash like it permanently has a wide-angle diffuser attached, or you can find some way to re-attach the original front lens(es) in front of the flash for visible light use.
Leave a Reply