One of the good things about using Adobe Camera RAW is that it includes built-in profiles for correcting vignetting, CA, and distortion of many lenses. It doesn't include profiles for all lenses, but you can create your own profiles using the Adobe Lens Profile Creator.
There isn't a profile for the Tokina 10-17mm fisheye lens, and I was seeing some CA in my images converted with ACR even though I had the CA correction box ticked. So I decided to try creating a profile for the lens, in the hope this would allow for better CA removal.
The process of calibrating a lens just involves taking some photos of a checkerboard. Various checkerboard PDFs are included with the Lens Profile Creator, so you can get one of the right size printed for the focal length lens you want to use. Because a fisheye lens has such a wide field of view, you need to get a pretty big chart printed. I got mine printed by a local printers for £20.
Then you take 9 photos of the chart:
- centred
- centre top
- centre bottom
- left centre
- left top
- left bottom
- right centre
- right top
- right bottom
You convert the images to DNGs or JPEGs and then add them to the Adobe Lens Profile Creator. You need to repeat the above process for each aperture and focal length you want profiled. Having said that, the program can interpolate results between focal lengths and apertures. So for a zoom lens you probably wouldn't bother taking photos for every single focal length possible, just the main ones.
Depending on how you use the lens, you can also create sets of images based on different focus distances.
For manual lenses that don't record focal length and / or aperture, you need to make sure this info is recorded in the EXIF manually. Otherwise the Lens Profile Creator will think all your image sets were taken at the same aperture and focal length. I used ExiftoolGUI to edit the EXIF of my images.
For my Tokina 10-17mm f/3.5-4.5 fisheye lens, I started by doing a set at 17mm and approx f/10. (It's a Nikon G lens used with Nikon G to Canon EF adapter so I can't set an exact aperture). After those images processed okay, I noticed that the generated profile didn't seem to provide any benefit CA wise.
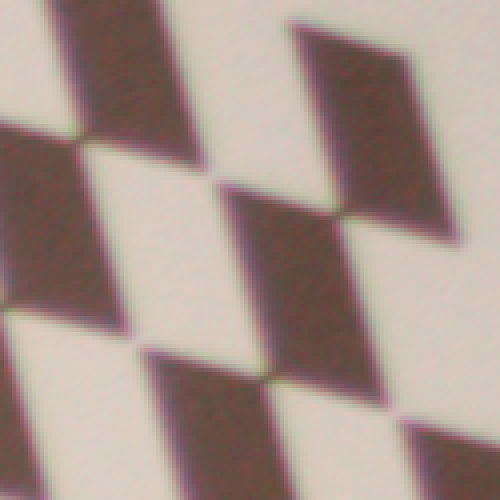
Image processed through ACR without lens profile but with CA correction box ticked (400% crop)

Image processed through ACR using lens profile and with CA correction box ticked (400% crop)
You might notice both images look exactly the same. It seems that the CA correction in ACR doesn't actually use any CA correction values stored in the lens profile. Instead it corrects CA using its own automatic correction algorithms.
This can be shown by opening an uncorrected version of the image in Photoshop, and then using Photoshop's Lens Correction Filter. In there you can specify to use the Lens profile and correct CA. This gives quite a different result:

Image processed through Photoshop's Lens correction filter using lens profile and with CA correction box ticked (400% crop)
As you can see, the result given by using the lens profile is actually worse than the automatic CA correction in ACR. Finally, for comparison, here is my attempt at manual CA correction using Photoshop's Lens Correction filter, and the image with no CA correction:
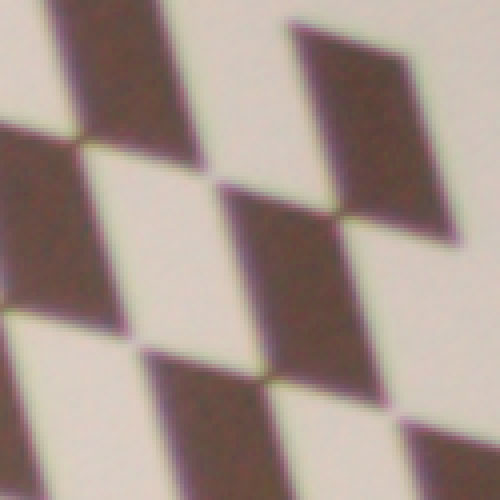
Image processed through Photoshop's Lens correction filter using manual CA correction (400% crop)
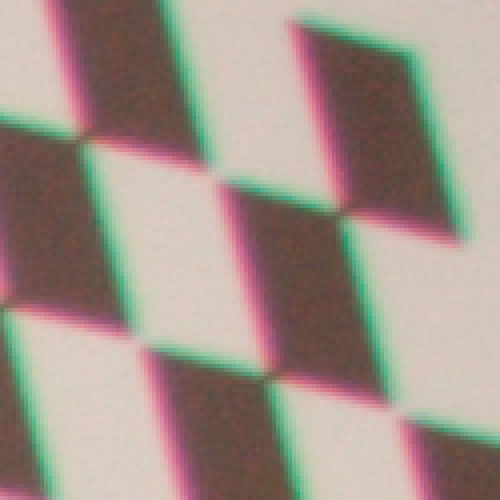
Image processed with no CA correction (400% crop)
So, using a lens profile had no benefit with regards to CA correction at with the lens at 17mm. I thought it might make more of a difference at 10mm, so shot a set at 10mm and ran that through the Profile creator. (I have shaved the hood from the fisheye - I will post about doing that and the effects some other time).
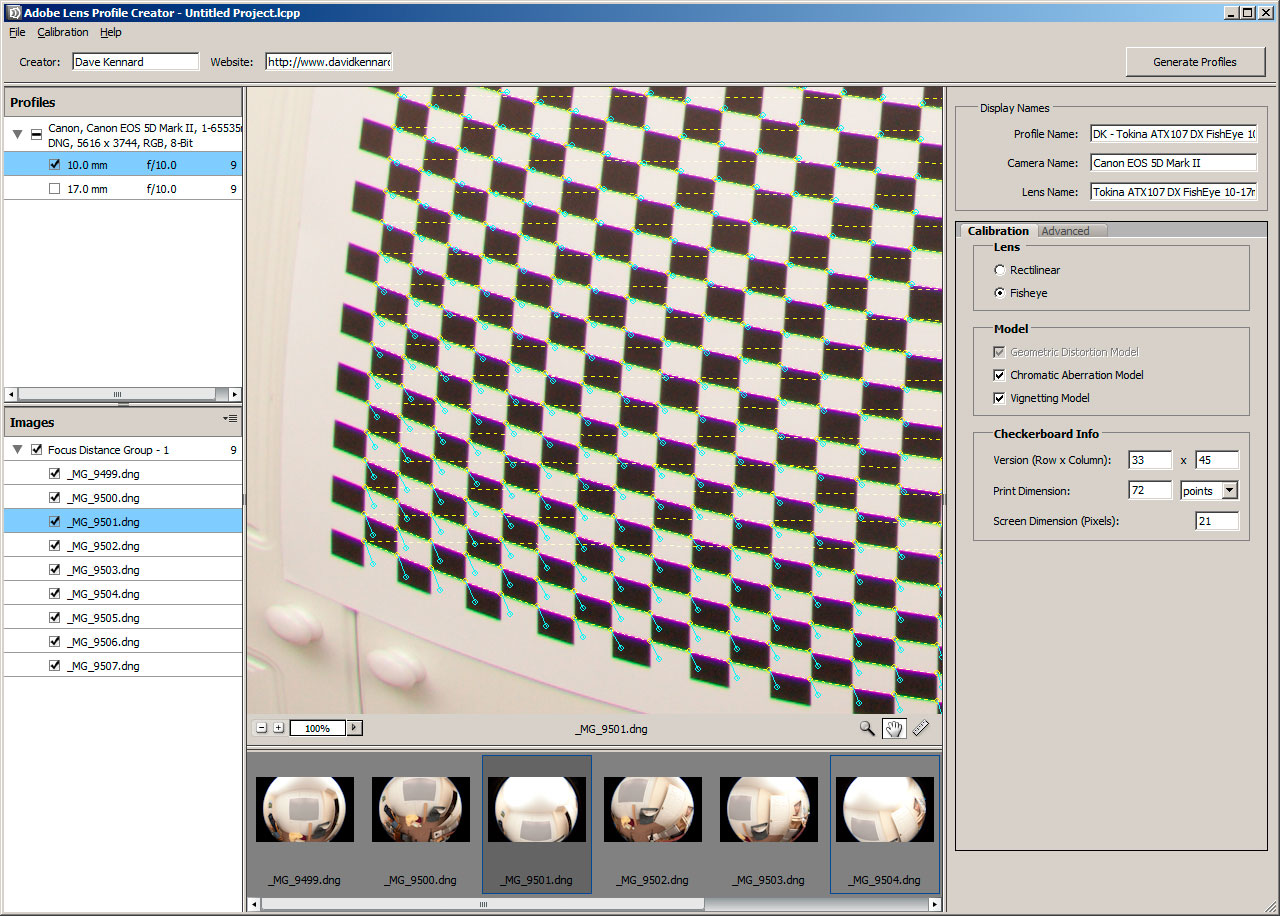
However, when the Lens Profile Creator finished processing the 10mm set, it came up with an error message that said:
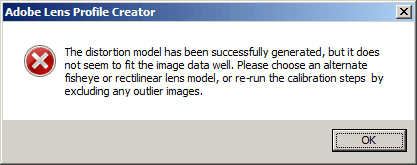
Despite the error message, it did save the profile OK. None of the images had error signs next to them. There are only two lens models - fisheye and rectilinear, and I had chosen fisheye. The documentation for the Adobe Lens Profile Creator also includes a section about shooting the charts with a circular fisheye lens, so it wasn't that it doesn't support circular fisheyes. So I'm not sure what the error meant.
Here is a screenshot of the Lens Profile Creator showing one of the images after creating the profile with the error message. As you can see, the cyan pins appear to be located at the corners of the squares correctly, but the yellow lines appear to just run straight across the image:
The 10mm images appeared to defish correctly in the ACR preview (obviously extremely stretched at the edges, but the lines were straight). But when I used the Lens Correction filter in Photoshop and selected the Lens profile, the CA correction was way off:
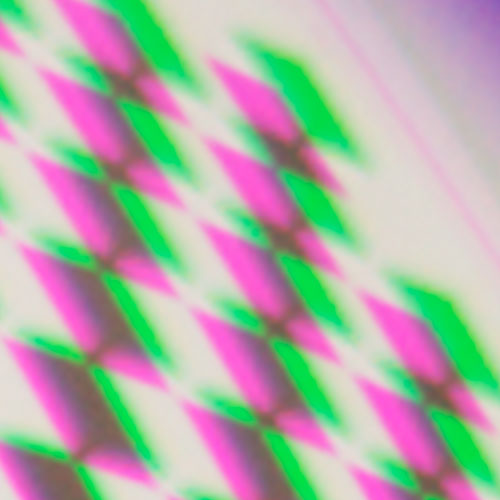
Image processed through Photoshop's Lens correction filter using lens profile and with CA correction box ticked (400% crop)
For comparison, here is the same image with no correction, auto correction in ACR, and manual correction using Photoshop's Lens Correction filter:
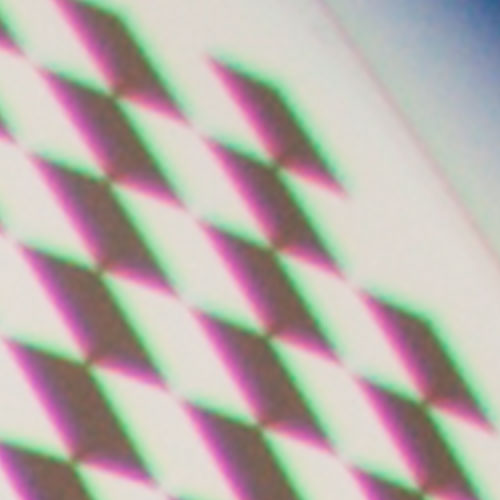
Image processed with no CA correction (400% crop)
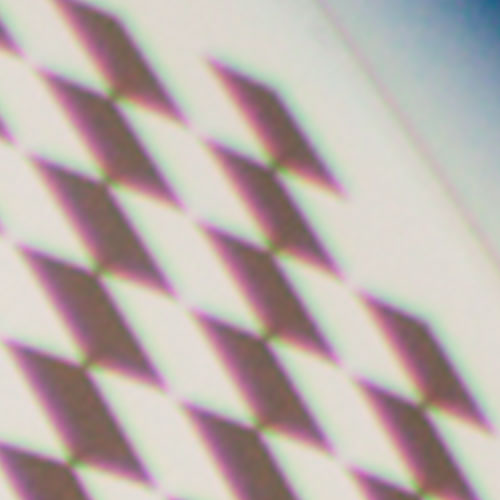
Image processed through ACR with CA correction box ticked (400% crop)
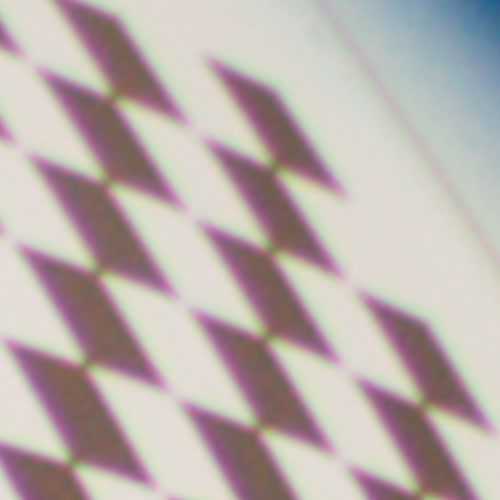
Image processed through Photoshop's Lens correction filter using manual CA correction (400% crop)
To my eyes, the manual correction I did in Photoshop looks slightly better than the ACR auto correction. But if we look at the opposite edge of the image, then the auto correction looks better than my manual correction:
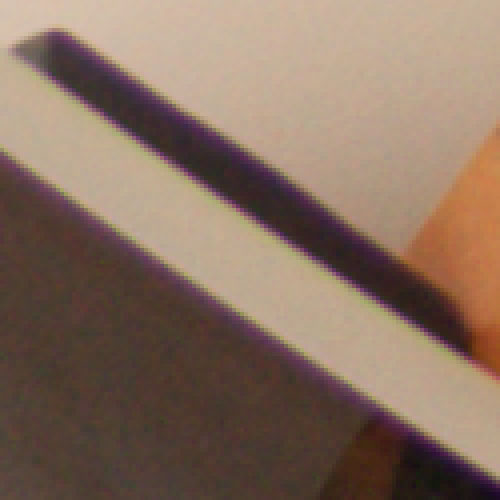
Image processed through ACR with CA correction box ticked (400% crop)
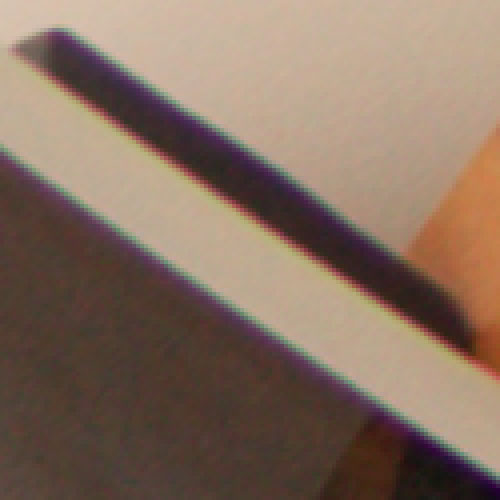
Image processed through Photoshop's Lens correction filter using manual CA correction (400% crop)
So clearly ACR's auto CA correction isn't perfect, but it is very hard to beat. Although the CA is minimal when corrected, it is still enough to be a problem for me. The reason is that I use the fisheye lens for taking photos for 360° panoramas. When the images are defished, the CA near the edges of the image gets stretched a lot, and so is quite visible.
I will try some other software, and see if there is anything that can do a better job of CA removal than ACR. That will be for another post though.
So far in this post I've only looked at using a custom lens profile to see how it affects CA correction. The other benefits of the profile are automatic distortion correction and vignetting correction. I'm not too concerned with these for the fisheye images. Possibly vignetting correction might be useful.
I did buy a Samyang 14mm/2.8 lens that the distortion correction probably would have been useful for. This lens has moustache distortion, which is difficult to correct with manual distortion correction tools. But unfortunately the lens I bought suffered badly from field curvature, so I had to return it.
My Miranda 24mm/2.8 lens suffers badly from vignetting, so I created a profile for that. Here is an image processed using the profile, compared to one where I tried to correct the vignetting manually (but didn't apply distortion correction):
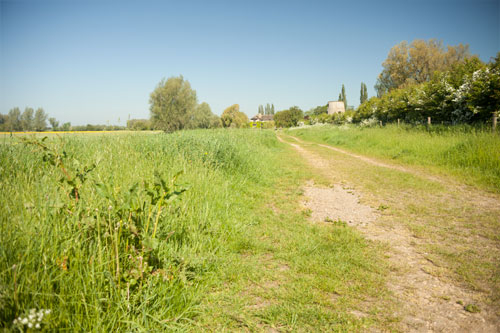
Image processed with no correction
Image processed using lens profile
Image processed with manual vignetting correction
As you can see, the auto correction using the lens profile looks like it did a better job than my manual correction.
The main problem with using Lens profiles for manual lenses, is that you need the correct details recorded in the EXIF data. For the above photo, I first tried setting the aperture value in the EXIF to f/5.6. But the vignetting correction brightened the corners. When I set the aperture value in the EXIF to f/8, it corrected the vignetting as you see above.
So you need to remember to set the camera to record the correct aperture at the time you take the photo. Either that, or make a note of the aperture, and then edit the EXIF of the images with the correct aperture later. Otherwise any automatic corrections applied will be wrong.
For me, I don't think profiling my lenses has been very useful. I'm mainly just concerned with CA correction for my fisheye lens, and the profile doesn't make any difference to that. For the Miranda 24mm lens I'm mainly concerned about vignetting correction. But making sure the camera is set to the same aperture value as the lens every time I take a photo might be more work than just correcting vignetting manually.
If I can get a good copy of the Samyang 14mm lens, then I think that creating a lens profile for that lens would probably be worth the trouble though. The same would be true of any other lens with complex distortion.
Leave a Reply