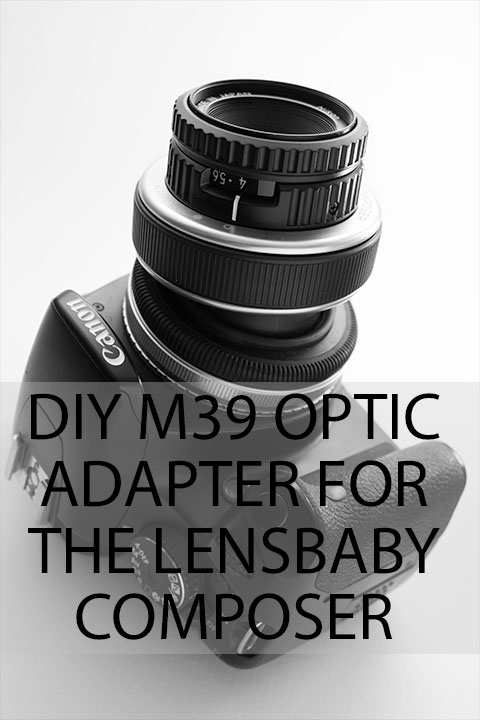
It's been a while since I posted to the blog, so I thought I might as well write about my DIY M39 optic adapter. The adapter allows using enlarger lenses (or in theory any other M39 mount lens) with a Lensbaby.
This gives you tilt effects without the blurry distortion around the edge of the frame of the standard double glass optic that comes with the lens baby.
I actually finished this adapter quite a while ago, but the full project isn't finished yet. I aim to convert the Lensbaby Composer body to a M42 mount, so I can use it with my DIY short back distance M42 adapter for my Fuji cameras and achieve infinity focus. (As well as being able to still use it on my Canon cameras with an M42 - EF adapter, and mount it on a M42 focusing helical for increased macro capability).
For the enlarger lenses that I have, they are only suitable for relatively close-up work if mounted on the Lensbaby and used on one of my Canon DSLRs. The distance between the camera's sensor and the rear element of the lens is too large to allow the lens to focus further away.
So, this adapter is only useful if you don't mind having close-focus only. Or if you have a mirrorless camera and don't mind fashioning a short mount adapter for the Lensbaby body.
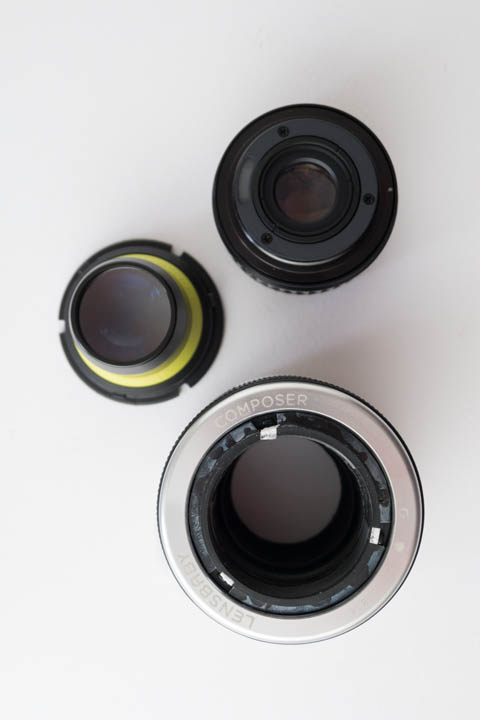
Lensbaby Composer body with the M39 adapter inserted, beside the double focus optic and a 75mm M39 mount enlarger lens. Enlarger lenses are roughly the same size as the Lensbaby optics in terms of height, but a bit fatter.
Even only having close focus available, it's still worthwhile for me. I tend to use the enlarger lenses for close-up work, and being able to tilt the plane of focus can be quite useful.
To make the adapter I used a M39 rear lens cap, then cut out the end. This is the same process that I used for making my filter adapter / rear element protector for reversed lens macro.

M39 rear lens cap to be turned into the adapter
If you look at a Lensbaby optic and the Composer body, you can see how they attach together. There are three small tabs on the lens that fit into and slide down some slots in the Composer body. Above the tabs at the top of the lens is a lip that slides over the top of the Composer optic mount.
As you turn the optic into place, the tabs are pushed down the slots in the inside of the optic mount, forcing the lens down until the openings in the top lip lock into place on some small protrusions on the top of the Composer body.
So to create an adapter that will fit the Lensbaby optic mount, you just need to copy the mount design of the optics. For the small tabs that stick out from the edge of the adapter, I trimmed a piece of the top of the M39 lens cap I had removed. I cut this into small pieces the right size for the tabs.

Top of rear lens cap cut out and with a section cut off for making the small tabs

Piece of rear lens cap that was cut up to make the small tabs
After carefully marking on the adapter (rear lens cap) the approximate positions of the tabs, I used a knife to cut away the ridges on the edge of the adapter. This ensures that when attaching the tabs they have more surface area to cling to rather than just the tops of the vertical ridges.
Small pieces of tape used to mark the tab positions by placing the adapter over a Lensbaby optic. The ridges on the adapter where the tab is to be positioned have been cut away.
With this done, I superglued the tabs in place. I used blue-tack to hold the small pieces in place while the glue dried. I wouldn't want to hold them in place with my fingers as that would risk supergluing my fingers to the adapter.
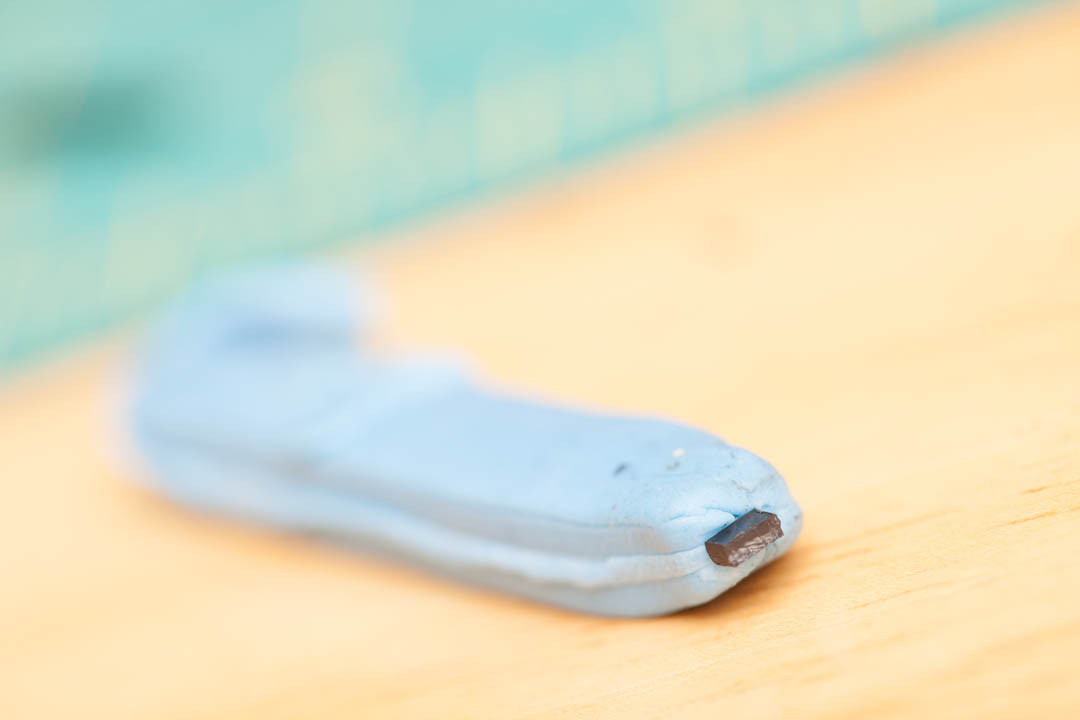
Using blu-tack to hold one of the small tabs to be affixed to the adapter
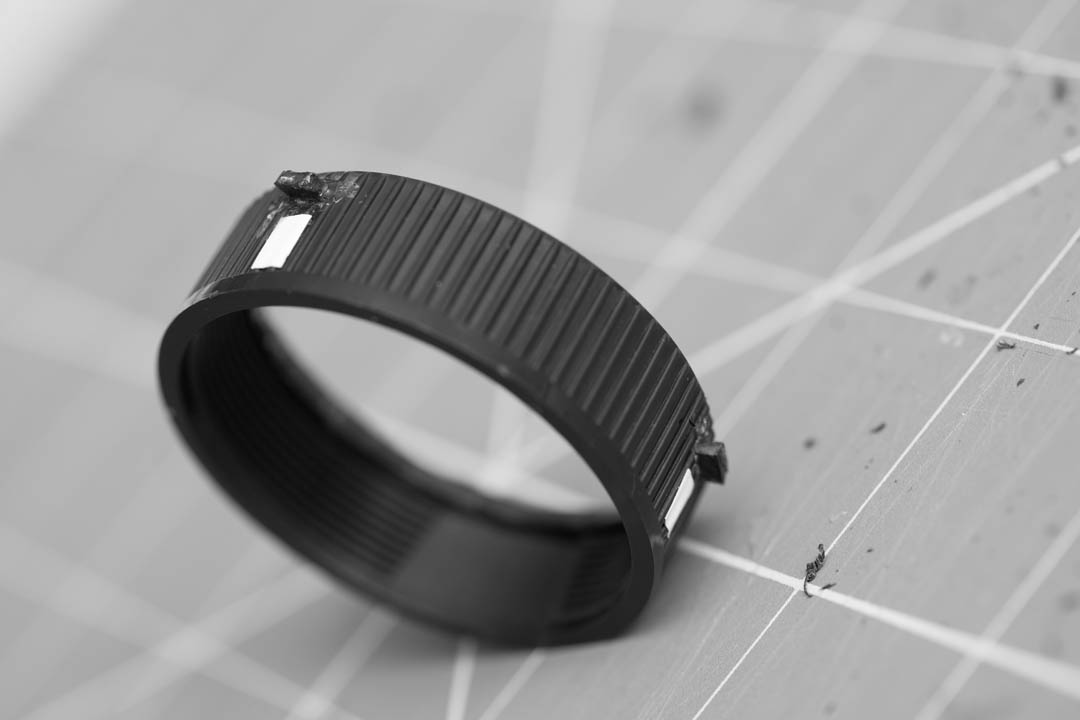
Adapter with tabs attached
The next step is creating the lip that will, in combination with the tabs, work to lock the adapter into the Composer's optic mount. To create the lip I took the interior part of a CD case (which is not particularly thick). I drew round the adapter on the plastic and then cut round this a bit larger.
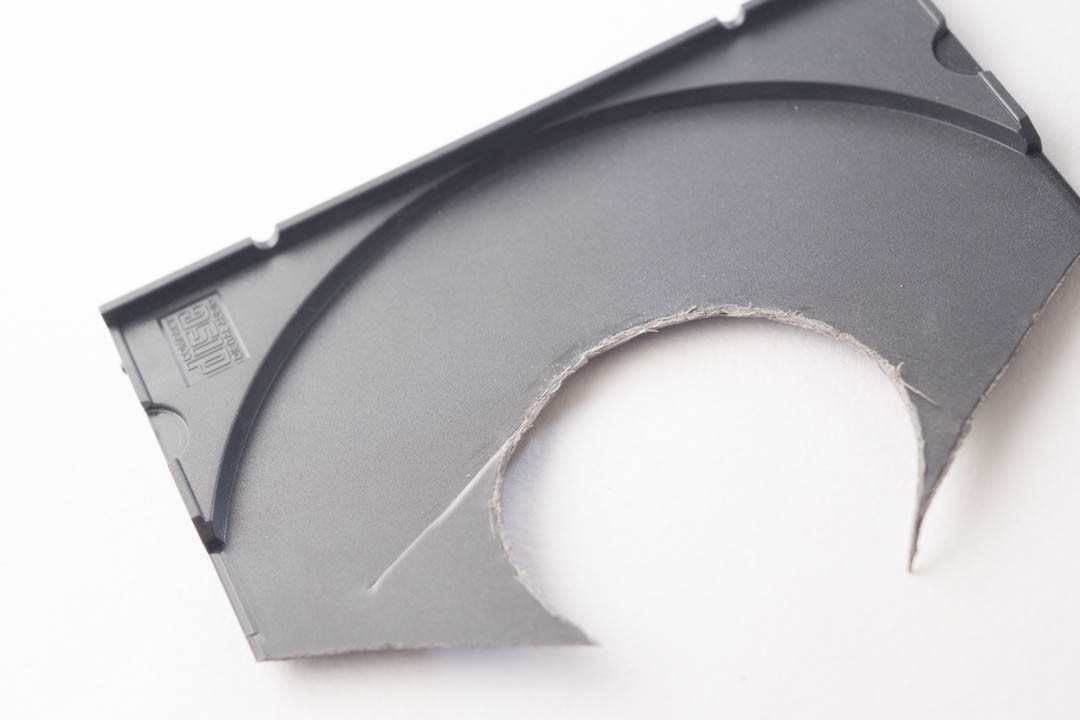
CD case with section cut out for use in making the adapter
Then I cut out the central part, leaving just a ring. Based on the lip of the Lens baby optics, this then needs to be cut into 3 sections. You need to leave a small gap between each section when attaching to the adapter, so each section will be slightly smaller than a third of the ring.
It's then a case of filing down the inside edges of the lip sections a bit until they are the right shape to attach round the outside of the adapter. When done they can be superglued in place on the adapter. Positioning is very important! Both horizontal and vertical positioning.
The lip sections need to be attached vertically the correct distance from the tabs so that they will push down on the Composer's mount rather than being above it. They need to be attached horizontally so that the gaps line up correctly with the protrusions on the top of the Composer that will lock the adapter in place.
Again, I used a knife to cut away the ridges on the adapter where I wanted to mount the lip sections to ensure they would stick well.
I actually made a mistake with my lip sections, cutting them the wrong size. So one of my lip sections is made from two pieces. Still, it seems to work well. I attached the lip sections using superglue.
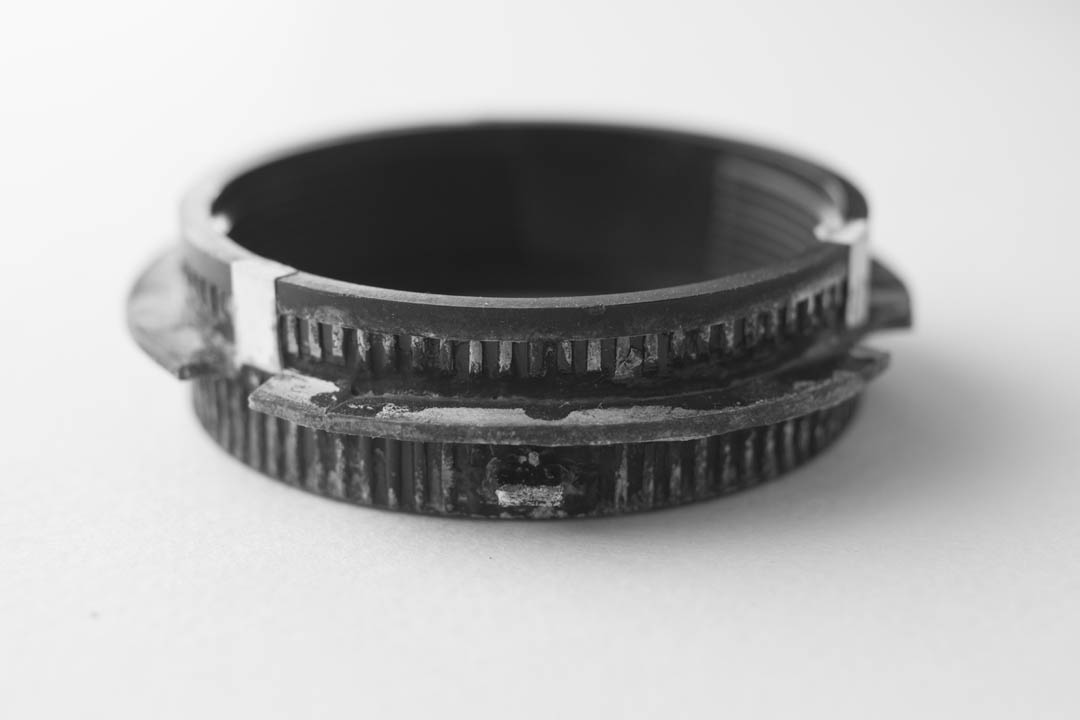
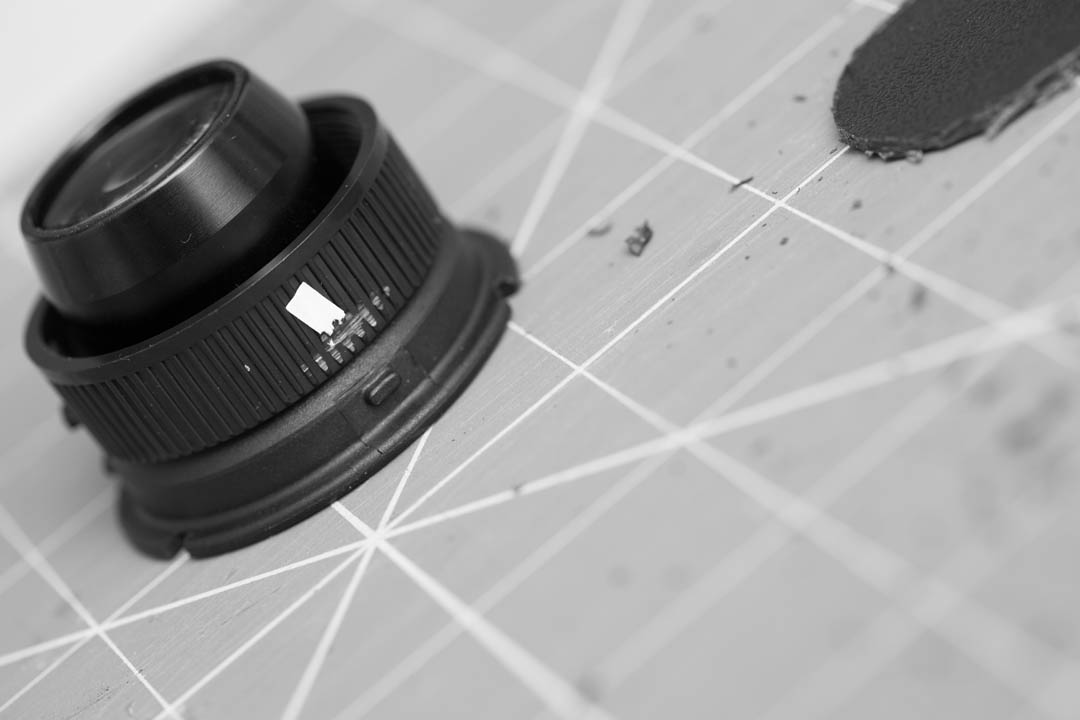
Side view of the finished adapter

Top view of the finished adapter
When the adapter is finished and dried, you can then insert it into the Lensbaby Composer body by just twisting it in. Then an M39 mount can be screwed into the adapter. Removing the adapter requires the optic removal tool, just as a standard Lensbaby optic does.
Leave a Reply