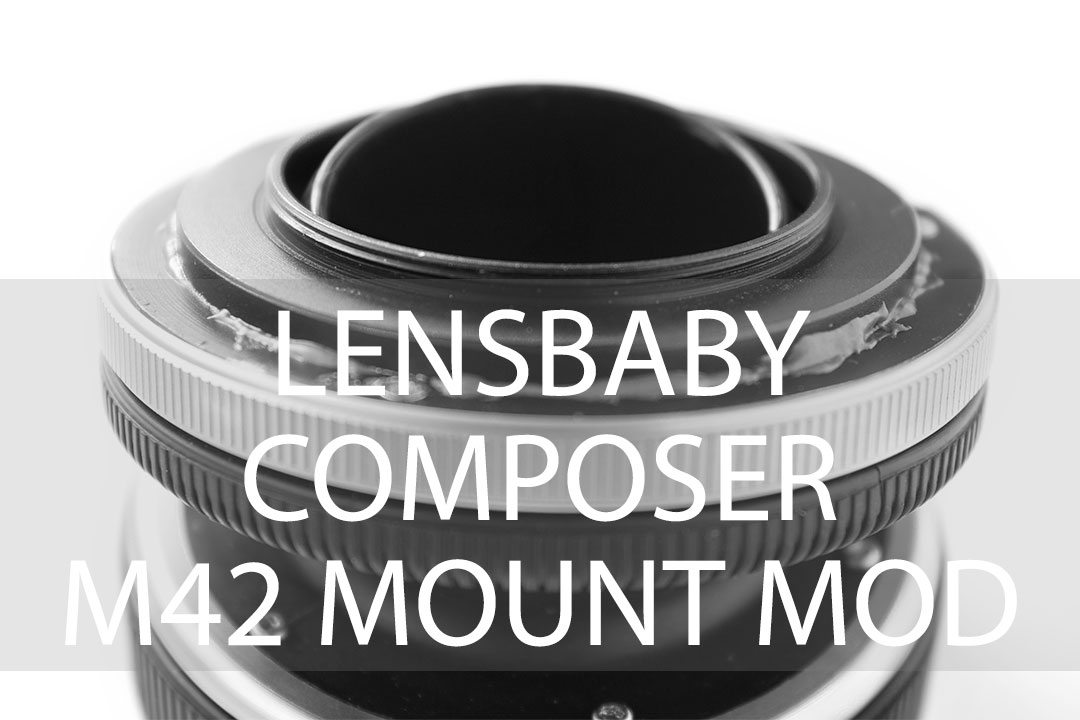
In my last post I covered my mod for using M39 mount enlarger lenses as optics with the Lensbaby Composer body. I've now finished my modification at the other end of the Lensbaby body, to give it an M42 mount. The main reason for doing this was so that I could use the Lensbaby with my short Fuji X to M42 mount adapter and obtain infinity focus with my 75mm EL-Nikkor in the Lensbaby on Fuji X mount cameras.
Using an M42 mount on the Lensbaby (rather than a Fuji X mount) means that it can still easily be used on my Canon DSLRs (with a Canon EF to M42 mount adapter). And it also allows use of a standard Fuji X to M42 mount adapter and / or an M42 focusing helical when closer focusing is needed. Basically, it's much more flexible than the original Nikon F mount that my Lensbaby came with.
In this post I'll cover the (fully reversible) modification in case anyone else is looking to perform a similar mod to their Lensbaby.
The camera mount of the Lensbaby Composer is attached to the Composer's body via three screws. So we can easily remove the mount and replace it with another. But you can't buy an M42 mount for the Lensbaby, so you have to make one.

Lensbaby with original Nikon mount removed
To start off with, I purchased a 42 mm - 67 mm step up ring. The original Lensbaby mount piece measures around 64 mm in diameter, so this ring was a bit oversized and had to be filed down until it fitted in the rear of the Lensbaby where the mount goes. Possibly a 42 - 62 mm step up ring might have been a better choice, as it looks like this might just about fit and would involve less filing to get it down to the correct size (probably just file off the 62mm threads).
The next step was to make this ring so that it can be attached to the Lensbaby Composer body. I placed the original camera mount on top of the ring, then used a pencil to mark through the screw holes in the mount onto the ring. With this done, you can use a nail and hammer to create a small dent for each screw, to stop the drill from slipping.
Then drill out each hole, making sure you're using a bit designed for drilling metal. The screws that attach the mount to the Lensbaby body are quite small, so be sure to use an appropriately small sized drill bit. When done, try and attach the mount to the Lensbaby body. In my case I found that only one of the screw holes in my ring was lined up perfectly.
So, I noted which direction the other two holes were off in. I removed the ring from the Lensbaby, and enlarged those holes (in the ring) in the directions needed by drilling them a bit more. Then checked again, and so on, until all three screw holes in the ring covered the corresponding screw holes in the Lensbaby body.
I now had a Lensbaby with a 42 mm thread mount. But there were two problems:
- The 42 mm (probably more like 40mm actually) diameter hole at the centre of this mount was not large enough for the moving part of the Lensbaby body to move around inside it. Effectively it was locked in place.
- The 42 mm thread had a pitch of 0.75 mm, whereas M42 mount uses a 1 mm thread pitch. So it wouldn't screw into an M42 mount properly.
To fix this I filed away the centre of the ring (removing the 42 mm threads) until the Lensbaby could move and tilt freely with the ring attached. Then I purchased a M42 - 52 mm step-up ring (marked as 42(1.00) - 52 on the edge of the ring). Attaching the 52mm side to the mount ring would mean that the 42mm threads would be elevated above the centre of the mount, giving space for the front part of the Lensbaby to still move freely.
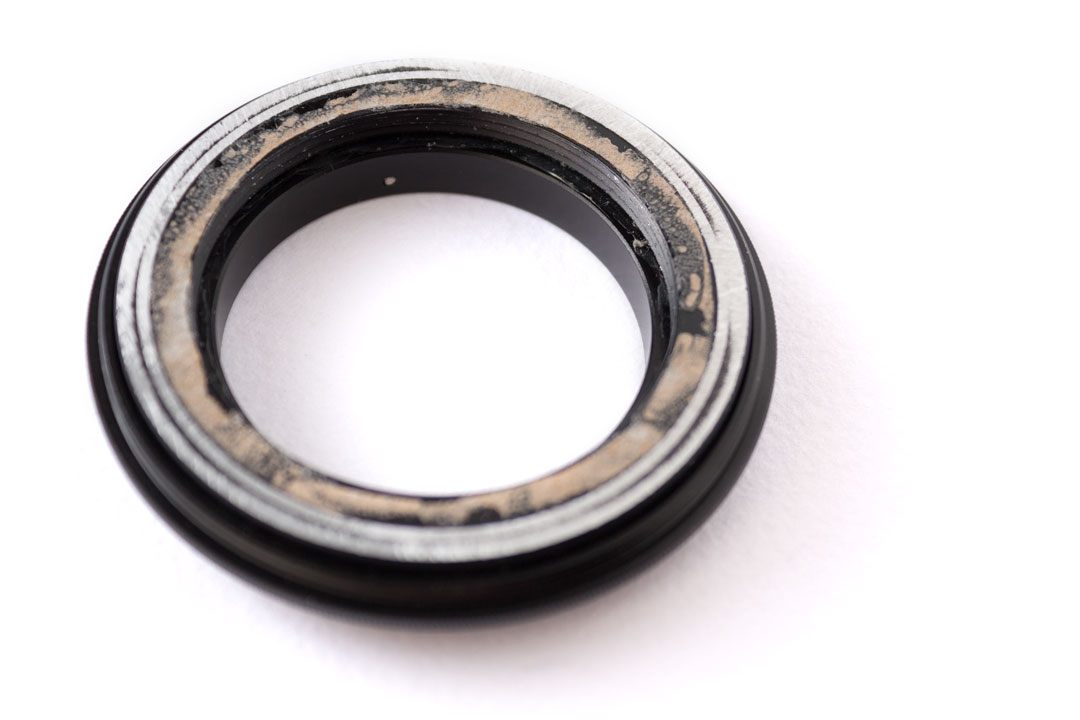
(Actually before I tried the M42 - 52 mm adapter ring I did try attaching an M39-M42 adapter to the mount ring in place of the mount ring's 42 mm 0.75 mm pitch filter threads - you can see in the photos the remains of the glue used to attach this. Of course, this didn't work as the mount was still too tight for the Lensbaby to tilt freely.)

New mount ring and the Lensbaby's original Nikon mount

New mount ring (with no actual mount) attached to Lensbaby body
Before permanently attaching the M42 - 52 mm adapter to the mount ring, I tried screwing it into my Fuji X - M42 short adapter, and then just holding the Lensbaby against it. I found that I couldn't achieve infinity focus with my 75mm EL-Nikkor lens. So I shortened my Fuji X - M42 short adapter even more by removing the 52 mm male threads from the front of it.
Fuji X to M42 short adapter after making it even shorter by removing the 52 mm front threads and shims
But with this done, I still couldn't achieve infinity focus. So the next step was to file down the M42 - 52 mm adapter to reduce its height. I did this in several stages, filing it down, checking whether infinity focus could be achieved, then filing it down more. Until eventually I had filed it down enough to get infinity focus.
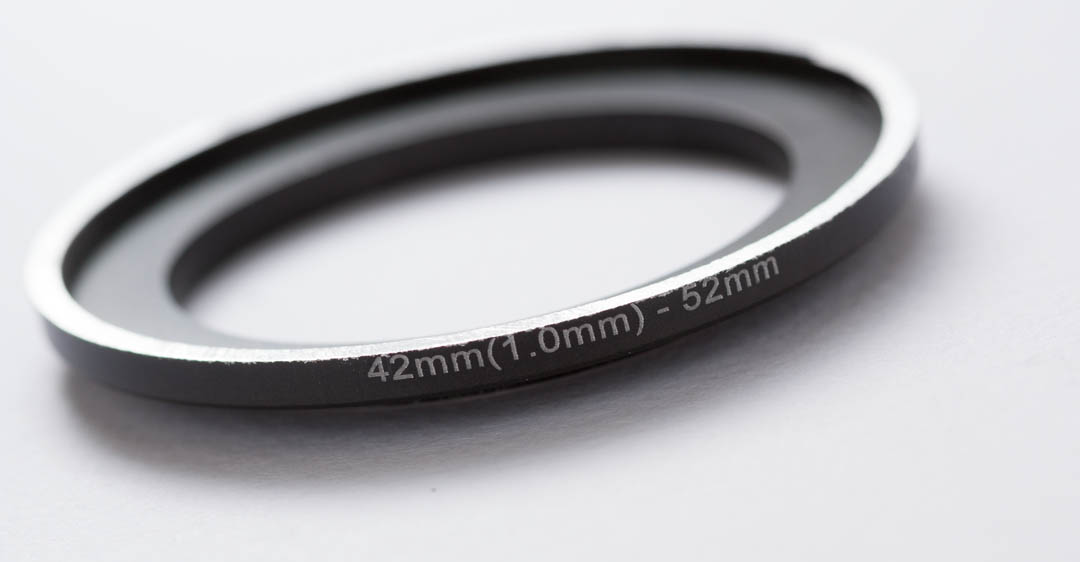
M42 - 52 mm step-up ring after partially filing down the 52 mm thread side
I attached the mount ring onto the Lensbaby Composer body, but leaving the screws a little loose. I then put a ring of JB Weld epoxy glue around the ring where the 52 mm side of the M42 - 52 mm ring would attach. I was careful to leave gaps in the glue by the screws, as the 52 mm ring goes very close to the screws and I didn't want to have the screws permanently stuck in place.
I then attached the 52 mm ring, making sure that the slightly loose screws on the mount were brushing up against the side of this ring rather than being underneath it. I wanted to make sure that this mount could still be unscrewed and replaced with the original Nikon mount. I used some small clamps to clamp onto the top part of the bottom part of the lensbaby body (if that makes sense) and the M42 - 52 mm ring to hold it in place while the glue dried.

Completed Lensbaby with M42 mount
After around 24 hours I fully tightened the screws and gave it a test. With my short Fuji X - M42 adapter and the 75mm EL-Nikkor mounted in the Lensbaby, I can focus from infinity to around a metre. With a standard Fuji X - M42 adapter and the standard double glass optic mounted in the Lensbaby, I can focus from slightly beyond infinity. While I'm not 100% sure, I think that this is roughly the same as it was with the original Nikon mount.
With this mount then, the Lensbaby retains its original functionality, but becomes a lot more flexible. And the mount can always be unscrewed and replaced with the original mount if wanted.
Leave a Reply