I had the idea quite some time ago, that using a DSLR lens on a mirrorless camera should allow you to mount a filter behind the lens, inside the lens adapter. This would allow using a glass filter behind lenses where it is not possible to mount a filter in front of the lens, such as a fisheye lens.
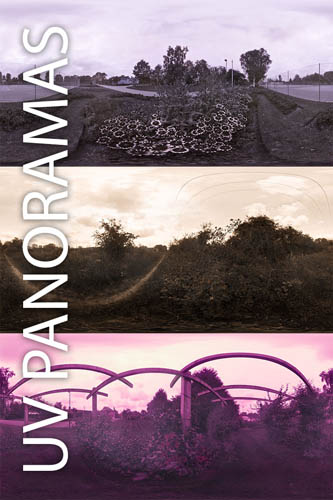
This would mean I could use my Baader UV pass filter with my fisheye lens, and capture an ultraviolet panorama. As far as I'm aware, a 360° panorama has never been captured in ultraviolet before.
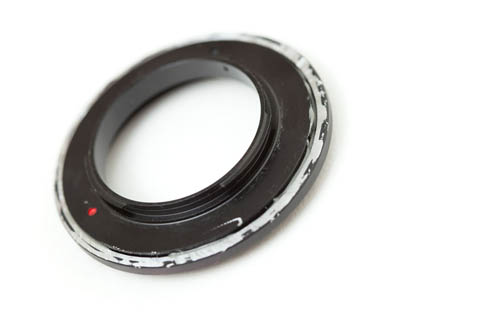
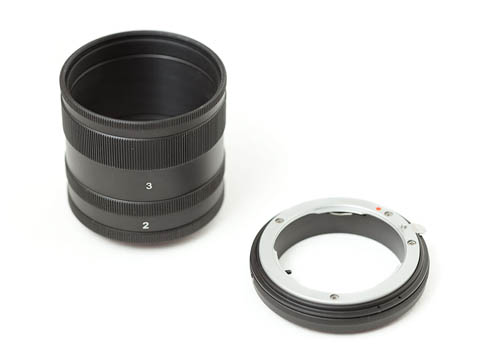
I use a Fuji X mount camera, and my Fisheye is a Tokina 10-17mm lens in Nikon F mount. Unfortunately my Nikon F - Fuji X mount adapter was slightly too small to fit my UV pass filter inside. So, a custom Fuji X to Nikon F mount adapter would be needed.
Creating the custom adapter took me quite a while as I had to purchase various adapter rings from China, see how they fitted together, and then if they didn't fit quite as I wanted, buy some others, and wait for those to arrive. In the end I had:
-
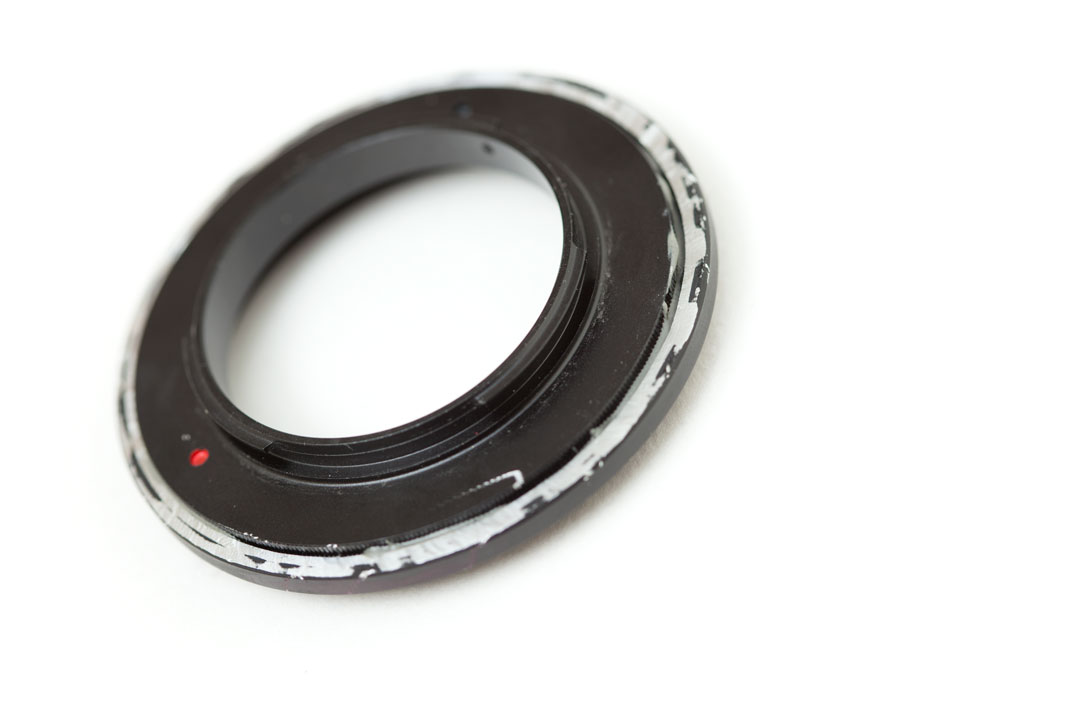
Fuji X mount reverse adapter, with the threaded reversing ring filed off.
-
Glued to that is a 49-48mm step down ring. This acts as the screw filter thread for my Baader UV pass filter (or any other 48mm threaded filter I might want to use).
-
Also glued to the Fuji X mount ring is a 62-55mm step down ring, with the male threads on the bottom filed off. This provides a 55mm female thread for the next section of the adapter to screw into.
Fuji X mount side of adapter, with stepping ring epoxied onto the other side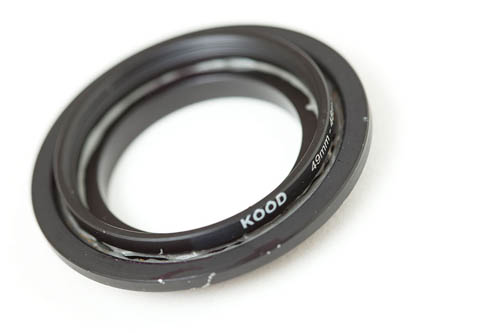
Base section of adapter with 48mm internal filter thread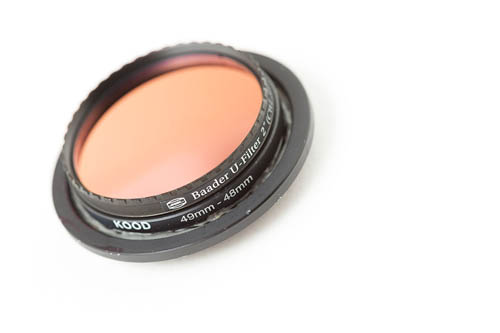
Base section of adapter with Baader UV pass filter screwed in -
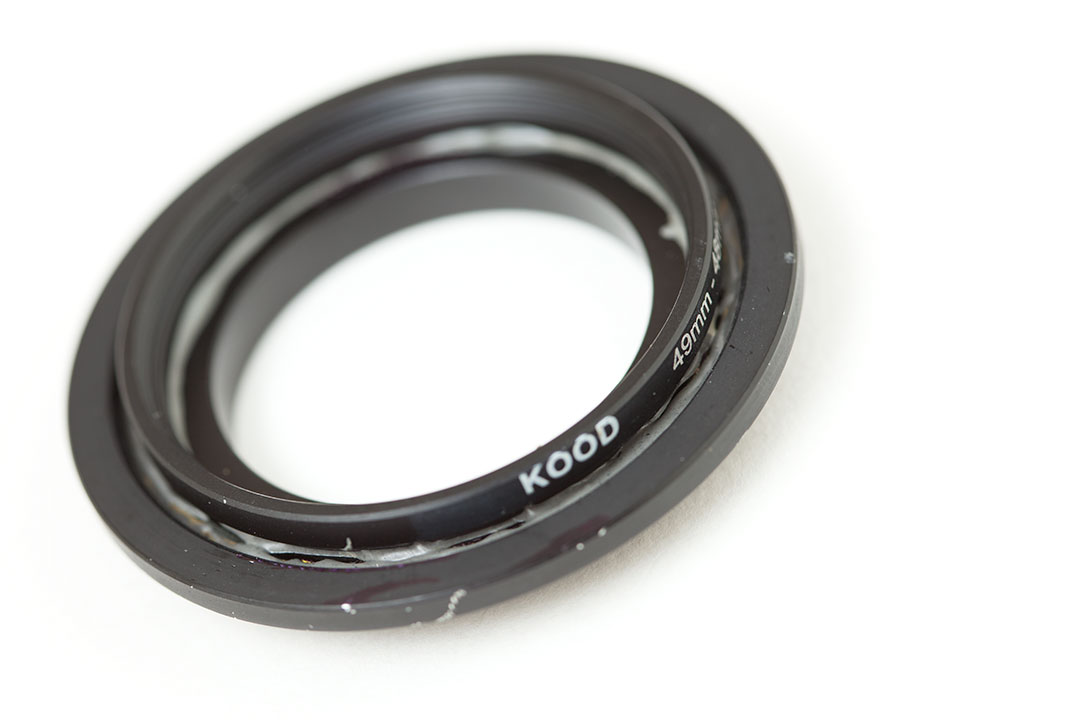
Screwed into the 55mm female thread of that is a 55-67mm and then a 67-55mm step down ring. Essentially the idea here is just to get some extension. A couple of cheap 55mm UV filters with the glass removed would do the same job, providing the thickness was the same.
-
Then we have a 55-57mm step up ring.
-
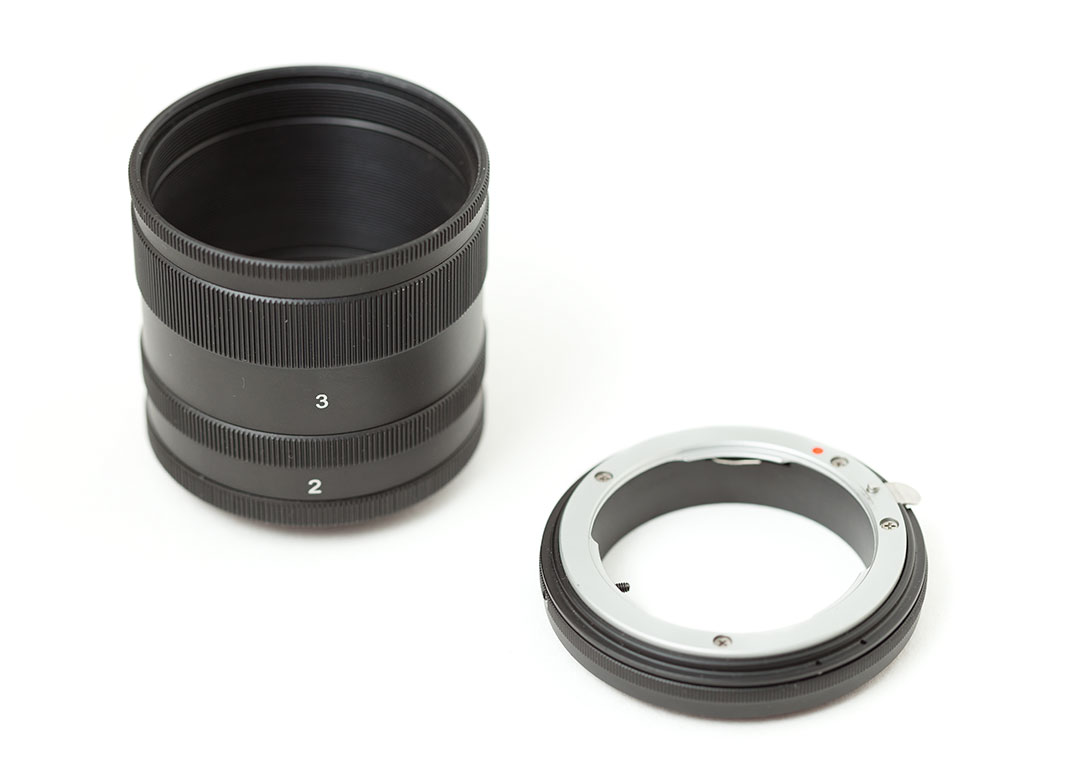
Finally, the lens mount end of a cheap set of Nikon G extension tubes. The tubes have a lens mount end and camera mount end, and in between are three tubes with a 57mm thread that screw together. So the end of this can be unscrewed from the tubes, then screwed into a stepping ring with a 57mm female thread.
Cheap screw-together Nikon G extension tubes with the lens mount end unscrewed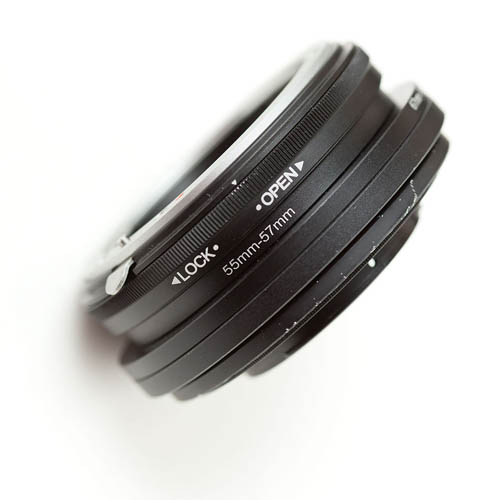
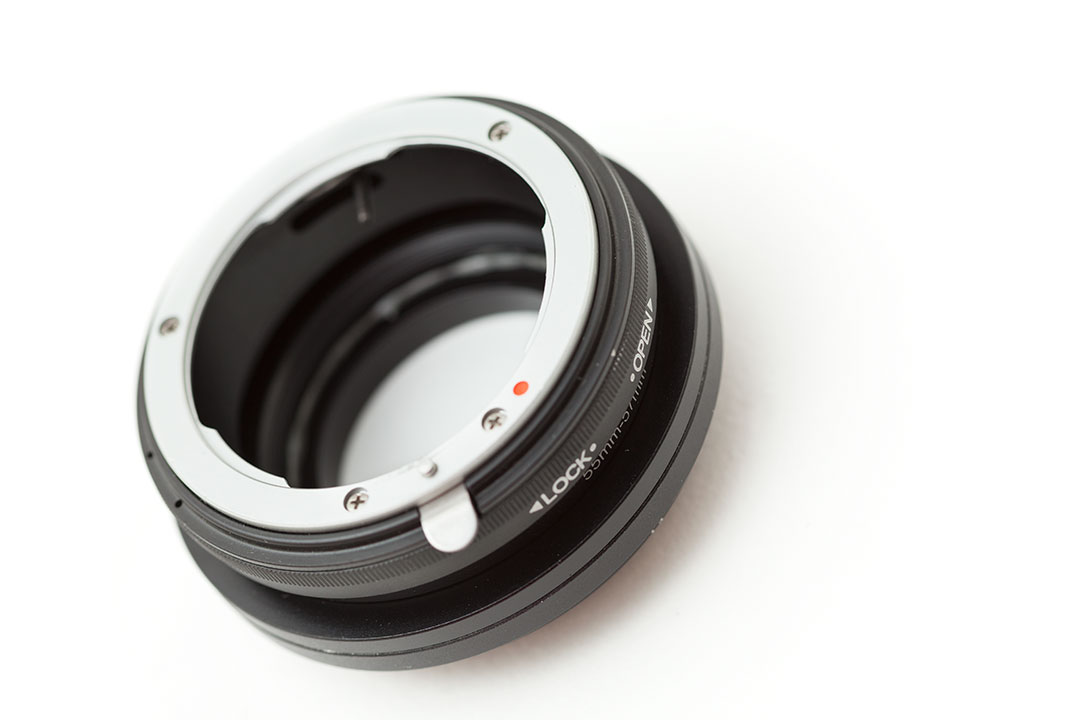
Adapter parts screwed together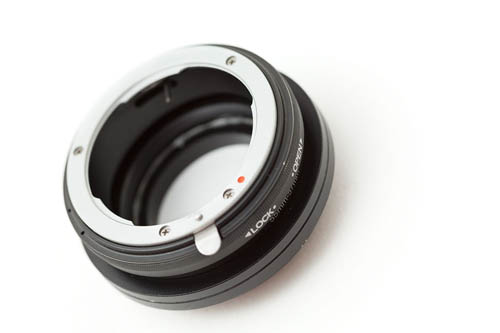
Adapter screwed together with no filter mounted inside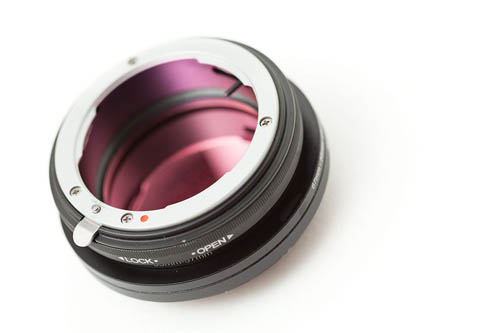
Adapter with UV pass filter mounted inside


Unfortunately, after putting all this together, I found that the flange-back distance was slightly too short. With a short focal length lens (like a fisheye) just a couple of mm or so extension (or lack thereof) makes a big difference. So I have to partially unscrew some of stepping rings and focus the lens slightly closer (per the distance scale) than it should be.
In hindsight, I should not have completely filed away the threads on the Fuji X mount adapter, but rather tried to reduce them slightly. Then this would give a little extra depth to the adapter, enough to make the focus correct. (With the threads not filed away at all, the focus was too close and infinity focus was not possible, hence why I filed them off).
Another problem is that because the rings are screwed together, the lens ends up not rotated straight. For most lenses this wouldn't make any difference. But with the fisheye it can result in the lens' hood getting into the image.
When I'd got the adapter all put together as best I could, I tried taking a UV panorama. Unfortunately the results were completely unusable. When shooting into the sun the image was extremely low contrast, badly affected by flare.
I thought this must be a light leak issue, but it seems not. The fisheye lens and UV pass filter just does not work well when shooting towards the sun. The solution? Take the panorama on a cloudy day.
There's not a lot of UV light on a sunny day. On a cloudy day even less gets through. My fisheye lens has pretty poor UV transmission. And it needs stopping down for decent sharpness and depth of field from close to far. This means a long exposure is needed, around 1s at ISO800 f/8.
The photos seem to get very 'smeared' near the corners. Whether this is due to my DIY adapter being too short and CRC of the lens affecting the image, or just the images the fisheye lens gives in UV, I'm not sure. The main problem with this is that when you stitch the images together, the smearing is in opposite directions where the images overlap, so they don't blend together too well.
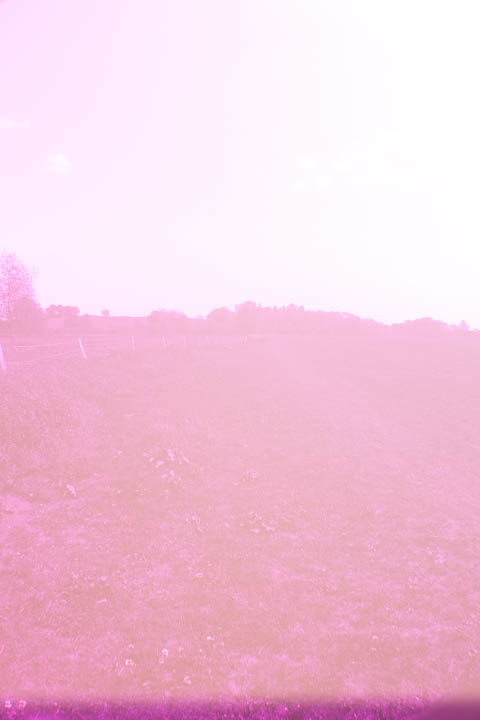
The nadir shot also seems to be slightly darker and a slightly different colour temperature to the other images. I've no idea why that would be.
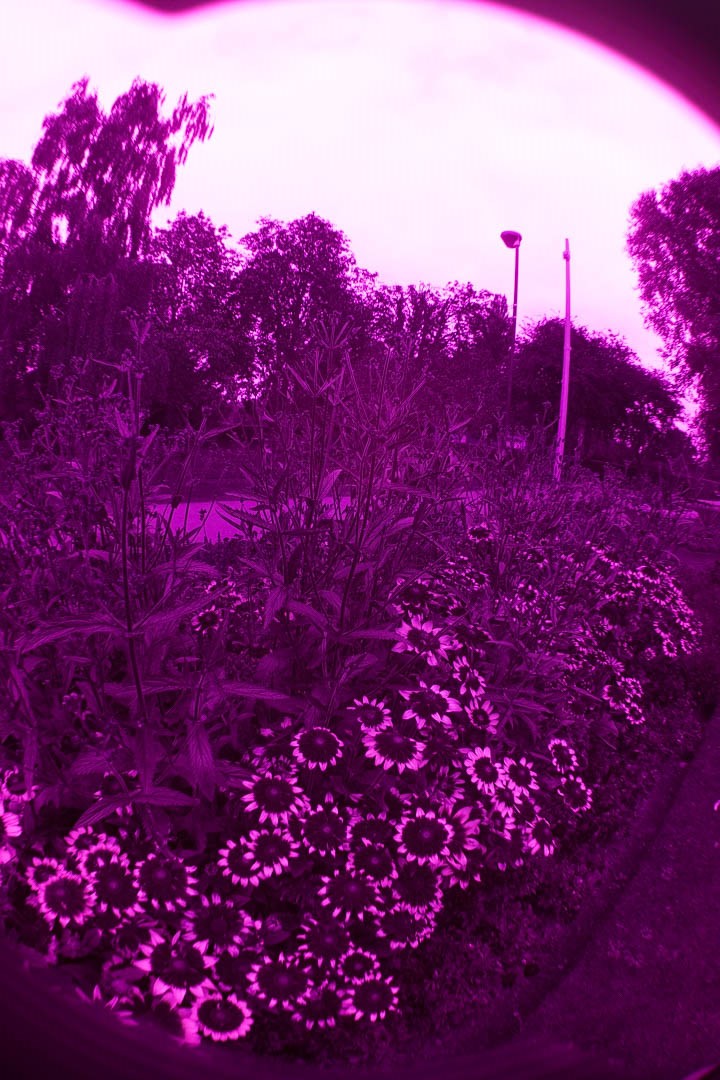
In the end, I don't think that UV panoramas are really worth the effort. While the world looks bright, contrasty, and interesting (all depending on the scene, of course) in infrared, in ultraviolet it generally just looks drab and boring. The sky is very bright, everything else is pretty dark.
Sure, flowers can look quite different in UV. But just because they look different, it doesn't make for an interesting panorama.
You can view 360° VR versions of my UV panoramas at 360cities.com: Flower bed by tennis courts in Welland Park in UV and Flower beds near South-east entrance of Welland Park in Ultraviolet.
Leave a Reply