In this post I'll be looking at the Zomei ND1.8 64x (6 stop), Zomei ND3.0 1000x (10 stop), and XCSource ND1000 (10 stop) neutral density filters, and a piece of shade 9 welding glass (poor man's Big Stopper) to see how they compare and combine for long exposure photography in daylight.
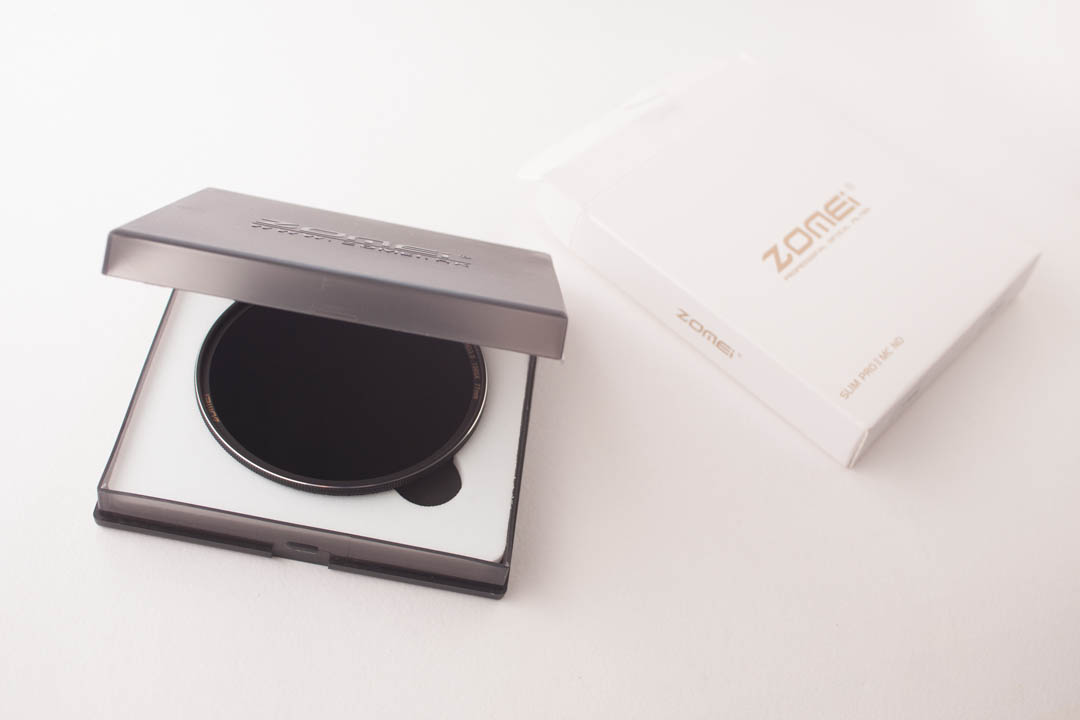
The Zomei filters I purchased for around £25 each from eBay. They are both 77mm size and branded as being 'Slim Pro II MC'. They are nicely presented in a card box, containing a padded plastic box for keeping the filter in.
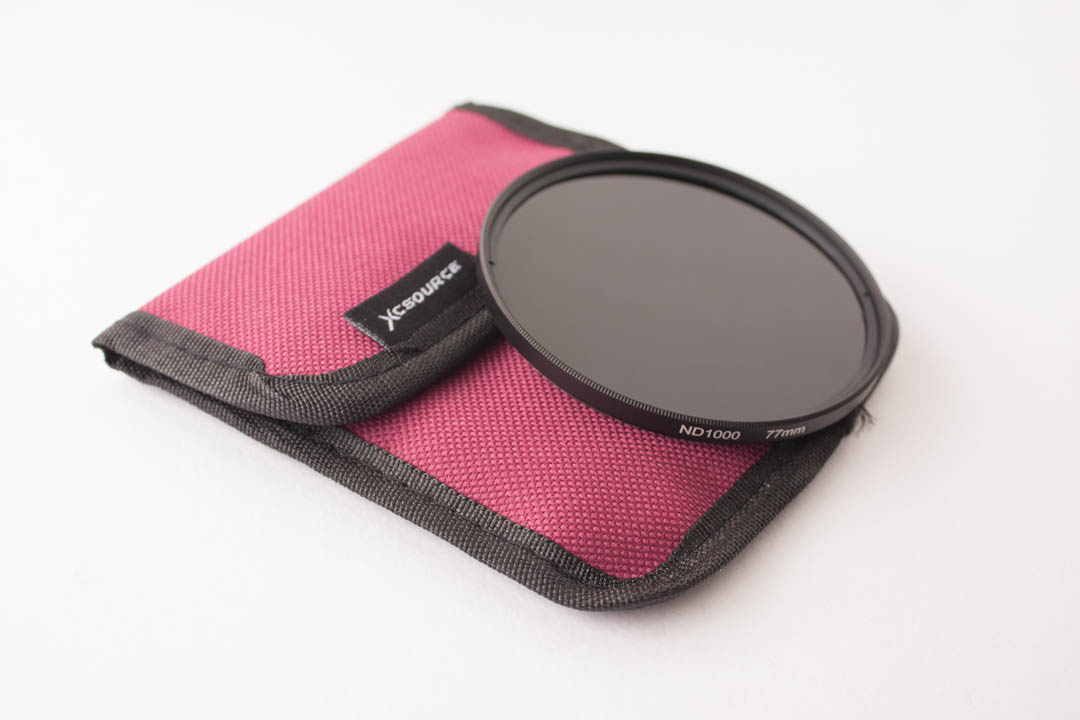
The XCSource filter was £10 from Amazon. This comes in a soft pouch, which in my opinion, is much better than a box. You can easily fit the filter with a stepping ring attached in the soft pouch. Or two filters stacked together. Whereas with a padded box you can only fit in the single filter it was designed to hold.
I also don't like the Zomei filter box because it is oversized. I've taken to storing one of the Zomei filters in a B+W filter box, and the other one in the case of an el-cheapo UV filter I bought. The Zomei box may look nice, but practicality beats aesthetics every time as far as I'm concerned with gear.
I probably paid about £3 for the Shade 9 Welding glass, but I checked eBay just now, and you can get it for £1 with free P&P. This doesn't come with any case, but fits nicely in a plastic Cokin P filter case.
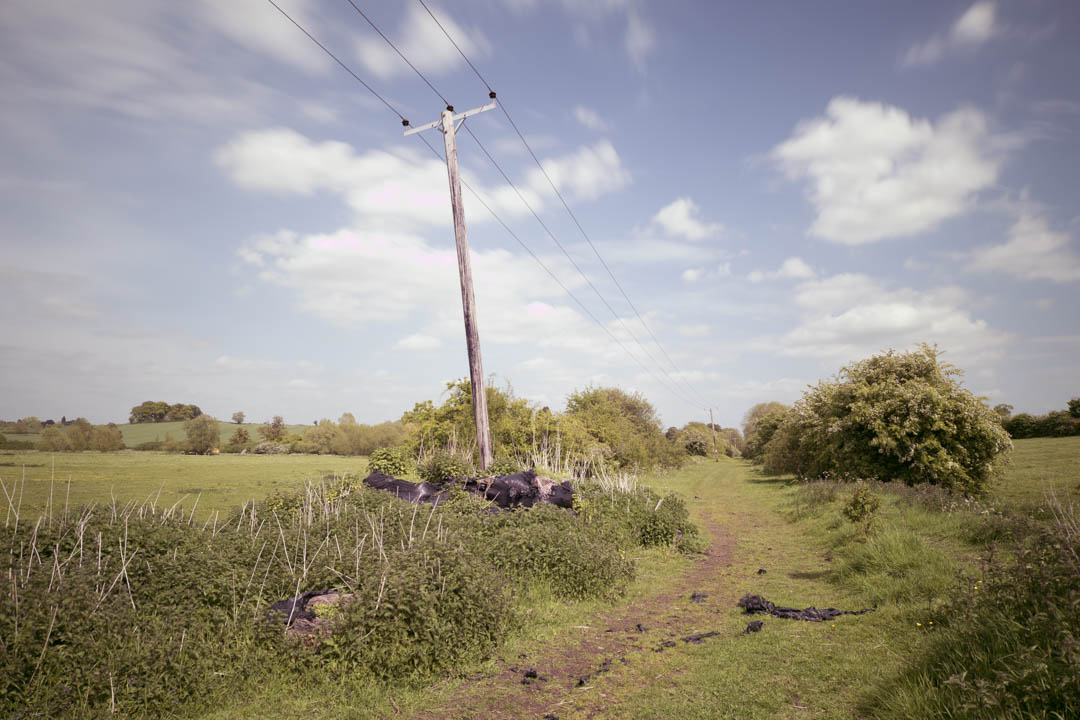
The Welding glass needs attaching to the camera using elastic bands over a reversed lens hood or step-up ring. Ideally it would slide into the Cokin P filter holder, but it's slightly too thick for that.
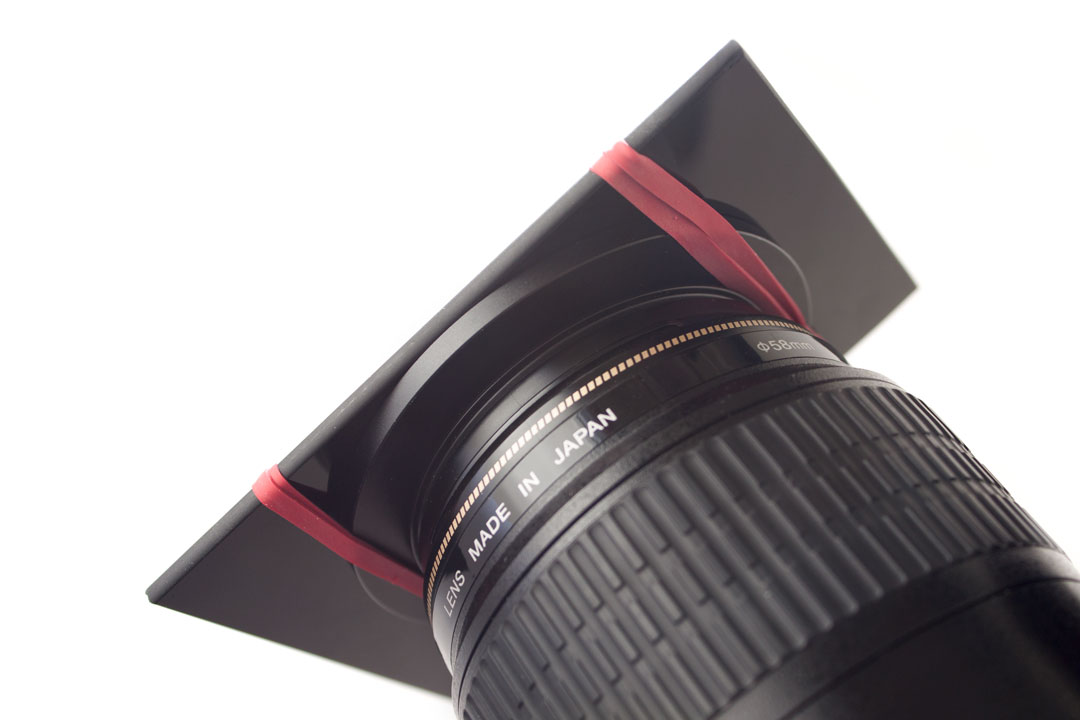
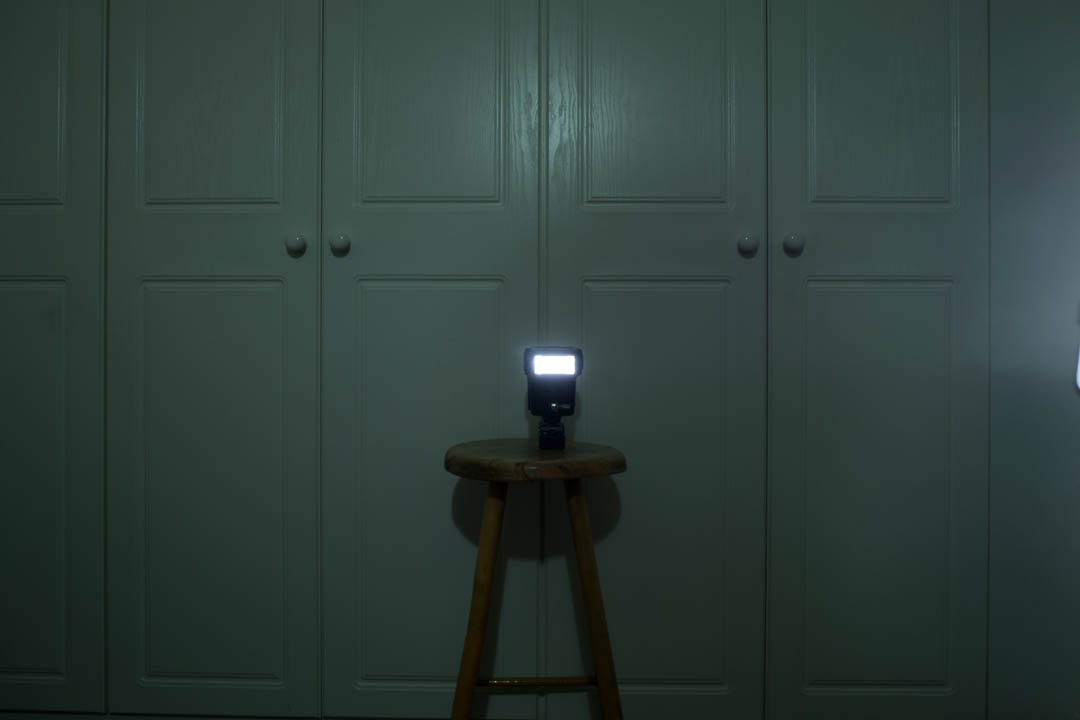
Attaching the welding glass filter over a step-up ring using elastic bands
Colour cast
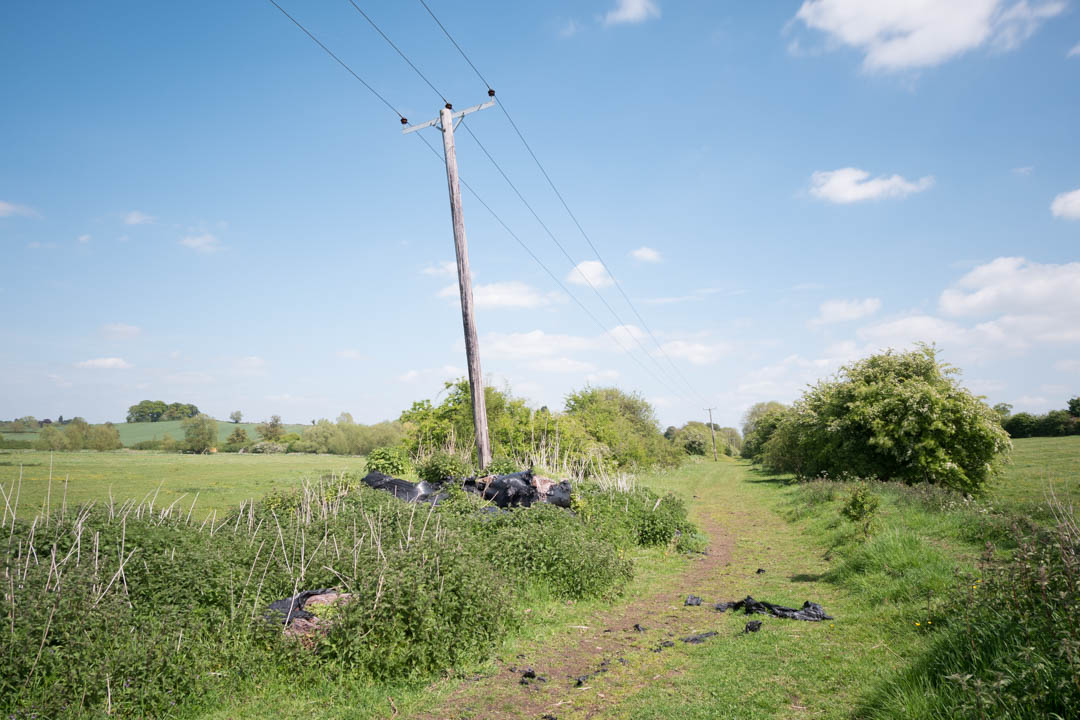
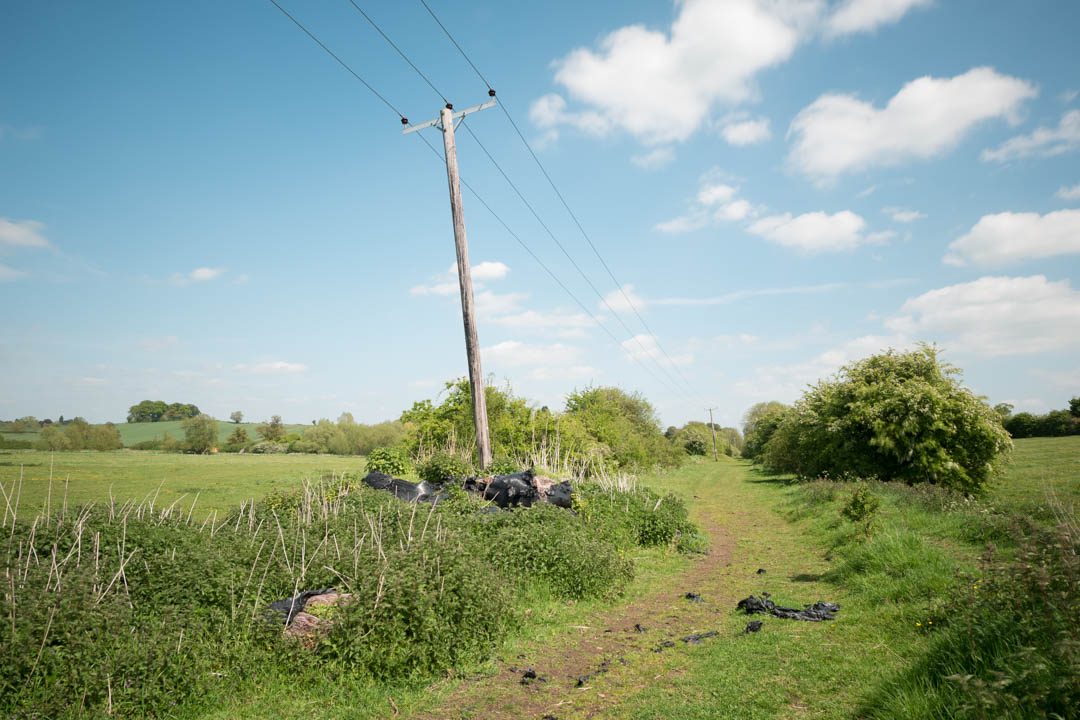
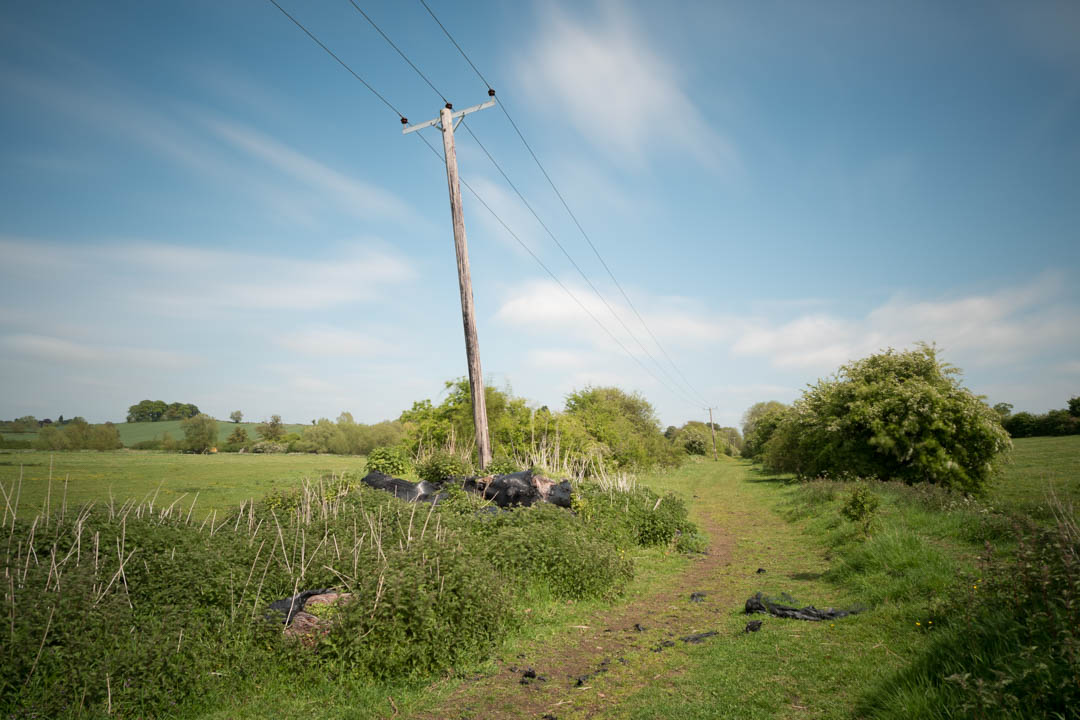
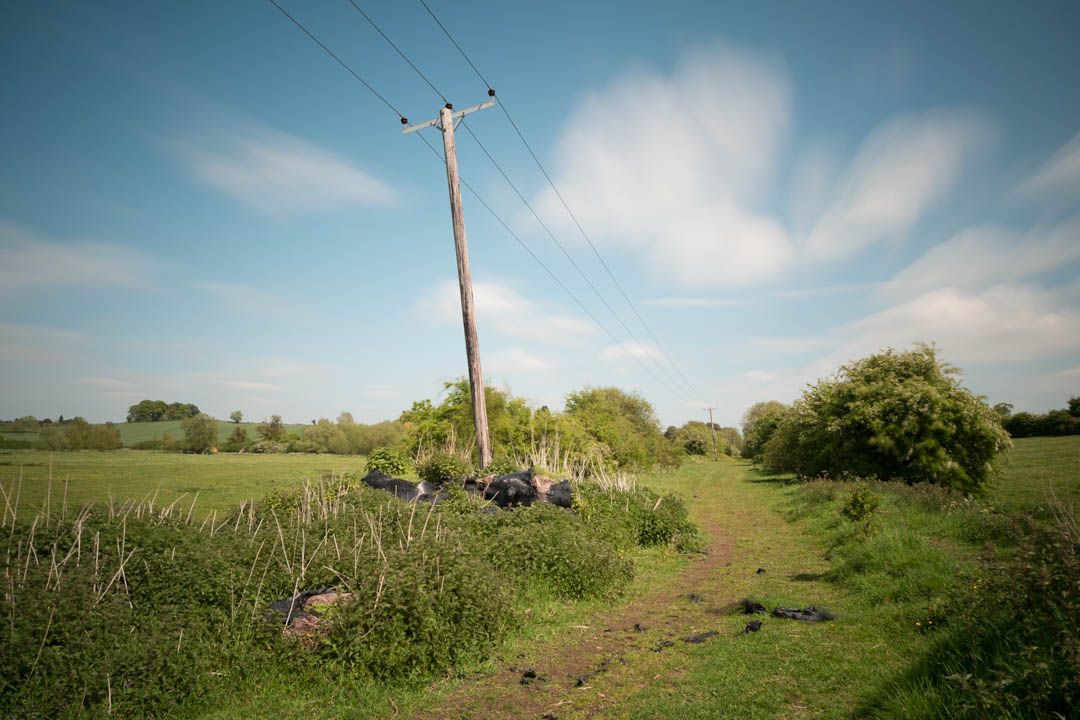
Here are some test images with the same white balance settings used for all. All shot at f/8, ISO 200, manual focus set just after 5 metres. I've noted the shutter speed used for each image.
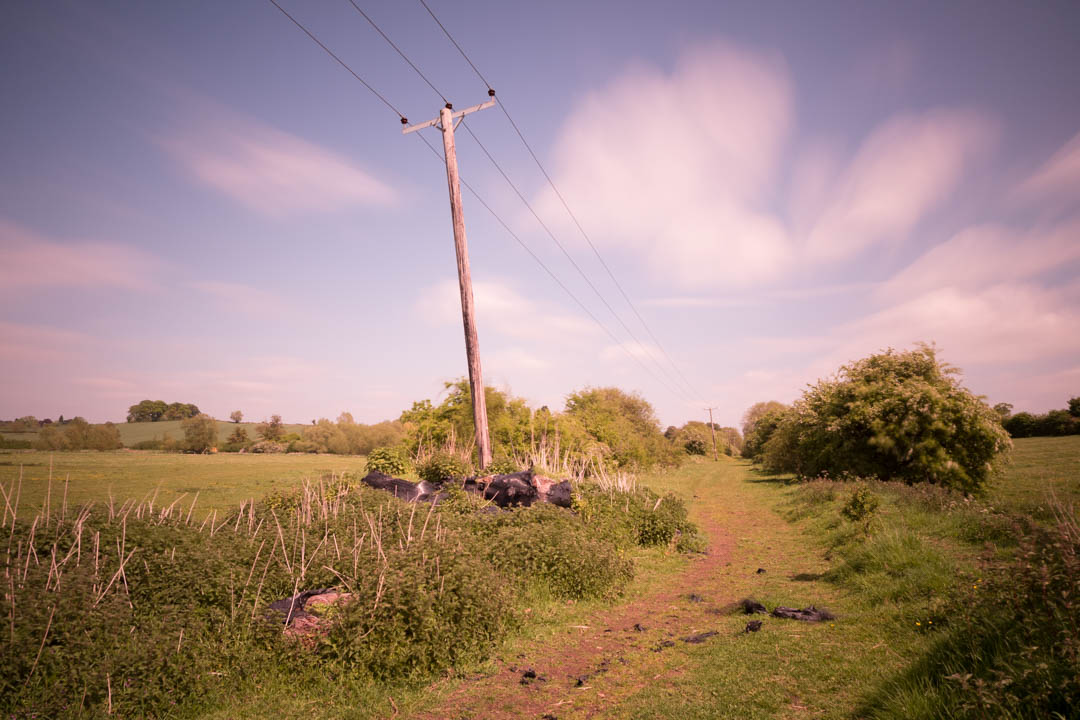
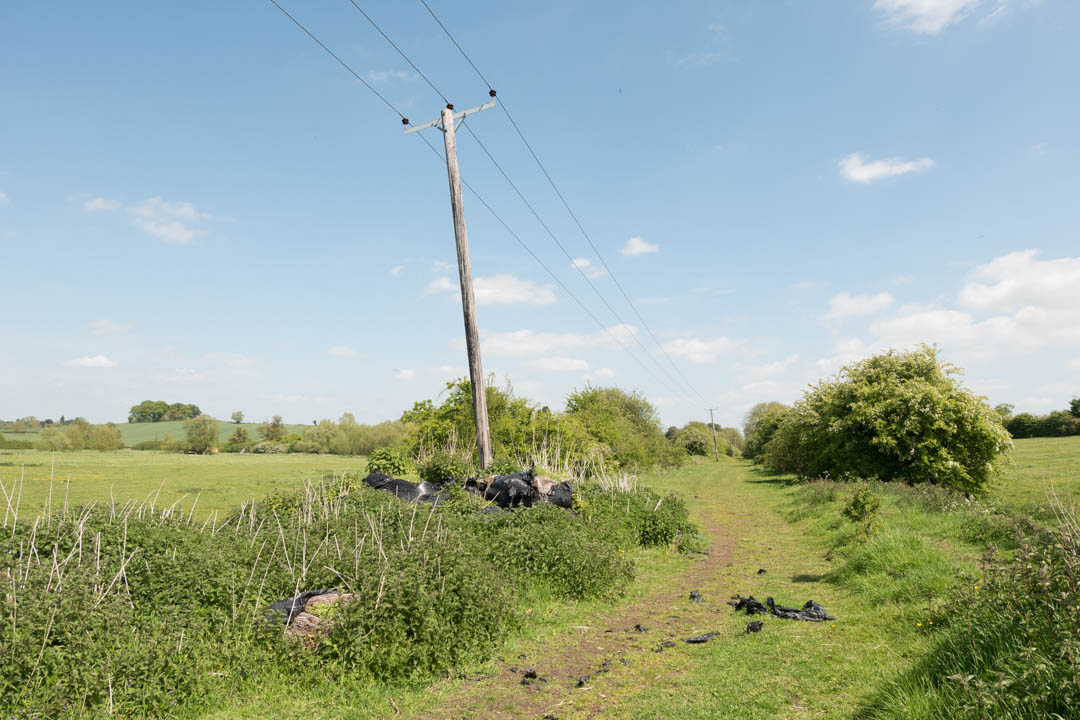
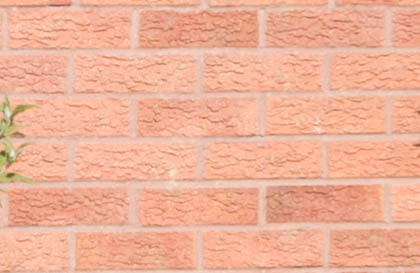
No filter 1/200s
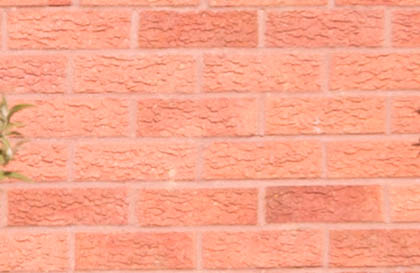
Zomei 6 stop 0.3s
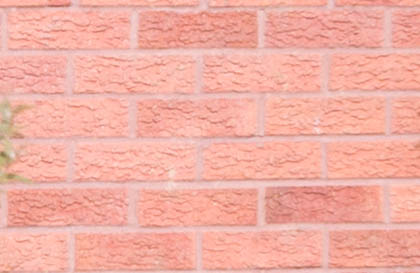
XCSource 10 stop 4.3s

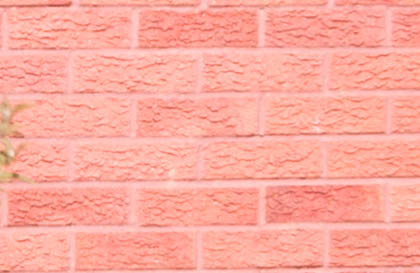
Zomei 10 stop 6.5s
XC 10 stop + Zomei 6 stop 280s
Zomei 10 stop + Zomei 6 stop 300s
Shade 9 Welding glass 20s
Shade 9 Welding glass + Hitech 3 stop ND 180s
As you can see, the XCSource 10 stop filter has a slightly warm colour cast. It also adds a bit of vignetting. The Zomei 6 stop doesn't seem to add much of a cast. The Zomei 10 stop adds a quite noticeable magenta colour cast. When using the Zomei 10 stop and 6 stop filters together this colour cast is intensified even more.
Vignetting is quite strong when stacking the Zomei 6 stop with either of the XCSource or Zomei 10 stop filters. But the colour cast with the XCSource 10 stop and Zomei 6 stop stacked is minimal.
In testing I found that the Zomei 10 stop filter actually blocks around 10.5 stops of visible light, while blocking only 7 1/3 stops of infrared light. I think the colour cast of the Zomei 10 stop filter is due, in part at least, to this IR leakage.
The XCSource filter blocks 10 stops of visible light but only 8 stops of infrared. So, it too has an IR leakage problem, but not as bad as the Zomei filter.
The Welding glass filter has a really strong green colour cast.
Correcting the colour cast of the ND filters can be done quite easily by setting the white balance when converting from RAW. We can even correct the welding glass image to a certain extent by applying the max magenta white balance adjustment and adjusting the green colour curve as well. Here are the same images with white balance and exposure adjusted:
No filter

Zomei 6 stop
XCSource 10 stop
Zomei 10 stop
XC 10 stop + Zomei 6 stop
Zomei 10 stop + Zomei 6 stop
Shade 9 Welding glass

Shade 9 Welding glass + Hitech 3 stop ND
Effect on image quality
Looking at the filters in terms of image degradation, in tests the Welding glass does degrade image quality. I checked if it was being caused by focus shift, but didn't find any evidence of that. The funny thing is though, that in the above set of test photos, the sharpness of the welding glass looks fine. Here's a crop from the edited Welding glass image above:
The 'proper' ND filters I was not able to see any image degradation even when stacked. I tested at 16mm and 50mm with my Fuji's kit lens, and my 100mm macro on my 5D mkII. Here are some crops from the 16mm test:
No filter
Zomei 6 stop
XCSource 10 stop
Zomei 10 stop
XCSource 10 stop + Zomei 6 stop
Zomei 10 stop + Zomei 6 stop
Shade 9 Welding glass

Shade 9 Welding glass + Hitech 3 stop ND
And from the 100mm test:
No filter
Zomei 6 stop
XCSource 10 stop

Zomei 10 stop
Shade 9 Welding glass
Zomei 6 stop + XCSource 10 stop
Zomei 6 stop + Zomei 10 stop
Note that the crops with the stacked filters show a bit of color noise due to the long exposure times used. This is also an issue in real life usage - you'll need to set your camera to use Long Exposure Noise reduction to eliminate it. When doing this the camera takes a 'dark frame' after the actual image, with the same exposure time as the actual image.
So a 10 minute exposure takes 20 minutes - 10 for the image then 10 for the dark frame image to remove the noise. Not only does this use up your time, it also uses up your camera's battery. With 3 minute exposures I haven't found colour noise to be a bad problem, and so don't have long exposure noise reduction turned on.
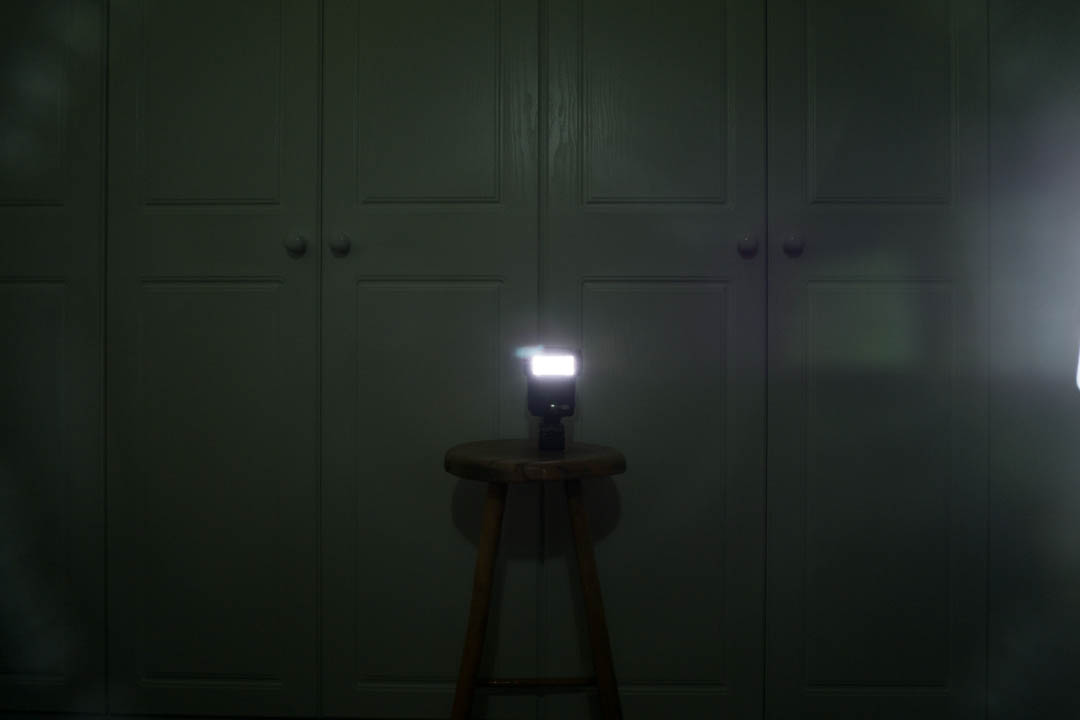
Flare test
Finally a flare test, with my Fuji 16-50mm lens at 16mm. A flash is firing straight into the camera and an LED light panel was placed pointing towards and across the lens just out of frame to the right.
For the 10 stop filters the flash and LED light were turned up to full power, but the resulting 30s exposure was still very dark. So I've applied quite a bit of positive exposure compensation when converting the RAWs.
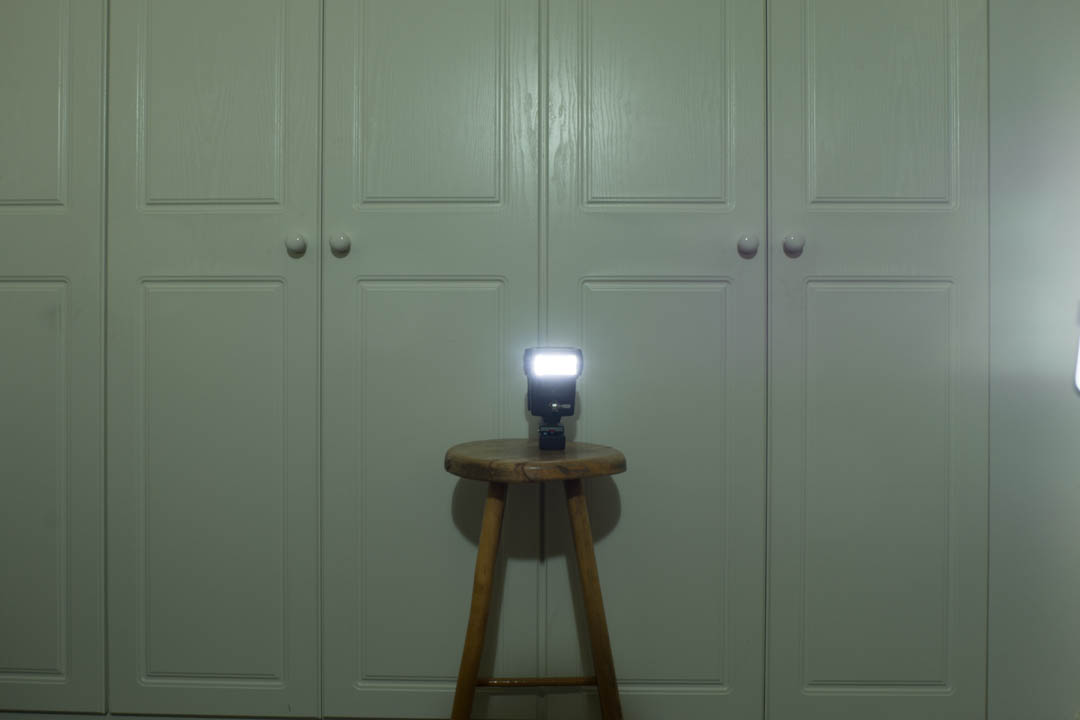
No filter
Zomei 6 stop
XCSource 10 stop
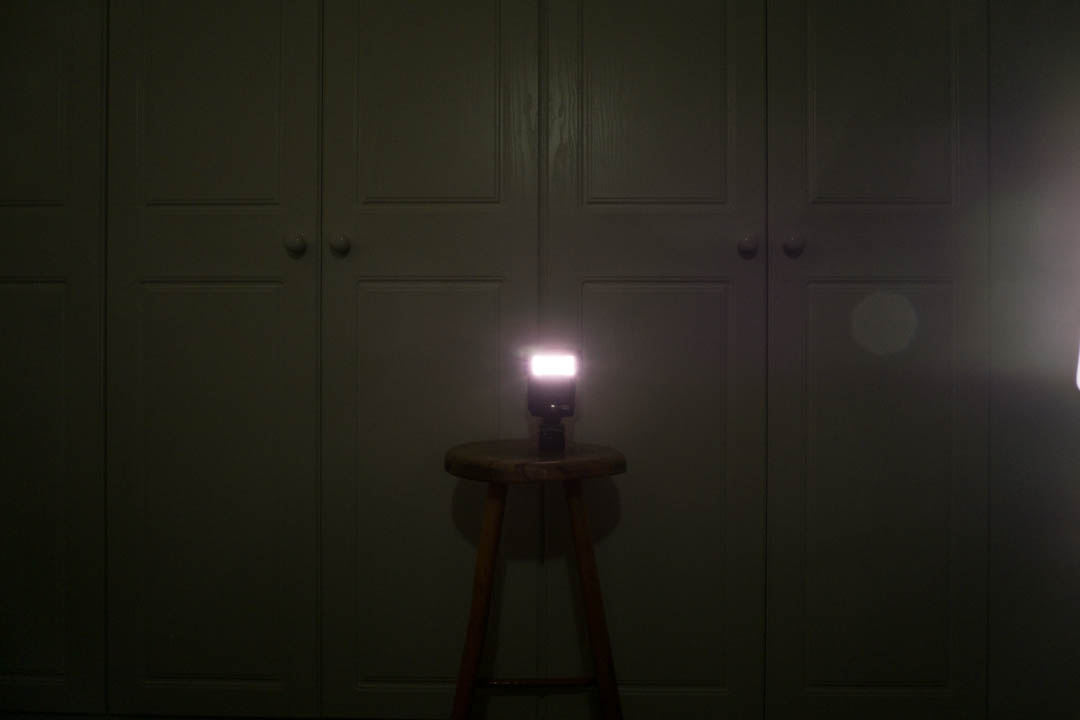
Zomei 10 stop
The Zomei 6 stop filter doesn't seem to have any effect on flare. The XCSource 10 stop filter does add some flare. I can't say I've seen any flare from this filter in 'real life' usage. The Zomei 10 stop filter adds a small amount of flare, but is much better behaved than the XCSource filter.
Conclusion
The XCSource ND1000 filter is a very good filter at an excellent price. The Zomei filters aren't as good due to their stronger colour cast, but as far as I'm aware, the Zomei ND1.8 filter is the cheapest 6 stop ND filter you can get at the moment. The Welding glass is fine if you can't afford to spend more than £1 on a strong ND filter. But if you can afford to spend £10 then the XCSource filter is a lot better.
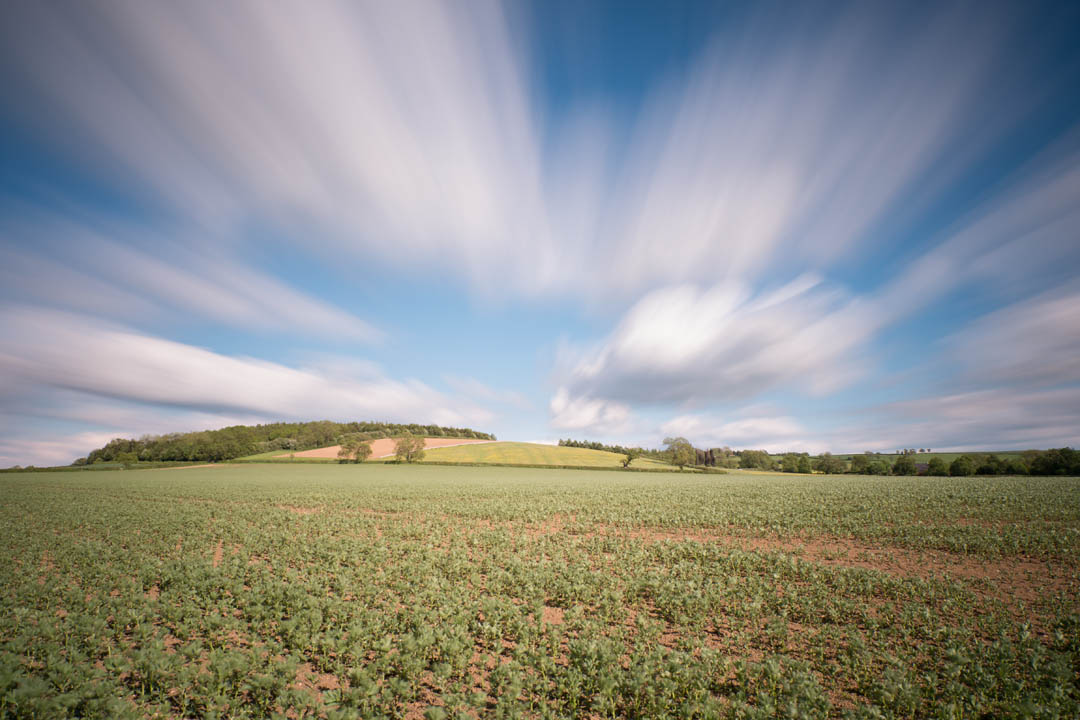
The XC Source 10 stop and Zomei 6 stop filter work nicely when stacked to give a 16 stop reduction in light, which gives an exposure of around 3 minutes at f/8 ISO 200 on a sunny day. This is a good exposure time for capturing blurred clouds on a windy day.
I just bought a Zomei 10 stop 4×4 ND filter and noticed two shortcomings. One was a color cast that I am not too worried about and I can easily take care of in Photoshop. The other was a strong dark vignetting around the border of the photo. This can also be fixed in Photoshop but is more difficult and raises the amount of time in editing. I would like to know if you noticed the vignetting in your filter?
Hi Bill
The filters I’m using are screw thread rather than slot type filters. I did notice that vignetting increased with the filter, but as you can see from the images, it’s not particularly problematic.
Are you sure the vignetting is from the filter itself, and not the filter holder?
Dave
Does the Zomei 10 stop reduce sharpness in anyway? for example look at the difference between those two pictures. You can clearly see how the hoya filter has reduced the sharpness in the picture which is a horrible deflect. Does the Zomei filters have this problem? Thanks
http://media.the-digital-picture.com/Images/Other/10-Stop-Neutral-Density-Filter/As-Shot/Control.jpg
http://media.the-digital-picture.com/Images/Other/10-Stop-Neutral-Density-Filter/As-Shot/Hoya.jpg
thi si sthe site btw http://www.the-digital-picture.com/Reviews/10-Stop-Neutral-Density-Filter.aspx
Hi Carl
I didn’t find any (or at least not much) reduction in image quality from the Zomei 10 stop, you can see my sharpness test results here: https://www.davidkennardphotography.com/blog/1016-long-exposure-daylight-photography-strong-nd-filter-test.xhtml#iq
Regards
Dave
Great post!
Could you explain how you determined how many stops a filter actually blocks visible light as well as infrared?
One thing to keep in mind when using ND filters is the need to use a highly stable tripod, anything less might introduce blur that has nothing to do with the quality of the filters.
As for vignetting… It can easily and quickly be fixed in Lightroom so long the software has a profile for the lens.
Cheers
Hi Datum
I just took a photo without the filter, then one with the filter and with the camera settings adjusted to compensate for the filter. For the visible light images, this just meant adjusting the exposure by the number of stops the filter was rated at. For the IR photos, doing that just resulted in images overexposed, so I had to adjust the exposure down a couple of stops and try again. When I had an image with the filter that was around the same exposure as the image without the filter, I loaded both into ACR and used exposure compensation until both images looked the same in terms of exposure. Then I could use the amount of exposure compensation in ACR combined with the difference in exposure between the no filter and with filter images to work out the total difference in exposure between both images.
Regards
Dave